- How to create a Windows Native Java application (generating .exe file)?
- STEP 1: Create the java application :
- STEP 2: Use ‘jar’ tool to generate a jar file
- STEP 3: Use ‘jpackage’ tool to convert the jar file to exe
- STEP 4: Install the exe file on a Windows machine
- «Hello World!» for Microsoft Windows
- A Checklist
- Creating Your First Application
- Create a Source File
- Compile the Source File into a .class File
- Run the Program
- Creating a Windows application in Java using Eclipse
How to create a Windows Native Java application (generating .exe file)?
Let’s say you have created a Java application and packaged it into a jar.
You want to install this jar in another machine.
Traditionally , you need to first install java in that machine and then copy the jar . The application can be launched by running the jar.
Or you can use third party applications to convert the java application to an exe installation. Java itself didn’t provide this facility for a long time.
Java 8 came up with jpackage tool which can be used to create .exe files. These files can then be used to install a native Windows Application. No need to install Java in the client machine anymore!
Java again removed the tool in Java 11 version and brought it back in Java 14.
Let’s create a simple Java application which displays the message “Hello World” in a message box and convert it into an exe file. Then let’s install the application in a Windows machine.
STEP 1: Create the java application
STEP 2: Use ‘jar’ tool to generate a jar file
STEP 3: Use ‘jpackage’ tool to convert the jar file to exe
STEP 4: Install the exe file on a Windows machine
STEP 1: Create the java application :
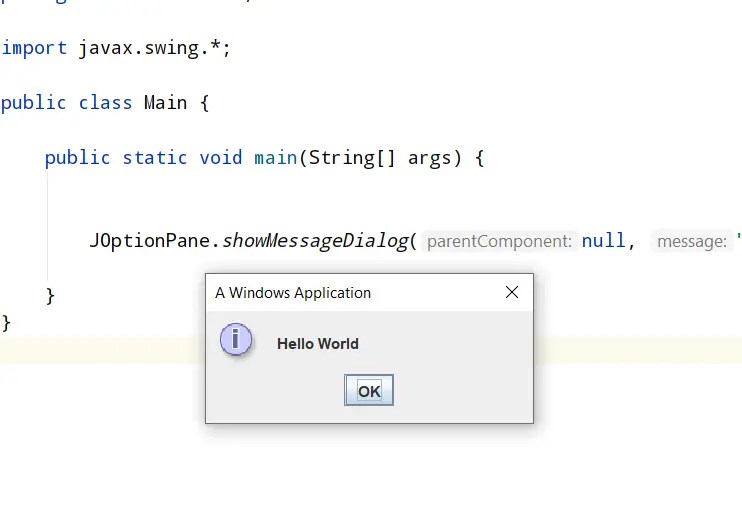
I created a Java application with a single file which opens up a message box with the message “Hello World”.
package com.helloworld; import javax.swing.*; public class Main < public static void main(String[] args) < JOptionPane.showMessageDialog(null, "Hello World", "A Windows Application", JOptionPane.INFORMATION_MESSAGE); >>
On running this , I get the below output:
Now let’s convert this project into a jar file
STEP 2: Use ‘jar’ tool to generate a jar file
Below is the path where I have created the Java application:
G:\projects\fullstackdeveloperblog\spring\springboot\HelloWorld\
On building the project the classes got generated in out/production folder ( I am using IntelliJ):
G:\projects\fullstackdeveloperblog\spring\springboot\HelloWorld\out\production
A new folder named HelloWorld got generated in the above directory.
I navigated inside it and ran the below jar command:
jar cfm helloworld.jar manifest.txt com
helloworld.jar is the name of the jar file to generate
manifest.txt contains meta data about the jar (what is the path of the main class etc)
com is the directory (inside HelloWorld folder) which contains the Main class
To know more about generating jar files refer here : (Generating jar)
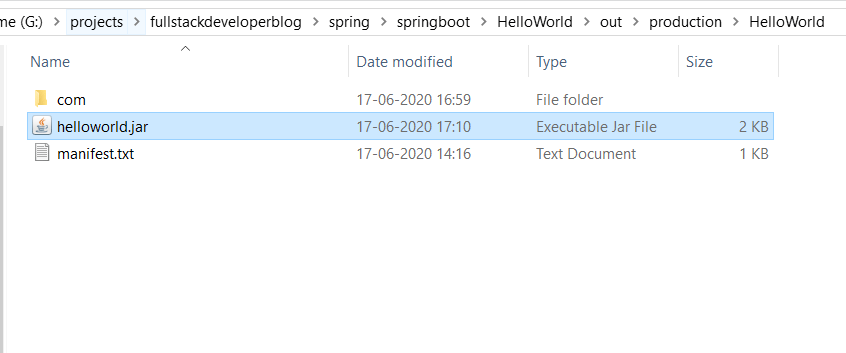
A jar file got generated as below:
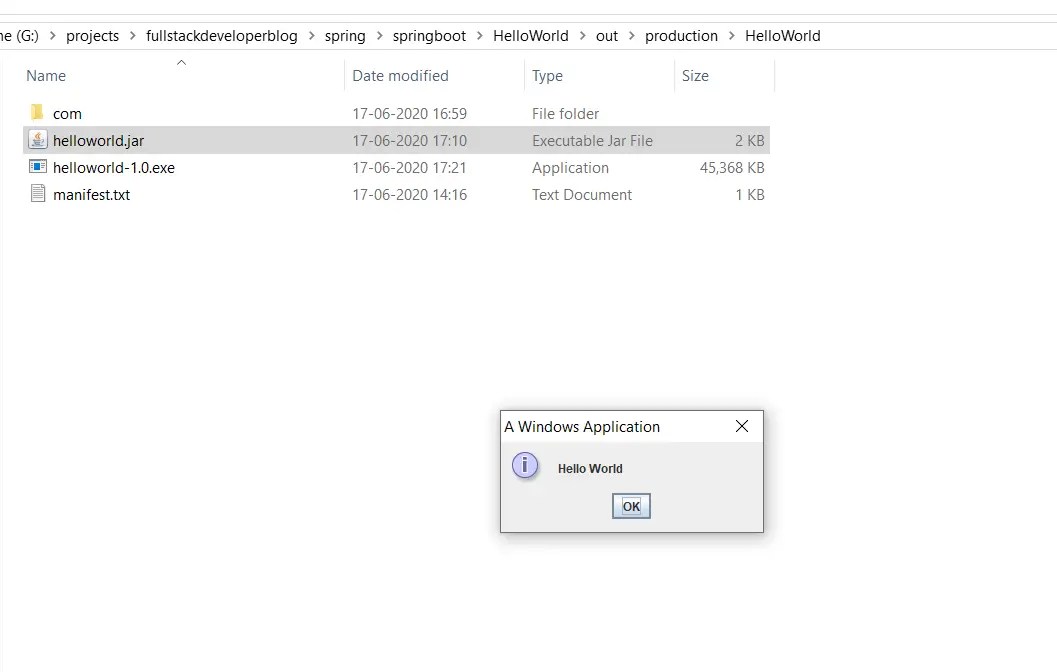
If you double click the jar file you get the same output:
STEP 3: Use ‘jpackage’ tool to convert the jar file to exe
As a prerequisite to run jpackage tool to generate a exe file , you need to install Wix Toolset (suggested by Java) from here .
In the same path where I ran ‘jar’ command I ran the below jpackage command:
jpackage --name helloworld --input . --main-jar helloworld.jar --main-class com.helloworld.Main --win-console
Following –name is the name of the exe file
Following –input (.) is the name of the directory which contains the jar file and other inputs (in this case the current directory)
Following –main-jar is the name of the jar which contains the class to be run
Following –main-class is the name of the class which is to be run.
–win-console means windows console need to be enabled – Command line and Java swing applications need this to be enabled.
–win-console flag is quite important. It took me a while to realise this was needed (Else application won’t be launched when you click on the installed exe)
Here is the screenshot of running the jar and jpackage commands:
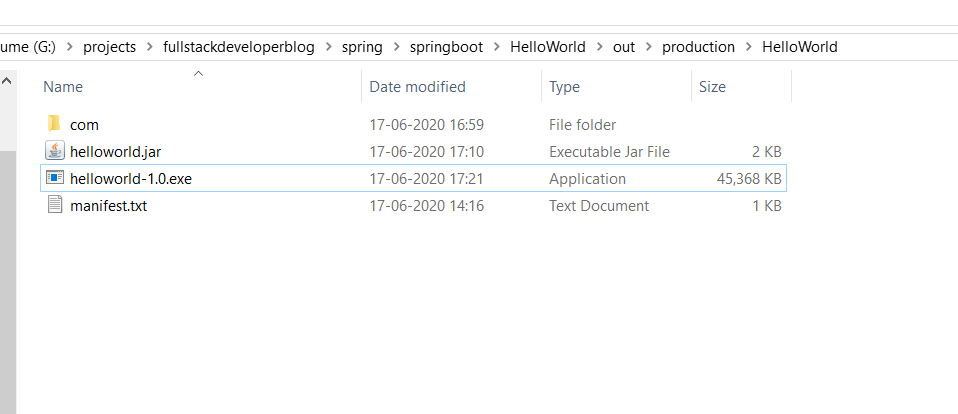
Below is the exe file generated:
STEP 4: Install the exe file on a Windows machine
Now let’s install the application using the exe file created.
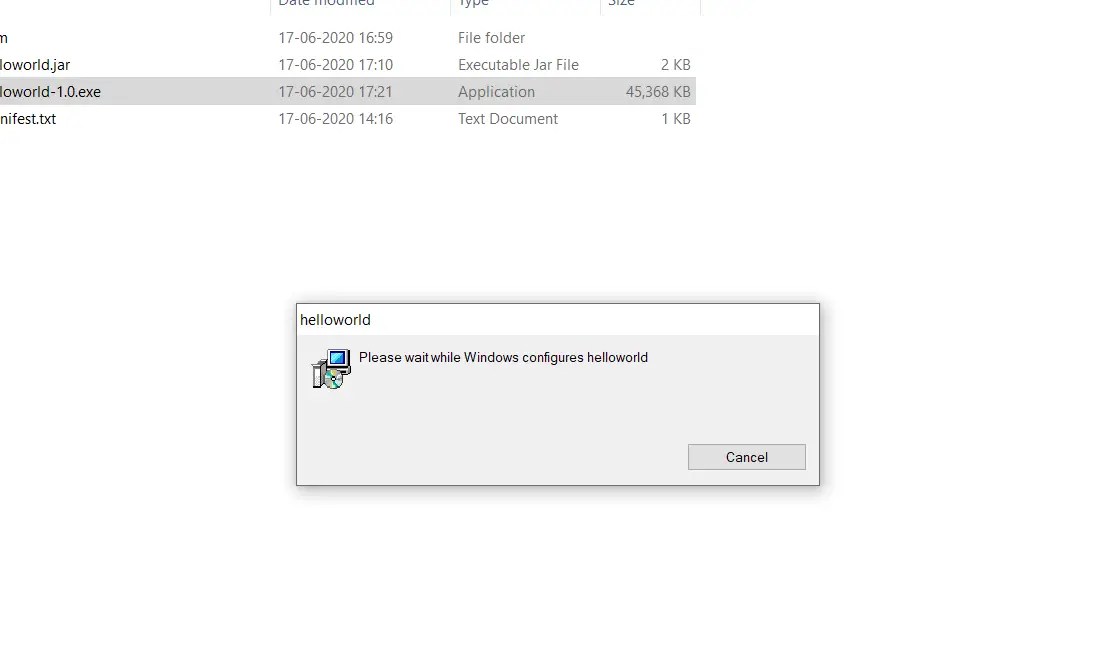
Double click on helloworld-1.0.exe.
The application gets installed :
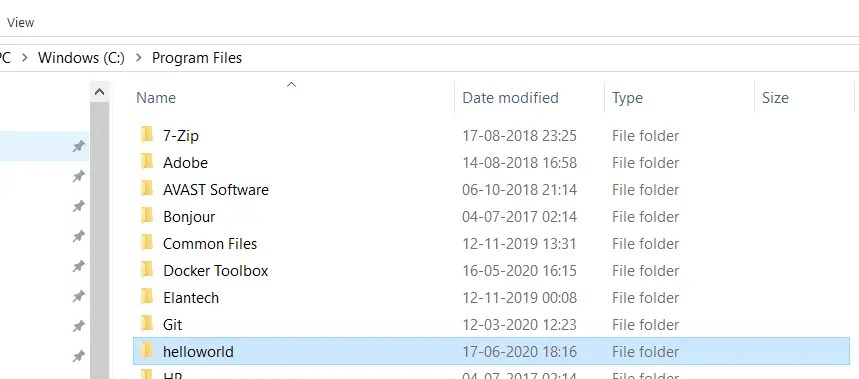
It gets installed in the default C:/Program Files directory:
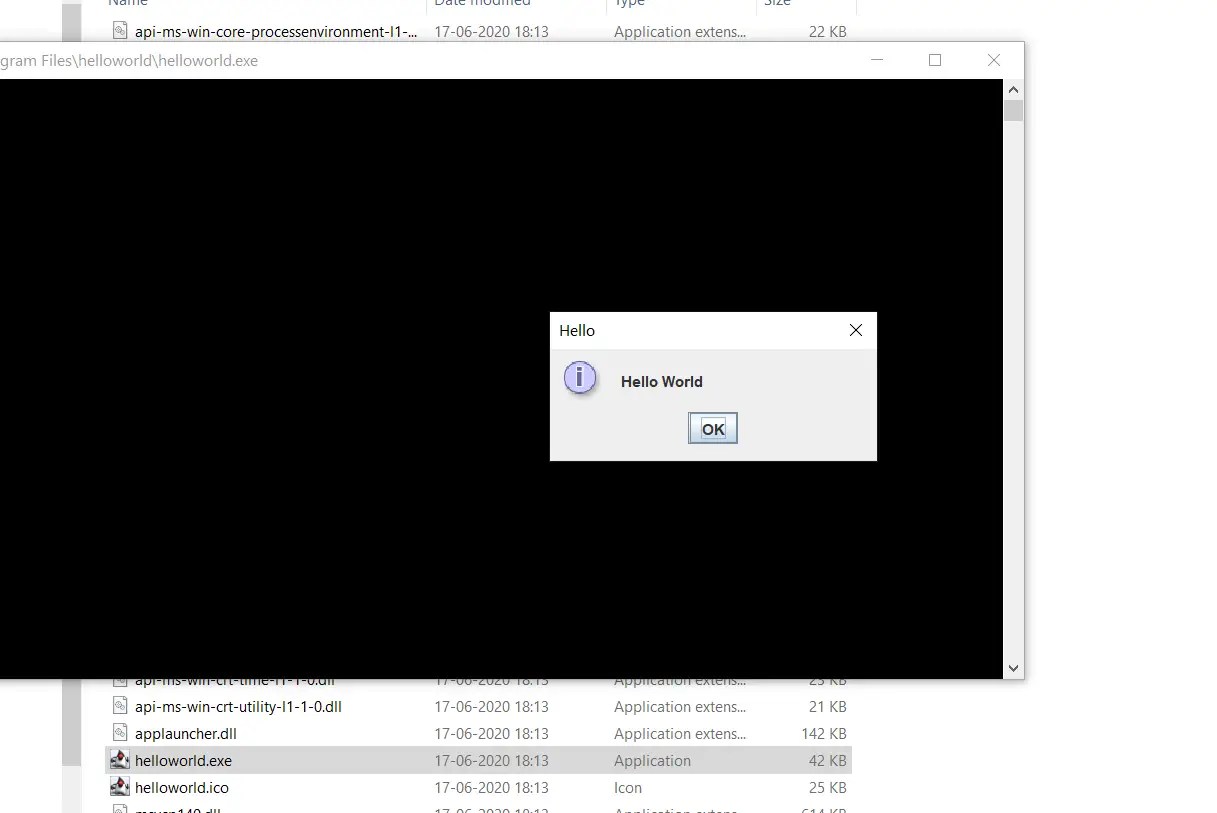
Go into the folder and click on helloworld.exe:
Hello World message is shown!
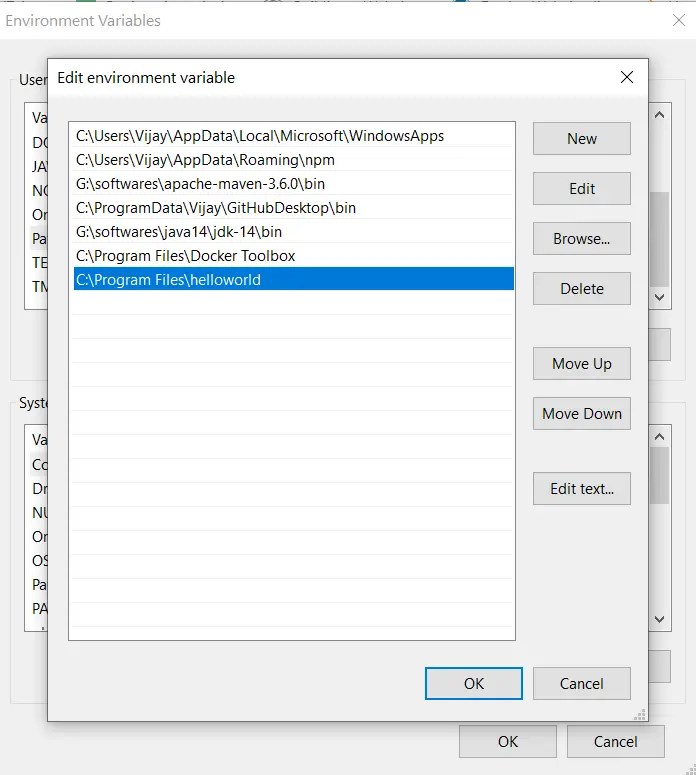
Now let’s try to execute this exe file through command prompt from any path in Windows machine.
For this to happen , add the path of the exe to the ‘PATH’ environment variable of your machine:
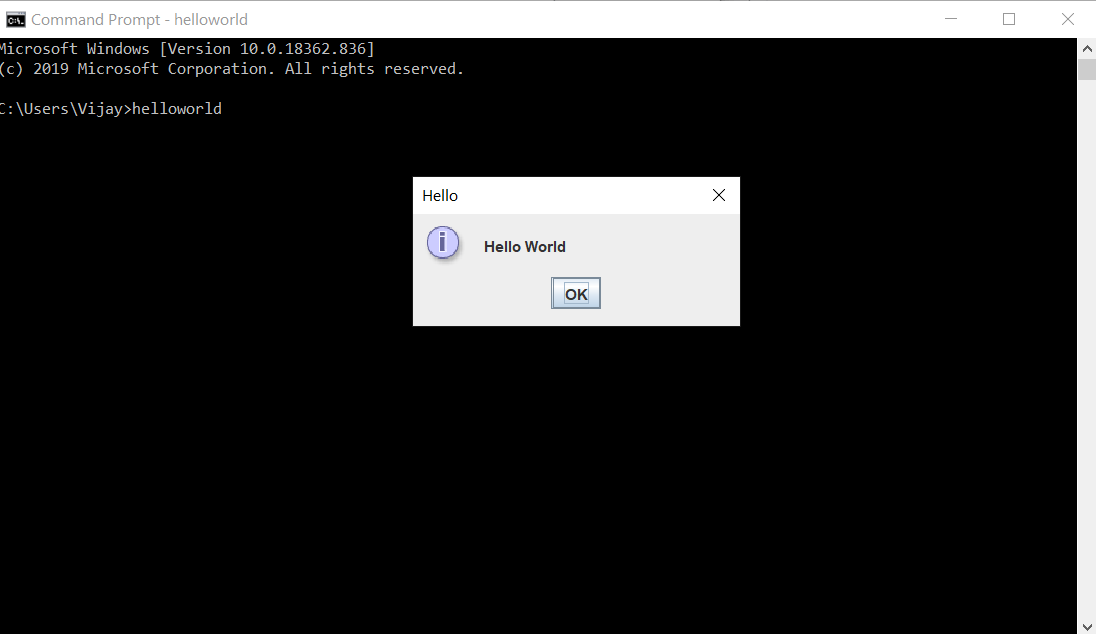
Now go to any path in the command prompt and enter helloworld:
We have created a native windows application!
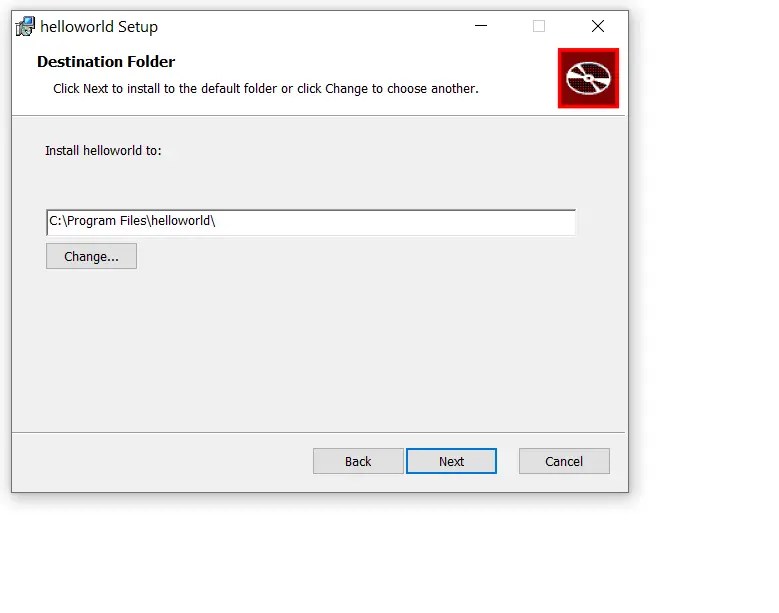
As said earlier by default it gets installed in C:/Program Files directory .To prompt the user to provide the path while installation add the flag –win-dir-chooser to jpackage command:
jpackage --name helloworld --input . --main-jar helloworld.jar --main-class com.helloworld.Main --win-console --win-dir-chooser
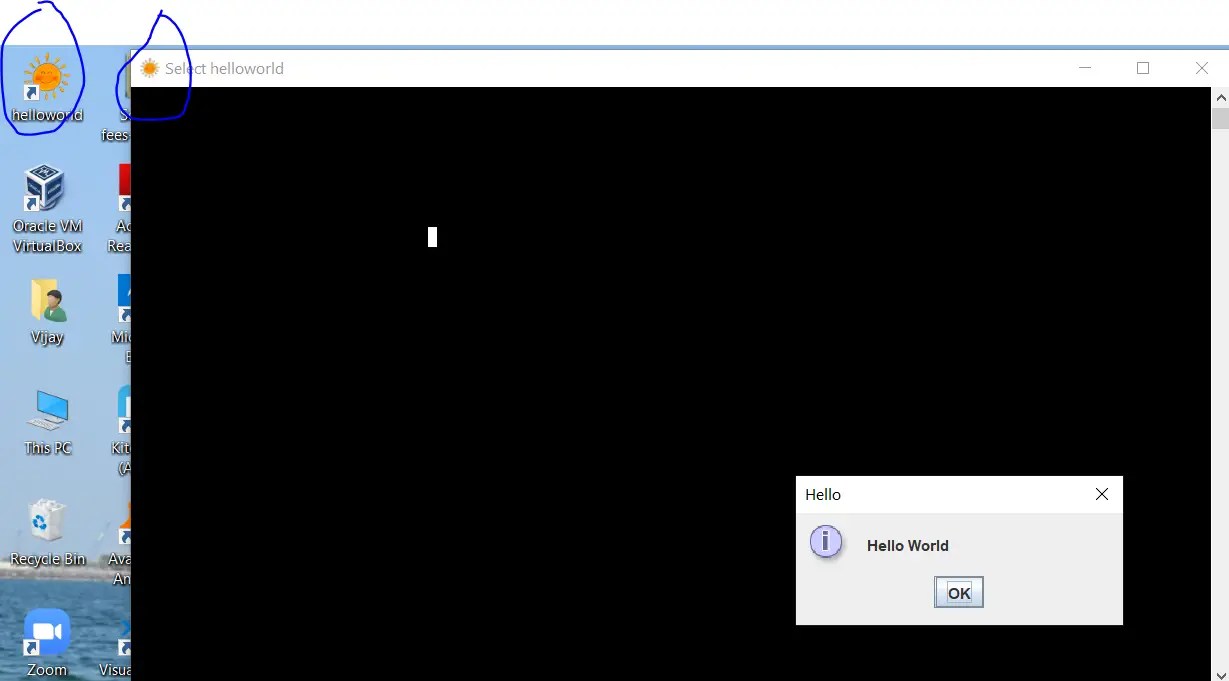
If you want to create a short cut in the desktop once your application is installed add the flag –win-shortcut to the above command:
jpackage --name helloworld --input . --main-jar helloworld.jar --main-class com.helloworld.Main --win-console --win-dir-chooser --win-shortcut
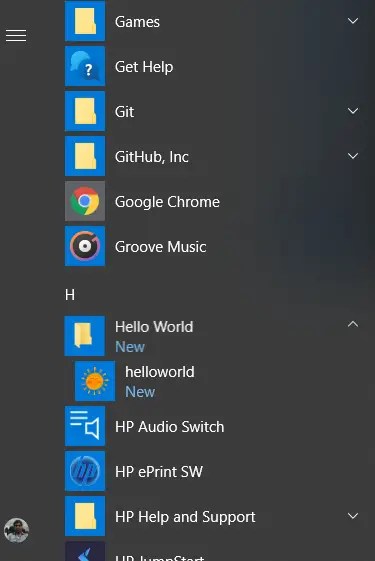
If you want to create a menu under the Start Menu add two flags –win-menu –win-menu-group and against –win-menu-group provide the name of the menu you want:
jpackage --name helloworld --input . --main-jar helloworld.jar --main-class com.helloworld.Main --win-console --win-dir-chooser --win-shortcut --win-menu --win-menu-group "Hello World"
If you want to provide an icon for your application , use –icon flag. Copy the icon file in the same directory where you are running jpackage command.
jpackage --name helloworld --input . --main-jar helloworld.jar --main-class com.helloworld.Main --win-console --win-dir-chooser --win-shortcut --win-menu --win-menu-group "Hello World" --icon helloworldicon.ico
Let’s run jpackage tool with all the above options and create an exe installation file.
Now if you run the generated exe file it will prompt you for installation directory:
Once successfully installed , go to your desktop and notice a short cut created with the icon you chose. Double click the file and Hello World message gets displayed!
Go to start menu and notice the app “Hello World”:
Creating a Windows Native Application in Java got easier and cooler.
«Hello World!» for Microsoft Windows
It’s time to write your first application! The following instructions are for users of Windows Vista, Windows 7, and Windows 8. Instructions for other platforms are in «Hello World!» for Solaris OS, Linux, and Mac OS X and «Hello World!» for the NetBeans IDE.
A Checklist
To write your first program, you’ll need:
- The Java SE Development Kit 8 (JDK 8) You can download the Windows version now. (Make sure you download the JDK, not the JRE.) Consult the installation instructions.
- A text editor In this example, we’ll use Notepad, a simple editor included with the Windows platforms. You can easily adapt these instructions if you use a different text editor.
These two items are all you’ll need to write your first application.
Creating Your First Application
Your first application, HelloWorldApp , will simply display the greeting «Hello world!». To create this program, you will:
- Create a source file A source file contains code, written in the Java programming language, that you and other programmers can understand. You can use any text editor to create and edit source files.
- Compile the source file into a .class file The Java programming language compiler ( javac ) takes your source file and translates its text into instructions that the Java virtual machine can understand. The instructions contained within this file are known as bytecodes.
- Run the program The Java application launcher tool ( java ) uses the Java virtual machine to run your application.
Create a Source File
To create a source file, you have two options:
- You can save the file HelloWorldApp.java on your computer and avoid a lot of typing. Then, you can go straight to Compile the Source File into a .class File.
- Or, you can use the following (longer) instructions.
First, start your editor. You can launch the Notepad editor from the Start menu by selecting Programs > Accessories > Notepad. In a new document, type in the following code:
/** * The HelloWorldApp class implements an application that * simply prints "Hello World!" to standard output. */ class HelloWorldApp < public static void main(String[] args) < System.out.println("Hello World!"); // Display the string. >> Be Careful When You Type
Note: Type all code, commands, and file names exactly as shown. Both the compiler ( javac ) and launcher ( java ) are case-sensitive, so you must capitalize consistently.
HelloWorldApp is not the same as helloworldapp .
Save the code in a file with the name HelloWorldApp.java . To do this in Notepad, first choose the File > Save As . menu item. Then, in the Save As dialog box:
- Using the Save in combo box, specify the folder (directory) where you’ll save your file. In this example, the directory is myapplication on the C drive.
- In the File name text field, type «HelloWorldApp.java» , without the quotation marks.
- From the Save as type combo box, choose Text Documents (*.txt).
- In the Encoding combo box, leave the encoding as ANSI.
When you’re finished, the dialog box should look like this .
The Save As dialog just before you click Save.
Now click Save, and exit Notepad.
Compile the Source File into a .class File
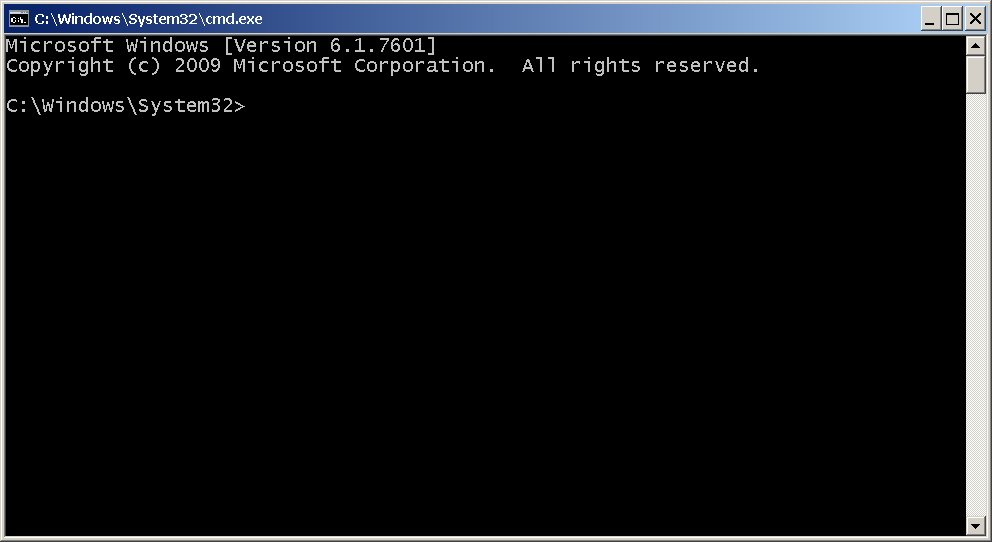
Bring up a shell, or «command,» window. You can do this from the Start menu by choosing Run. and then entering cmd . The shell window should look similar to the following figure .
The prompt shows your current directory. When you bring up the prompt, your current directory is usually your home directory for Windows XP (as shown in the preceding figure.
To compile your source file, change your current directory to the directory where your file is located. For example, if your source directory is myapplication on the C drive, type the following command at the prompt and press Enter:
Now the prompt should change to C:\myapplication> .
To change to a directory on a different drive, you must type an extra command: the name of the drive. For example, to change to the myapplication directory on the D drive, you must enter D: , as follows:
C:\>D: D:\>cd myapplication D:\myapplication>
If you enter dir at the prompt, you should see your source file, as follows:
C:\>cd myapplication C:\myapplication>dir Volume in drive C is System Volume Serial Number is F2E8-C8CC Directory of C:\myapplication 2014-04-24 01:34 PM . 2014-04-24 01:34 PM .. 2014-04-24 01:34 PM 267 HelloWorldApp.java 1 File(s) 267 bytes 2 Dir(s) 93,297,991,680 bytes free C:\myapplication>
Now you are ready to compile. At the prompt, type the following command and press Enter.
The compiler has generated a bytecode file, HelloWorldApp.class . At the prompt, type dir to see the new file that was generated as follows:
C:\myapplication>javac HelloWorldApp.java C:\myapplication>dir Volume in drive C is System Volume Serial Number is F2E8-C8CC Directory of C:\myapplication 2014-04-24 02:07 PM . 2014-04-24 02:07 PM .. 2014-04-24 02:07 PM 432 HelloWorldApp.class 2014-04-24 01:34 PM 267 HelloWorldApp.java 2 File(s) 699 bytes 2 Dir(s) 93,298,032,640 bytes free C:\myapplication>
Now that you have a .class file, you can run your program.
If you encounter problems with the instructions in this step, consult the Common Problems (and Their Solutions).
Run the Program
In the same directory, enter the following command at the prompt:
You should see the following on your screen:
C:\myapplication>java -cp . HelloWorldApp Hello World! C:\myapplication>
Congratulations! Your program works!
If you encounter problems with the instructions in this step, consult the Common Problems (and Their Solutions).
Previous page: «Hello World!» for the NetBeans IDE
Next page: «Hello World!» for Solaris OS, Linux, and Mac OS X
Creating a Windows application in Java using Eclipse
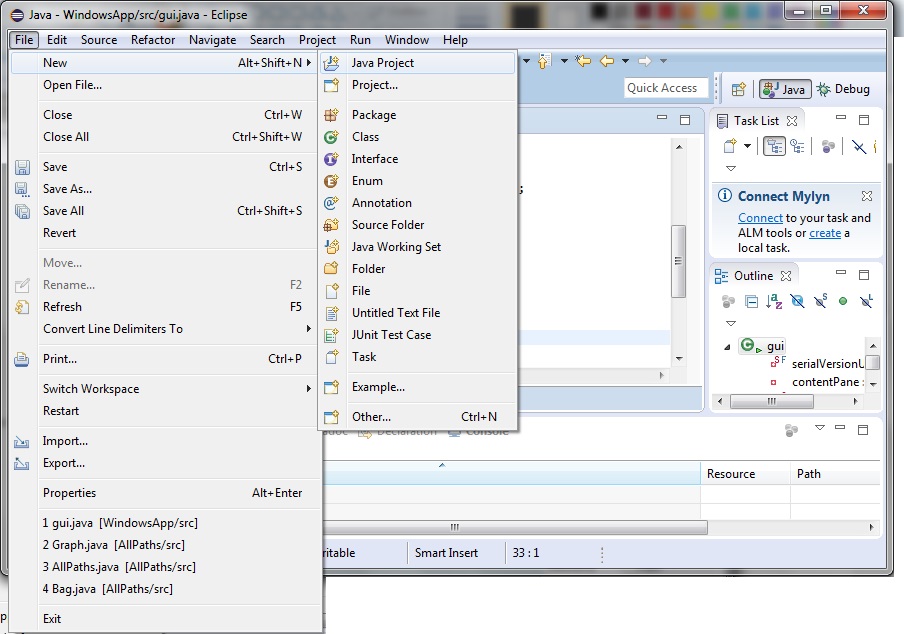
In Eclipse, right click the ‘src’ folder and select New > Other.
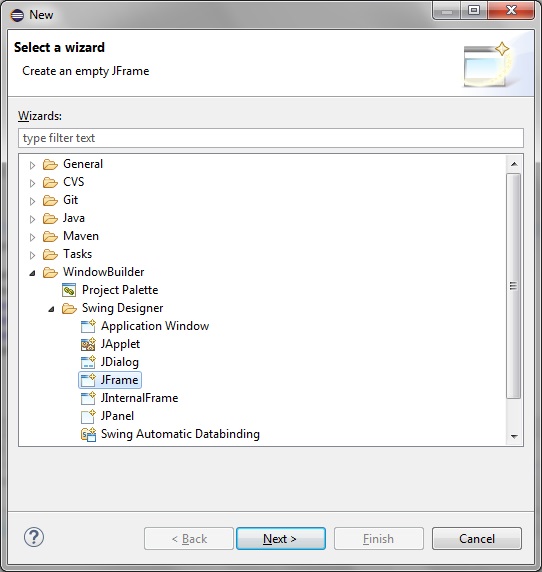
In the wizard dialog that appears select WindowBuilder > Swing Designer > JFrame:
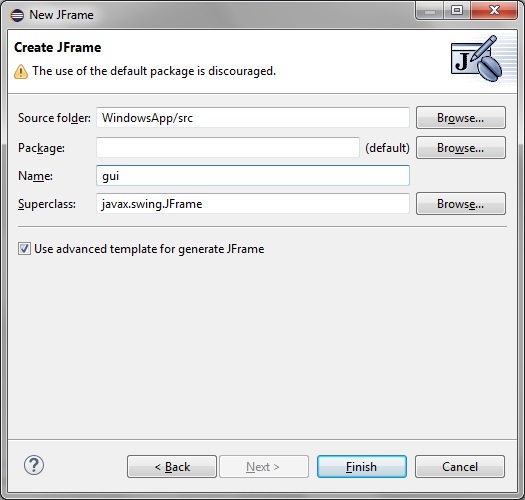
Click Next. Give your JFrame a name:
Note how the following code for gui.java gets generated:
import java.awt.BorderLayout; public class gui extends JFrame < private JPanel contentPane; /** * Launch the application. */ public static void main(String[] args) < EventQueue.invokeLater(new Runnable() < public void run() < try < gui frame = new gui(); frame.setVisible(true); >catch (Exception e) < e.printStackTrace(); >> >); > /** * Create the frame. */ public gui() < setDefaultCloseOperation(JFrame.EXIT_ON_CLOSE); setBounds(100, 100, 450, 300); contentPane = new JPanel(); contentPane.setBorder(new EmptyBorder(5, 5, 5, 5)); contentPane.setLayout(new BorderLayout(0, 0)); setContentPane(contentPane); >>
Step 3: Build and fix compiler warnings
Note also when building the project we get the one warning:
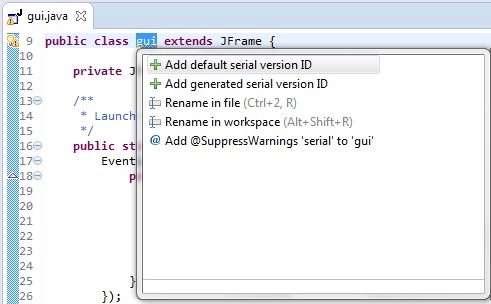
“The serializable class gui does not declare a static final serialVersionUID field of type long gui.java /WindowsApp/src line 9 Java Problem”
Click your mouse pointer over by the warning symbol and allow Eclipse to correct it:
On building and running the project we have our bare minimum Windows application as shown:
