Setting up Python workspace in Visual Studio Code (vscode)
1. Installing language-specific compiler/interpreter
For python, you will have to install a python Operating system specific interpreter to be able to execute your code. Just visit this link and install the appropriate version of python in your machine. Also, make sure you have correctly installed it on your system by the following command:
$ python --version Python 3.7.2 2. Installing a package manager
pip is a very popular python package installer. It helps you to manage your python packages. You can visit this link to install pip . Again, just verify if you already have it installed on your system
3. Setting up Virtual Environment
Python applications will often use packages and modules that don’t come as part of the standard library (i.e. by the above step). Applications will sometimes need a specific version of a library. It means that there might be multiple applications with different versions of python and/or modules required to run the application. Having one global version being used by all application will not suffice the needs.
The solution for this problem is to create a virtual environment, a self-contained directory tree that contains a Python installation for a particular version of Python, plus a number of additional packages.
There are many python packages available for you to create virtual environment python such as virtualenv, pyenv, etc. I will be using virtualenv for this post.
# installing virtual environment $ pip install virtualenv $ virtualenv --version virtualenv 20.0.8 Until now, we have been installing everything globally. From now on we will be creating a virtual environment that will restrict the installation to that specific environment (folder).
# creating a project folder $ mkdir python-demo # creating a virtual environment for this project $ virtualenv python-demo # this will create a virtual environment folder in the current folder Once we have created a virtual environment, we need to make sure we install all other python packages for this project inside this project. This is done via activating virtual environment with the following command:
# for ubuntu $ source /bin/activate $ source python-demo/bin/activate # for windows $ \Scripts\activate $ python-demo\Scripts\activate # After this, your command prompt/terminal will change the path with the virtual environment name (python-demo) $ # to deactivate the virtual environment, just type the command deactivate (python-demo) $ deactivate $ 4. Setting up the code editor
Now, let’s move to set up a python environment in the vscode code editor. There are possibly 2 tasks a code editor should perform whenever you write code in it — Linting and Formatting the code. Vscode supports multiple linters and formatters to help you out in your workspace.
Before we create a workspace setting for our python environment, let’s install a linter and a formatter for python. I will be using autopep8 and pylint for the same. You can choose any other python package of your choice, just follow this link
# Make sure you have activated your virtual environment (python-demo) $ pip install autopep8 pylint I have created a settings.json for the python environment in vscode.
Follow this gif to update your vscode editor settings.json
Do not forget to replace your virtual environment path with
Lastly, install this vscode python extension to enable python support in vscode.
Bonus 🔥
You can also add debugger configuration in your vscode workspace by following this link.
If you find this helpful or have any suggestions, feel free to comment. Also, do not forget to hit ❤️ or 🦄 if you like my post.
See ya! until my next post 😋
Installing Python package in Visual Studio Code

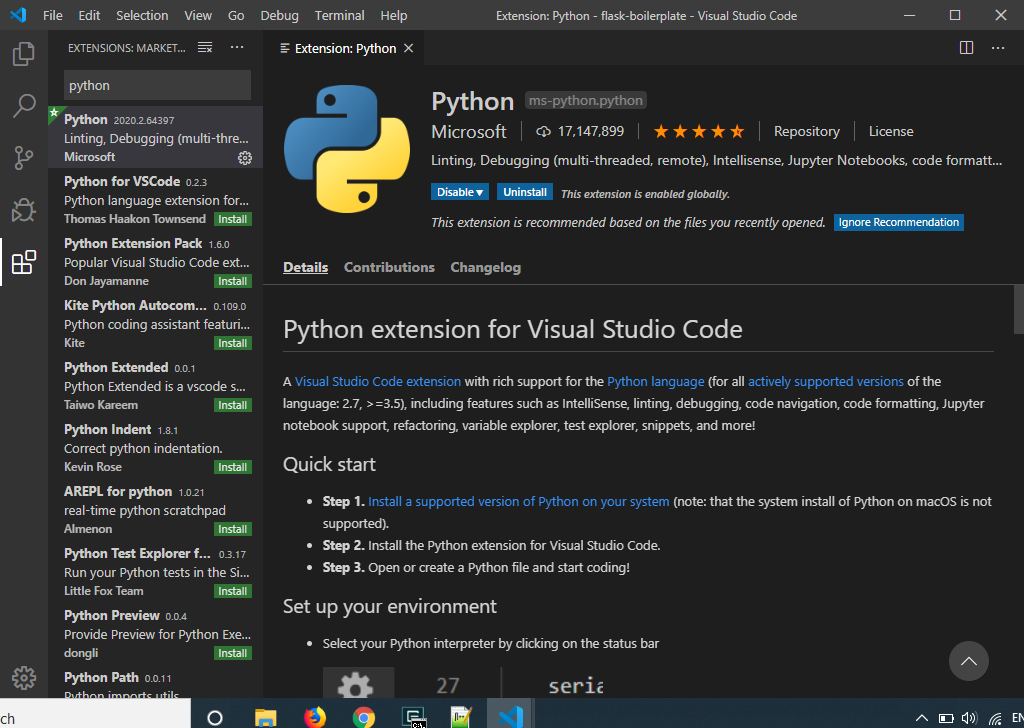
This short post shows you how to install the Python package in Visual Studio Code, which is widely used in the programming environment. The prerequisite for our operation is the Python extension in Visual Studio code, which should be installed at the very beginning (Pic. 1).

Pic. 1 Python extension in Visual Studio Code.
You can do the installation from this link and get the newest version of the Python language.
Next, you can start programming with Python in Visual Studio Code without a problem. However, it seems, like you are somewhat restricted when you discover, that there are problems with installing the external Python libraries and importing them to Visual Studio Code. I hope, that this quick solution will help you manage these issues.
The biggest problem at the initial stage is the presumed lack of the Pip installation in our Visual Studio Code software. The Pip is the most popular tool for installing Python packages and includes a modern version of Python. It provides the essential core features for finding, downloading, and installing Python packages.
In Visual Studio Code, the Pip seems to be not recognized as an internal or external command (Pic. 2). Usually, we choose the quickest way of Python module installation, where after visiting the module we want to get, we simply make the copy of the top installation command and next, paste it to our Python dedicated software, i.e. PyCharm.

Pic. 2 The “Pip not recognized” error in Visual Studio Code.
In the Visual Studio Code, we need to change our pip command a bit. The proper command in our terminal should be:
C:\Users\m\Desktop\Python> py -m pipOnce we hit enter, the whole list of commands should be populated as you can see below (Pic. 3).

Pic. 3 A part of the list of commands for Pip in Visual Studio Code.
Now we are sure, that the Pip has been recognized by our Visual Studio Code. It means, that the Python library can be installed, which is great.
In order to make the installation correctly, we can’t simply make a copy of the main command available just below the library name (Pic. 2).
If we would do so, then our command would look like this:
C:\Users\m\Desktop\Python> py -m pip pip install numpy
and we would have to remove one “ pip ” preventing at least one space between the strings as you can see here.
I think, much easier is just type the py-m in our terminal path:
C:\Users\m\Desktop\Python> py -m
and then append the library command, which we want to install (Pic. 2)…
C:\Users\m\Desktop\Python> py -m pip install numpy After hitting the “Enter” button, you can see the installation progress. Next, the tool will inform you the information about the target path where the library has been installed as well as the new pip version if available (Pic. 4).

Pic. 4 The Python library installation progress in Visual Studio Code.
In order to make sure, that everything is alright, you can import the library to the file you are working on, by simply typing:
If something would be wrong, the Python console will underline your code with a wavy red line. Since everything has been installed properly, the library is to be recognized instantly by the Visual Studio Code (Pic. 5).

Pic. 5 Python library imported successfully to Visual Studio Code.
I highly recommend using Visual Studio Code, which appears to be the best coding application in the market. The biggest advantage is a broad opportunity for coding in various programming languages. This application is great and supersedes other programming applications dedicated to a specified language. As a result, a lot of memory is saved keeping our computers faster.