How to write text on top of image in html5 canvas?
Displaying text on top of an image in HTML5 canvas is a common requirement for various applications, ranging from image editors to data visualizations. The HTML5 canvas provides a powerful and flexible way to render images and graphics, but adding text to the canvas requires a slightly different approach than adding shapes or lines. There are several methods to achieve this, and each method has its pros and cons. In this article, we will discuss a few different methods to write text on top of an image in HTML5 canvas.
Method 1: Using fillText() Method
To write text on top of an image in HTML5 canvas using the fillText() method, follow these steps:
const img =newImage(); img.src='path/to/your/image.png'; img.onload=function()// draw image on the canvas ctx.drawImage(img,0,0);>
ctx.font='30px Arial'; ctx.fillStyle='white'; ctx.fillText('Your text here',50,50);
The fillText() method takes three arguments: the text to be displayed, the x-coordinate where the text should start, and the y-coordinate where the text should start.
Here’s an example with more detail:
const canvas =document.getElementById('myCanvas');const ctx = canvas.getContext('2d');const img =newImage(); img.src='path/to/your/image.png'; img.onload=function()// draw image on the canvas ctx.drawImage(img,0,0);// draw text on top of the image ctx.font='30px Arial'; ctx.fillStyle='white'; ctx.textAlign='center'; ctx.fillText('Your text here', canvas.width/2, canvas.height/2);>
In this example, we’re centering the text horizontally and vertically by setting the textAlign property to ‘center’ and calculating the x and y coordinates based on the canvas dimensions.
Method 2: Using strokeText() Method
To write text on top of an image in HTML5 canvas using the strokeText() method, follow these steps:
The first argument of strokeText() is the text you want to write, the second and third arguments are the x and y coordinates where you want to start writing the text.
var text =newfabric.Text('Hello, world!',left:100,top:100,fill:'white',fontSize:30>);
To position the text on top of the image, we set the text object’s stackingOrder property to a value greater than the image’s stacking order:
var canvas =newfabric.Canvas('canvas'); fabric.Image.fromURL('path/to/image.jpg',function(img) canvas.add(img);>);var text =newfabric.Text('Hello, world!',left:100,top:100,fill:'white',fontSize:30>); text.stackingOrder=1; canvas.add(text);
This will add an image to the canvas, and then add text on top of the image. You can customize the text properties as desired, such as changing the font, size, color, and position.
Often web developers wish to place some text over an image to display some information regarding that particular image. This can also play an important role in making your website or the image more attractive, thereby, enhancing the chance of grabbing the user’s attention. Now there are various positions where you can add your text on an image as follows.
Below we have demonstrated each of these positions.
Position Text over an Image
First of all, we will add an image to our web page using HTML.
HTML
In the above code, we have created a div element and nested an image and another div element. The first div, as already mentioned, holds the image and the other div. Meanwhile, the second div container holds the position and style of the text that is to be placed on the image.
An image has been inserted in the web page.
Top left corner
The first position of the text where we are going to set is the top left corner of the image. Use the following code snippet.
CSS
The position of the first div element has been set to relative so that we can absolutely position the second div element. The text to be placed on the image has been given some size, weight, style, and color, meanwhile to position it on the top left corner we have used the top and left properties.
The text was successfully placed in the top left corner.
Bottom left corner
For the purpose of adding a text on the bottom left corner of the image use the code mentioned below.
CSS
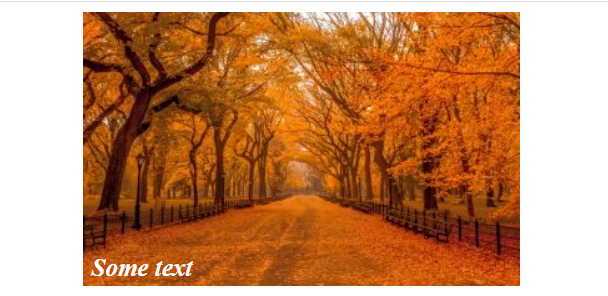
The rest of the code is the same, however, to position the text on the bottom left corner we have set the bottom property to 3%, and left property to 8%. You can change the values of these properties to understand how these work.
The text was positioned on the bottom left corner with great ease.
Center
Similarly, to place your text in the center position, consider the below-mentioned example.
CSS
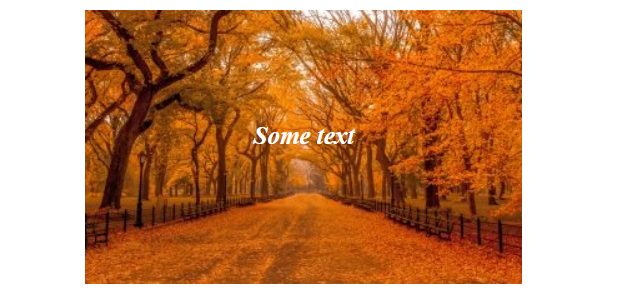
For the purpose of adjusting the text on the center position of the image we have set the top property and left property to 40%.
We have successfully placed the text at the center of the image
Top right corner
Consult the code below to understand how to place text on the top right corner of the image.
CSS
What we have simply done to place the text on the top right corner is that we have set top property to 2%, and right property to 10%. This is not a hard and fast rule, therefore, you can change these values according to your desire.
The text was inserted in the top right corner of the picture.
Bottom right corner
Last position that we are going to demonstrate is the bottom right corner of the image. Follow the code below.
CSS
As you can see that the rest of the code is the same as in previous examples with only difference that to place the text on the bottom right corner we have used the bottom property and the right property.
The text was placed at the bottom right corner.
Conclusion
To position your text over an image place your image and text inside a div container and absolutely position the text, meanwhile giving the div a relative position. Different positions that you can place your text over an image are the top left corner, bottom left corner, center, top right corner, and bottom right corner. This task can be performed using various CSS properties. In this post we have demonstrated each of these positions along with suitable examples.
About the author
Naima Aftab
I am a software engineering professional with a profound interest in writing. I am pursuing technical writing as my full-time career and sharing my knowledge through my words.
Web Developers build websites with rich aesthetics for better engagement and user delight. One such visual aspect that developers incorporate while developing any webpage is positioning text over an image. Keeping responsiveness into consideration, it is important to ensure that the text remains consistent even when the image resizes itself due to its responsive behavior.
This article discusses the step by step methods to Position Text over Image for all Orientations, the method to Position Text over Image for Responsive Images, and how to Test the Responsiveness of the resulting image with text.
How to position Text over an Image using CSS (All the Orientations)
An easy and straightforward way to position text over an image is by using CSS. The idea behind its implementation is to put all the elements, including the image and the text element, inside the same container div in the HTML file. After that, you have to apply the CSS on each element in the CSS section of the project.
Step 1: Create an HTML file and put image and text elements in one parent container div, as seen below.
Centered
Bottom Left
Top Left
Top Right
Bottom Right
Step 2: Positioning text on the image using CSS
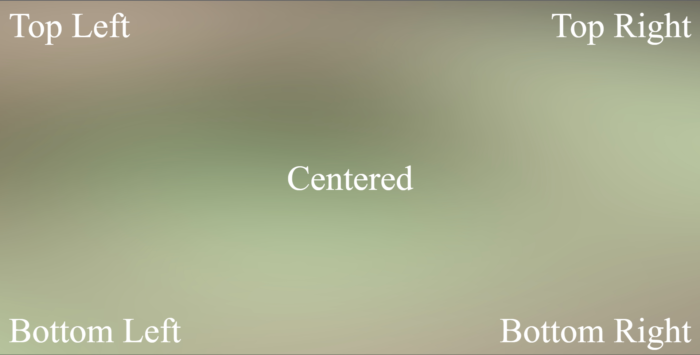
Once all the elements are placed, you just have to apply CSS on the elements to align them as intended. In this step, applying CSS for the elements to position them in several orientations over the image, such as bottom-left, bottom-right, and more.
The resulting image photo.jpg looks like the below after positioning text over it in different orientations.
How to position text over a Responsive Image
Responsive webpages are necessary from a user experience standpoint. It also improves the overall SEO and enhances content visibility on the web. Responsive images are vital for a responsive website, and while positioning text over a Responsive Image, it is essential to ensure that the text alignment remains intact without impacting the responsiveness of the image.
Step 1: Create an HTML file
In the HTML file, use the figure tag to initialize the photo in the document. The reason behind implementing the figure and figcaption tags in the HTML is to leverage the Search Engine Optimization (SEO) of the document.
This is the text over image
Step 2: Positioning text on the image using CSS
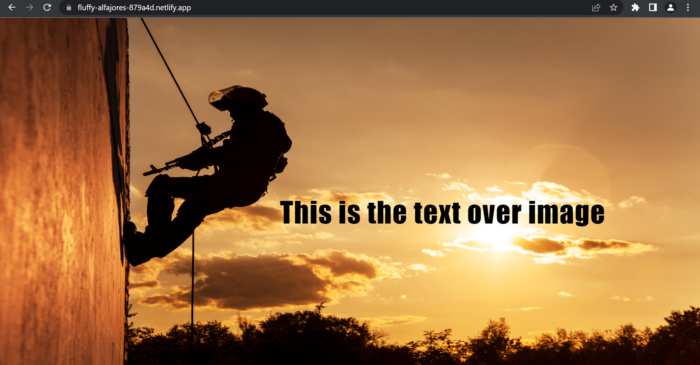
To solve the issue of responsiveness, width is added as 100%. Moreover, setting the position of the figcaption as absolute will keep the text to the nearest positioned parent element. Also, you can apply more CSS to further enhance your text while positioning it over the image.
The resulting responsive image picture.jpg looks like the below after positioning text over it.
How to Test the Responsiveness of Images with Text
Now that you have created images that contain text over it, it is necessary that the images being used in the webpage are responsive. This means that text and images do not break their connection even if the webpage is rendered on several devices. Hence, it is always advisable to test the responsive images before making them live.
Using BrowserStack Responsive to check the responsiveness of images with text on several devices.
Free Responsive Test on Commonly Used Resolutions
Try testing the responsiveness of your website on real devices.
Follow the easy steps below to test your responsive image on BrowserStack Responsive:
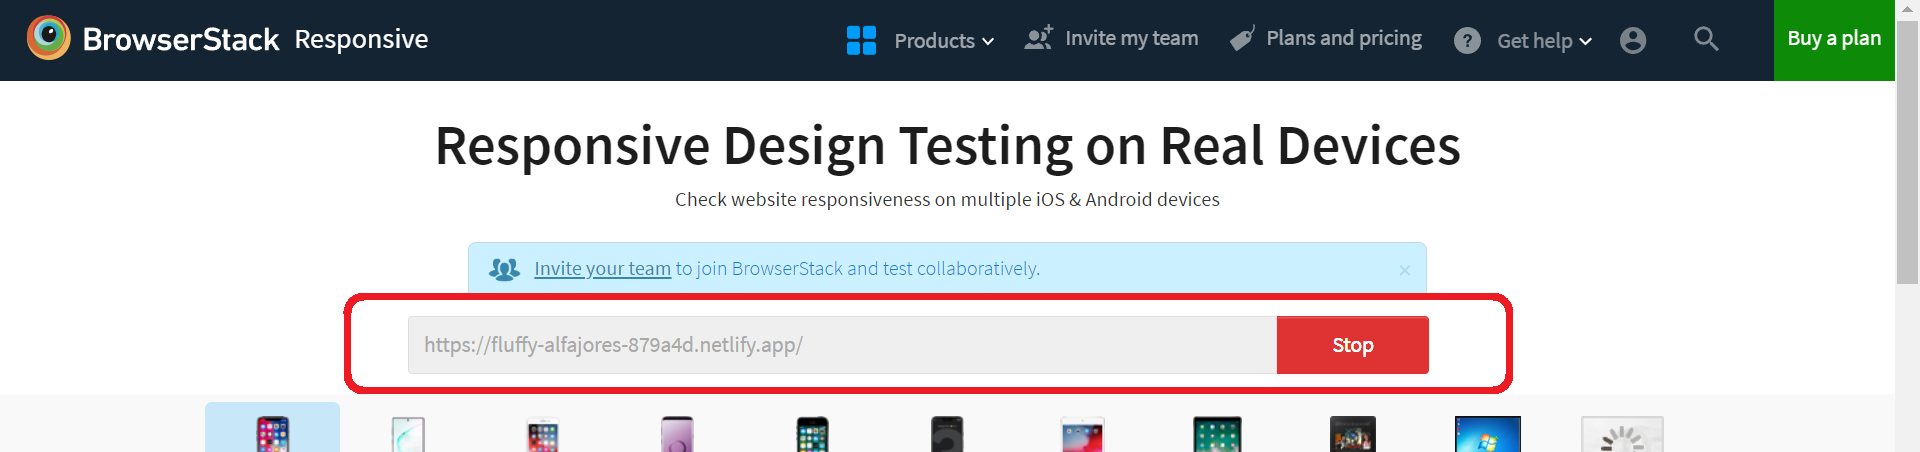
Step 1: Open BrowserStack Responsive Dashboard and enter the URL of the webpage containing the responsive image. If you have created a website on your local machine, you must host your website to test its responsiveness on BrowserStack Responsive.
Step 2: To check responsiveness, click Check.
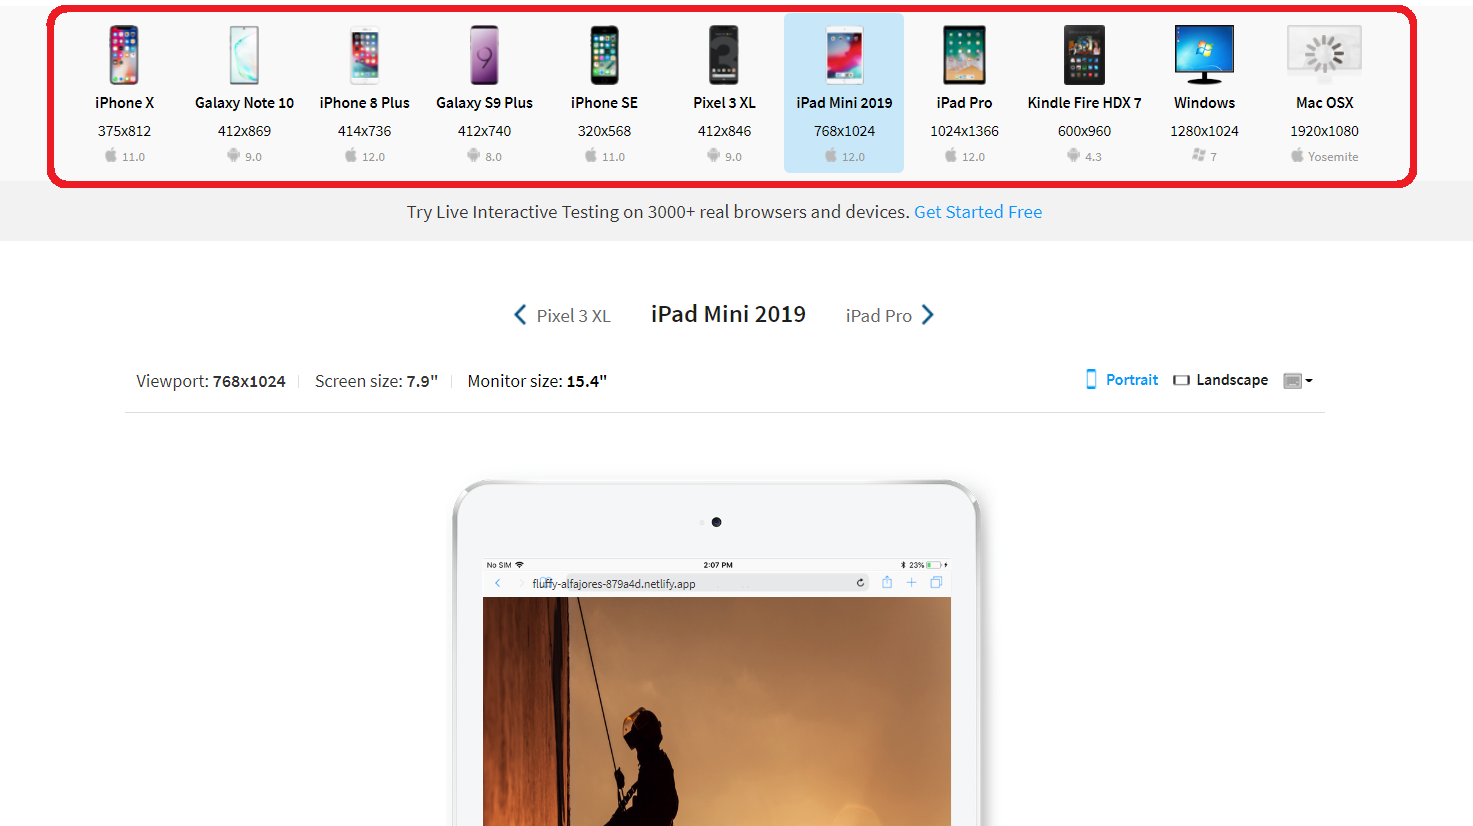
Step 3: The user can check how the site appears on a certain device after choosing it.
Positioning text over an image using CSS is an easy yet necessary approach one should keep in mind during development to keep the responsiveness of the image intact. This can be easily achieved with the help of several CSS properties. CSS properties to position text over an image in several locations of the image, such as the center, and bottom, are useful for positioning text images. While. HTML features such as using Figure and Figcaption are further useful in maintaining the SEO and overall structure of the webpage.
However, it is essential to test the responsiveness of the image after positioning text over it. There’s no way easier than BrowserStack’s Free Responsive Checker Tool, which allows testing the webpage on multiple real devices of choice spanning across different screen sizes and resolutions.