- Dark Theme using CSS Variables and Local Storage
- Prerequisite
- Table of contents
- Adding HTML
- Adding CSS
- Toggle theme
- Adding JavaScript
- Change the theme to dark
- Change the theme to light
- Using local storage
- Conclusion
- Further reading
- Как добавить темную тему на свой сайт с помощью CSS и JavaScript
- Добавление HTML
- Добавление CSS
- Добавление JavaScript
- Запоминание темы
- Как добавить поддержку темной темы на сайт с помощью CSS
- Подготовка
- Добавляем поддержку темной темы с помощью CSS
- Поддержка prefers-color-scheme
Dark Theme using CSS Variables and Local Storage
The dark theme has gained prevalence in screens today. With this trend in iOS, macOS, Windows, and Google, most systems have adopted dark themes. Dark theme makes your website more exciting and attractive to users who love a darker color theme. The experience becomes better if you include the functionality to switch between light and dark themes.
This article will help you learn how to implement a switch function between light and dark themes using CSS Variables.
Click this link to find the source code and a runnable program for the implementation.
Prerequisite
As a prerequisite, the reader must have a good understanding of the following concepts:
Table of contents
Adding HTML
Let’s begin by building the HTML page that we will use for the tutorial. We will add the theme name and switch id to the checkbox input so that we will need to to refer to it in our javascript .
We are creating a simple webpage consisting of a container, in which we also add a heading, a toggle button, and a paragraph as shown below:
html lang="en" data-theme="light"> head> meta charset="UTF-8"> meta http-equiv="X-UA-Compatible" content="IE=edge"> meta name="viewport" content="width=device-width, initial-scale=1.0"> link rel="stylesheet" href="css/main.css"> title>Adding dark theme to your sitetitle> head> body> div class="container"> h1>Section Engineering Educationh1> div class="toggle-container"> input type="checkbox" id="switch" name="theme" />label for="switch">Togglelabel> div> p>Section partners with university students in Computer Science related fields of study to research and write about topics that are relevant to engineers in the modern technology landscape. You can find more information and program guidelines in the GitHub repository. If you're currently enrolled in a Computer Science related field of study and are interested in participating in the program, please complete a href="https://docs.google.com/forms/d/e/1FAIpQLSfTbj3kqvEJEb5RLjqJurfbHa8ckzQx0CjRzaizblue9ZOK5A/viewform">this form a>p> div> script src="main.js">script> body> html> 
Adding CSS
In the same directory as the HTML file, we will add the CSS file that will be used to toggle the default “Light” theme to the “Dark” theme.
I recommend installing a live SCSS Compiler to compile our CSS Code in real-time. You can look into the SCSS compiler’s installation here.
You can change the color code to your favorite color that looks attractive both in dark and light themes.
The CSS styling for the default white theme is:
/* default styling variables - making background color as white */ html --bg: #fff; --bg-panel: #ebebeb; --color-heading: rgb(27, 168, 14); --color-text: #333333; > The CSS styling for dark theme is:
/* dark theme styling - Here, we set data-them as "dark"*/ html[data-theme='dark'] --bg: #333333; --bg-panel: #434343; --color-heading: #0077ff; --color-text: #B5B5B5; > Next, we need to specify the CSS styling in the CSS file main.css , so that the website elements will change when we click on the toggle theme button.
body background-color: var(--bg); /* background color variable */ > .container background-color: var(--bg-panel); /* background panel color variable */ margin: 5em; padding: 5em; border-radius: 15px; display: -ms-grid; display: grid; -ms-grid-columns: 80% auto; grid-template-columns: 80% auto; -ms-grid-rows: auto auto; grid-template-rows: auto auto; grid-template-areas: "title switch" "content content"; > .container h1 margin: 0; color: var(--color-heading); /* heading 1 background color variable */ > .container p color: var(--color-text); /* text-color variable */ -ms-grid-column-span: 2; grid-area: content; font-size: 1.1em; line-height: 1.8em; margin-top: 2em; > 
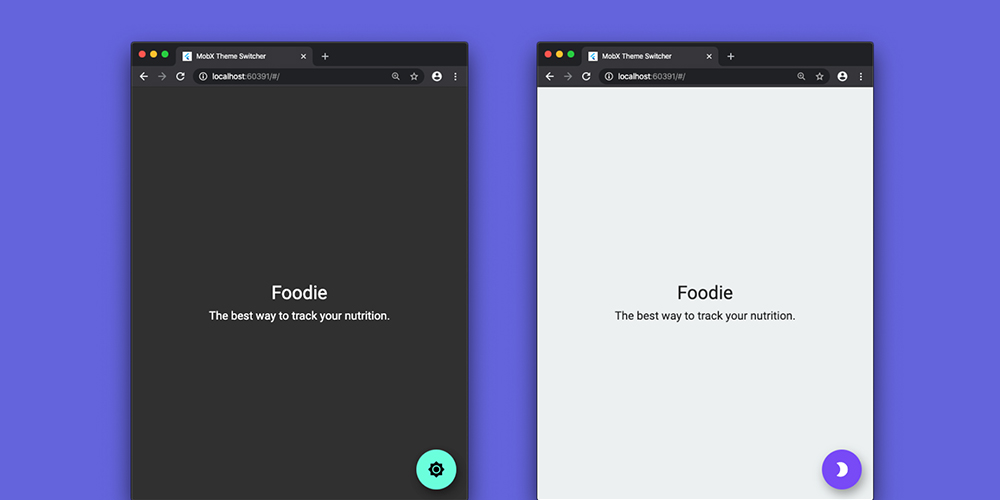
Output after adding CSS styling
Toggle theme
In the next section, we will style our “Toggle switch” which will helps us switch between the dark and light themes. The code for the toggle button is shown below:
You can find the code to this switch here.
input[type=checkbox] < /* styling for input element */ height: 0; width: 0; visibility: hidden; > label < /* styling for labels */ cursor: pointer; text-indent: -9999px; width: 52px; height: 27px; background: #1ba80e; float: right; border-radius: 100px; position: relative; > label:after < /* styling for labels - on toggle */ content: ''; position: absolute; top: 3px; left: 3px; width: 20px; height: 20px; background: #fff; border-radius: 90px; -webkit-transition: 0.3s; transition: 0.3s; > input:checked + label < /* conditional check while toggling */ background: var(--color-heading); > input:checked + label:after left: calc(100% - 5px); -webkit-transform: translateX(-100%); transform: translateX(-100%); > label:active:after width: 45px; > 
Adding JavaScript
We will handle the theme switching with JavaScript by changing the toggle switch’s class name to either light or dark , as defined below. In doing so, we write two functions changeThemeToDark() and chnageThemeToWhite() .
Change the theme to dark
// Change theme to dark by adding the `dark` classname to html element. const changeThemeToDark = () => document.documentElement.setAttribute("data-theme", "dark")//set theme to light > Change the theme to light
// Reset the html class to default const changeThemeToDark = () => document.documentElement.setAttribute("data-theme", "light"); //set theme to light > Using local storage
The local storage provides a store for key and value pairs in a browser. Data stores with local storage do not expire even after the browser is closed or refreshed.
The setItem and getItem methods are used to store and retrieve the stored data respectively.
We will use local storage to store our currently set theme, so that in subsequent visits or page refreshes, the users will see their previously set themes.
The pieces of code below are used to save and retrieve the theme from local storage:
let theme = localStorage.getItem('data-theme'); const changeThemeToDark = () => document.documentElement.setAttribute("data-theme", "dark") // set theme to dark localStorage.setItem("data-theme", "dark") // save theme to local storage > const changeThemeToLight = () => document.documentElement.setAttribute("data-theme", "light") // set theme light localStorage.setItem("data-theme", 'light') // save theme to local storage > After writing the functions, we will check to see what theme is set currently and toggle it.
// Get the element based on ID const checkbox = document.getElementById("switch"); // Apply retrived them to the website checkbox.addEventListener('change', () => let theme = localStorage.getItem('data-theme'); // Retrieve saved them from local storage if (theme ==='dark') changeThemeToLight() >else changeThemeToDark() > >); 
Conclusion
This article has explained how we can implement dark and light themes, and a toggle them to switch, by using CSS variables and localStorage.
You can now try out implementing the dark theme on your own website. You can find the link to the code used in the article here.
Further reading
Peer Review Contributions by: Srishilesh P S
Как добавить темную тему на свой сайт с помощью CSS и JavaScript
С помощью CSS очень легко добавить темную тему для существующих веб-сайтов. В этом руководстве мы собираемся сделать это, используя переменные в CSS.
У нас будет 3 разных варианта темы — Auto (Авто), Light (Светлая) и Dark (Темная). Темы Light и Dark говорят сами за себя, но тема Auto будет использовать настройку темы операционной системы, чтобы решить, будет ли сайт светлым или темным.
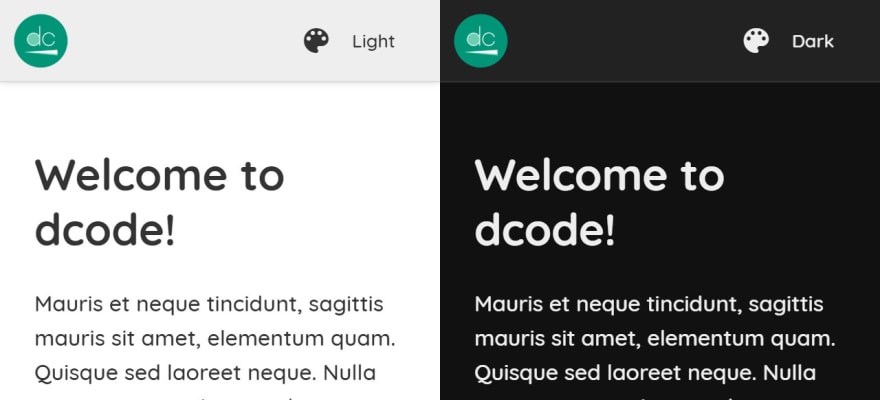
Я не буду показывать вам, как создать этот конкретный макет или включить его в наш контент, вот пример того, что мы могли бы создать:
Добавление HTML
Начнем с HTML, мы можем представить атрибуте value в теге option как об идентификаторе для каждой темы:
Добавление CSS
Давайте теперь добавим немного CSS к тегу body, здесь вы указываете свои цвета для Light темы с помощью CSS-переменных:
Затем вы можете использовать свои CSS-переменные во всей таблице стилей — это ключ к тому, как наше решение будет работать. Например, вы можете сделать:
Мы собираемся реализовать темную тему, просто заменив значения объявленных выше переменных в тех случаях, когда мы собираемся использовать темную тему. Добавим этот CSS код:
Теперь, если вы добавите класс theme-dark к своему элементу, вы увидите, что темная тема работает. Вскоре мы будем использовать JavaScript для переключения этого значения, но давайте сейчас реализуем нашу опцию Auto:
@media (prefers-color-scheme: dark) < body.theme-auto < --background-color: var(--dark-background-color); --text-color: var(--dark-text-color); >>Вышеупомянутый CSS использует Media Queries, который проверяет, предпочитает ли операционная система темную тему, и если да, мы хотим применить вложенный набор правил для body.theme-auto .
По сути, мы говорим: «Предпочитает ли операционная система темный режим и есть ли у нее класс theme-auto? Если да, давайте использовать темный режим».
Попробуйте, изменив цвет темы своей ОС, или, что еще лучше, просмотрите веб-сайт на своем телефоне с включенным темным режимом.
Добавление JavaScript
Теперь, когда наш CSS работает, мы можем перейти к работе раскрывающегося списка выбора темы. Добавим следующий JavaScript:
function applyTheme(theme) < document.body.classList.remove("theme-auto", "theme-light", "theme-dark"); document.body.classList.add(`theme-$`); > document.addEventListener("DOMContentLoaded", () => < document.querySelector("#theme").addEventListener("change", function() < applyTheme(this.value); >); >);Здесь мы ждем, пока DOM будет готов, чтобы мы могли начать его использовать, и как только он будет готов, мы ожидаем, когда пользователь выбирает вариант в раскрывающемся списке выбора темы. После того, как пользователь изменит тему, мы удалим все существующие классы тем из (если есть), а затем просто добавим выбранную тему с помощью this.value .
Запоминание темы
Мы могли бы пойти дальше и дать браузеру возможность запоминать тему, выбранную при обновлении страницы. Для этого мы можем использовать Local Storage
Давайте добавим следующий JavaScript код, чтобы в итоге получилось следующее:
Как добавить поддержку темной темы на сайт с помощью CSS

Для многих мобильных приложений темная тема уже стала атрибутом по умолчанию, но вот в мир сайтов этот особый функционал заходит пока с задержкой. И поэтому мы решили продемонстрировать всем желающим возможности современного CSS, ведь с помощью него можно добавить на свой сайт поддержку темной темы. И да, даже не придется использовать JavaScript.
Подготовка
Давайте для примера создадим простую HTML страницу и представим, что это сайт. Вполне будет достаточно чего-то такого:

В конце статьи мы представим пример с кодом на случай, если Вам сейчас лень что-то делать.
Добавляем поддержку темной темы с помощью CSS
Теперь нам осталось лишь добавить к нашему CSS коду вот такой медиа запрос:
@media (prefers-color-scheme: dark)
А внутри этого запроса нужно просто переопределить стили для темной темы. Как-то так:

Браузер автоматически подхватит их если зафиксирует у пользователя активный “темный режим” в операционной системе. Результат будет такой:

Как видите, все довольно просто. И ни капли JavaScript.
А вот и пример с кодом, как и обещали:
Поддержка prefers-color-scheme
Данный медиа запрос поддерживается почти всеми современными браузерами. Покрытие составляет более 90% по данным сайта caniuse. Проблемы могут лишь возникнуть с браузерами в кнопочных телефонах (там обычно и темной темы нет), а также с браузерами Opera Mini (для iOS и Android) и Internet Explorer. На Opera в целом (даже не Mini) приходится около 3% интернет-трафика. А Internet Explorer уже не поддерживаемая технология, Microsoft давно перенесли все в Edge. Поэтому не велика потеря, смело пользуйтесь.