This is the 3rd post in the Getting Started series.
In this post, I will be introducing more HTML elements, mainly the form and table elements.
HTML forms
For forms, the two main attribute are action and method . action tells the form where to submit the values, and method tells the form how to sumbit the form, the value can be either GET (default) or POST . If you have no idea what I am rambling about, read the rest first, then head over to this article to get it all sorted out.
What’s more important here is the form elements. These comprises everything that makes up a form. When rendered, the browser will display the form with the different field, depending on the element used.
Each element will have the tag name and it would correspond to the different fields in the form (eg. ’email’ and ‘password’ for a login form).
This is the one you probably will use the most often. The input element is usually accompanied by a type tag. For those usual text input that you see on most forms, the type value is text , but there are other types of inputs too, like number and date , just to name a few.
One commonly used input will be the password typed input . Instead of displaying the text, asterixs are used instead to hide the input text from prying eyes.
Most input type will also have the placeHolder attribute. For modern browsers, the placeHolder value will be displayed when the value of the input is empty.
input (the special kind)
There are some special kinds of input too. When the input is typed submit , a button will be rendered to submit the form where the input resides in.
There is also a type hidden for input tags. This tag will not be displayed and is usually used to submit “behind-the-scene” information that users do not need to enter directly.
textarea (the bigger text input)
For form inputs which are longer (eg. addresses, paragraph of text), there is the textarea element. This element allows for multiline text input. For long input, the textarea is usually used.
option (the dropdown list)
In some inputs you only want to give your users a few options (their month of birth for example).
So you make use of option and select to create the dropdown list they can choose from. select is the tag that encloses the different options, in the aptly named tag, option .
radio buttons (choosing between options)
This is another way of allowing your users to choose from different options. When using radio buttons, all the options are shown, as compared to dropdown lists, where the options are revealed only after a click. Radio buttons are displayed when input are typed radio and are activated when the attribute checked exist for the element.
checkbox (either on or off)
For this element, it used for fields where there is only two choices (eg. ‘remember password’ for a login form) – selected or not. A checkbox is displayed when an input is typed checkbox .
HTML5 inputs (specialized pickers)
As I mentioned before, the input tag is the mother of all inputs. In HTML5, there are some new types of inputs that triggers specialized pickers for choosing (eg. colors, dates). There is really too many types to go through throughly here. Visit this article to view the kinds of input available for use.
input (the expansion pack)
Of course, everything is flexible in frontend development. With sufficient knowledge in styling and javascript, almost everything is possible.
Libraries such as AnyPicker and jqueryUI extends the form functionality of existing browsers by providing even more specialized pickers for different form fields. Anyone interested should go and check them out.
sample (basic HTML forms)
Yes or No
tables (displaying information)
Most data are displayed in tabular format, it allows the users to quickly see the relation between the different entities and compare data more efficiently.
The tables in HTML are enclosed in the table tags. Within the section, all the information will be formatted by its row and column.
tr & td (basic table elements)
For tables, the most important thing will be the rows and columns. In HTML, the rows are represented using the tr tag and the column, using td tag.
thead and tbody (table styling)
When displaying data, the headings are very important. In HTML, the headings and the data itself is separated using the thead and tbody tags. This way, the headings can be styled separately from the rest of the table.
additional data formatting
Sometimes, tables are not as simple as they seem. In more complex arrangement, a single table cell could span over multiple rows or columns, and this is where colspan and rowspan comes in. Read this article to have a better understand of how to use those attributes.
sample (basic HTML tables)
Index
Name
01
Metta Ong
02
Alex Malcolm
end
Now, here is the end to the third part of the get started tutorial series. In the next few tutorials, you will be working on CSS styling and JavaScript coding.
The HTML table model permits the authors to arrange data in the form of images, forms fields, images, formatted text, mini tables, and many more. Each table can have a corresponding description that provides a brief discussion of the table’s function. Furthermore, if users want to arrange the data smartly on websites, they can add forms inside the table cells.
This post explains the method for creating a form inside the table.
How to Create a Form Inside a Table?
You can create a table using the “ ” tag, then define table rows with the help of “ ” and use “ ” to add data inside the table. In the middle of the “ ” tag, utilize the “ ” element for creating a form in the table.
To create a form inside a table, follow the given instructions.
Step 1: Make a div Container
Initially, make a div container by using the “ ” tag. Also, add an “id” attribute and specify a name to the id for identification.
Step 2: Design a Table
Next, design a table using the “ ” tag. Then, define the table rows and table data inside the table. To do so, follow the stated steps:
“ ” is used to insert the table rows inside the table.
“ ” is deployed for putting the data inside the table rows.
Step 3: Create Form
Next, inside the “ ” opening and closing tag, create a form with the help of the “ ” element and define the following element in the form:
“ ” element specifies the label for a field in a user interface.
“ ” is used for making effective controls for web-based forms to accept user data. To do so, add “type” and “placeholder” attributes.
“type” attribute determines the stated type of the defined input.
“placeholder” attribute is utilized to add the value in the form field to display:
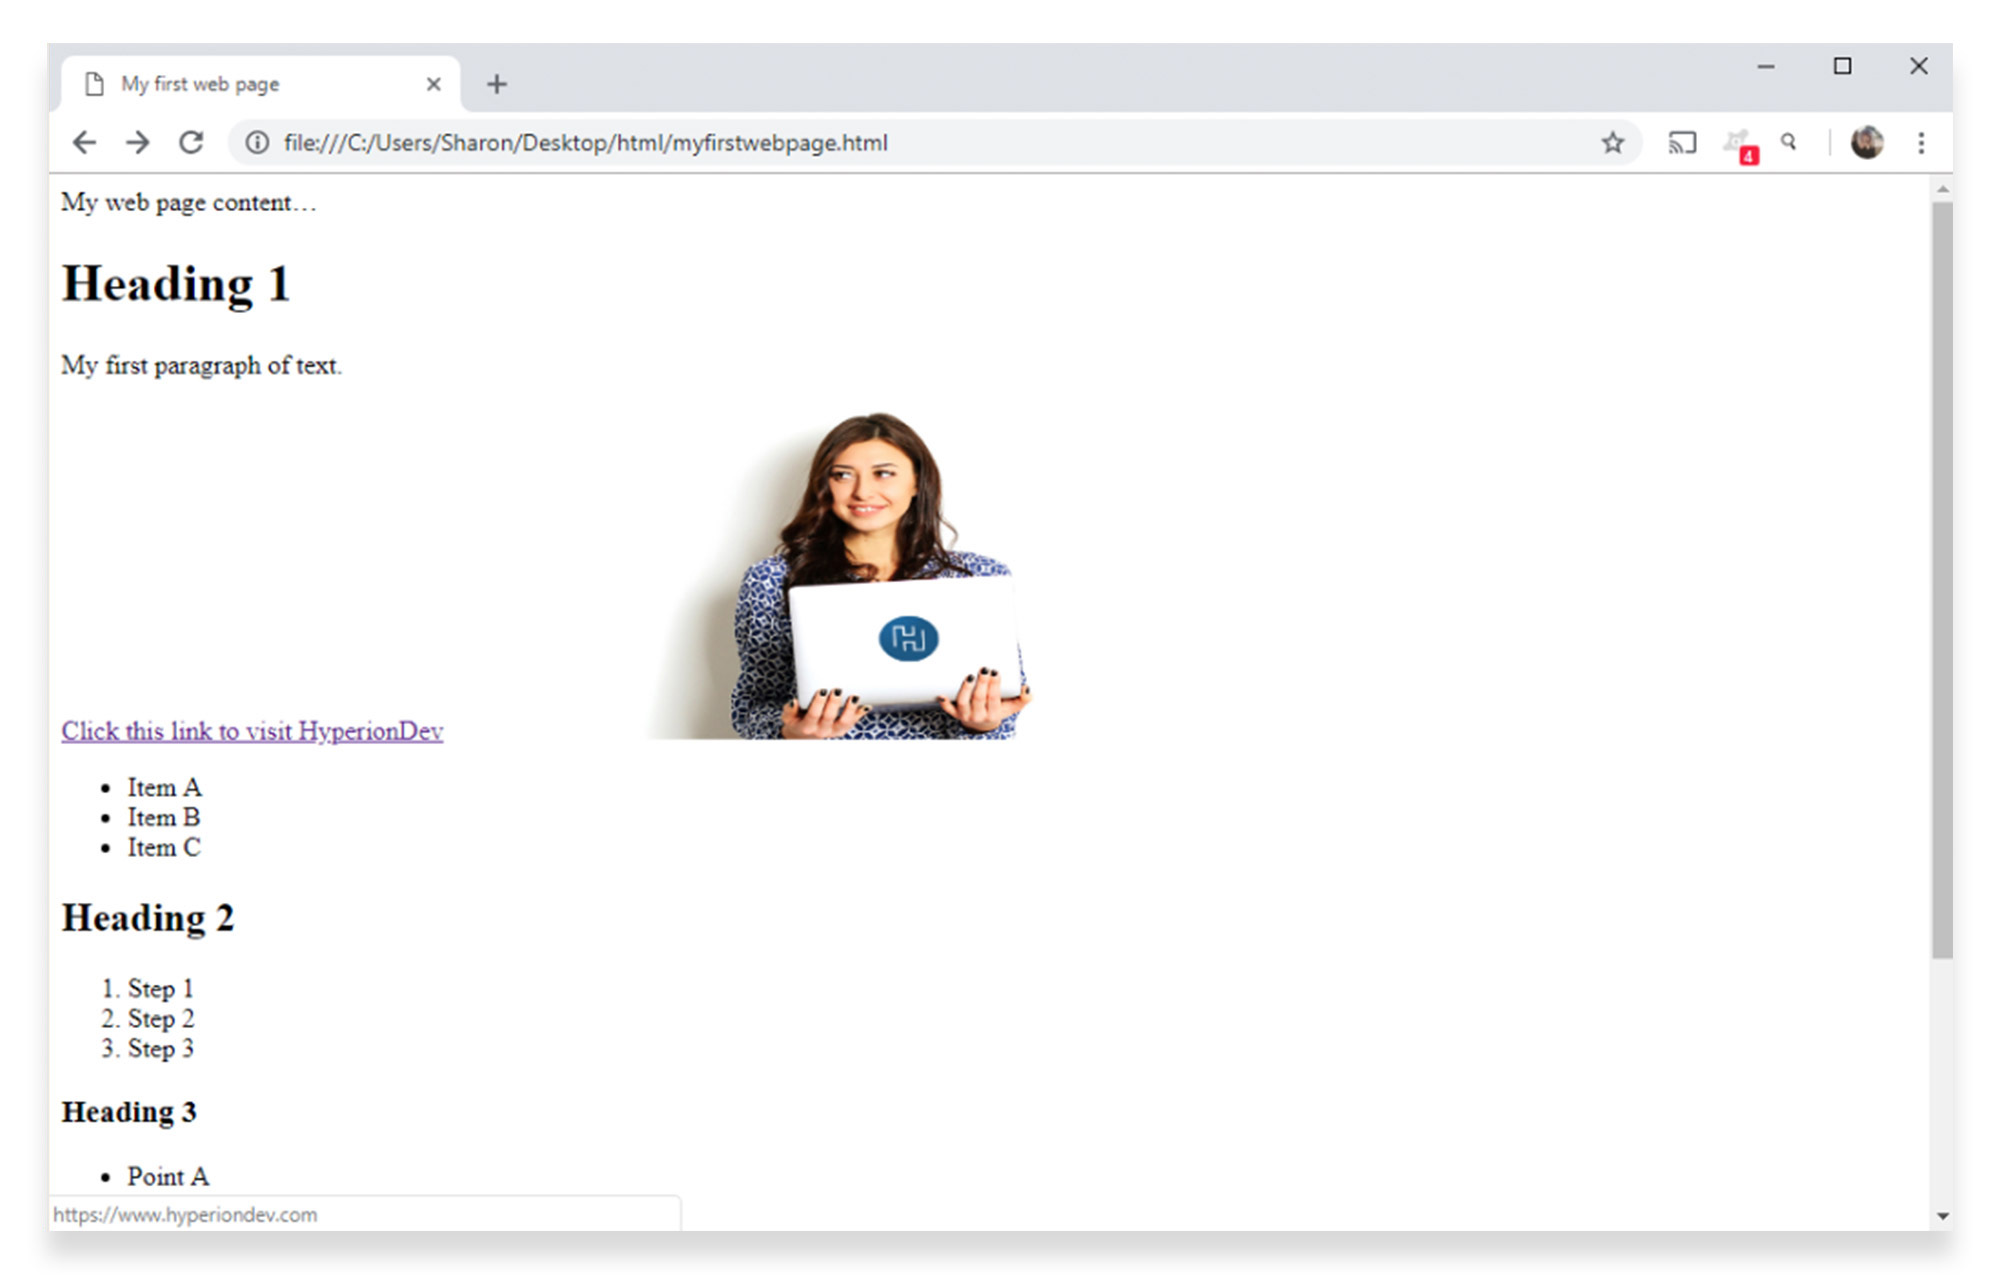
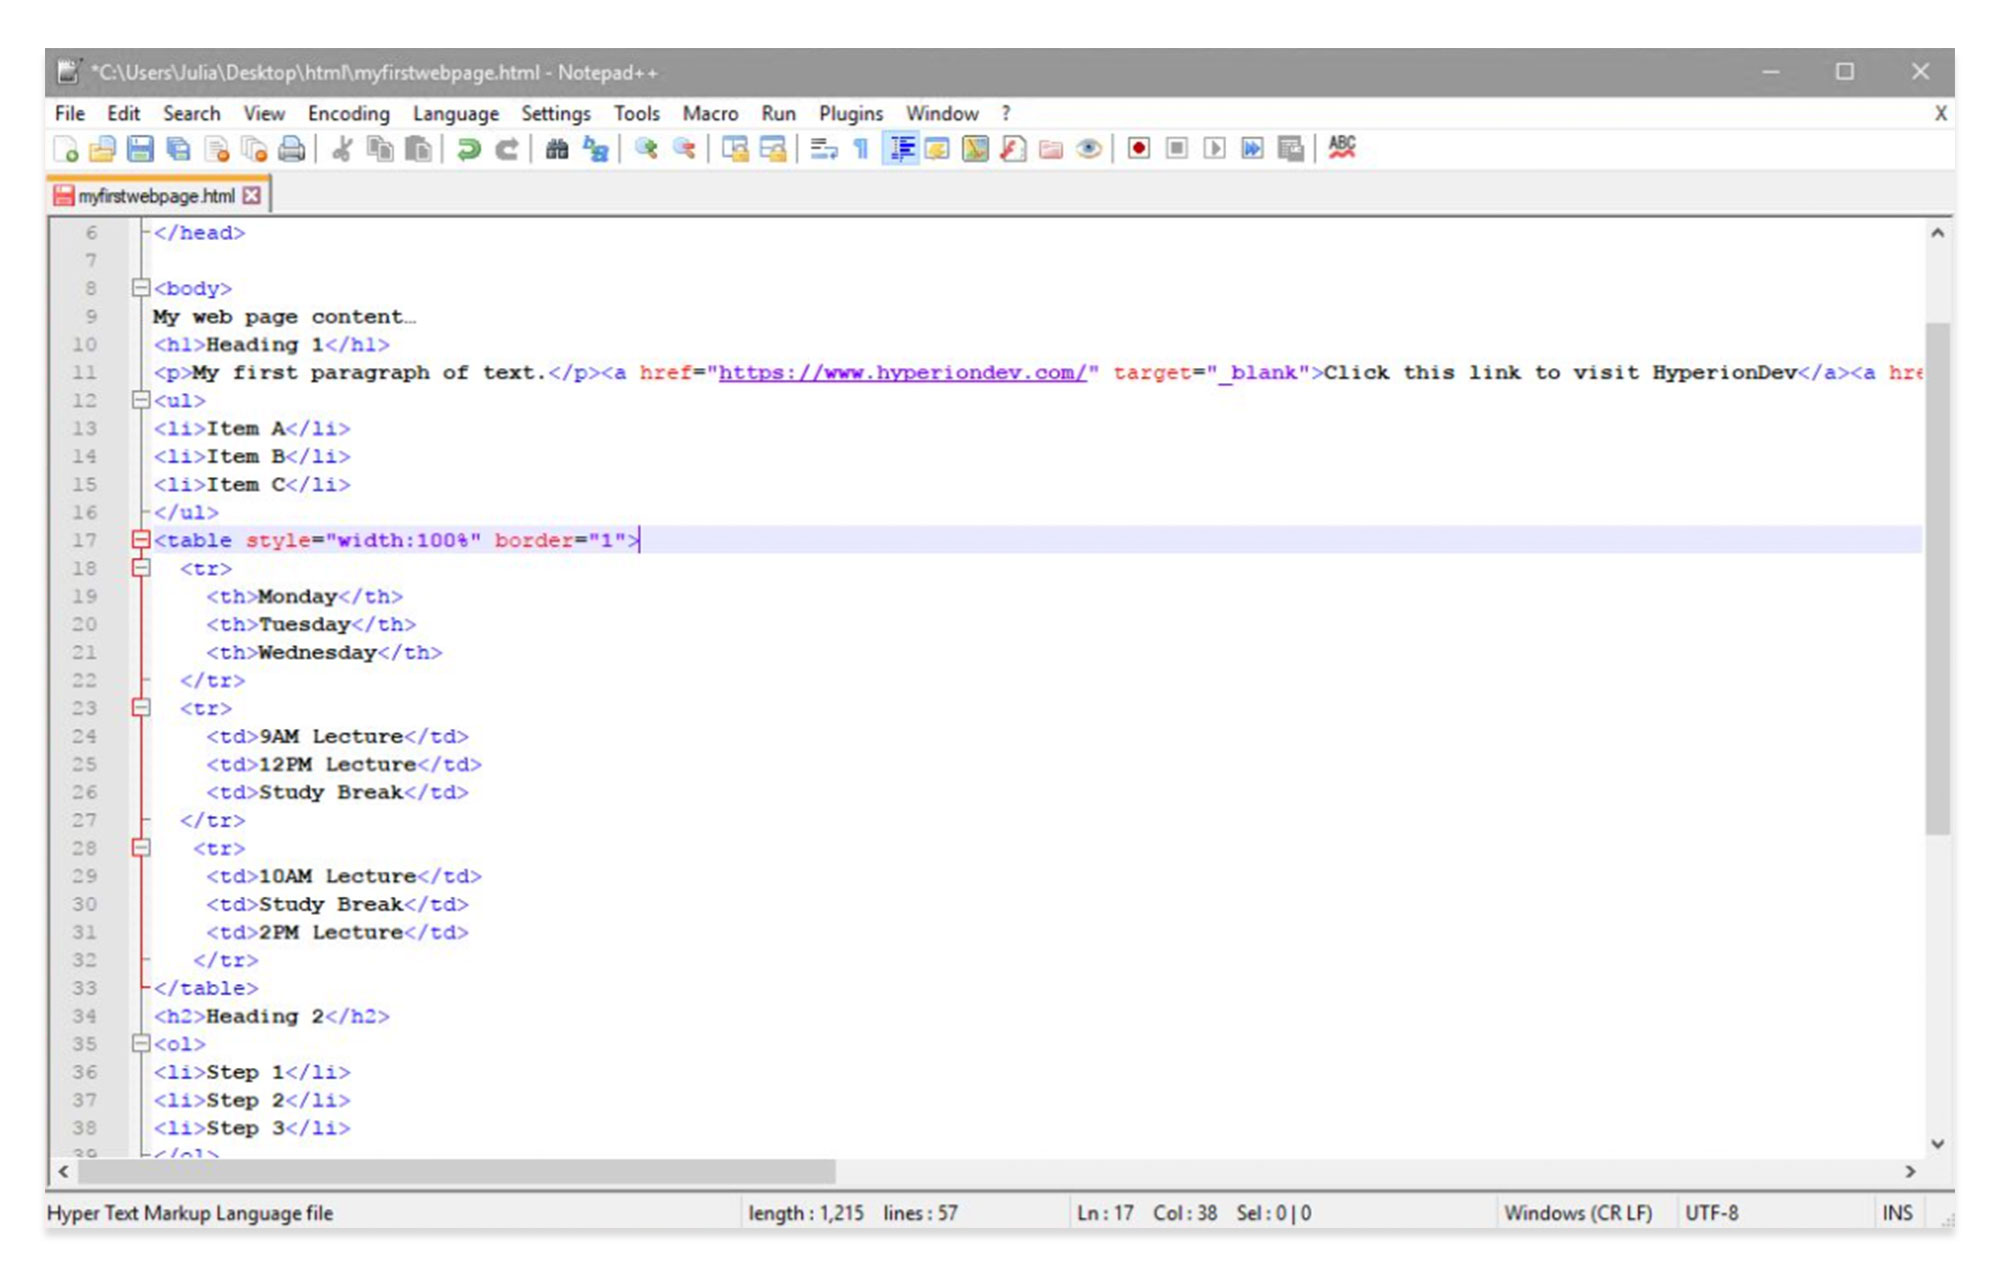
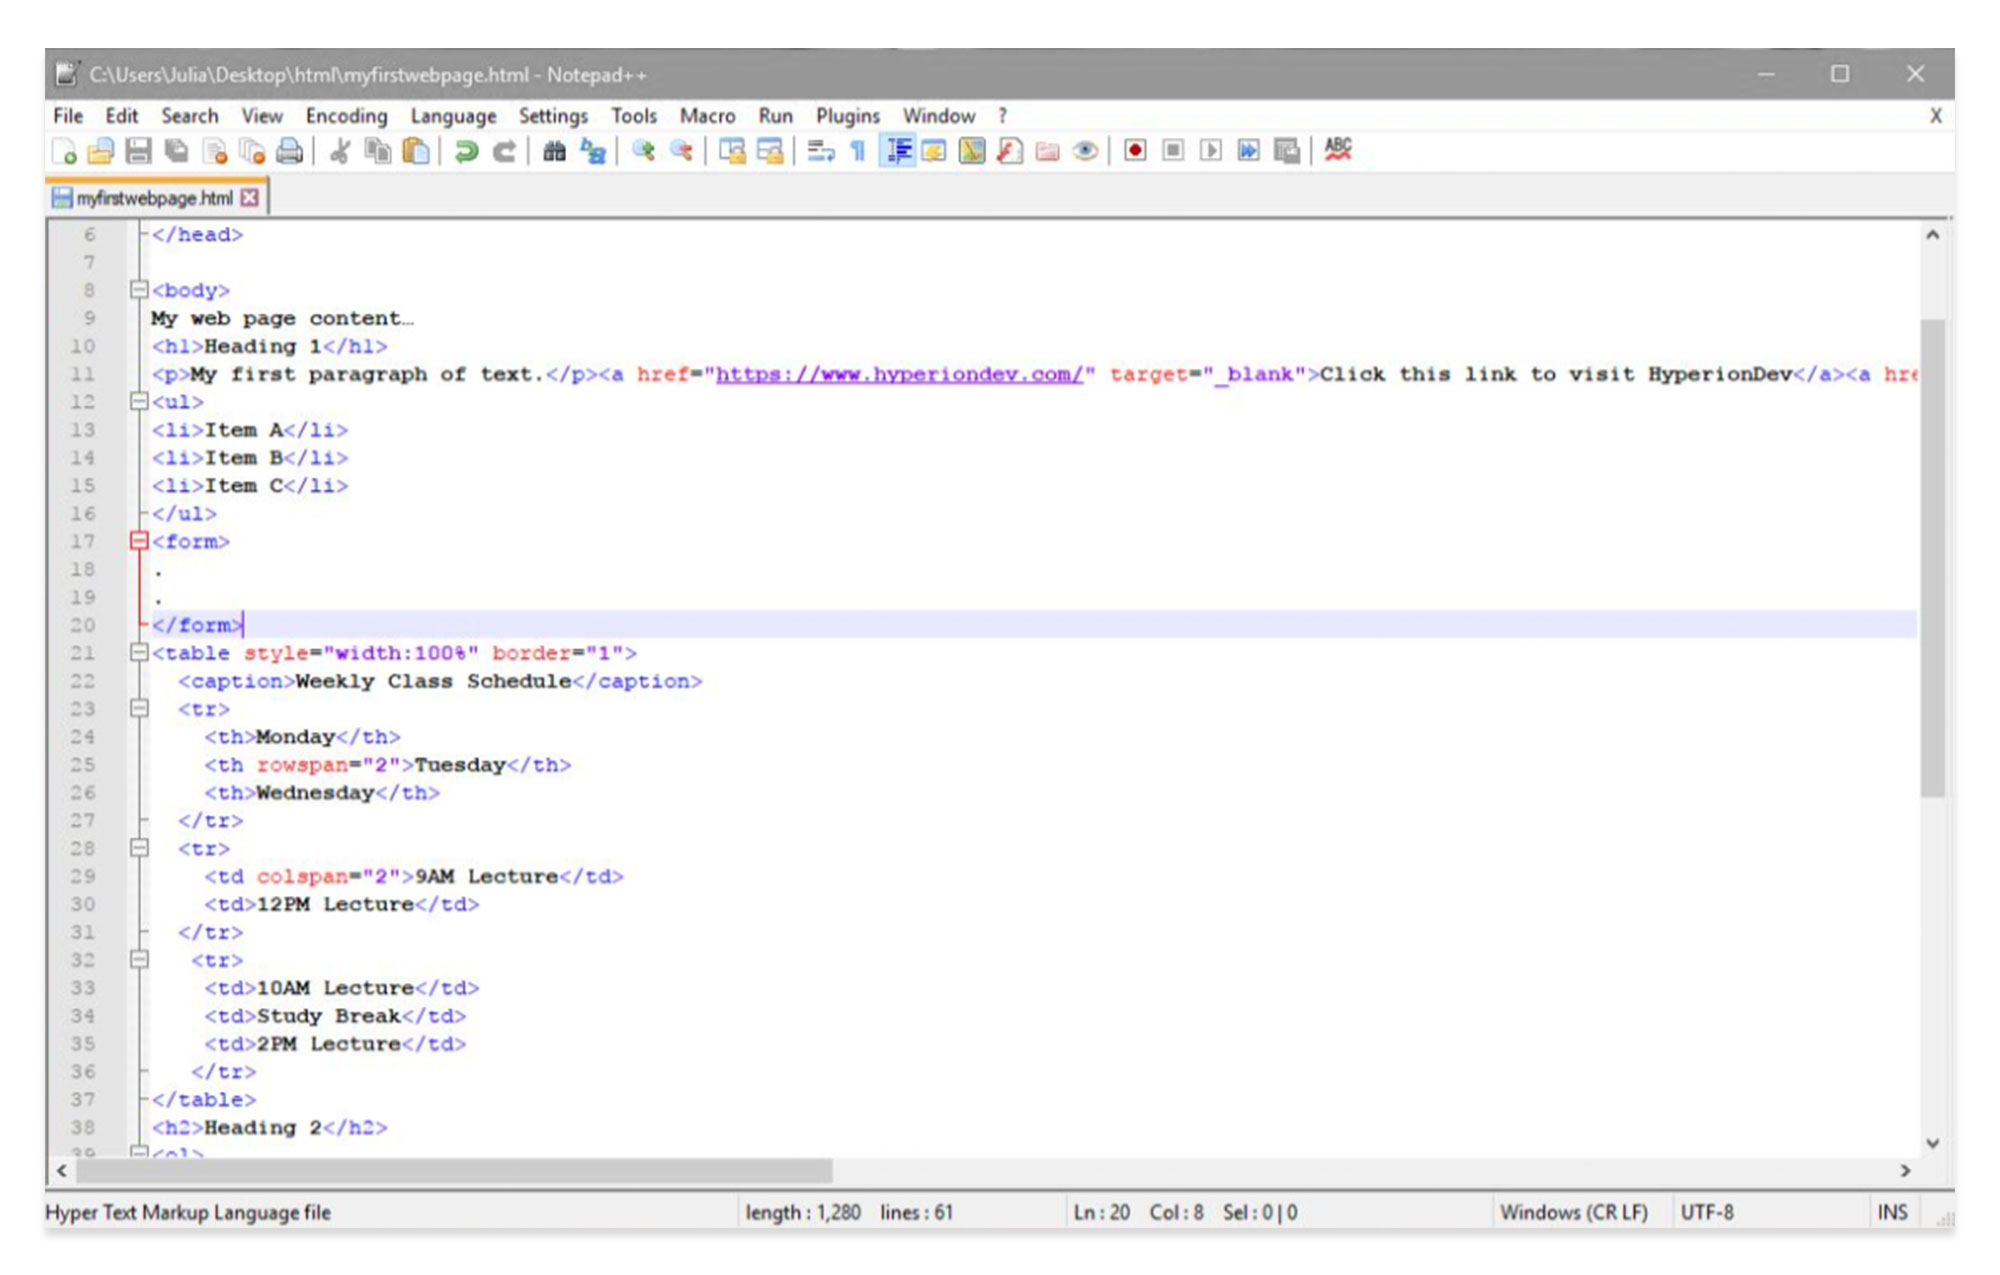
If you’ve been following our HTML tutorial series, you’ll be familiar with how to create a basic HTML page with titles, headings and paragraphs. You’ll also have a basic understanding of Lists, links and images. By the end of our second tutorial, your document in Notepad++ should be displaying as follows:
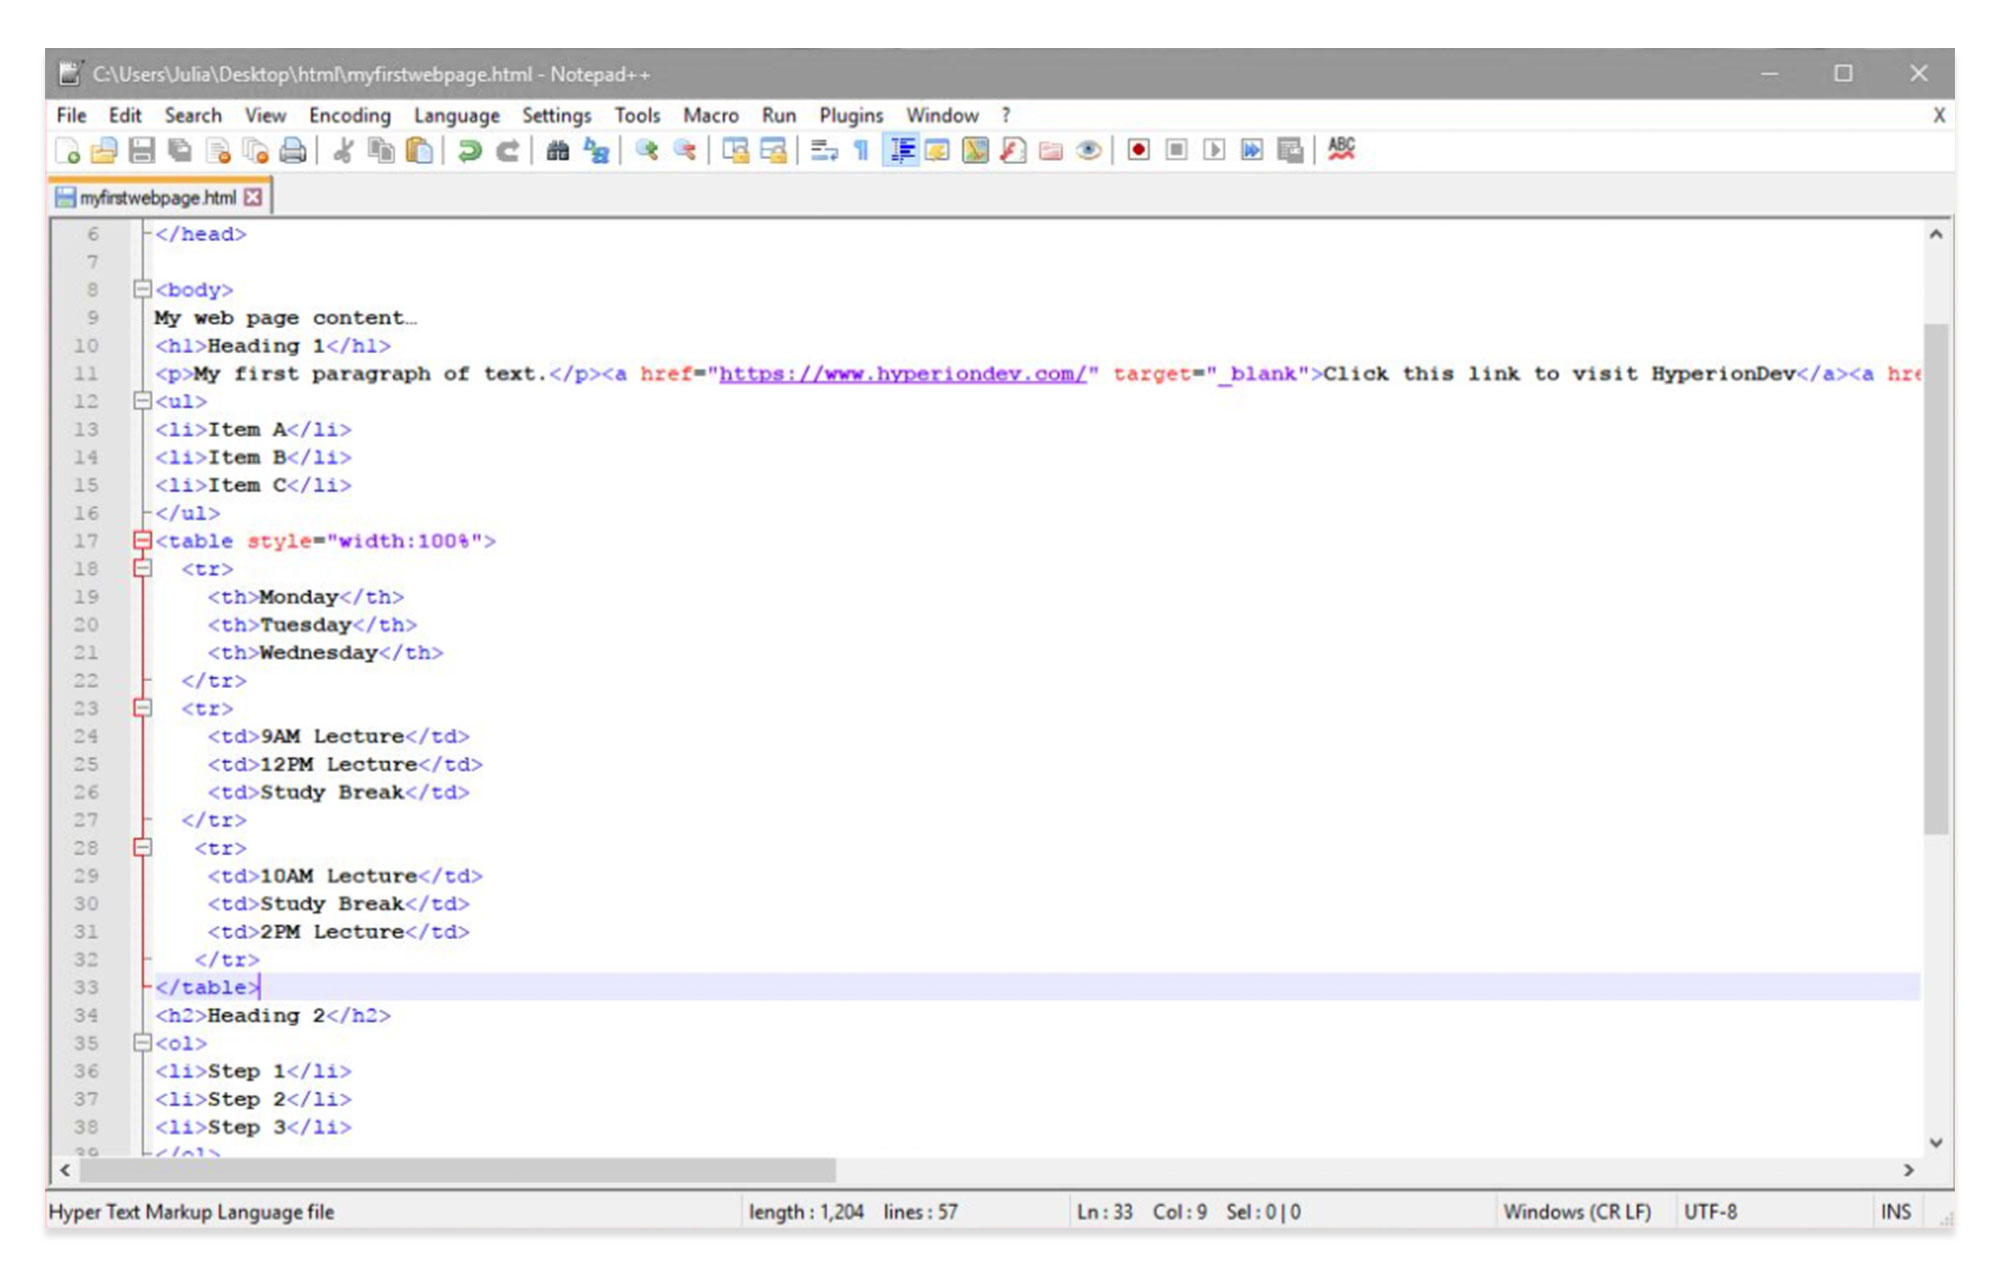
In this next tutorial, you’ll be adding to the code to set up tables and forms in HTML.
HTML tables
Tables can be a useful way of organising content on a web page, particularly text.
A table is defined with the tag.
Each row in the table is defined with the tag.
A table heading is defined with the tag. (Headings are bold and centred by default.)
Each cell of data in the table is defined with the tag.
Monday
Tuesday
Wednesday
9AM Lecture
12PM Lecture
Study Break
10AM Lecture
Study Break
2PM Lecture
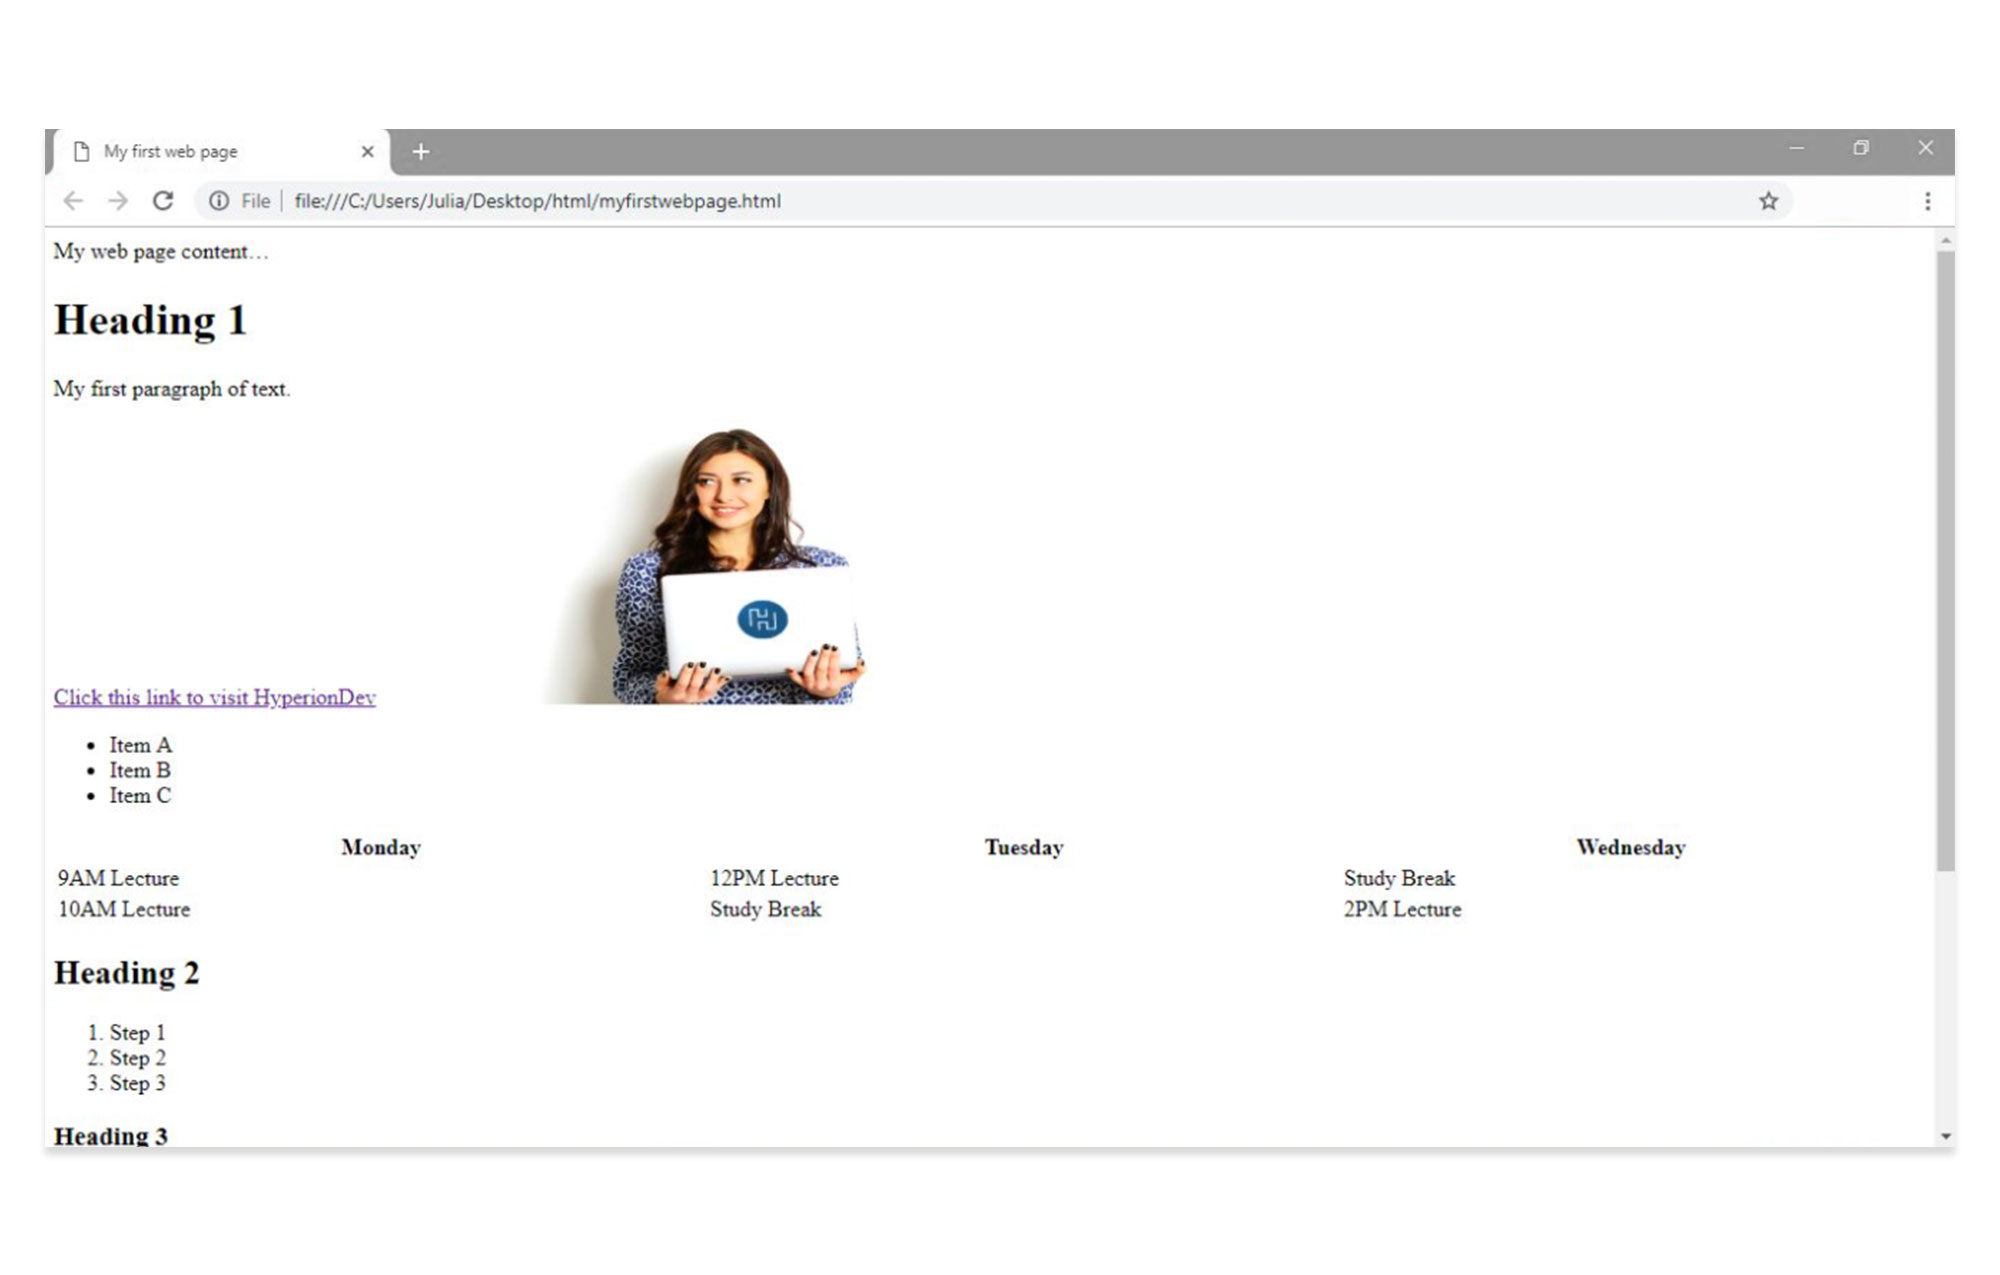
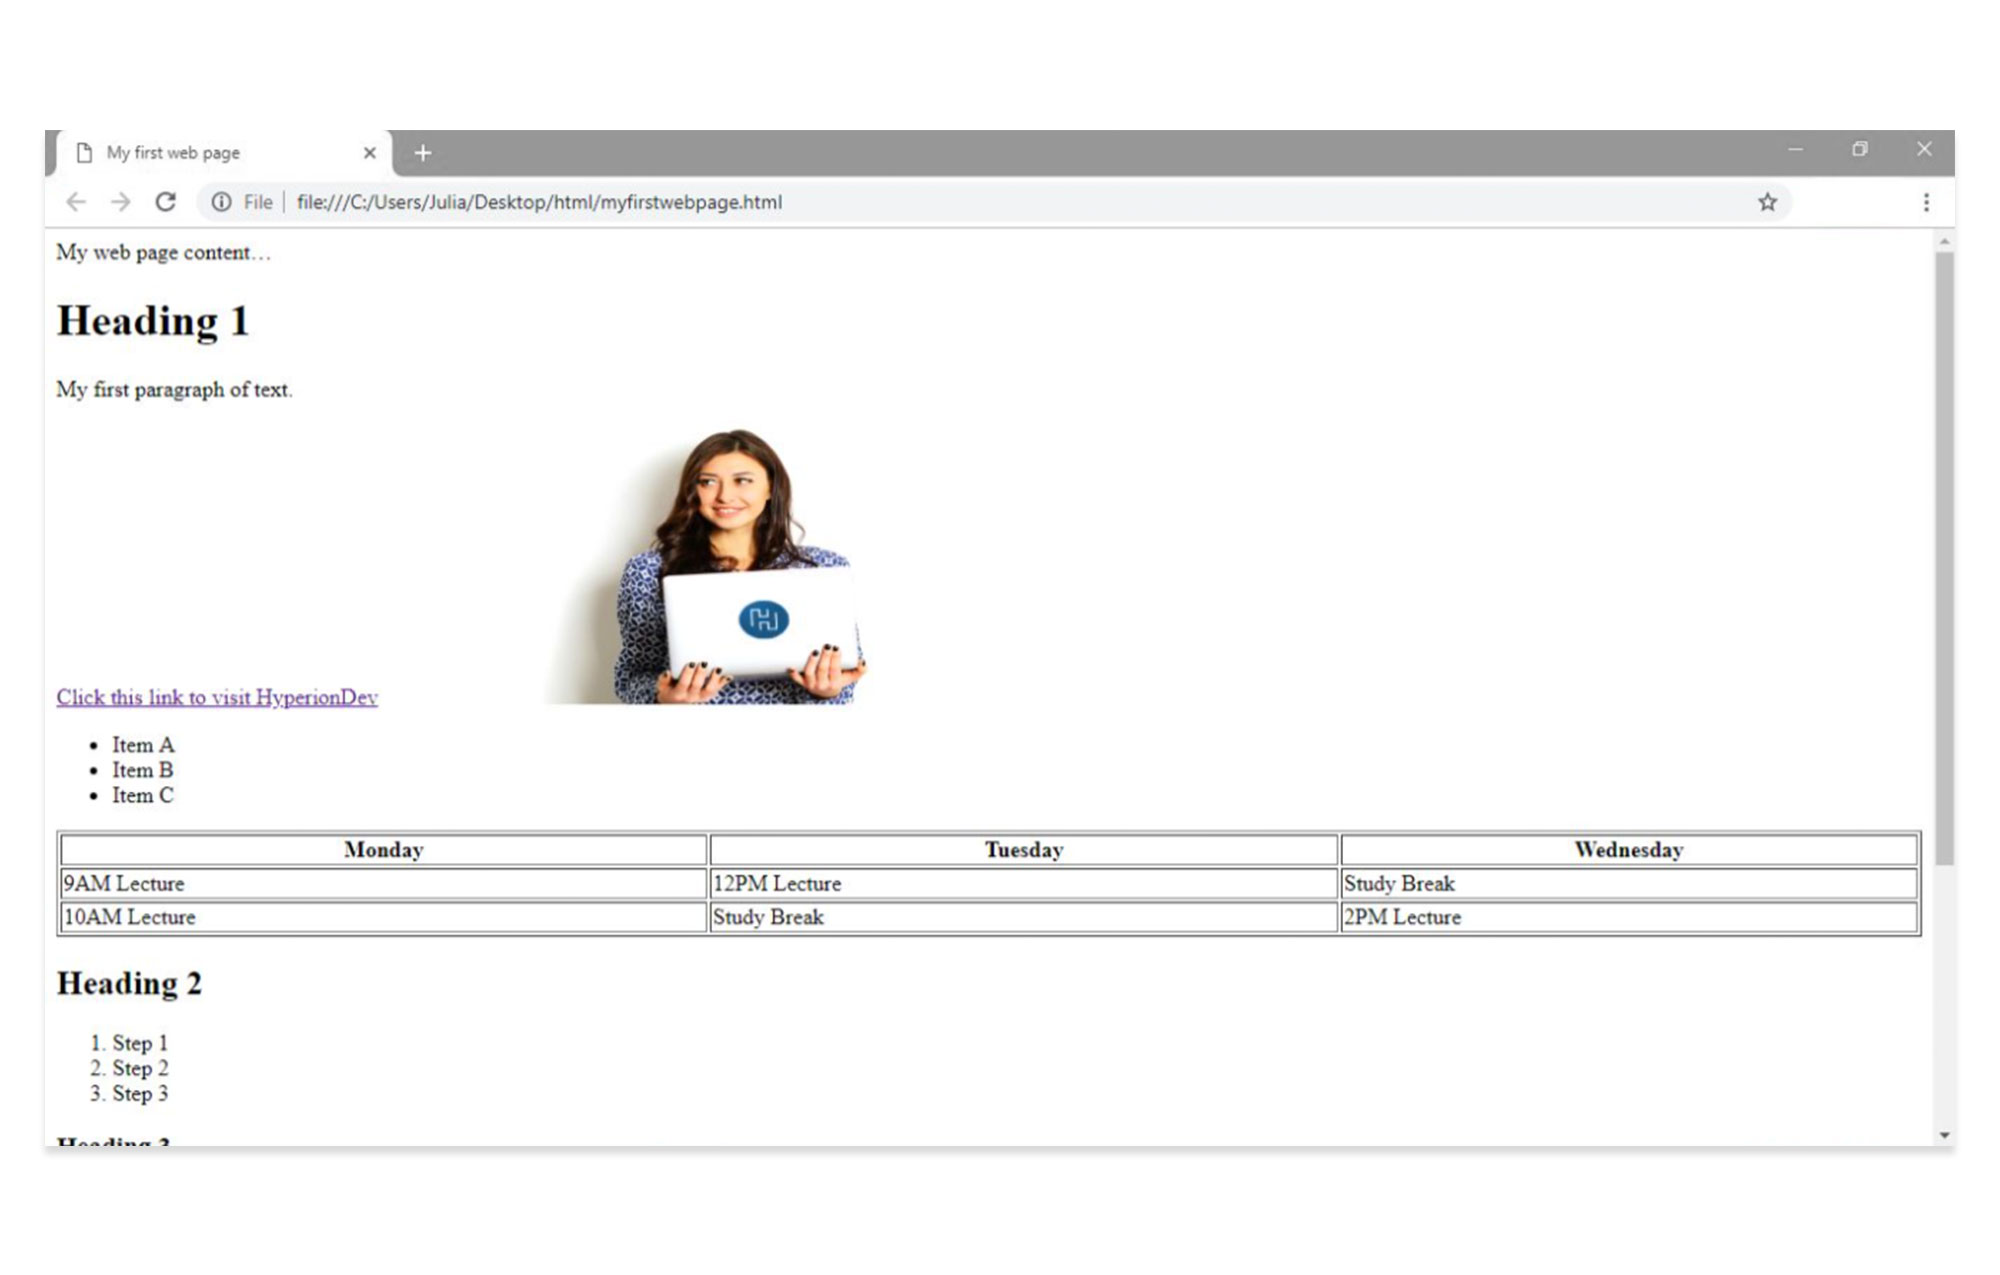
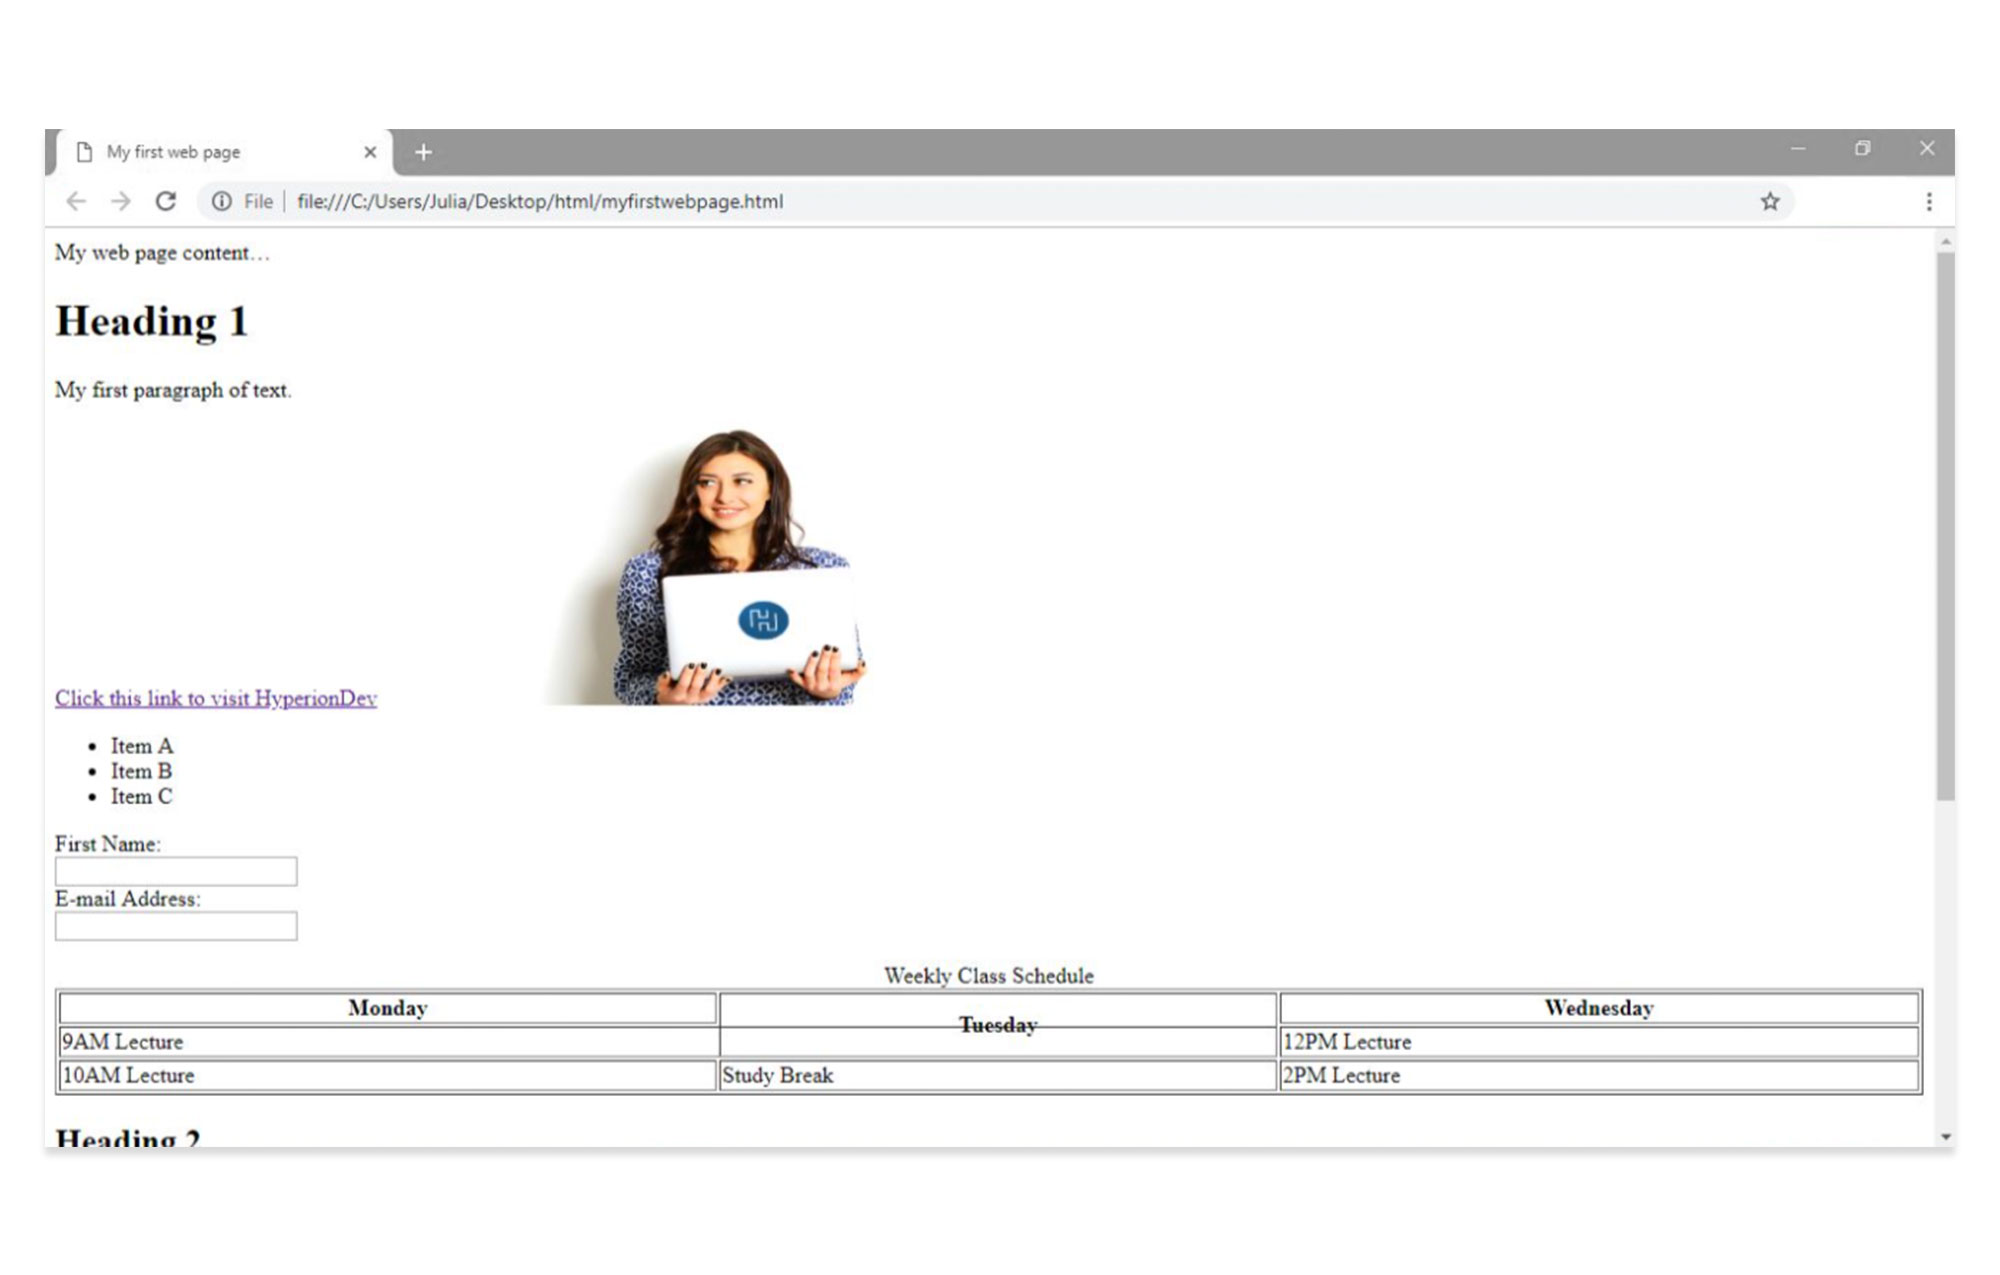
When you refresh your page, the table will appear as follows:
To add borders to your table and align the text, you would need to use CSS properties.
To make our example more visually clear, we’ve added the CSS border property: border=”1″ to our table. You’ll be able to learn more about CSS properties and how to use them in future tutorials.
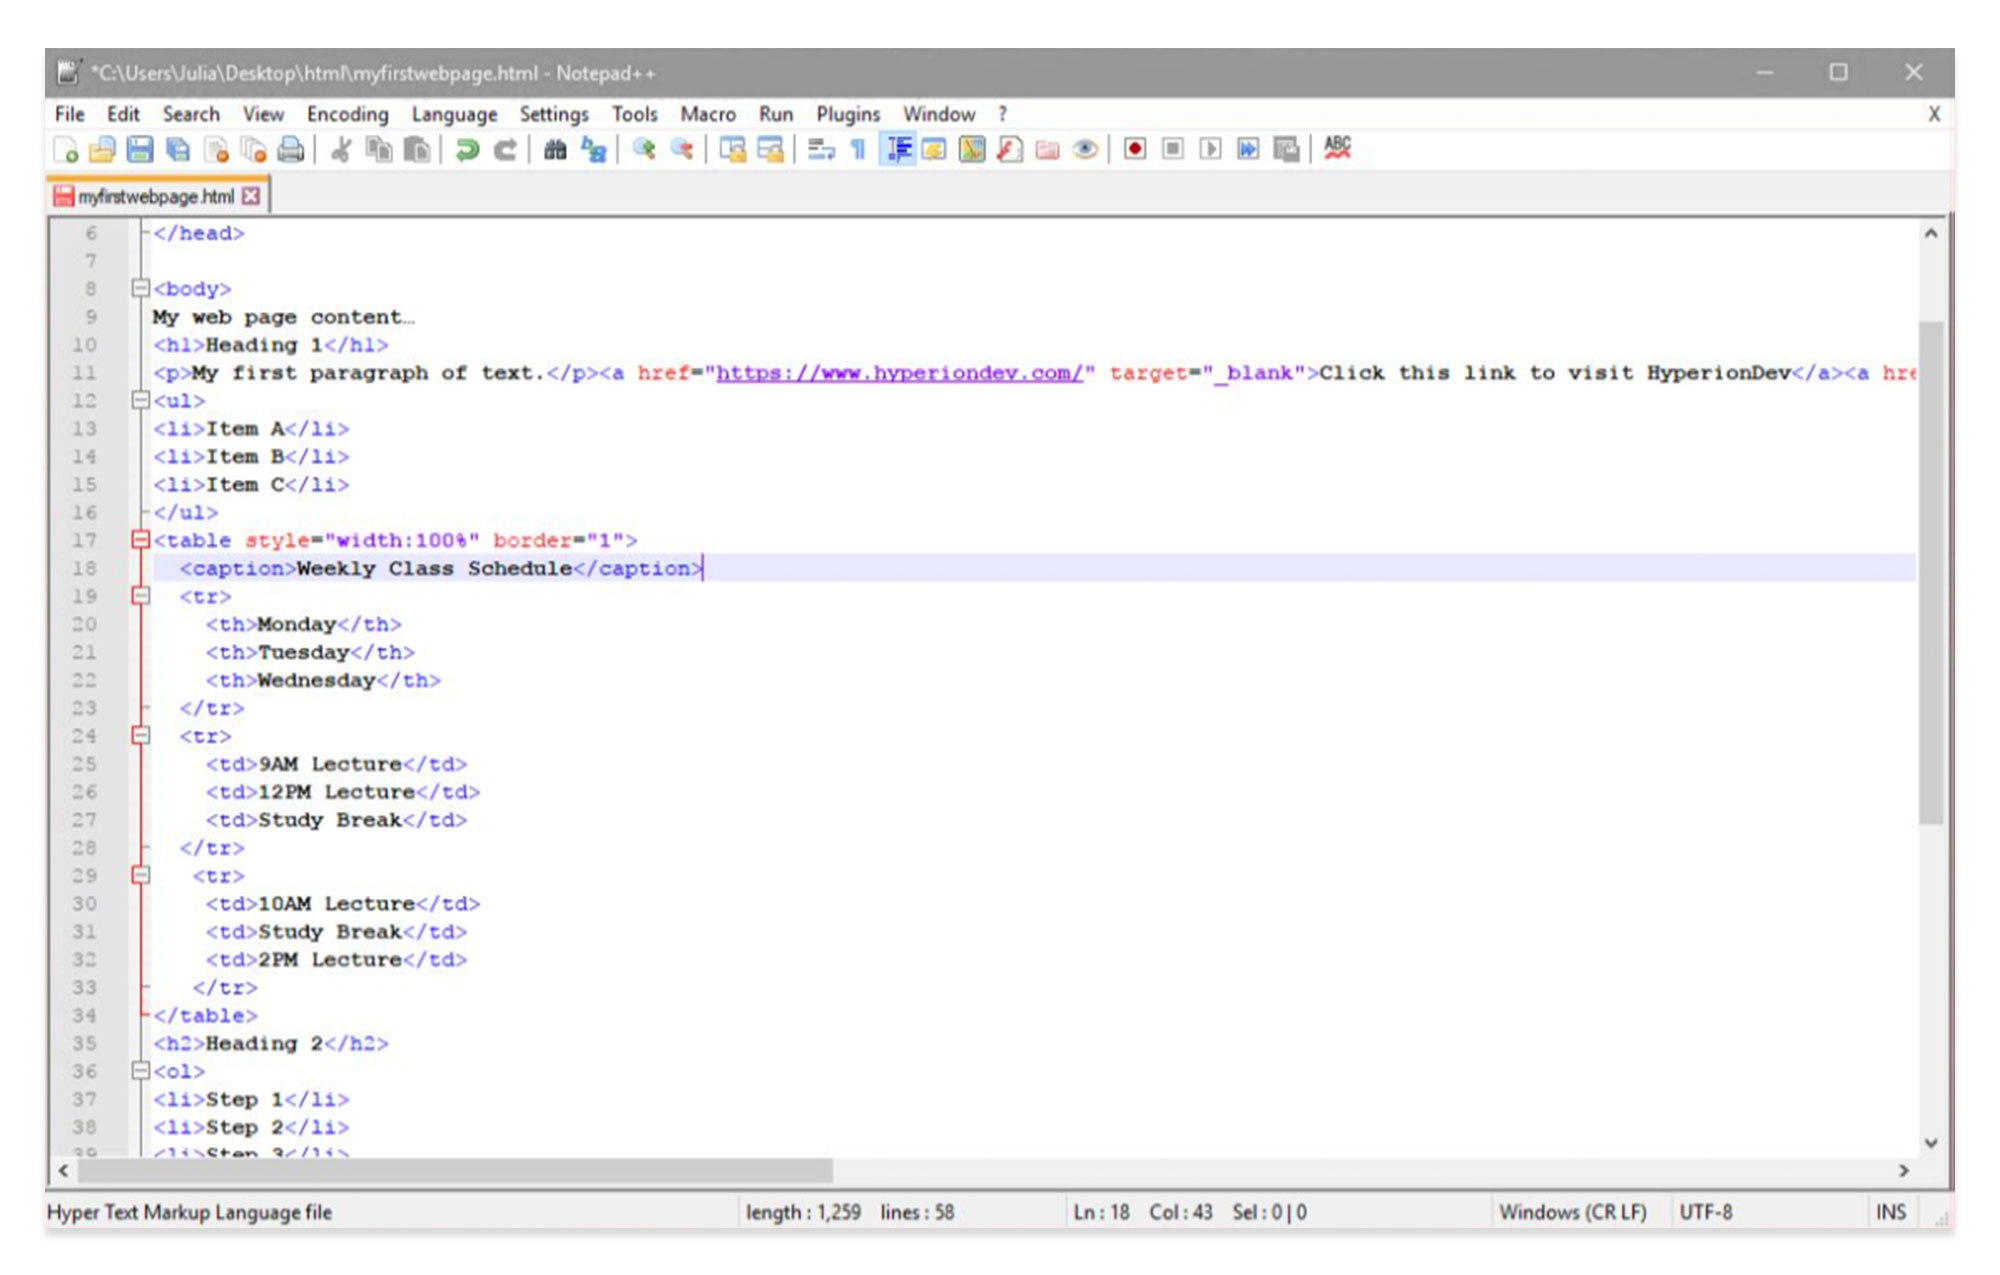
Add the caption “Weekly Class Schedule” to your table by adding the following code:
Weekly Class Schedule
Monday
Tuesday
Wednesday
9AM Lecture
12PM Lecture
Study Break
10AM Lecture
Study Break
2PM Lecture
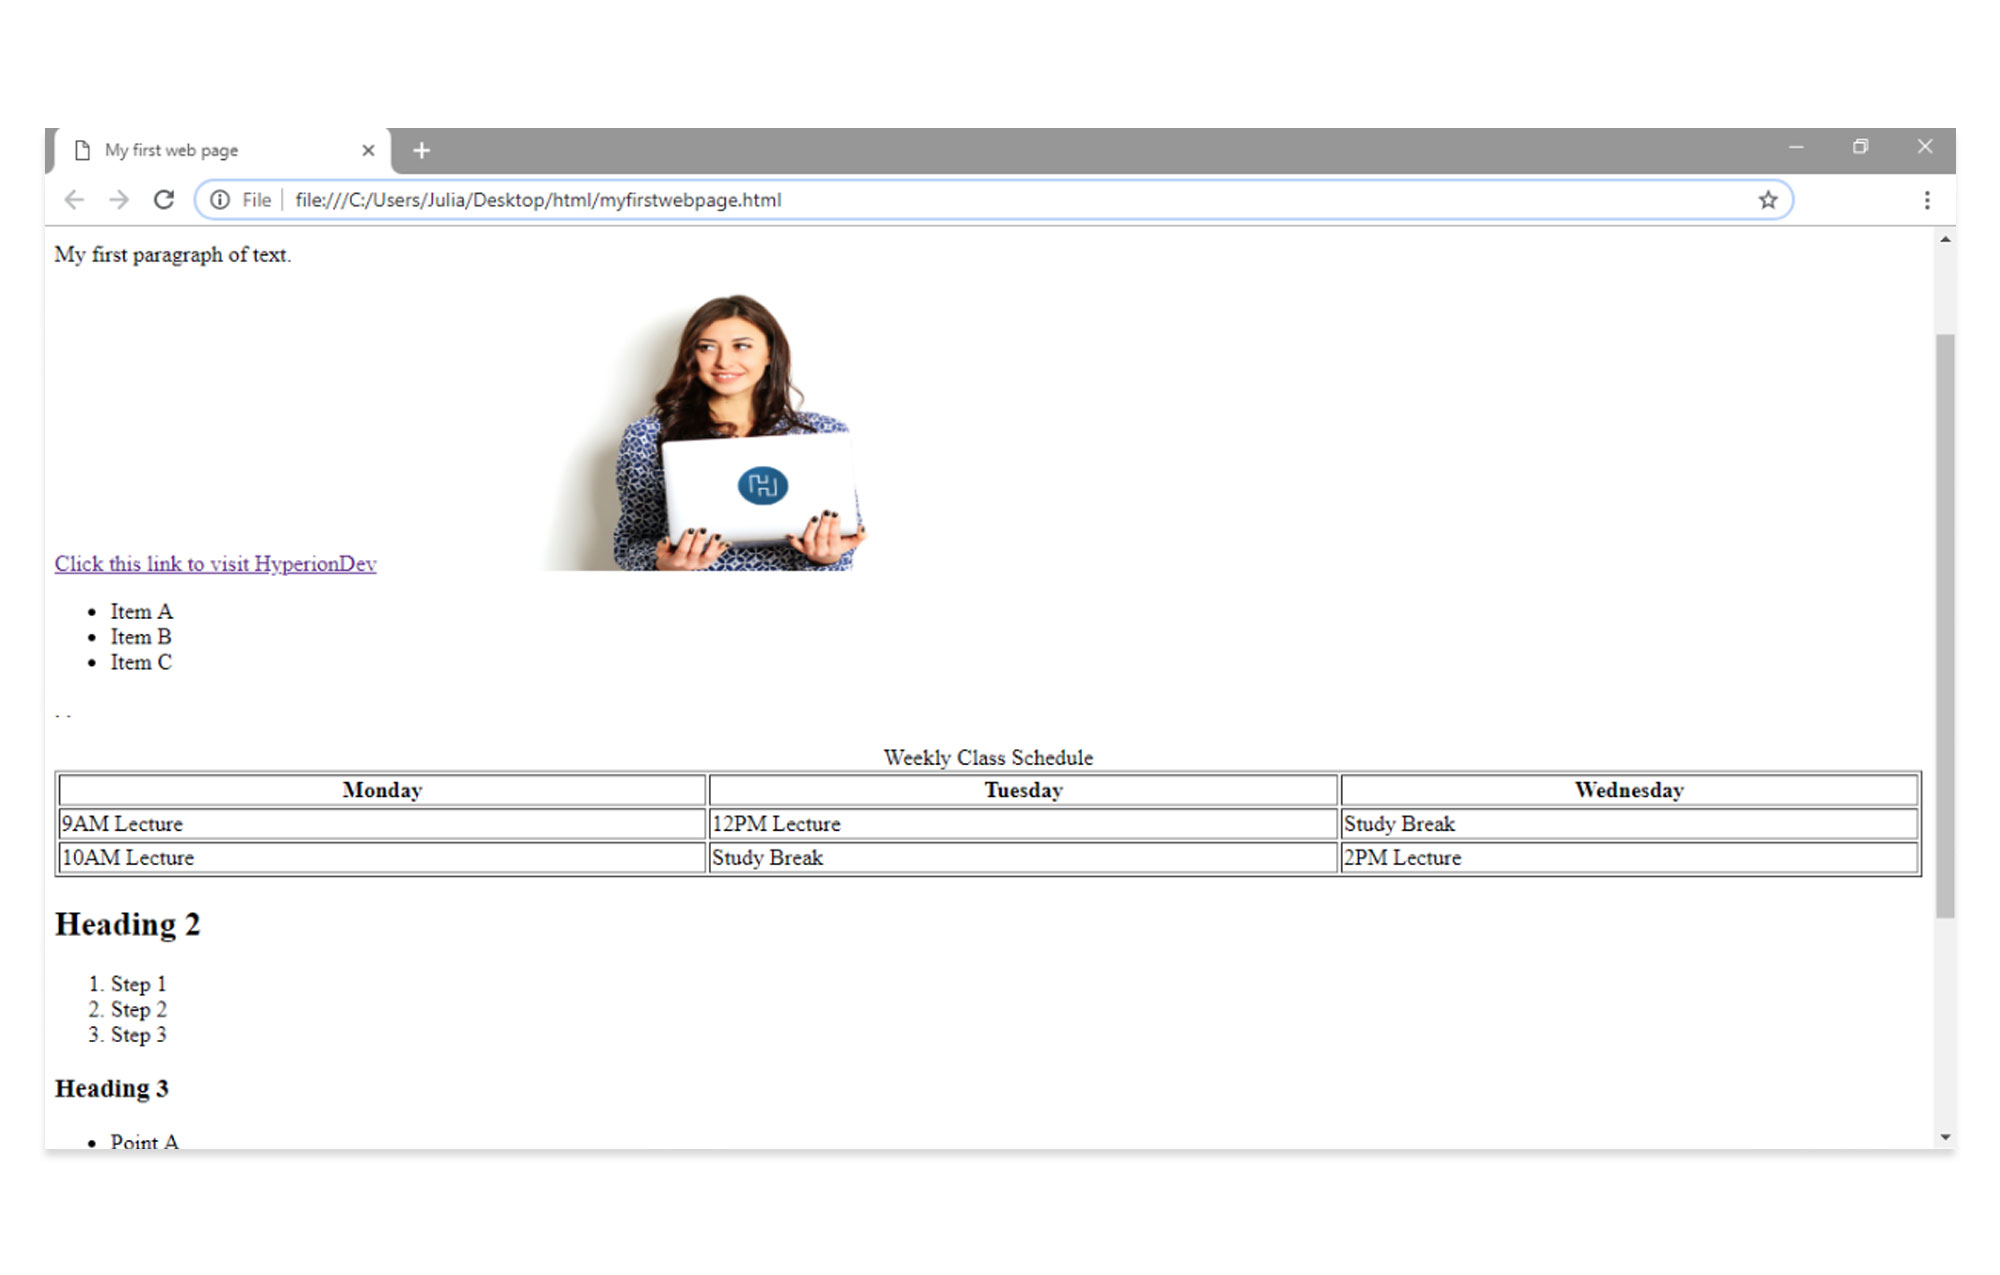
When you refresh the page, you’ll see that your caption appears above the table headings:
You can use HTML code to create tables with cells that span multiple columns, or multiple rows.
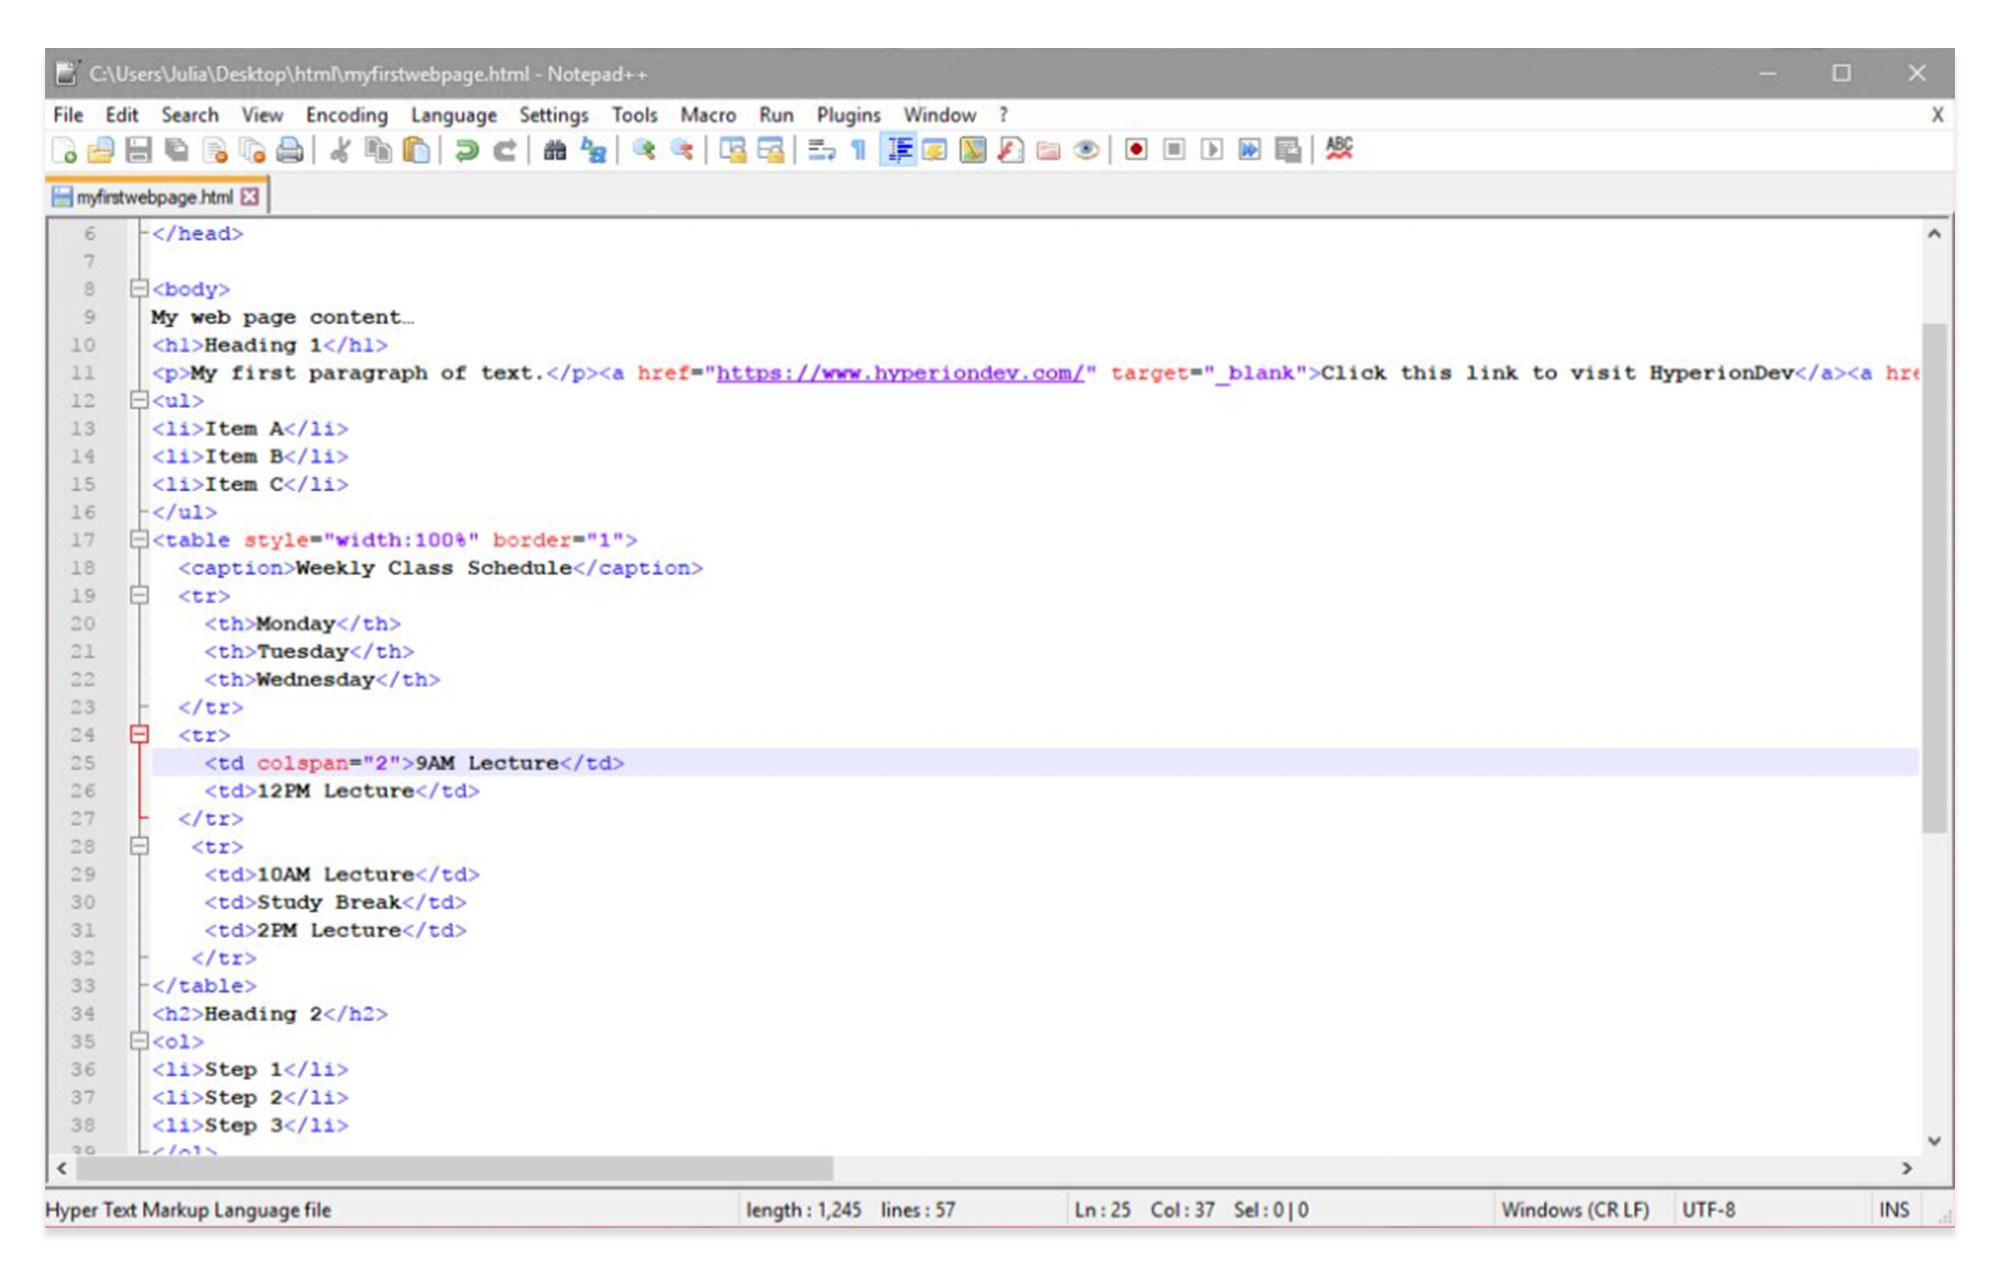
Multiple columns: To make a cell span more than one column, we must use the colspan attribute. (Remember, attributes are what we use to provide additional information about a specific HTML element.)
The number of columns must appear between quotation marks, ie. “2” .
For example, let’s say we want to adjust this class schedule, to show that the same 9AM lecture takes place both on Monday and on Tuesday. Edit the table by adding the colspan attribute to the “9AM Lecture” cell, and removing the ”Study Break” cell.
Weekly Class Schedule
Monday
Tuesday
Wednesday
9AM Lecture
12PM Lecture
10AM Lecture
Study Break
2PM Lecture
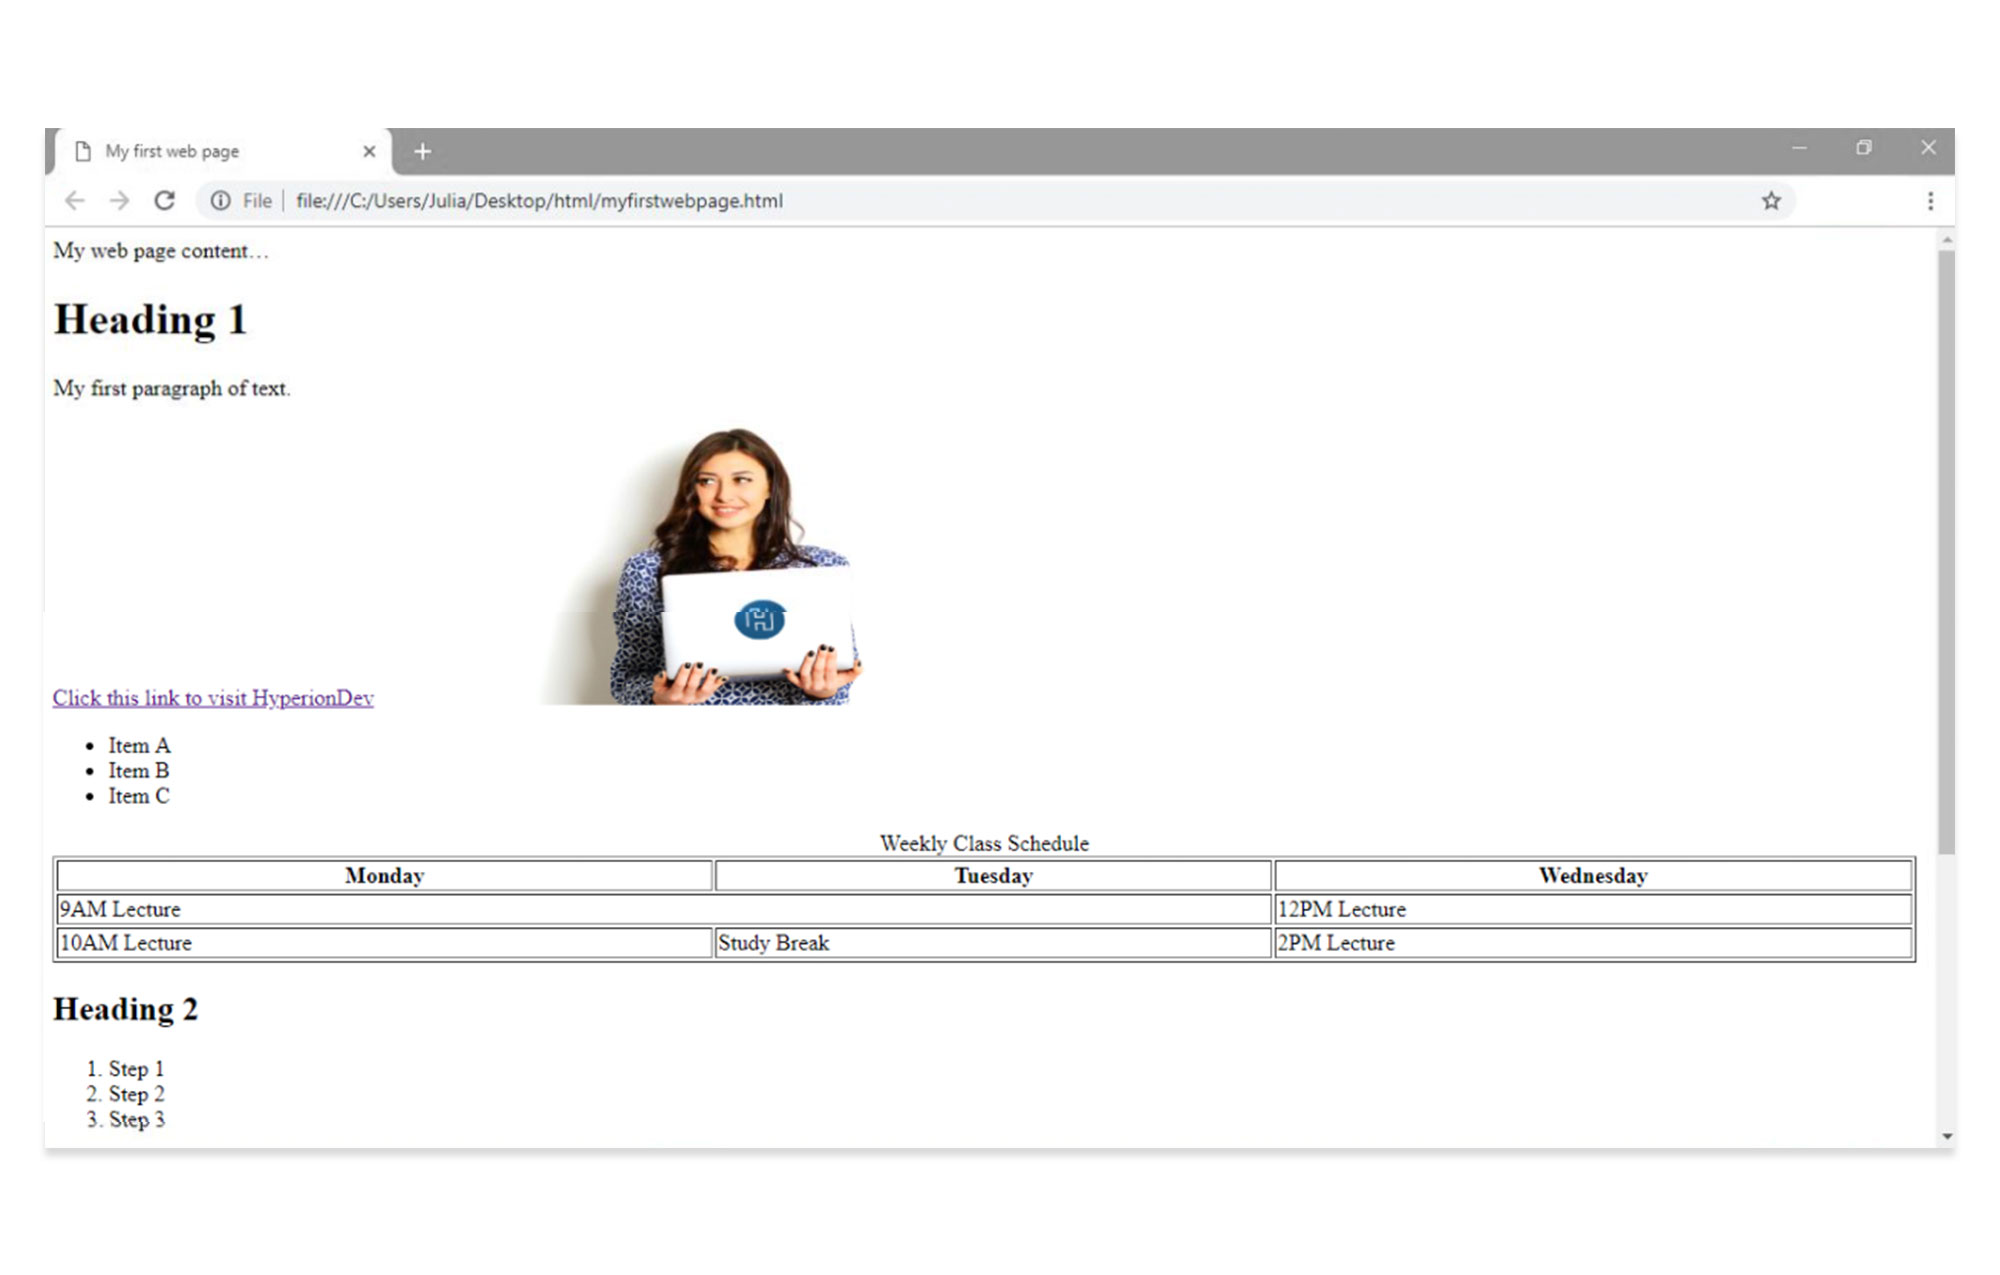
When you refresh, the appearance of the table will have changed, with the “9AM Lecture” cell spanning the Monday and Tuesday columns.
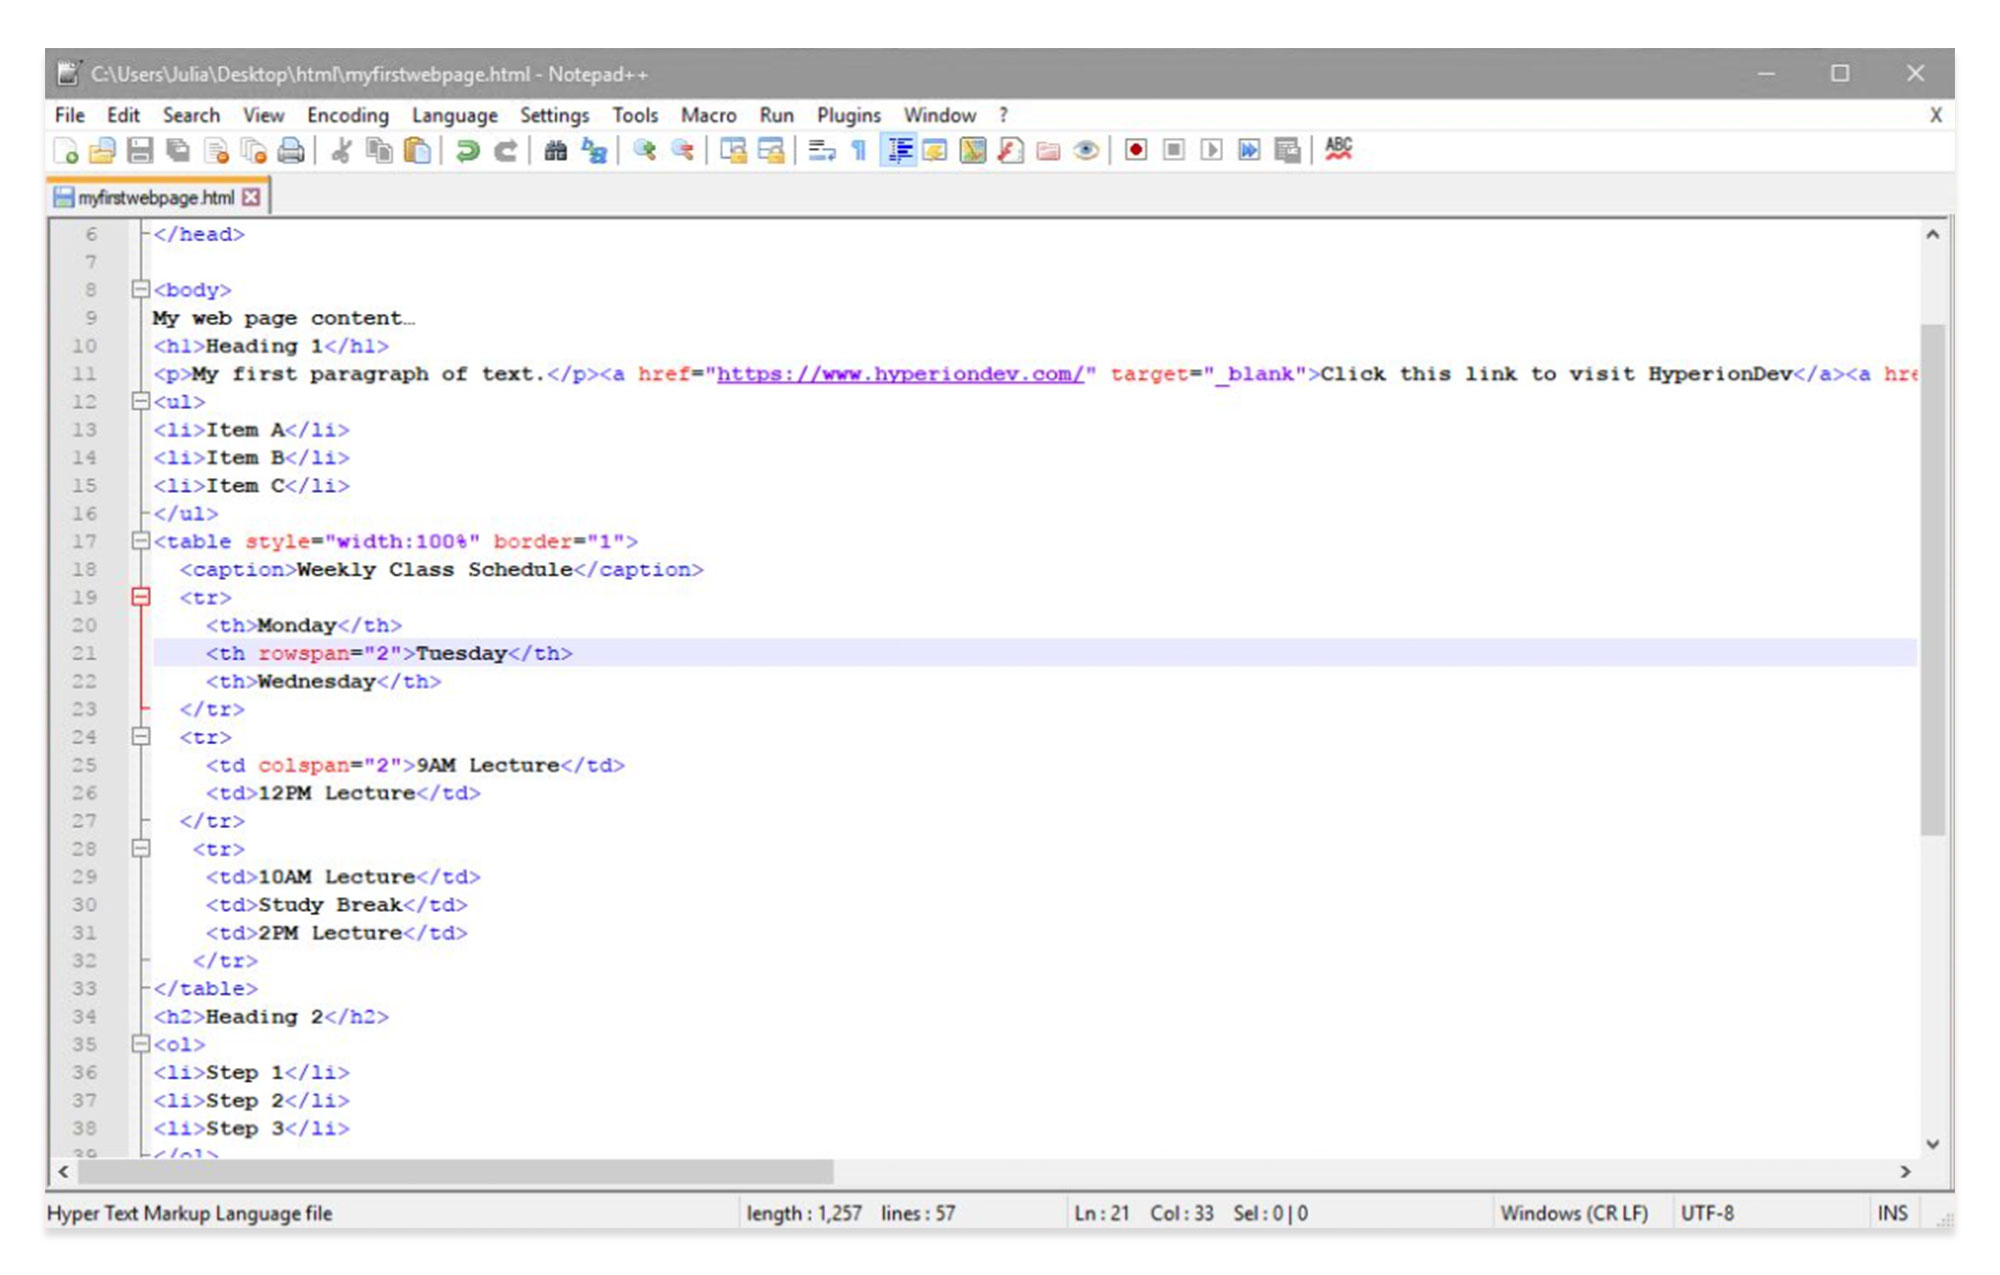
Multiple rows: To make a cell span more than one row, use the rowspan attribute. Again, the number of rows must appear between quotation marks. This is useful in cases where you have two rows that fall under one heading.
To change the “Tuesday” heading so that it spans two rows, edit the table by adding a rowspan attribute.
Weekly Class Schedule
Monday
Tuesday
Wednesday
9AM Lecture
12PM Lecture
10AM Lecture
Study Break
2PM Lecture
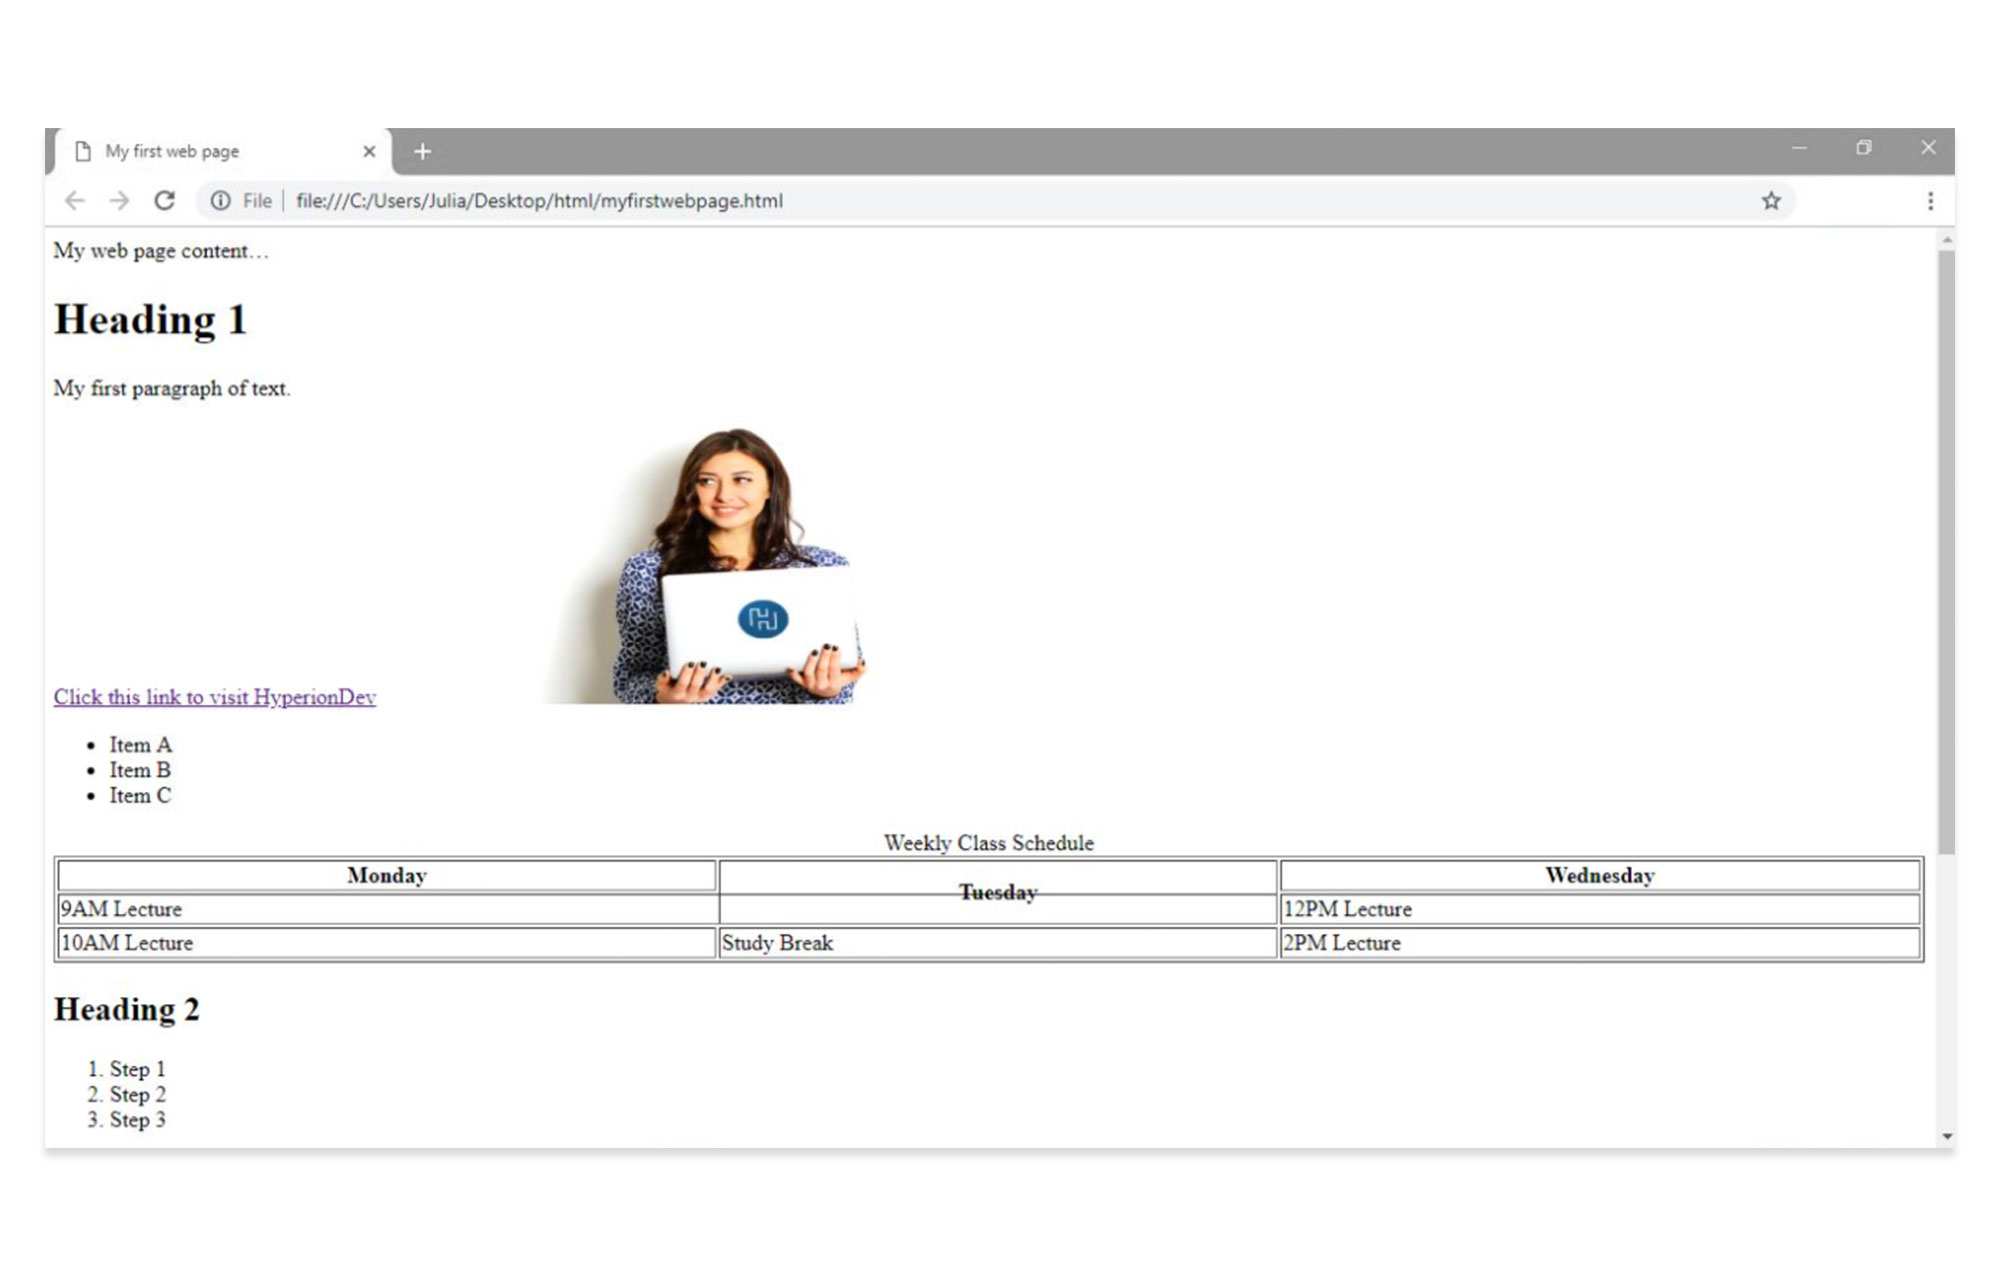
When you refresh, the ”Tuesday” cell will span over two rows.
HTML forms
A form allows users on the site to enter information. You will need to use the tag to define a form that will be used to collect user input.
An HTML form contains form elements , which are various types of input elements, including text fields, check boxes, radio buttons and submit buttons.
Add your opening and closing tags for your form, above the table:
You will now have space for the form on your refreshed page:
The element is the most important of all the form elements. It can be displayed in a number of ways, depending on the type attribute used.
defines a one-line text input field.
defines a submit button.
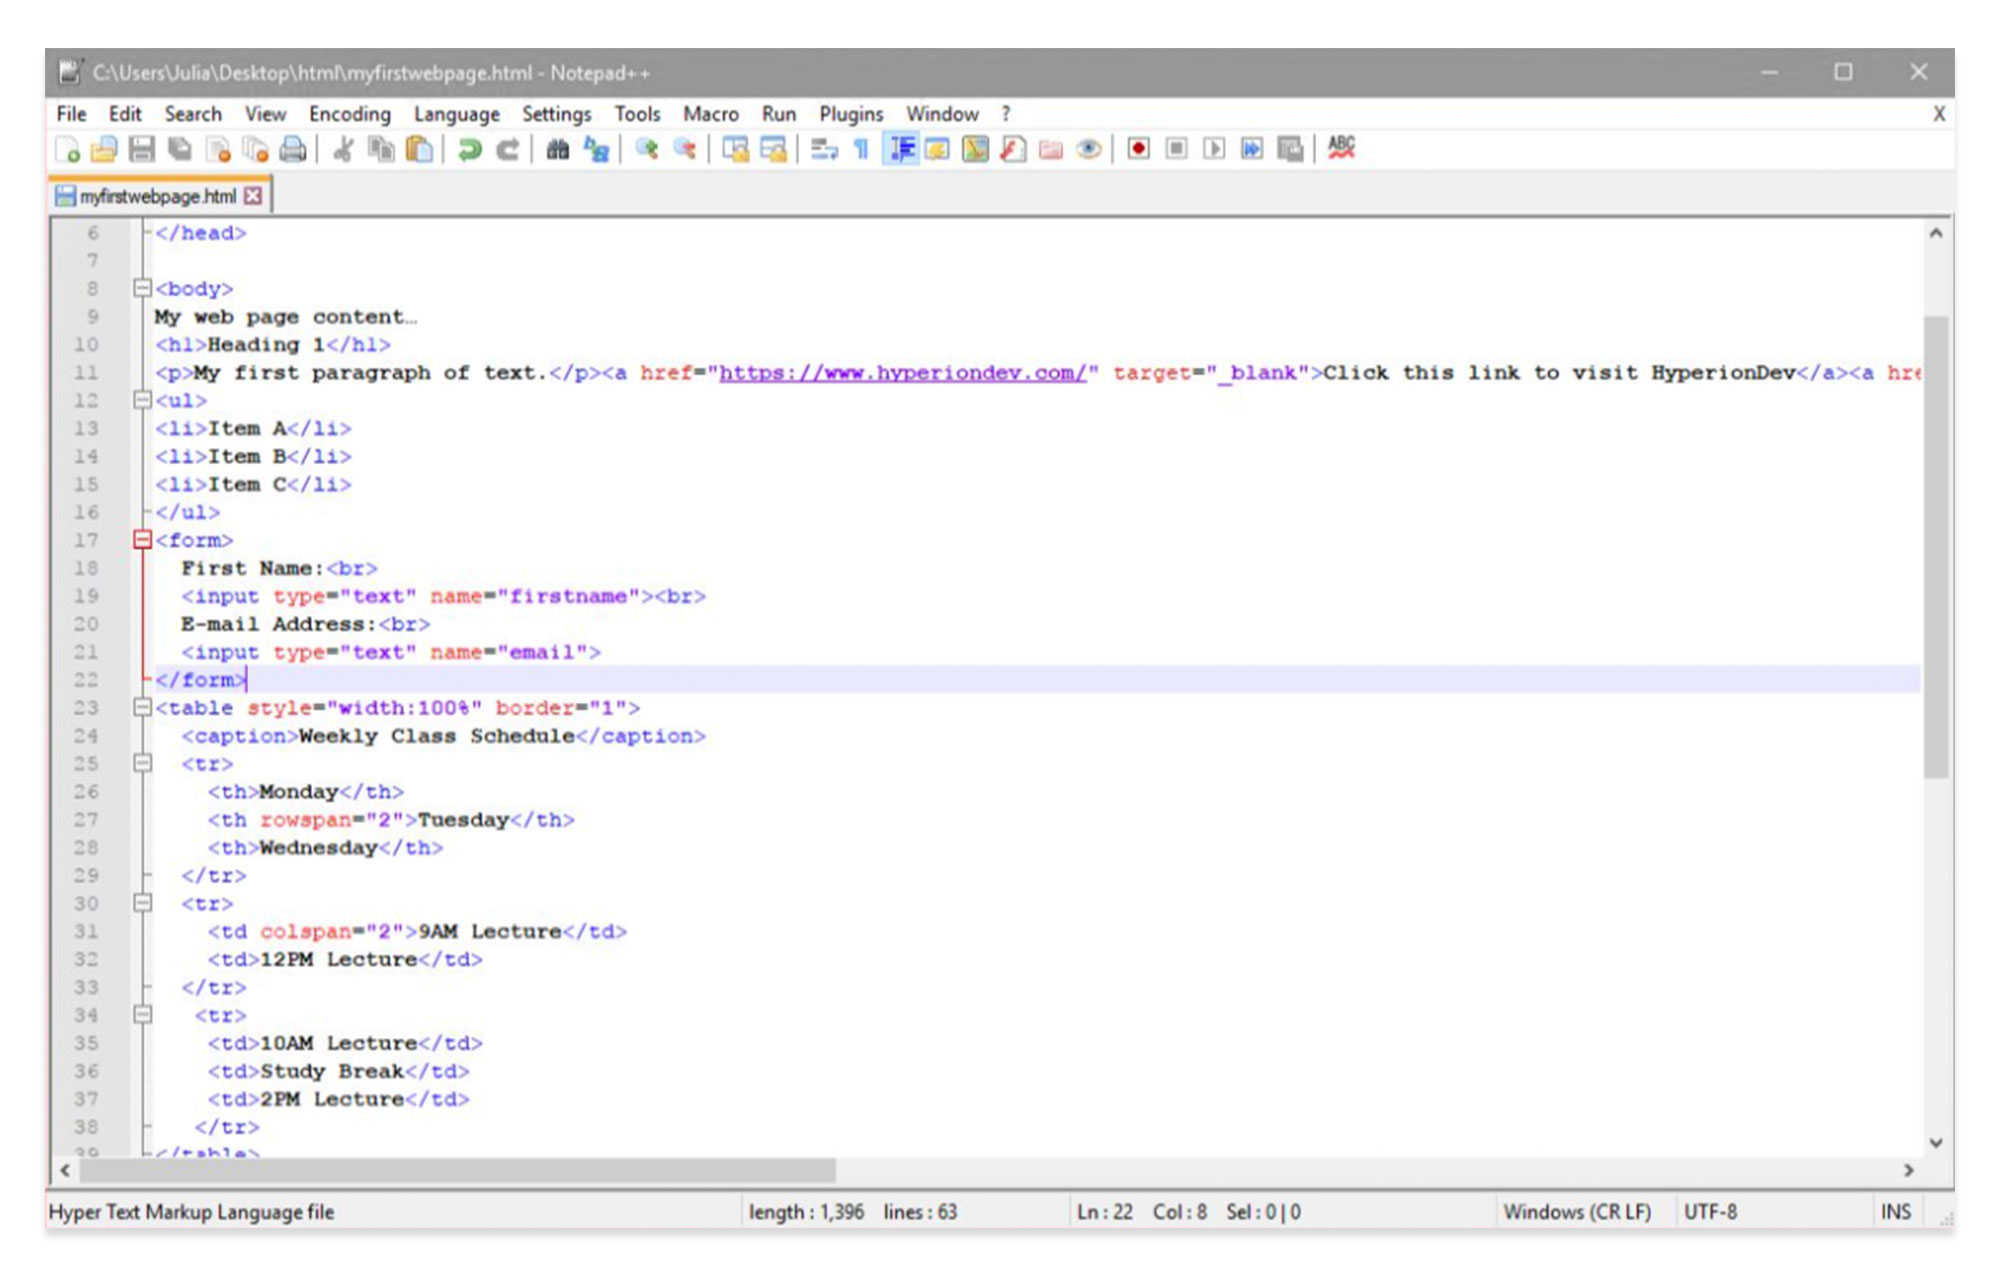
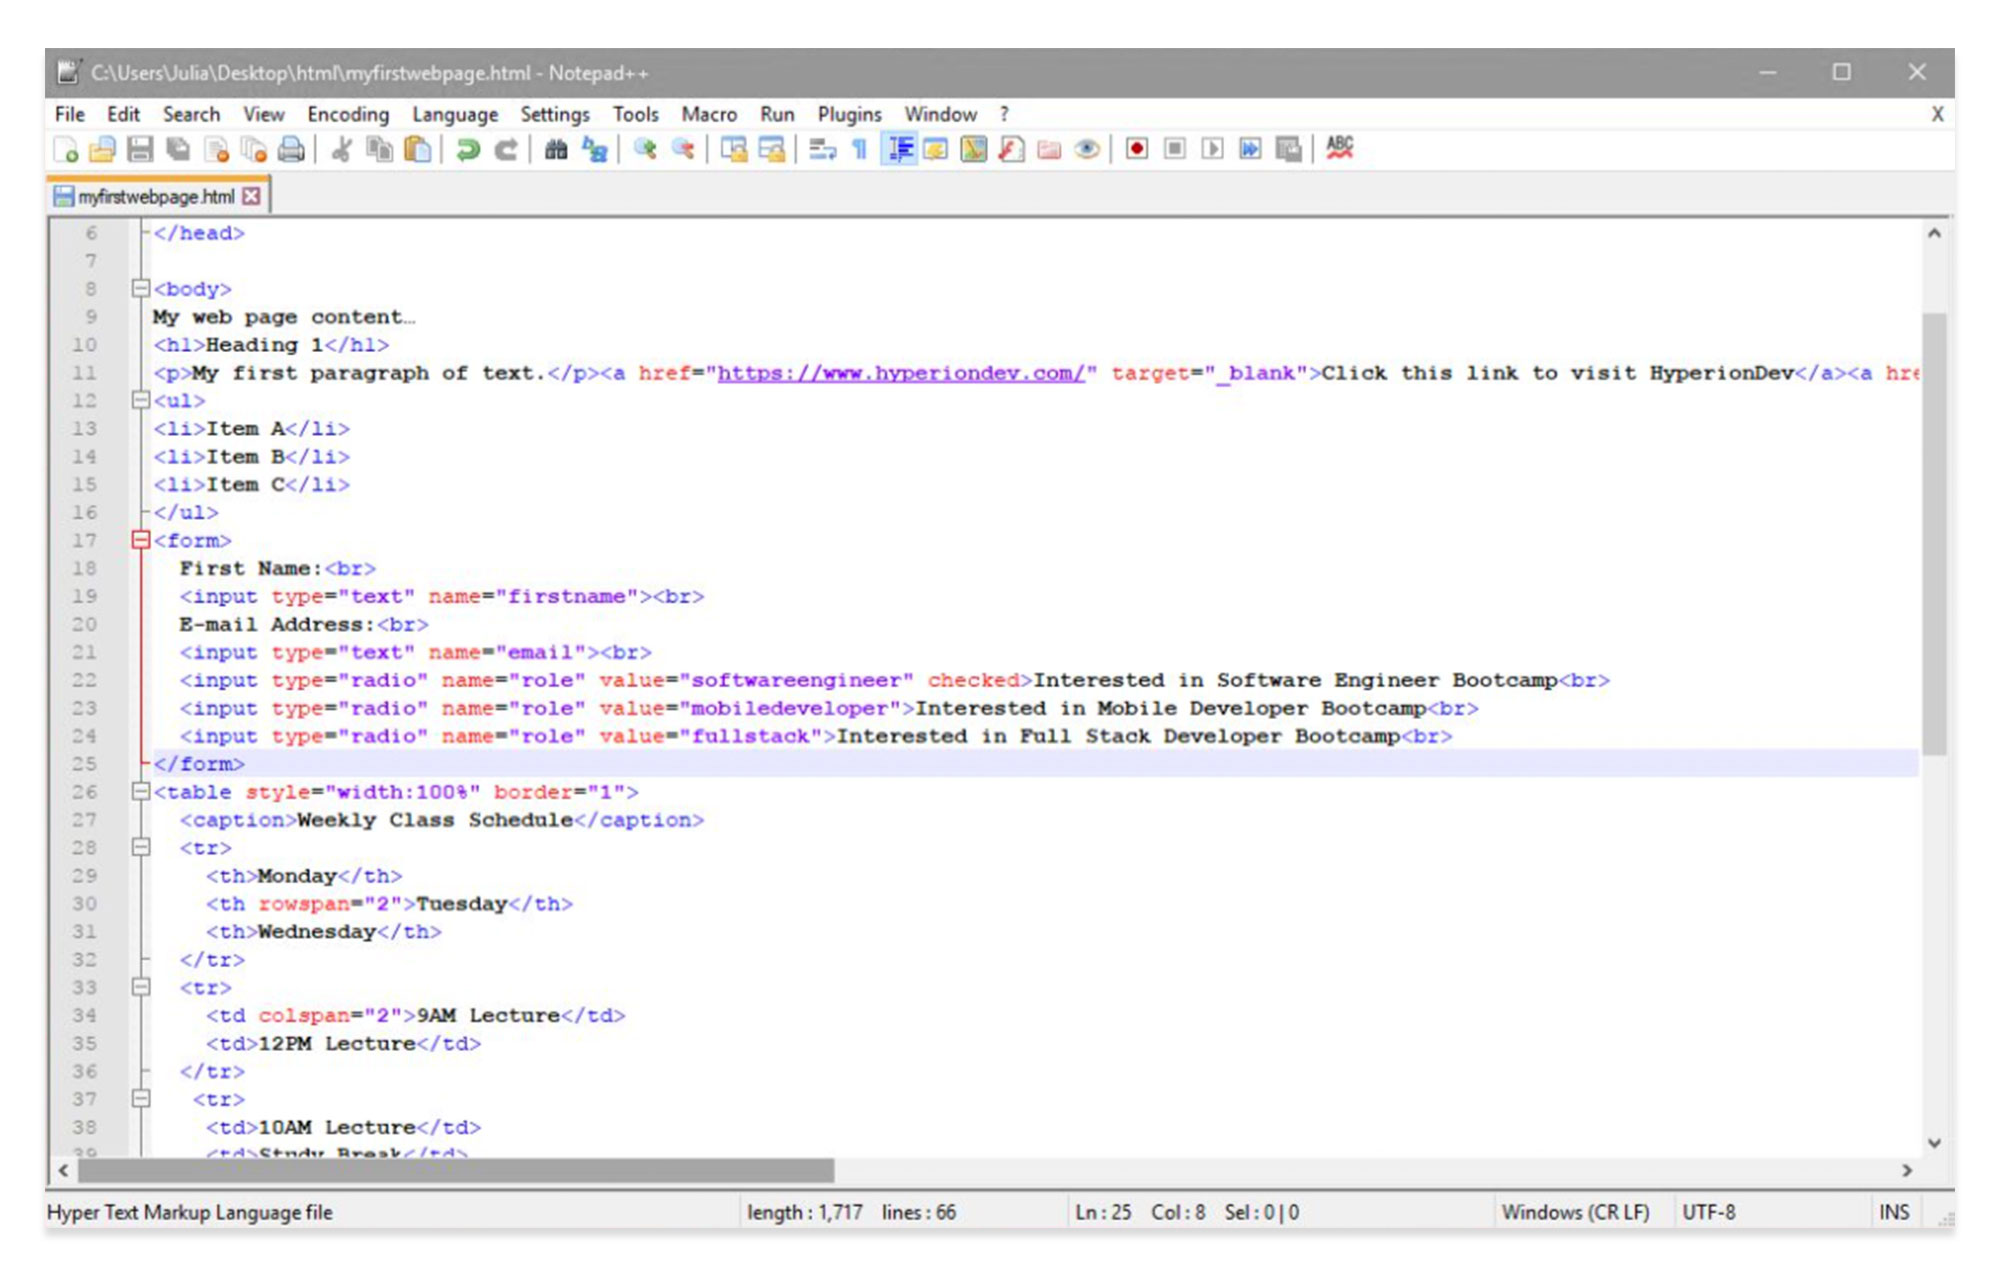
Text fields: Add attributes into your form as follows, asking the user to input their name and e-mail address. The tag adds a break, which allows you to display text on a new line. The input type and name must appear inside quotation marks.
First Name:
E-mail Address:
Now the input fields will appear in the form on your page.
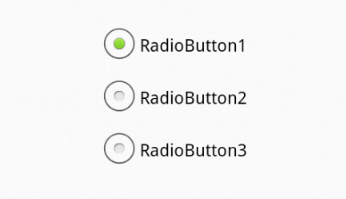
Radio buttons: A radio button is a graphical icon representing one of a set of options. A user can only select one option at a time.
You will also need to use a value attribute, which specifies the value of an element. Again, input types and names must appear inside quotation marks.
Add three radio button options to your form, using this code:
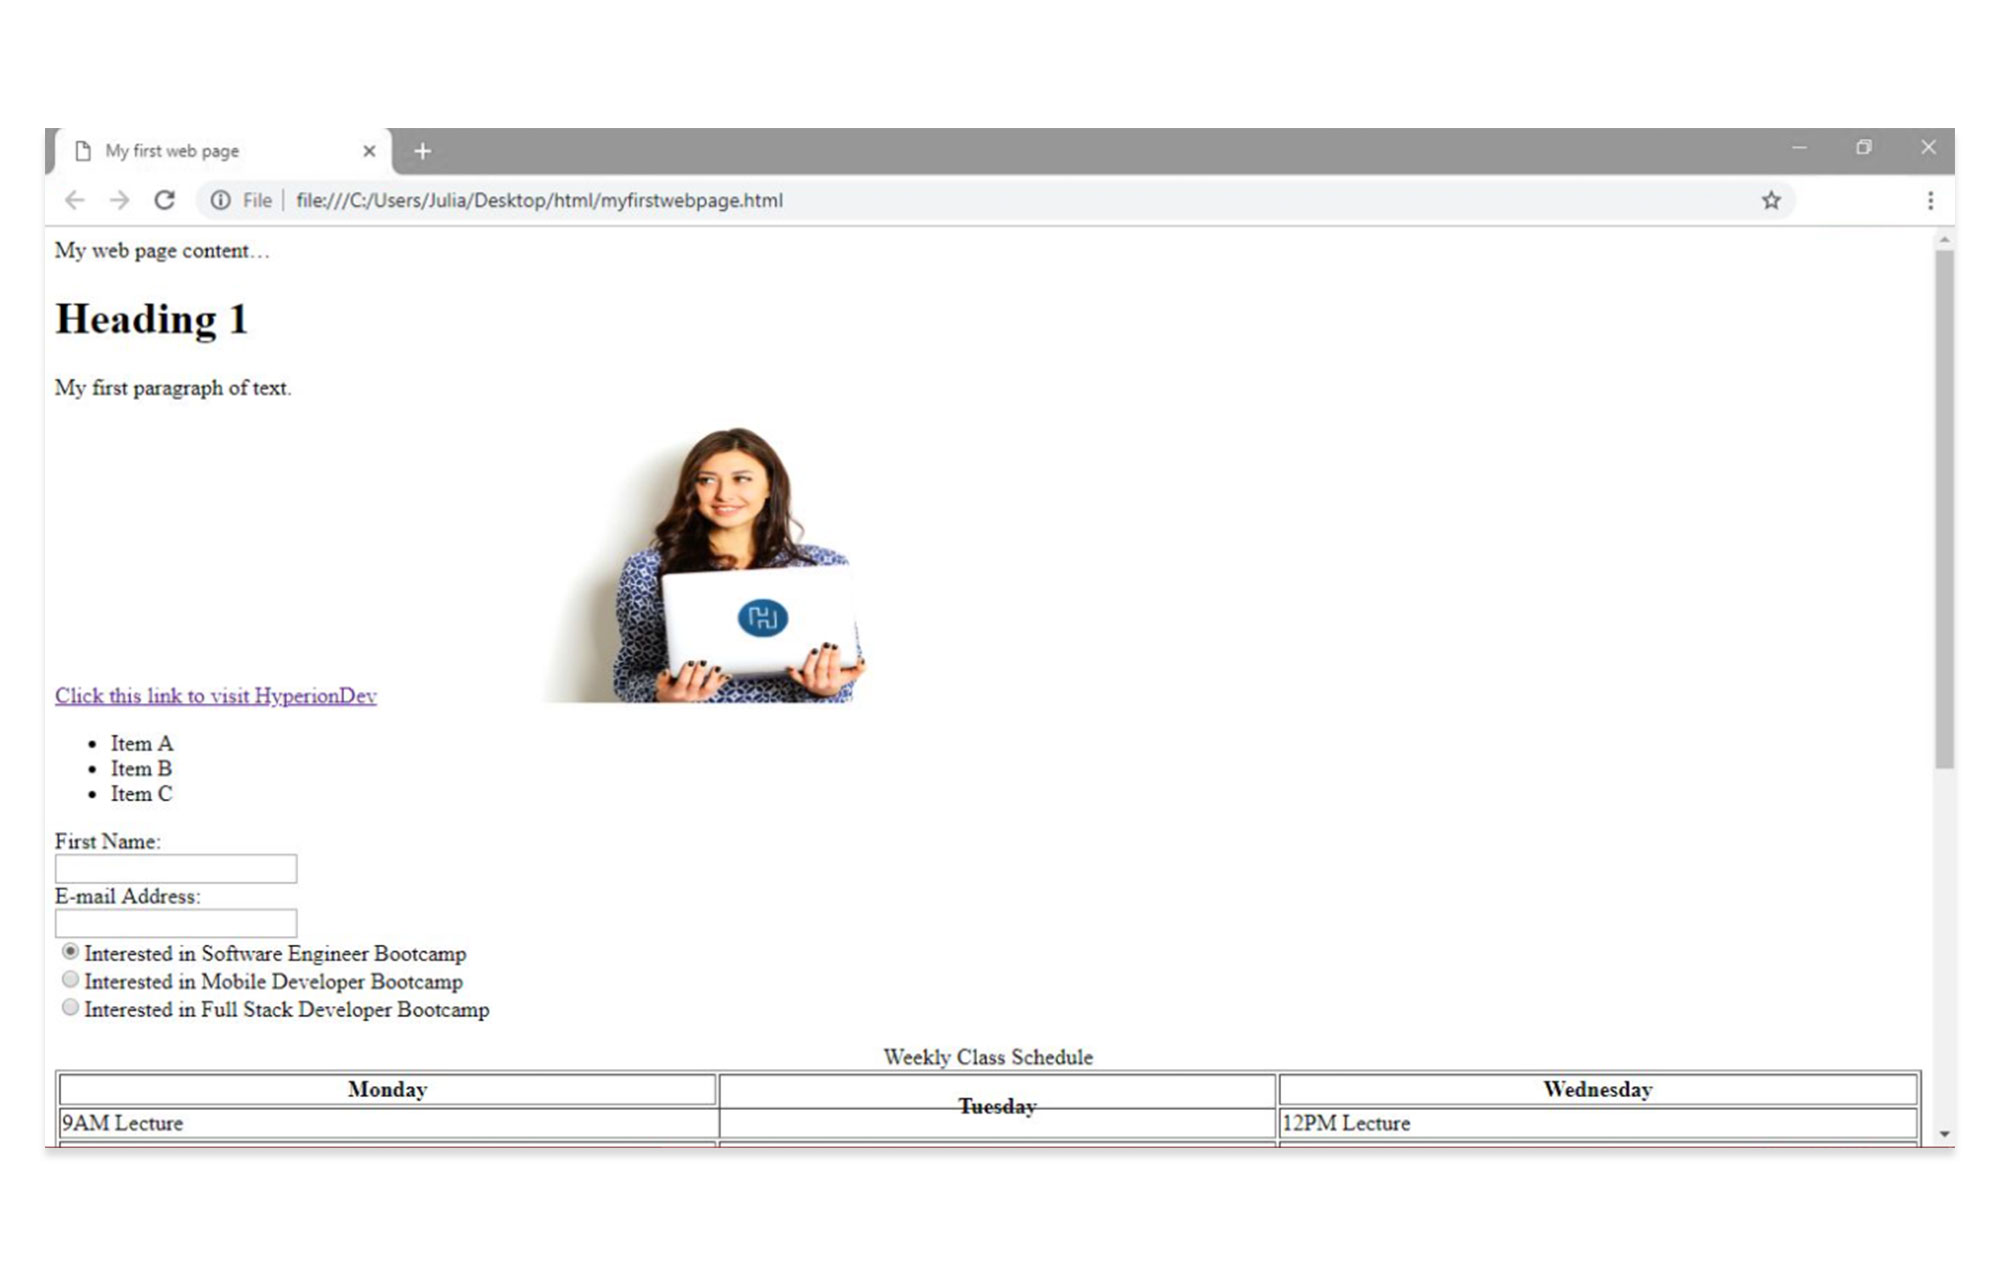
 First Name:

E-mail Address:

Interested in Software Engineer Bootcamp
Interested in Mobile Developer Bootcamp
Interested in Full Stack Developer Bootcamp
The updated page will display a choice of three clickable radio buttons.
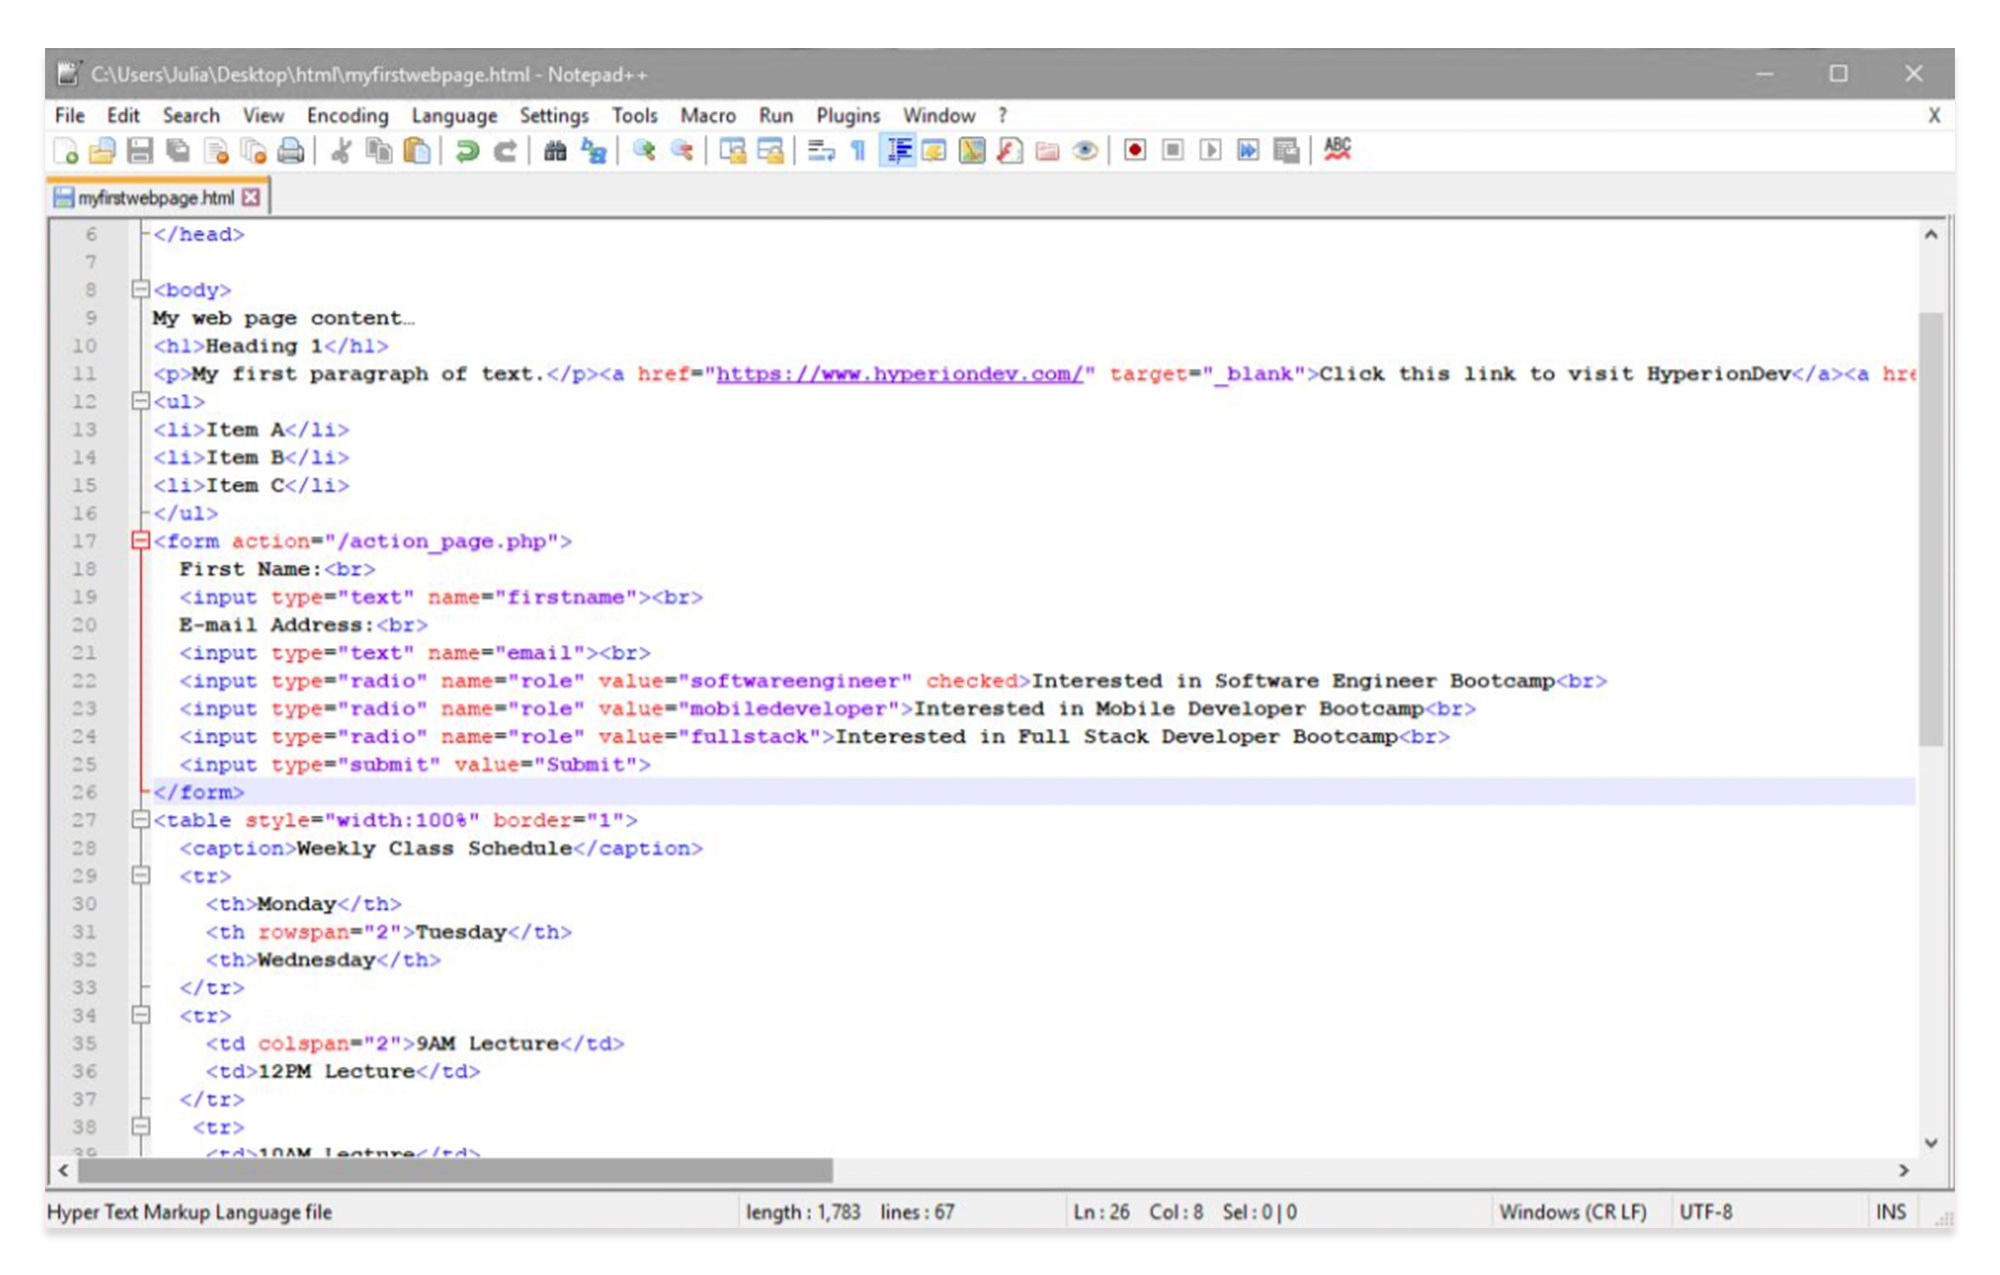
Submit button: This button allows the user to submit the form data to a form-handler; a server page that processes the data.
The form-handler is typically a server page with a script for processing input data.
The form-handler is specified using the action attribute. This attribute defines the action that will be performed when the form is submitted. In this case, “/action_page.php” would contain a server-side script to handle the form data.
Add a submit button and action attribute to your form as follows:
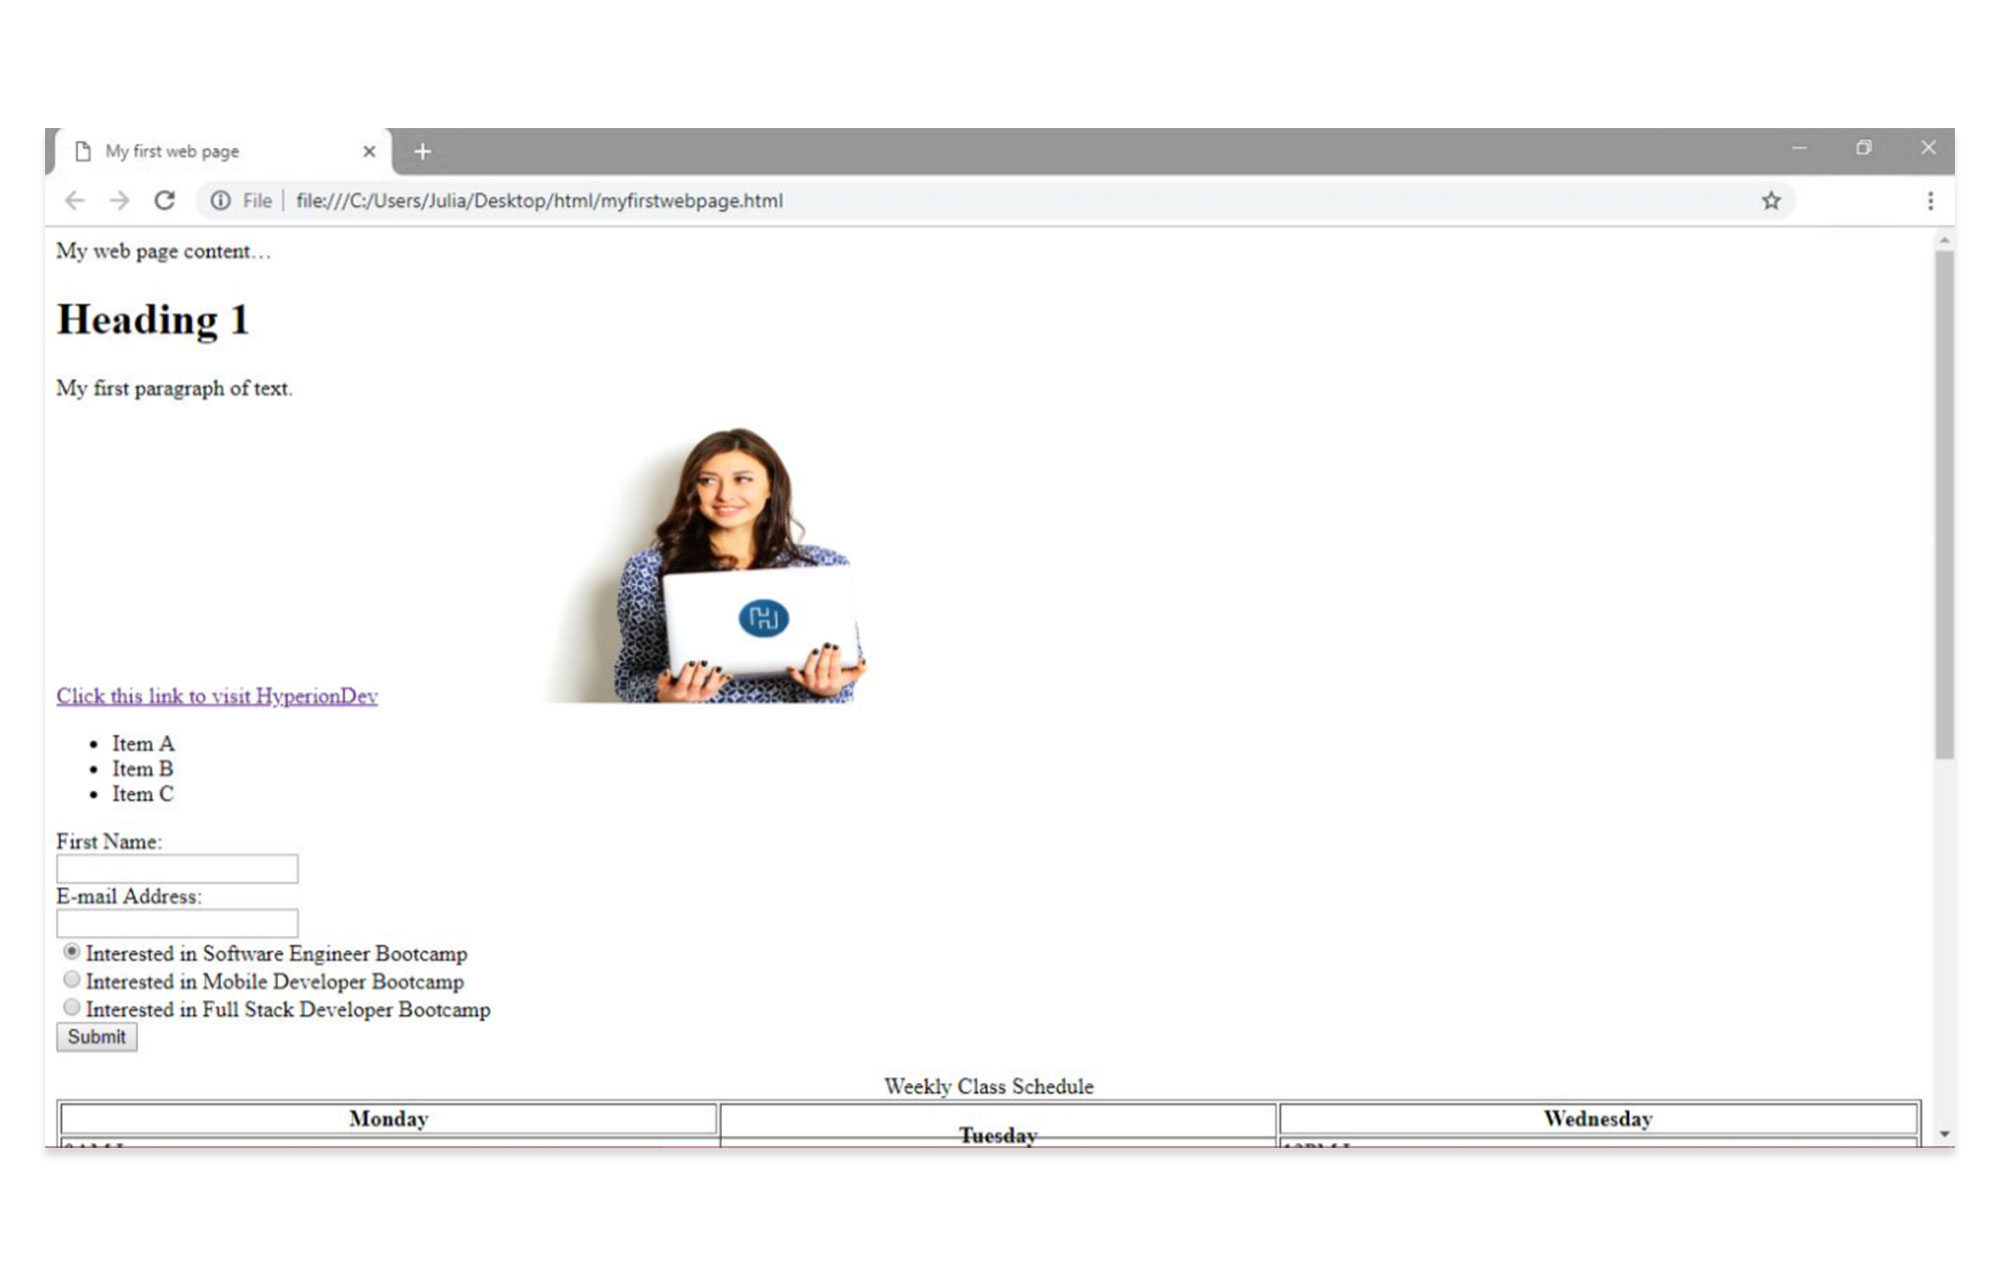
First Name:
E-mail Address:
Interested in Software Engineer Bootcamp Interested in Mobile Developer Bootcamp Interested in Full Stack Developer Bootcamp
The submit button will appear in the browser.
Now that you’ve covered the basics of tables and forms, you can try your hand at some more complex layouts.
If you want to learn about the finer details of HTML coding, it’s time to go a little further than an HTML tutorial for beginners. Dive into an online coding bootcamp , complete with mentorship and code review.