Connecting to database
This functionality relies on the Database tools and SQL plugin, which is bundled and enabled in IntelliJ IDEA by default. If the relevant features aren’t available, make sure that you didn’t disable the plugin.
The Database tools and SQL plugin is available only in IntelliJ IDEA Ultimate.
- Press Control+Alt+S to open the IDE settings and then select Plugins .
- Open the Installed tab, find the Database tools and SQL plugin, and select the checkbox next to the plugin name.
To connect to a database and start working with it, you must create a data source that will contain the connection details, and specify those details for the database that you are connecting to.
Select a database that you want to connect to. IntelliJ IDEA provides a complete support for the following database vendors:
Complete support of a database vendor includes such features as enhanced code completion and better retrieval of database objects (introspection). All the inspections, quick-fixes, and other code assistance features are also available. Whereas a basic support has limited features available.
For more information on the support types, refer to the Other databases topic.
For the database vendors listed below, a basic support is provided:
- AWS Athena
- Apache Ignite
- Apache Spark
- DuckDB
- Elasticsearch
- Firebird
- Google Cloud Spanner
- Informix
- InterSystems IRIS
- Mimer SQL
- OpenEdge
- Phoenix
- Presto
- SAP HANA
- SingleStore
- Tarantool
- Teradata
- TiDB
- Tibero
- Trino
- YugabyteDB
SQLite
This functionality relies on the Database tools and SQL plugin, which is bundled and enabled in IntelliJ IDEA by default. If the relevant features aren’t available, make sure that you didn’t disable the plugin.
The Database tools and SQL plugin is available only in IntelliJ IDEA Ultimate.
- Press Control+Alt+S to open the IDE settings and then select Plugins .
- Open the Installed tab, find the Database tools and SQL plugin, and select the checkbox next to the plugin name.
Official documentation and software
- For full information about SQLite, refer to the official documentation.
- To download SQLite database software, refer to the official software downloads.
This topic presents a general procedure on how you can connect to SQLite from IntelliJ IDEA. It is assumed that you already have the necessary prerequisites and the database is up and running. For example, if you want to run a database on your machine and connect to that database, the corresponding DBMS software must be installed on the machine first.
Connect to an SQLite database
- To connect to the database, create a data source that will store your connection details. You can do this using one of the following ways:
- From the main menu, navigate to File | New | Data Source and select SQLite .
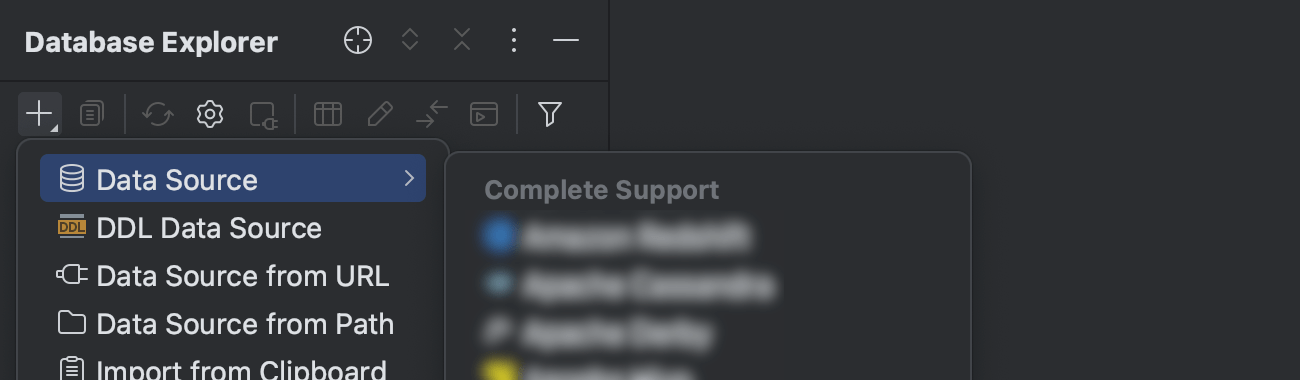
- In the Database tool window ( View | Tool Windows | Database ) , click the New icon () in the toolbar. Navigate to Data Source and select SQLite .
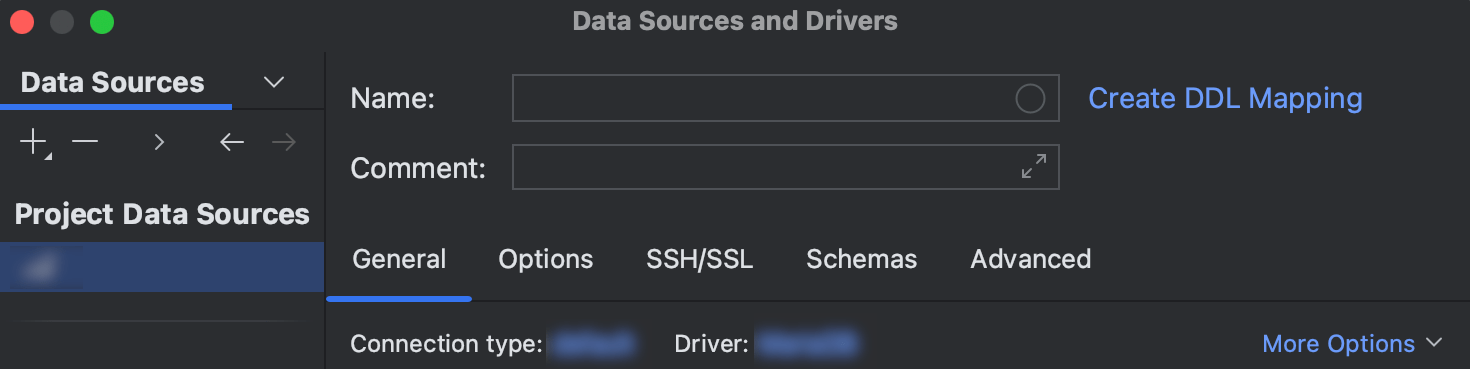
- In the General tab of Data Sources and Drivers dialog right pane, specify the driver and connection type.
- In the Driver list, leave the default driver option, unless another driver is required for your connection.
- From the Connection type list, select the connection type depending on the connection details that you have:
- default : connect by using the path to SQLite database file.
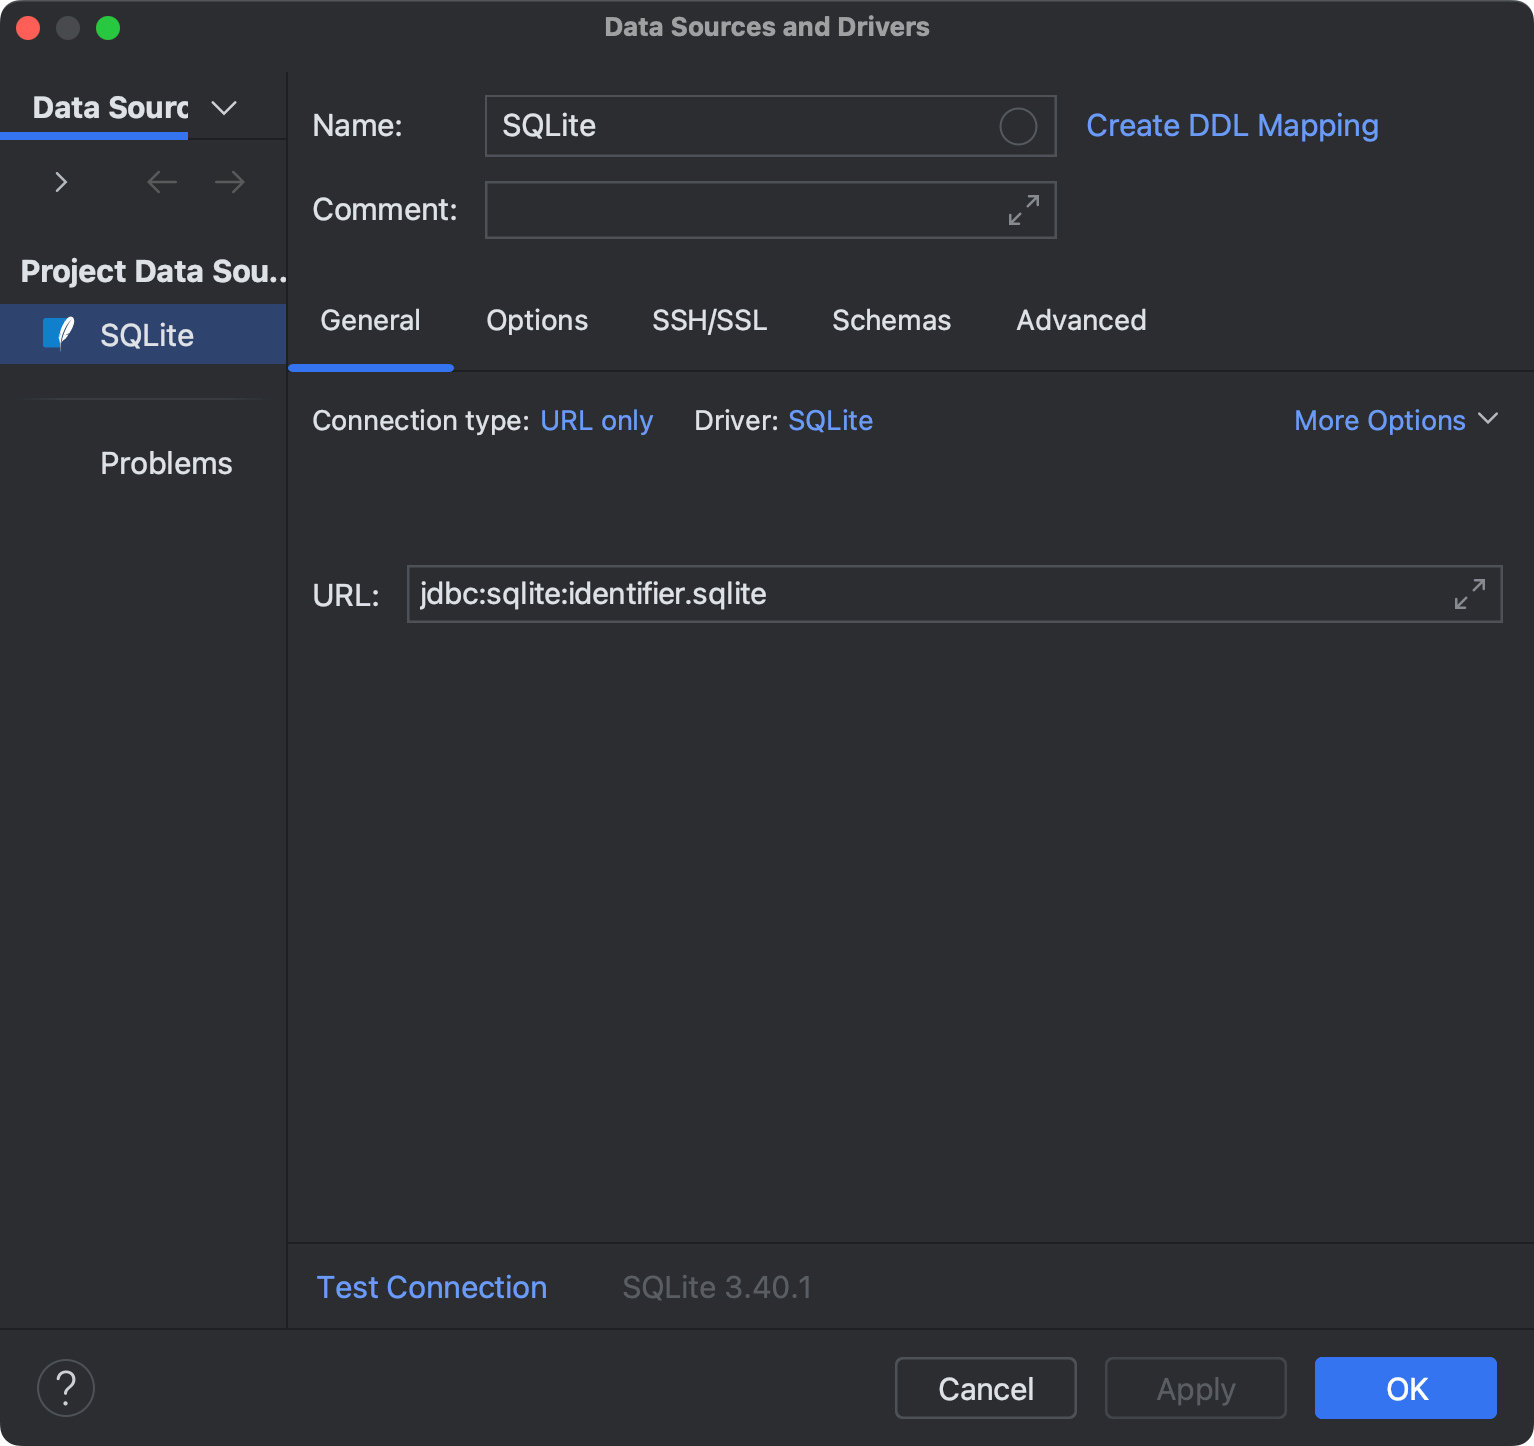
- URL only : connect by using only the URL .
For the URL only connection type, the JDBC URL that you enter is used as is.
For the other connection types, the JDBC URL is broken down into connection details. You can either specify them separately and use the automatically generated URL, or you can enter the URL directly in the corresponding field.
 You can also use your drivers for the database instead of the provided ones. For more information about connecting to a database with your driver, see Add a user driver to an existing connection. If there is no Download missing driver files link, then you already have the required drivers.
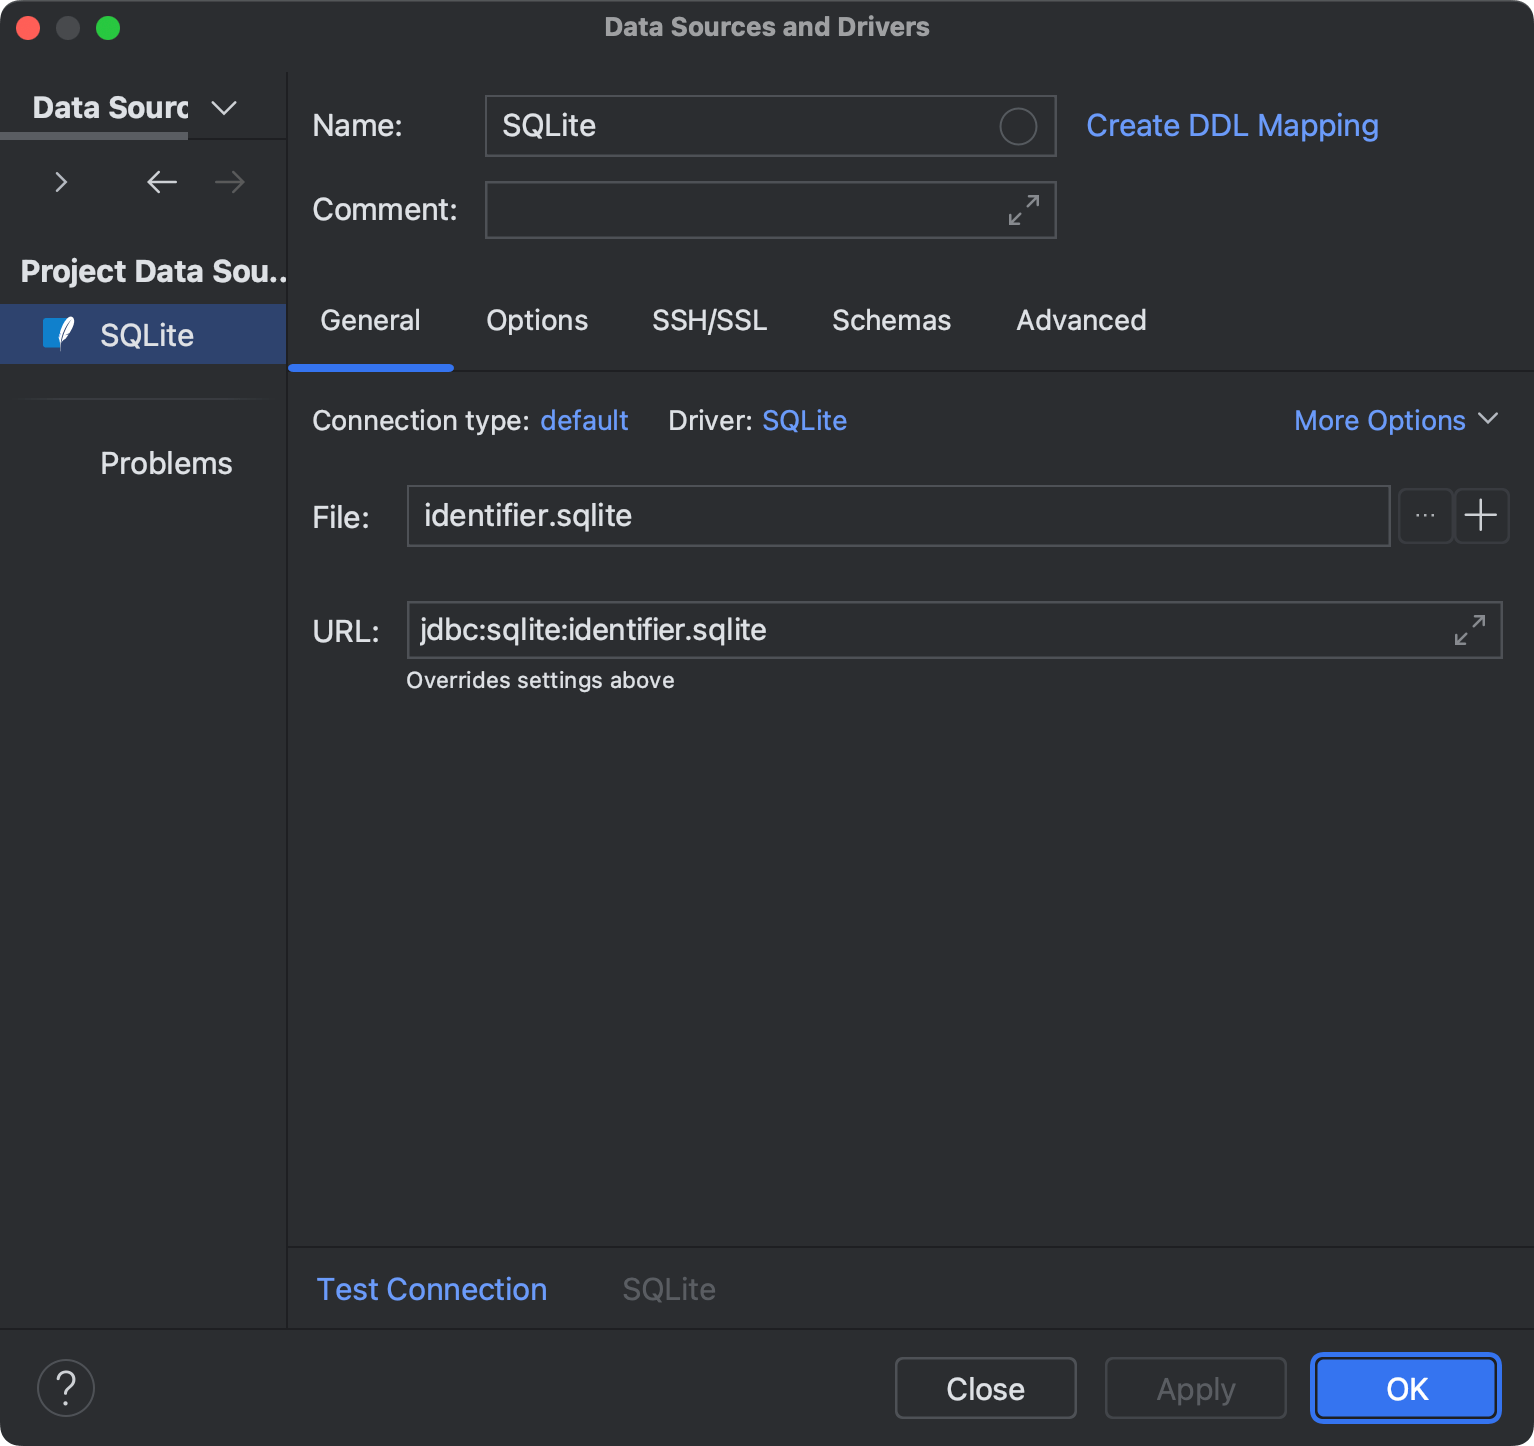
- To connect to an existing SQLite database, specify a file path to the database file in the File field. Alternatively, click the Open button () and navigate to the file.
- To create a new SQLite database, change the default identifier.sqlite name of the database, if needed. Alternatively, click the New button () and specify the name and location for your new database file.
- Also, to create a database, you can drag an SQLite database file to the Database tool window.
- In the URL field, IntelliJ IDEA generates the JDBC URL automatically using the values of other connection settings. If you need to use a JDBC URL with certain additional settings, paste it in the URL field. The general URL to use is as follows:
- Format: jdbc:sqlite:/
- Example: jdbc:sqlite:/Users/JetBrains/db/myDatabase
- Paste the JDBC URL in the URL field.
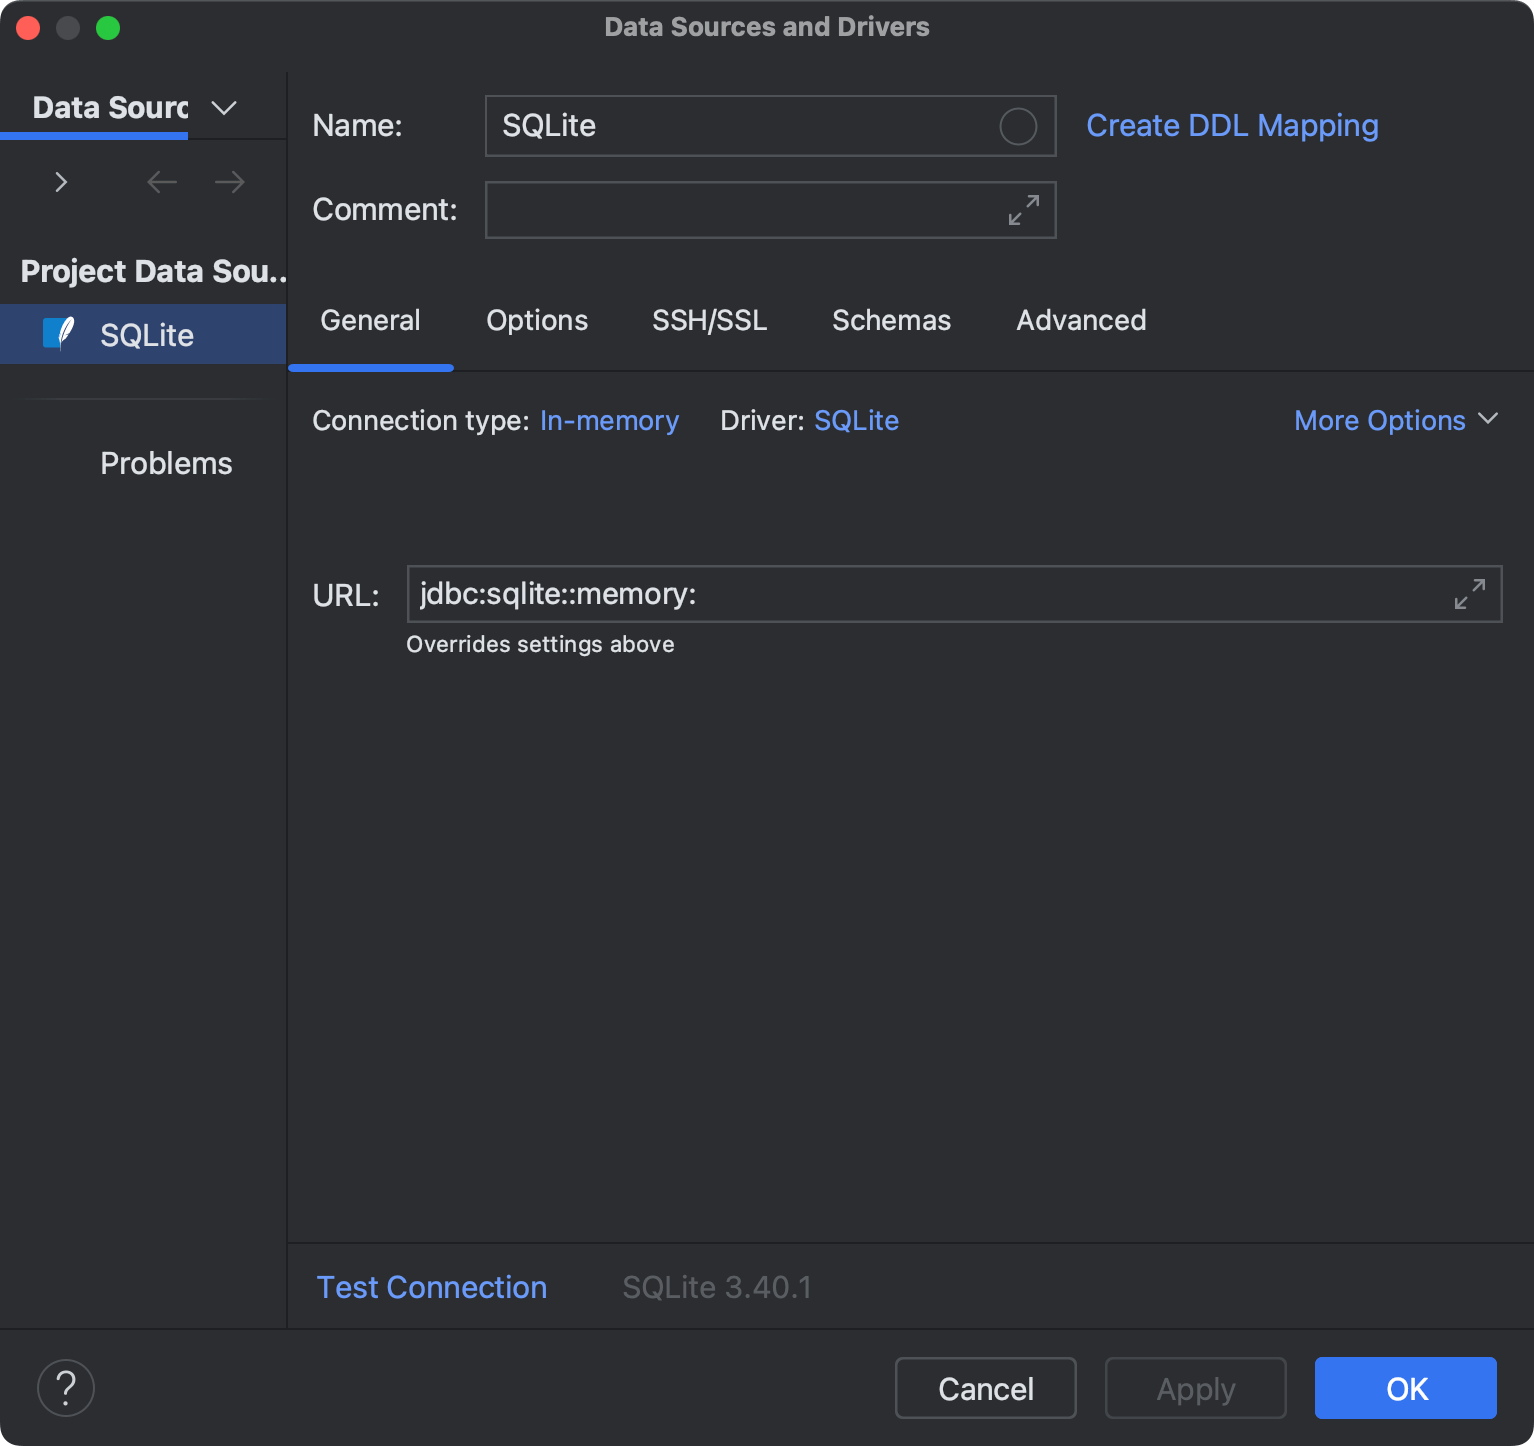
- In the URL field, IntelliJ IDEA generates the JDBC URL automatically using the values of other connection settings. If you need to use a JDBC URL with certain additional settings, paste it in the URL field. The general URL to use is as follows:
- Format: jdbc:sqlite::memory:
- Example: jdbc:sqlite::memory:
- Paste the JDBC URL in the URL field.
- In the URL field, IntelliJ IDEA generates the JDBC URL automatically using the values of other connection settings. If you need to use a JDBC URL with certain additional settings, paste it in the URL field.
For the reference information about connection settings (for example, Host , Port , and so on) on the General and other tabs of Data Sources and Drivers dialog ( Shift+Enter ), see Data source settings.
 In case of any connection issues, refer to the Cannot connect to a database page.
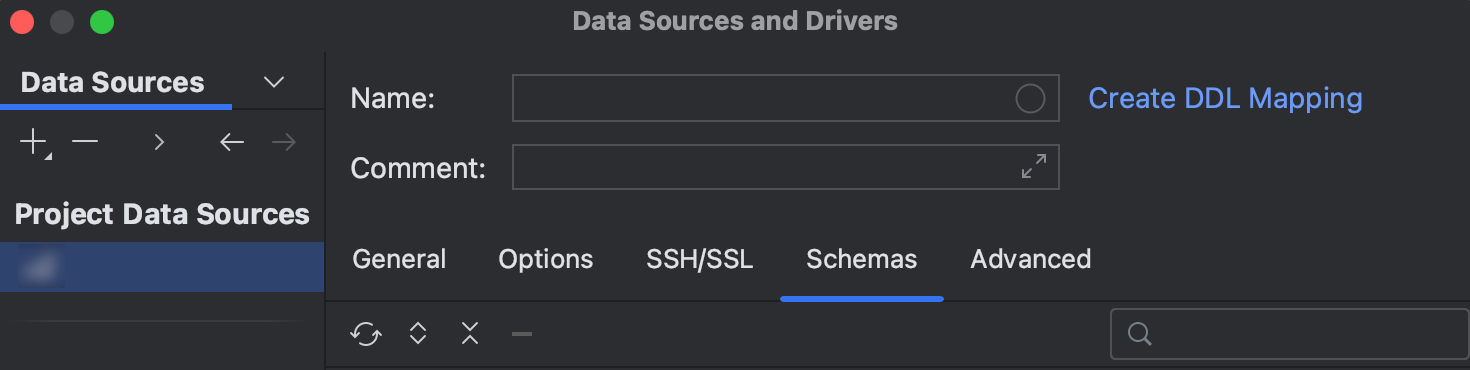
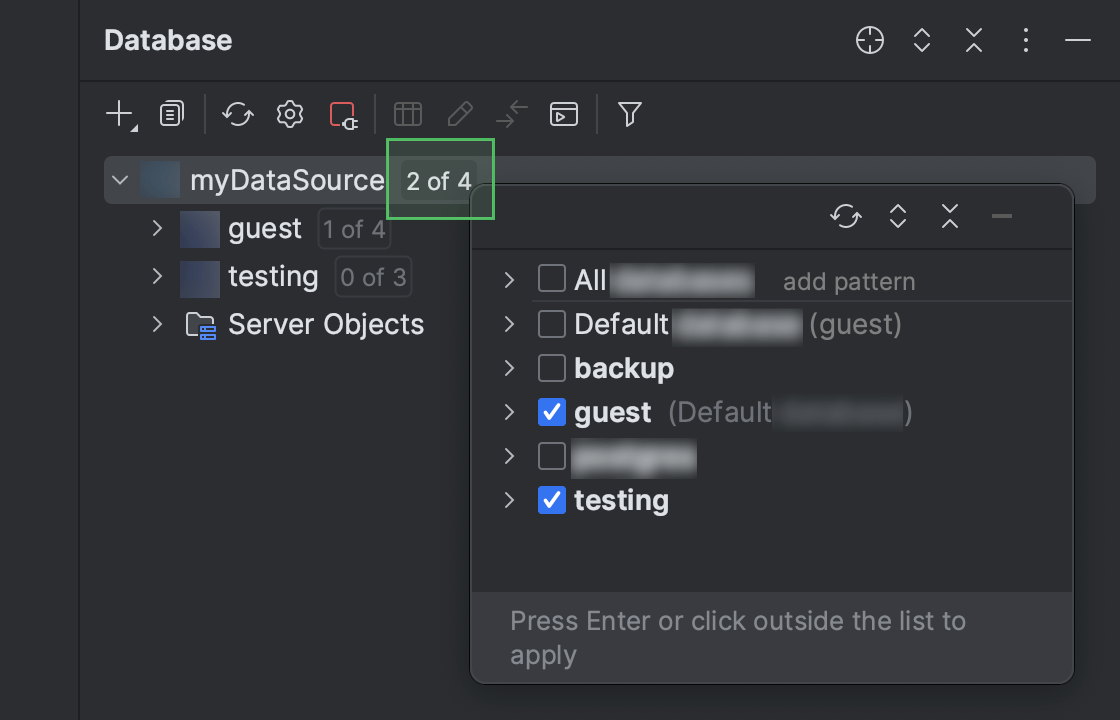
- To learn more about the Database tool window, see the corresponding reference topic. To see more schemas under your new data source node, click the N of M button and select the ones you need. IntelliJ IDEA will introspect and show them.

- To learn how to work with database objects in IntelliJ IDEA, see Database objects.
- To write and run queries, open the default query console by clicking the data source and pressing F4 .
- To view and edit data of a database object, open Data Editor and Viewer by double-clicking the object.