- Как сделать — Форму регистрации
- Форма регистрации
- Создать форму регистрации
- Пример
- Форма регистрации
- Пример
- Создать модальную форму регистрации
- Пример
- Форма регистрации
- Пример
- Пример
- Register
- How To Create a Register Form
- Example
- Register
- Example
- Registration Form in HTML
- Pre-requisites
- What Are We Creating?
- HTML Structure for Registration Page
- CSS Styling for Registration Page
- Conclusion
Как сделать — Форму регистрации
Узнать, как создать адаптивную форму регистрации с помощью CSS.
Нажмите на кнопку, чтобы открыть форму регистрации:
Форма регистрации
Пожалуйста, заполните эту форму, чтобы создать учетную запись.
Создавая учетную запись, вы соглашаетесь с нашим Условия и конфиденциальность.
Создать форму регистрации
Шаг 1) Добавить HTML:
Используйте элемент для обработки входных данных. Вы можете узнать больше об этом в нашем учебнике PHP. Затем добавьте входные данные (с соответствующей меткой) для каждого поля:
Пример
Шаг 2) Добавить CSS:
Пример
/* Поля ввода полной ширины */
input[type=text], input[type=password] width: 100%;
padding: 15px;
margin: 5px 0 22px 0;
display: inline-block;
border: none;
background: #f1f1f1;
>
input[type=text]:focus, input[type=password]:focus background-color: #ddd;
outline: none;
>
hr border: 1px solid #f1f1f1;
margin-bottom: 25px;
>
/* Установите стиль для всех кнопок */
button background-color: #4CAF50;
color: white;
padding: 14px 20px;
margin: 8px 0;
border: none;
cursor: pointer;
width: 100%;
opacity: 0.9;
>
/* Дополнительные стили для кнопки «Отмена» */
.cancelbtn padding: 14px 20px;
background-color: #f44336;
>
/* Поплавок отмена и кнопки регистрации и добавить равную ширину */
.cancelbtn, .signupbtn float: left;
width: 50%;
>
/* Добавить отступы к элементам контейнера */
.container padding: 16px;
>
/* Очистить поплавки */
.clearfix::after content: «»;
clear: both;
display: table;
>
/* Измените стили для кнопки отмены и кнопки регистрации на дополнительных маленьких экранах */
@media screen and (max-width: 300px) .cancelbtn, .signupbtn width: 100%;
>
>
Создать модальную форму регистрации
Шаг 1) Добавить HTML:
Используйте элемент для обработки входных данных. Вы можете узнать больше об этом в нашем учебнике PHP. Затем добавьте входные данные (с соответствующей меткой) для каждого поля:
Пример
times;
Форма регистрации
Пожалуйста, заполните эту форму, чтобы создать учетную запись.
Шаг 2) Добавить CSS:
Пример
*
/* Поля ввода полной ширины */
input[type=text], input[type=password] width: 100%;
padding: 15px;
margin: 5px 0 22px 0;
display: inline-block;
border: none;
background: #f1f1f1;
>
/* Добавить цвет фона, когда входы получают фокус */
input[type=text]:focus, input[type=password]:focus background-color: #ddd;
outline: none;
>
/* Установите стиль для всех кнопок */
button background-color: #4CAF50;
color: white;
padding: 14px 20px;
margin: 8px 0;
border: none;
cursor: pointer;
width: 100%;
opacity: 0.9;
>
/* Дополнительные стили для кнопки «Отмена» */
.cancelbtn padding: 14px 20px;
background-color: #f44336;
>
/* Поплавок очистить и кнопки регистрации и добавить равную ширину */
.cancelbtn, .signupbtn float: left;
width: 50%;
>
/* Добавить отступы к элементам контейнера */
.container padding: 16px;
>
/* Модальный (фон) */
.modal display: none; /* Скрыто по умолчанию */
position: fixed; /* Оставаться на месте */
z-index: 1; /* Сидеть на вершине */
left: 0;
top: 0;
width: 100%; /* Полная ширина */
height: 100%; /* Полный высота */
overflow: auto; /* Включите прокрутку, если это необходимо */
background-color: #474e5d;
padding-top: 50px;
>
/* Модальное Содержание/Бокс */
.modal-content background-color: #fefefe;
margin: 5% auto 15% auto; /* 5% сверху, 15% снизу и по центру */
border: 1px solid #888;
width: 80%; /* Может быть больше или меньше, в зависимости от размера экрана */
>
/* Стиль горизонтальной линейки */
hr border: 1px solid #f1f1f1;
margin-bottom: 25px;
>
/* кнопка закрытия (x) */
.close position: absolute;
right: 35px;
top: 15px;
font-size: 40px;
font-weight: bold;
color: #f1f1f1;
>
.close:hover,
.close:focus color: #f44336;
cursor: pointer;
>
/* Снимите поплавки */
.clearfix::after content: «»;
clear: both;
display: table;
>
/* Измените стили для кнопки отмены и кнопки регистрации на дополнительных маленьких экранах */
@media screen and (max-width: 300px) .cancelbtn, .signupbtn width: 100%;
>
>
Совет: Вы также можете использовать следующий javascript для закрытия модального, щелкнув за пределами модального содержимого (а не только с помощью кнопки «x» или «отмена», чтобы закрыть его):
Пример
// Когда пользователь щелкает в любом месте за пределами модального, закройте его
window.onclick = function(event) if (event.target == modal) modal.style.display = «none»;
>
>
Совет: Зайдите на наш учебник HTML Форма, чтобы узнать больше о формах HTML.
Совет: Зайдите на наш учебник CSS Форма, чтобы узнать больше о том, как стилизовать элементы формы.
Register
By creating an account you agree to our Terms & Privacy.
How To Create a Register Form
Step 1) Add HTML:
Use a element to process the input. You can learn more about this in our PHP tutorial. Then add inputs (with a matching label) for each field:
Example
Step 2) Add CSS:
Example
/* Add padding to containers */
.container padding: 16px;
>
/* Full-width input fields */
input[type=text], input[type=password] width: 100%;
padding: 15px;
margin: 5px 0 22px 0;
display: inline-block;
border: none;
background: #f1f1f1;
>
input[type=text]:focus, input[type=password]:focus background-color: #ddd;
outline: none;
>
/* Overwrite default styles of hr */
hr border: 1px solid #f1f1f1;
margin-bottom: 25px;
>
/* Set a style for the submit/register button */
.registerbtn background-color: #04AA6D;
color: white;
padding: 16px 20px;
margin: 8px 0;
border: none;
cursor: pointer;
width: 100%;
opacity: 0.9;
>
/* Add a blue text color to links */
a color: dodgerblue;
>
/* Set a grey background color and center the text of the «sign in» section */
.signin background-color: #f1f1f1;
text-align: center;
>
Tip: Go to our HTML Form Tutorial to learn more about HTML Forms.
Tip: Go to our CSS Form Tutorial to learn more about how to style form elements.
Registration Form in HTML

Offering users simple registration and login forms is essential for any software application as it mostly serves as the application’s entry point. Hence, building a login or registration form that delivers a good user experience can potentially impart a first good impression to users regarding the entire application.
When it comes to building a form, there are many key aspects to be concerned about, such as form validation, how the authentication is designed, and its user interface. This article will discuss how to create a basic UI of a registration form in HTML and CSS.
Pre-requisites
Before we start, we assume you have a basic understanding of flexbox in CSS .
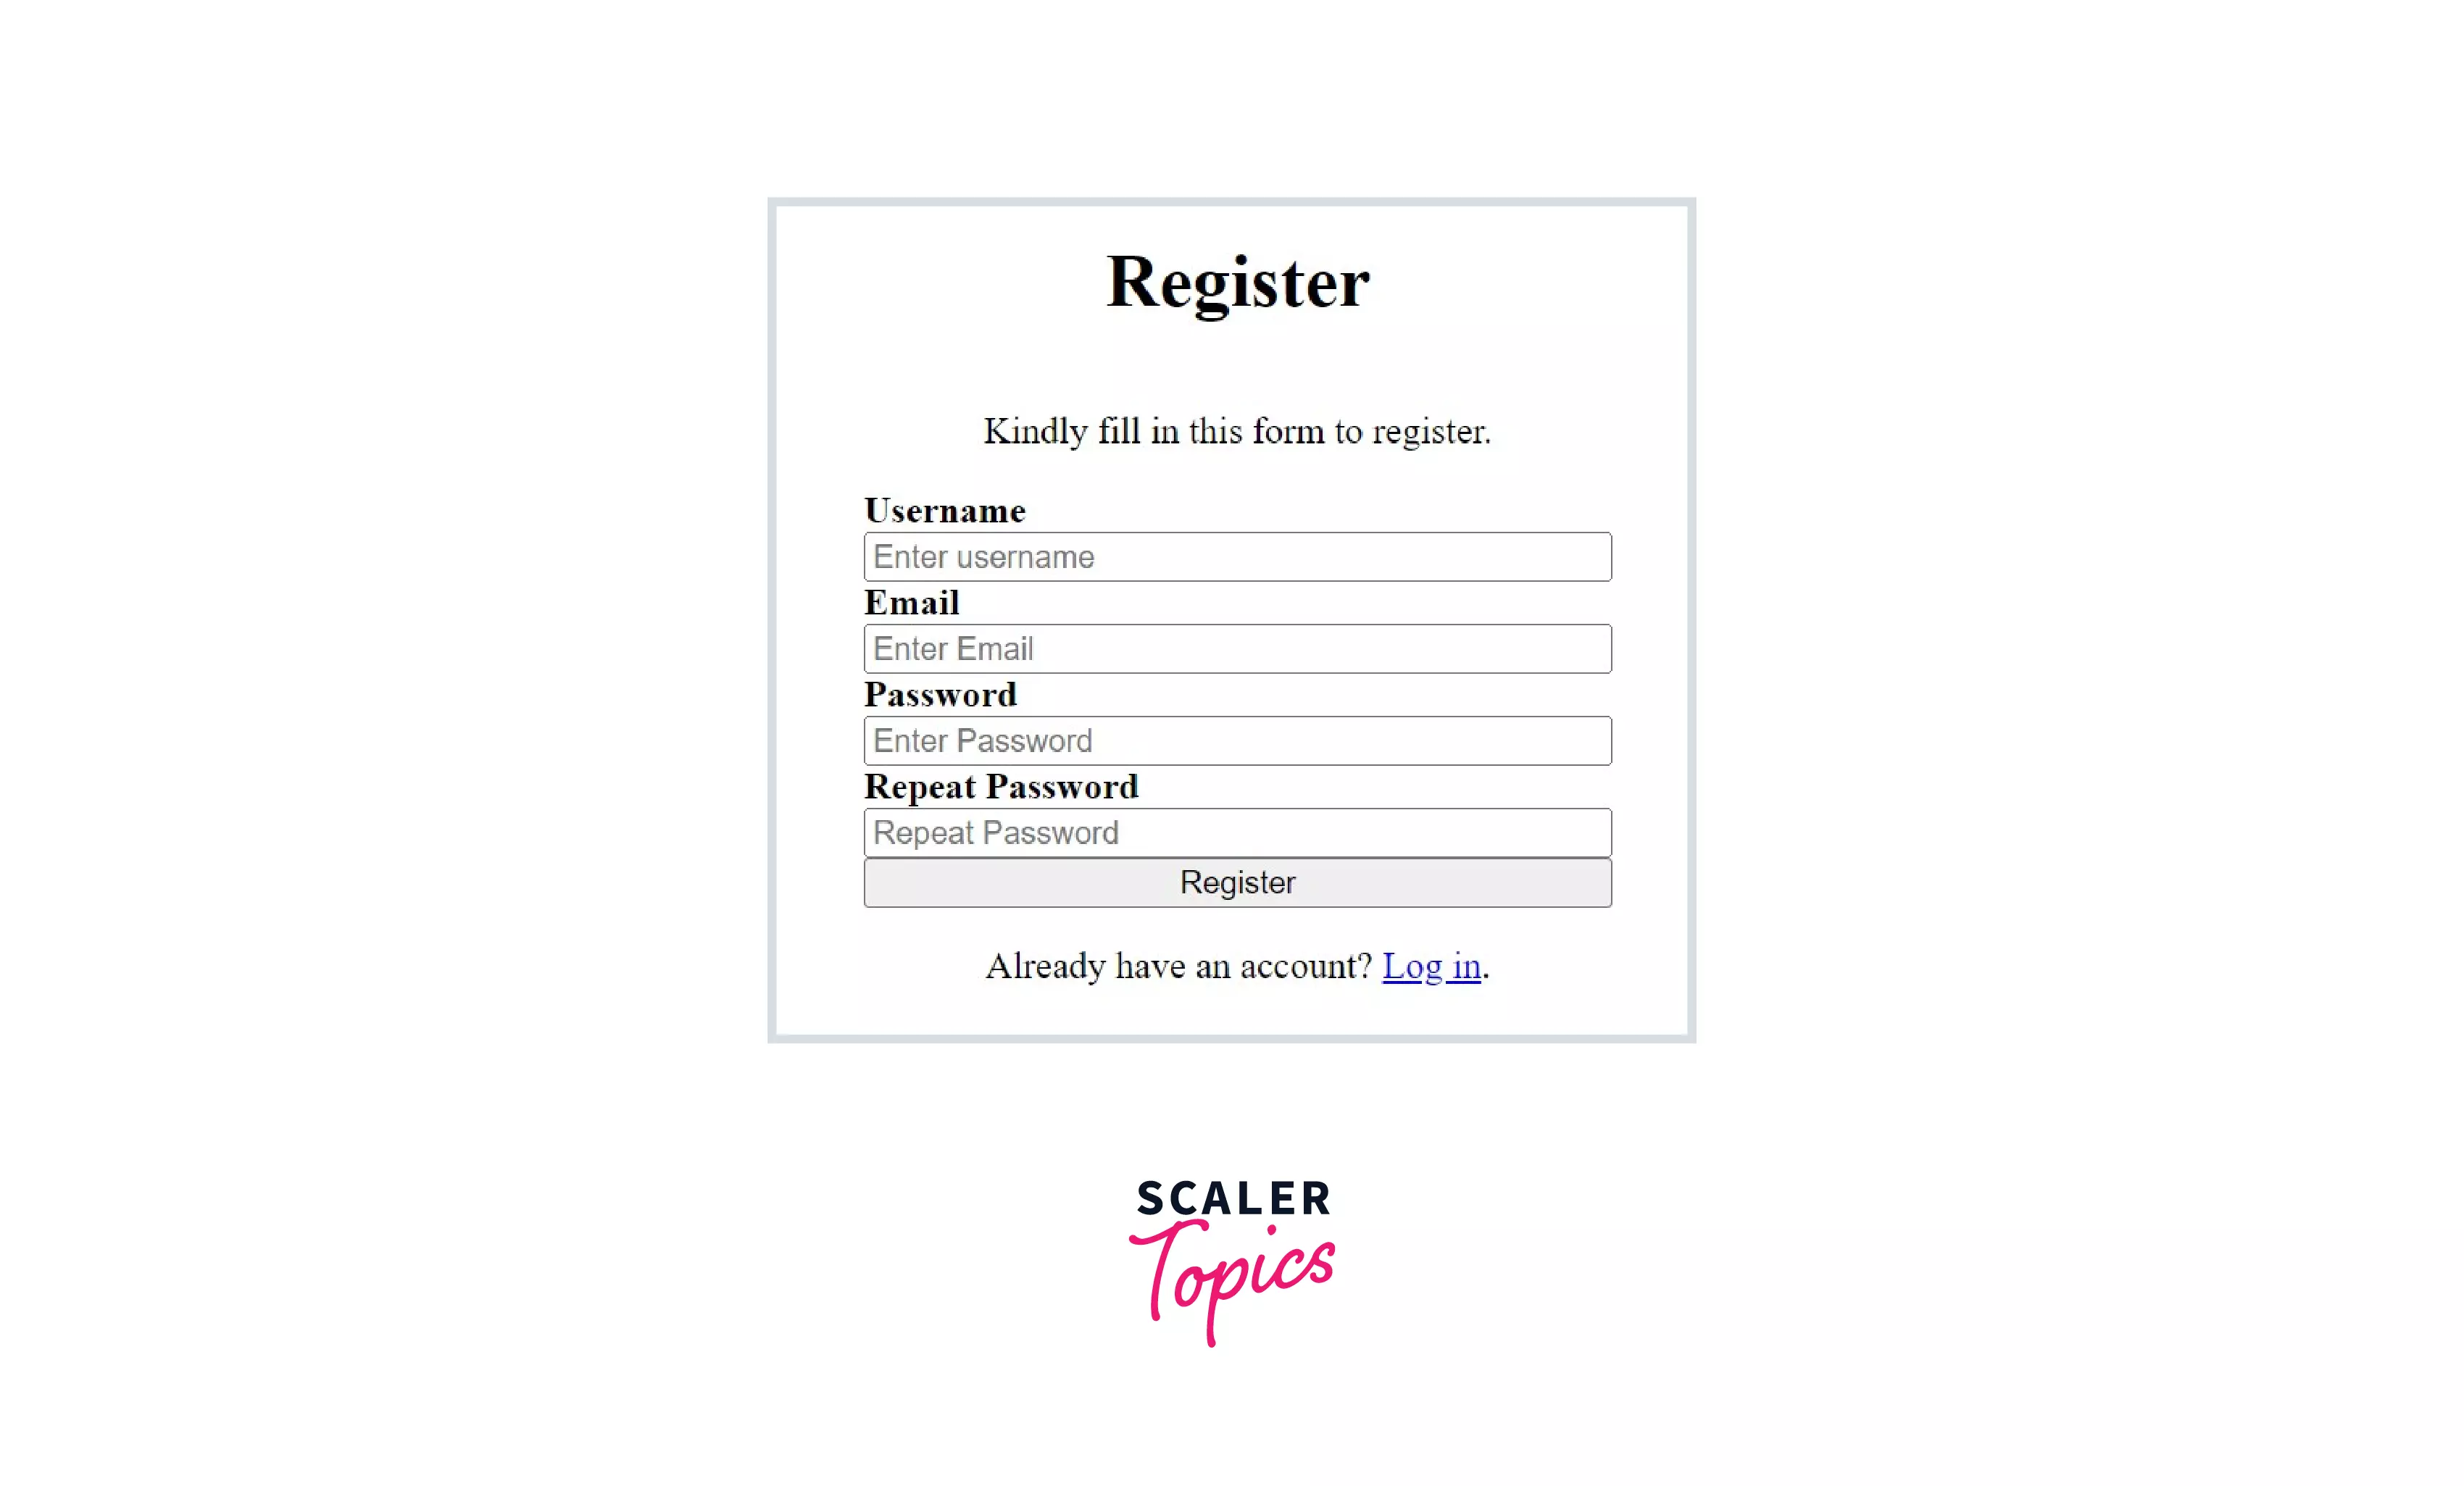
What Are We Creating?
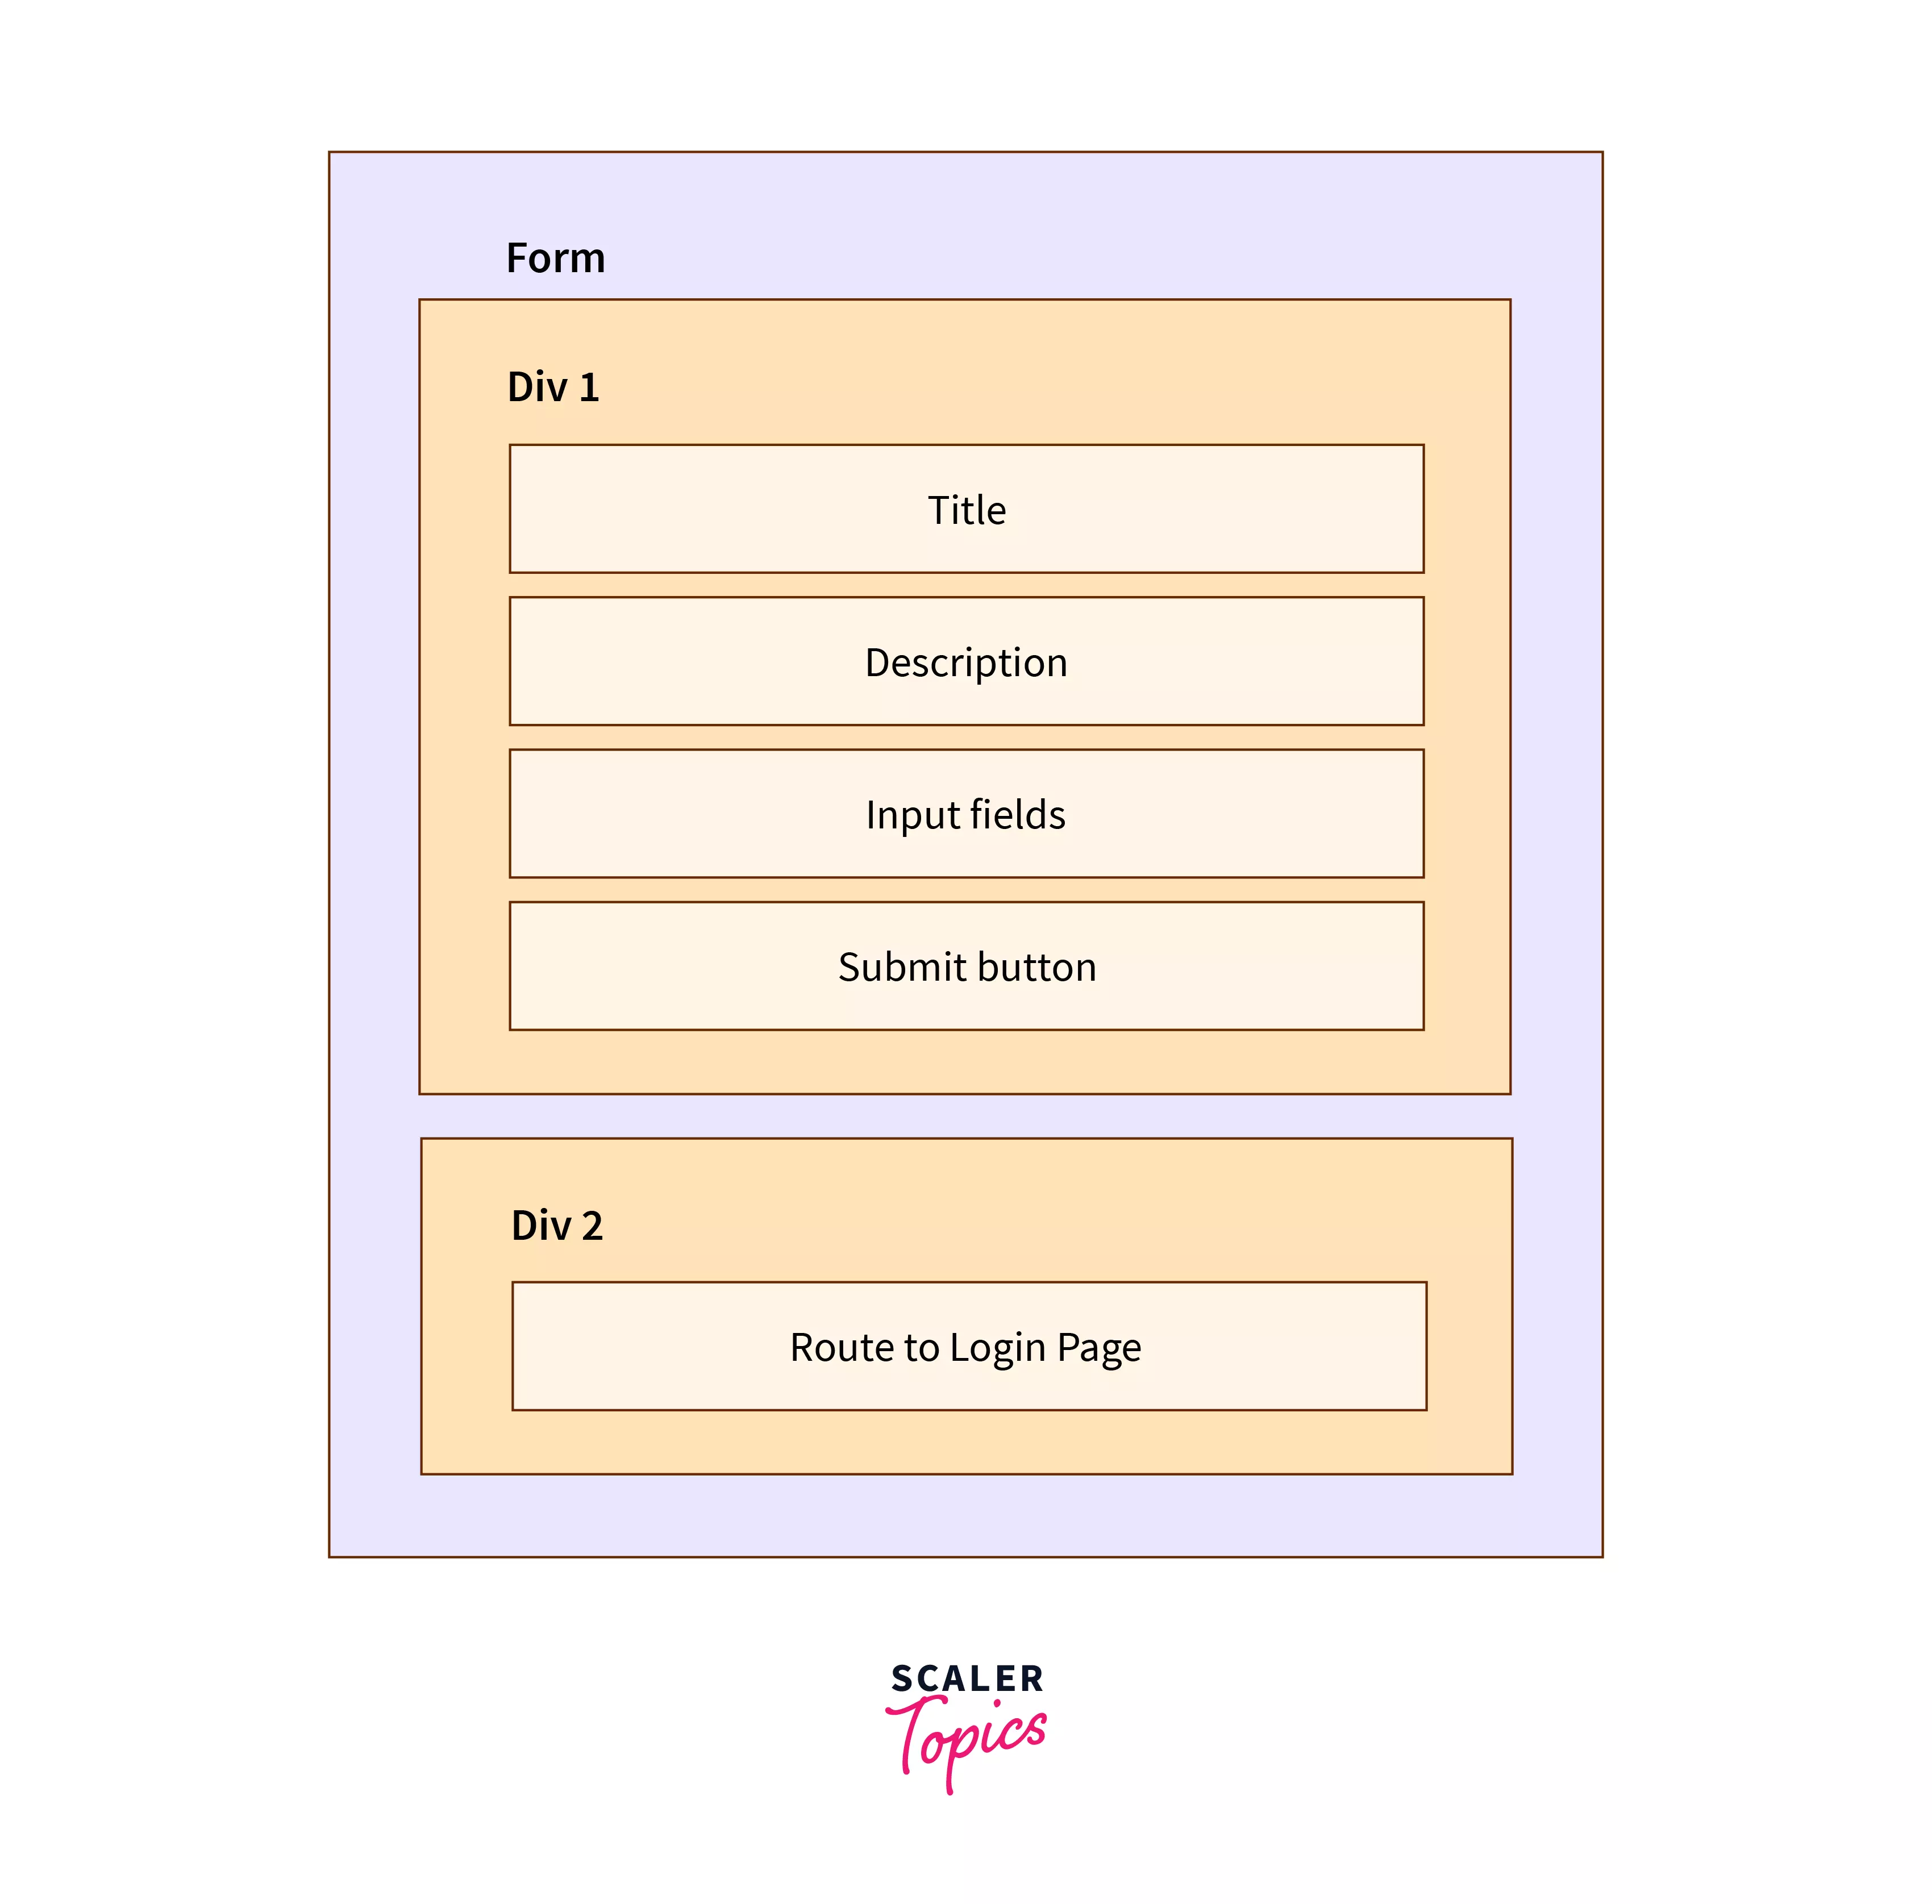
The basic structure of a registration form using HTML can be divided into three parts as follows :
The following image shows the final result of what we will build. We will use HTML5 to create the basic layout and CSS for styling the created layout.

HTML Structure for Registration Page
We have broken down the entire procedure into different steps for better understanding as follows.
- Let’s first create an index.html file with a basic HTML template, as shown below. Next, inside the tag, we can find the tag. The content mentioned inside the tag appears on the tab’s name as it refers to the title of the current web page. So, change the text to Register, as shown below.
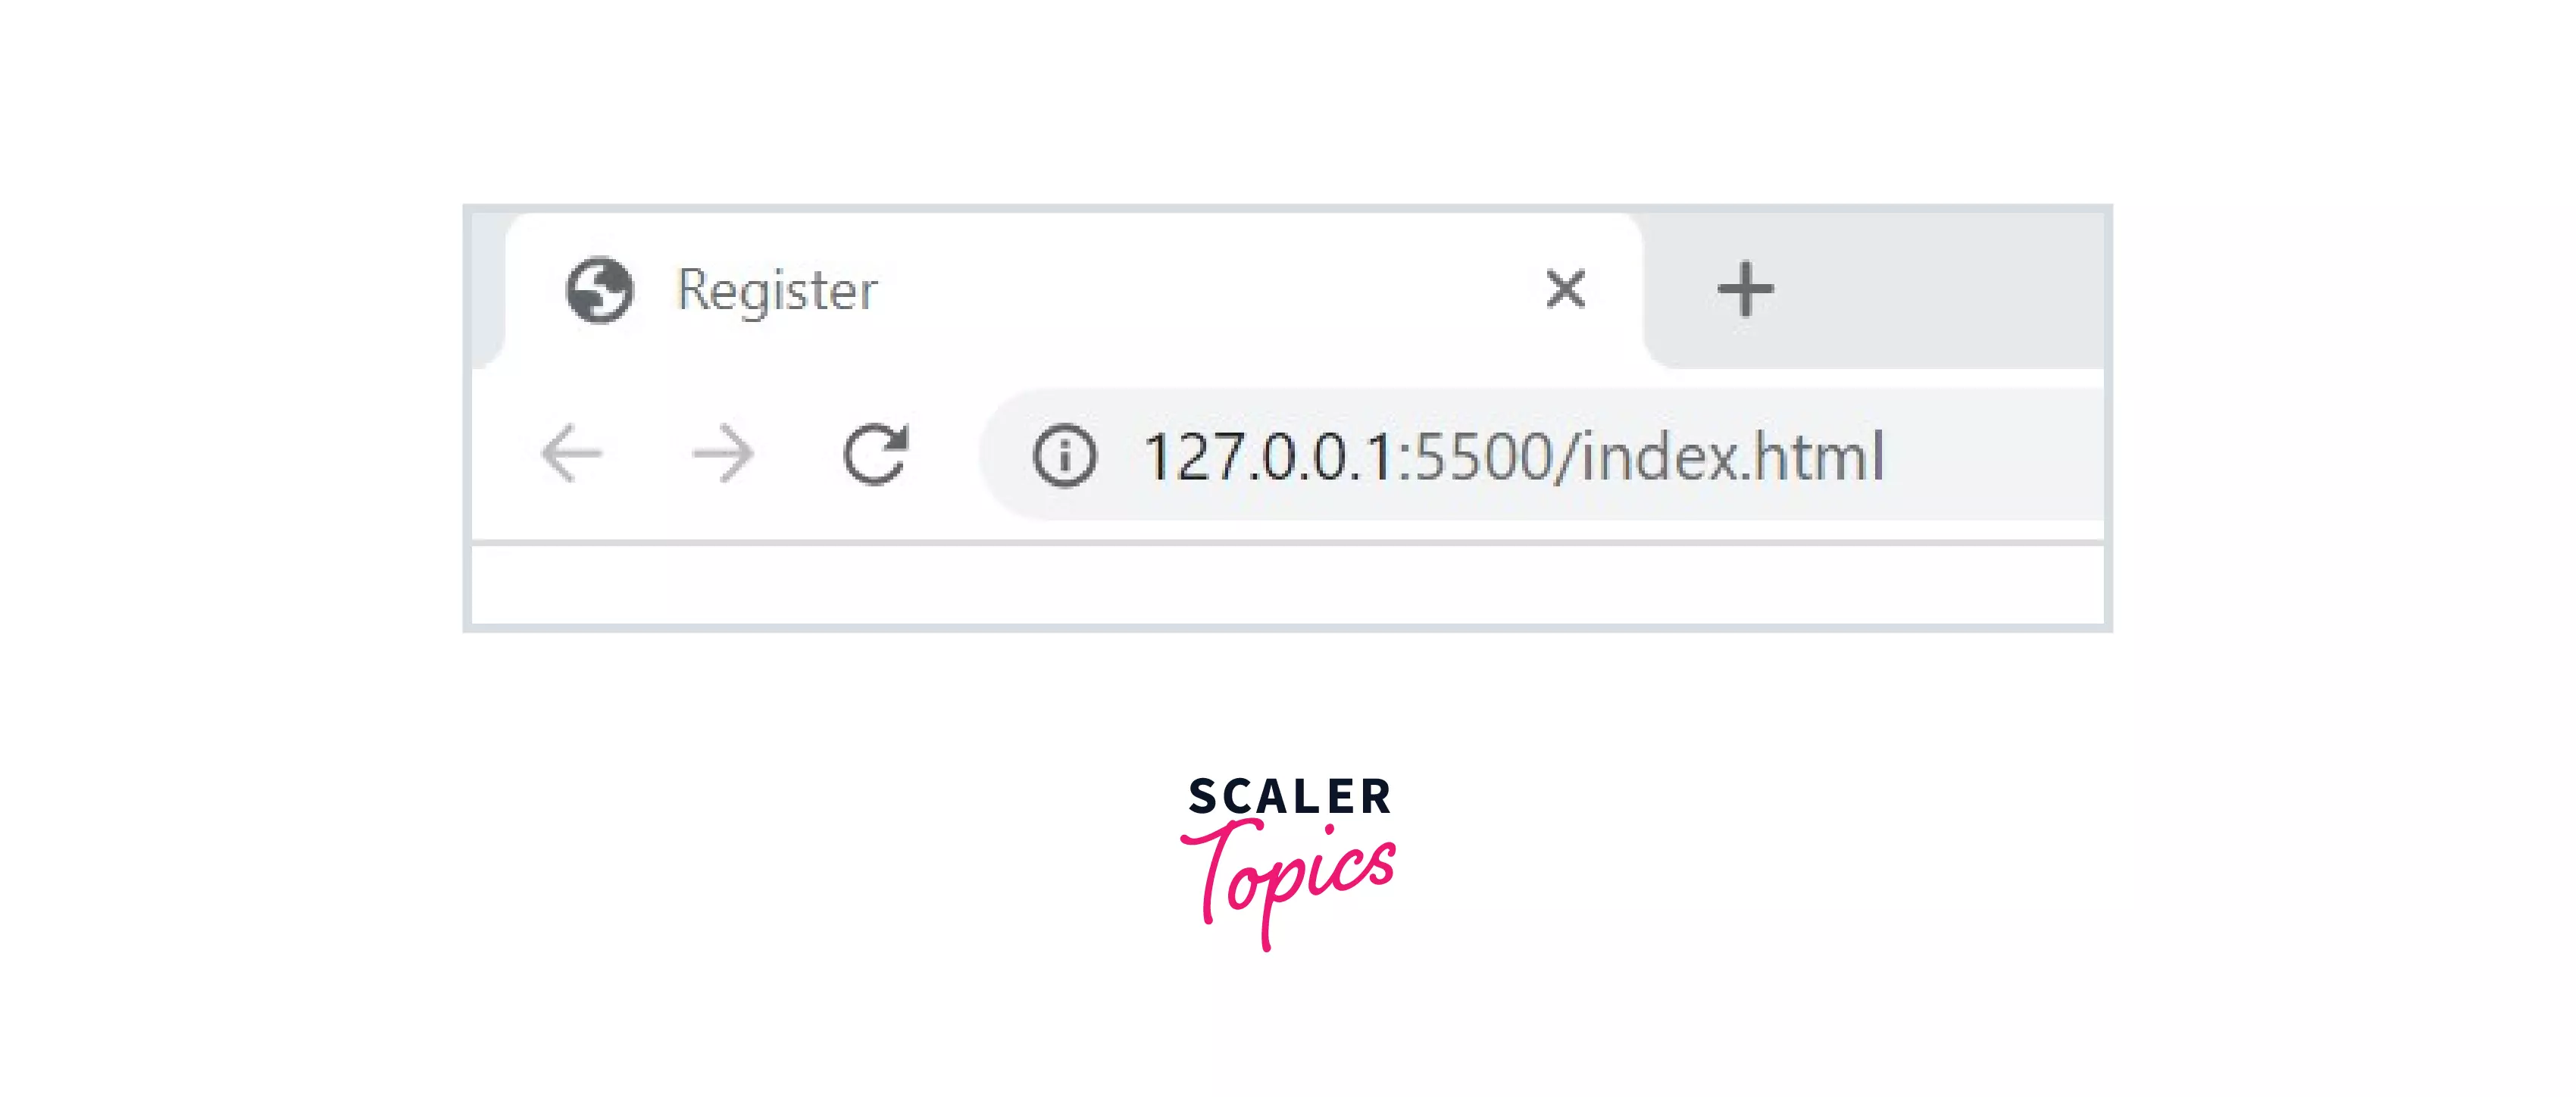
Now, if we run the HTML page in the browser, we can see the following:
- Next, inside the tag lets add a tag. Our entire registration form will be created inside this tag. Form tags are used to create any form in HTML. Among many attributes, the two most important attributes in a form tag are action and method. The action attribute specifies where to send the form data once the user submits it, and it will be in the form of a URL, while the method attribute specifies the HTTP method which is used to send the form data, such as GET and POST . Inside the form, we create two divs. The first div will include the title, description, input fields, and the submit button. The second div will consist of the link and description to route to the login page for already registered users. The code inside the tag so far looks like this:
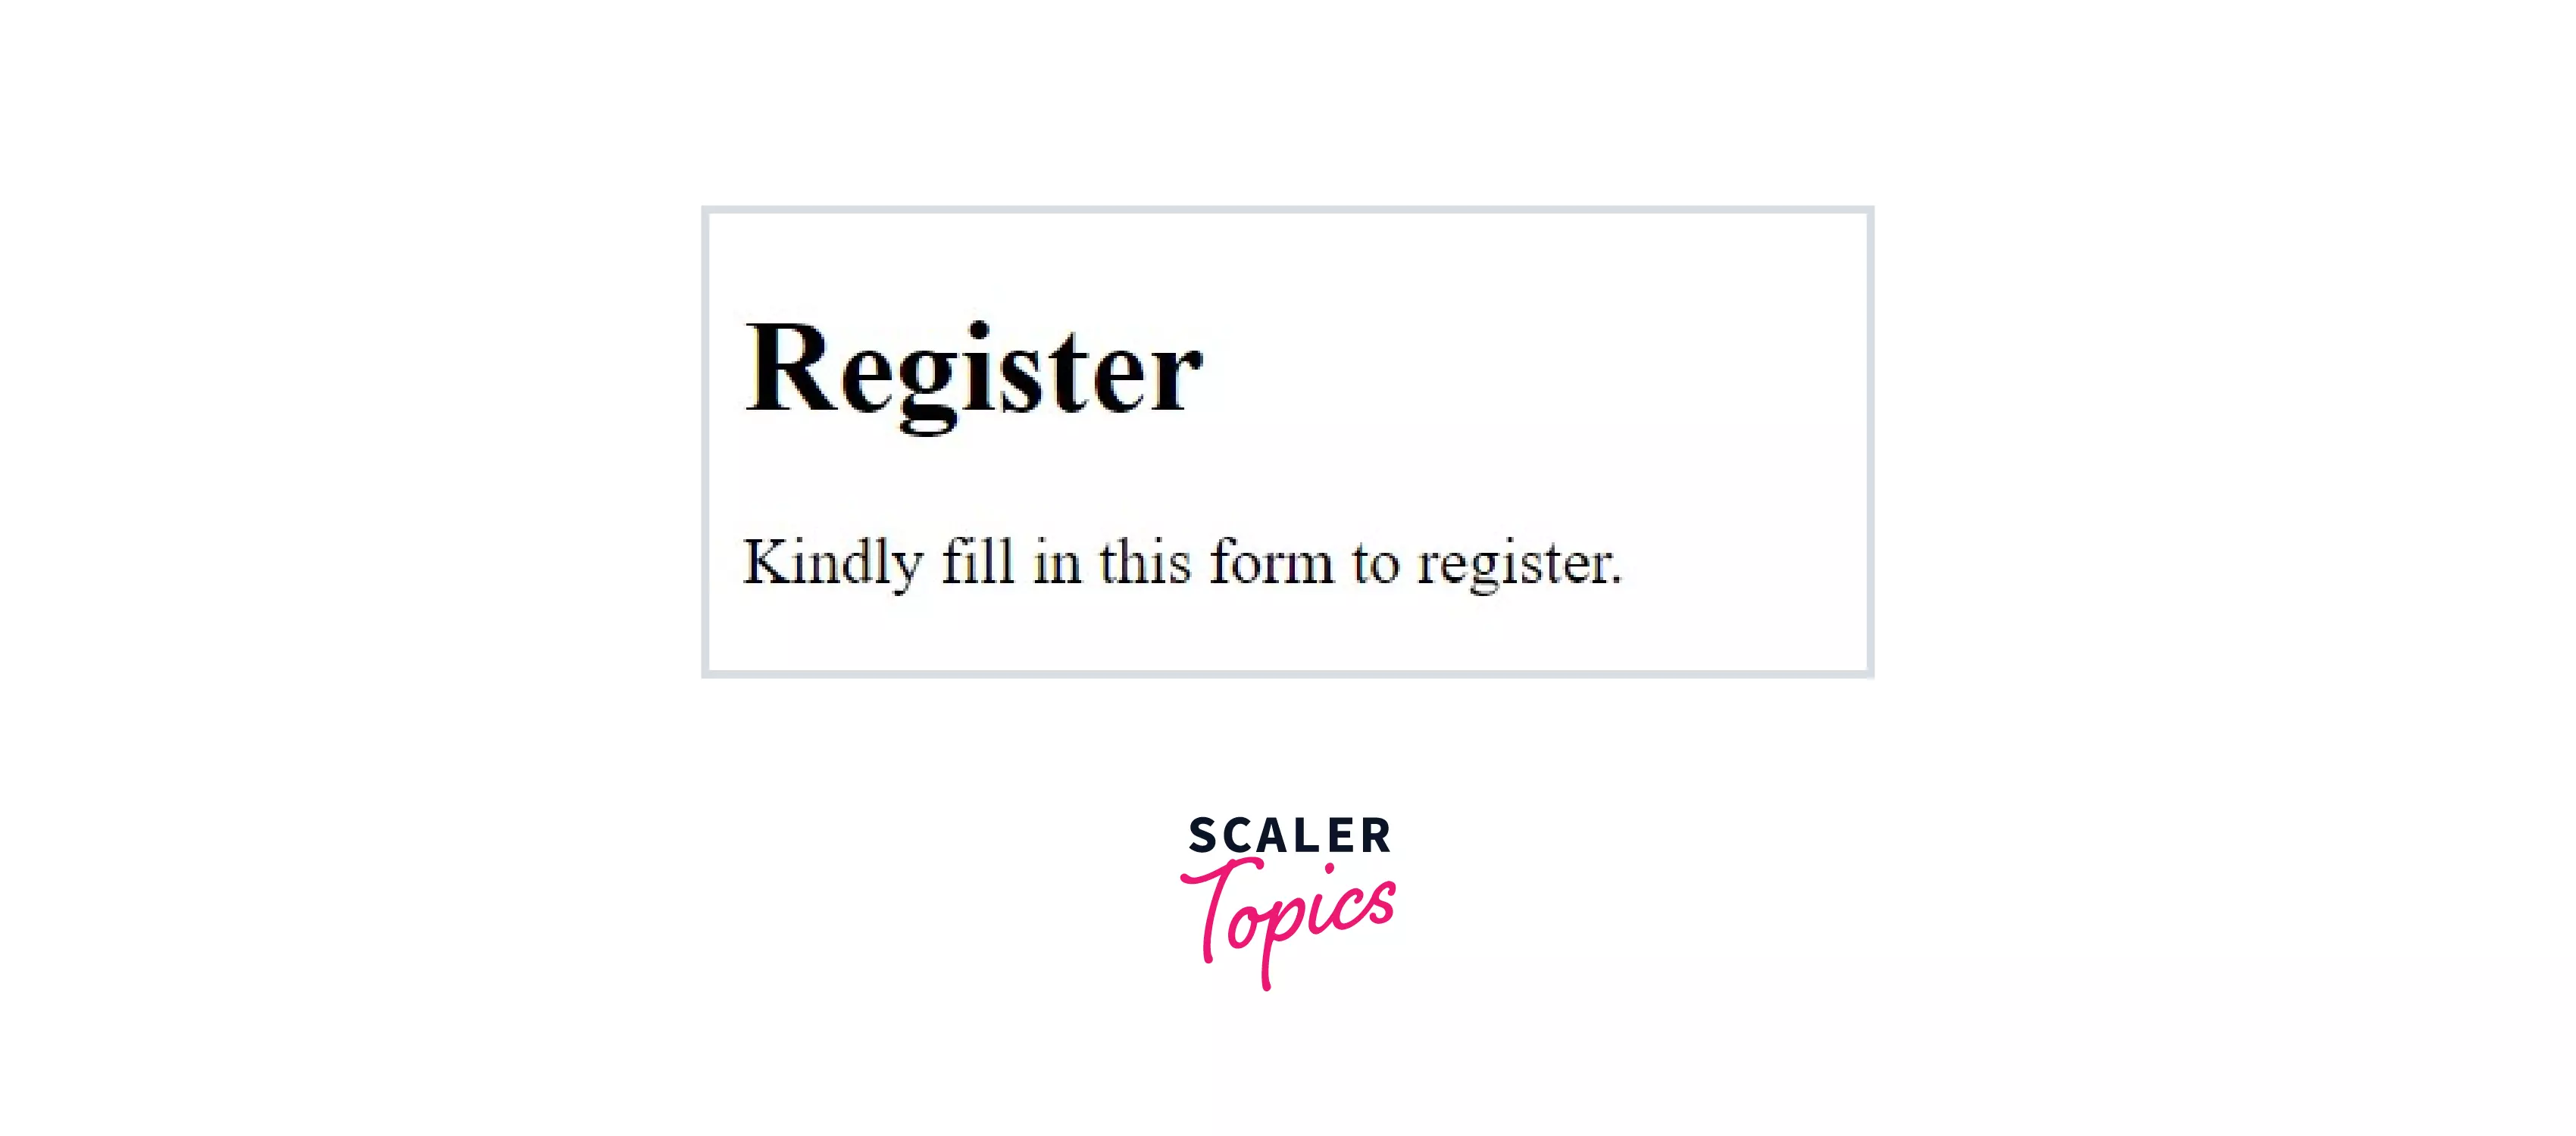
- We will work inside the first div tag in the following steps. First, let’s create a title and description for our form. Create an tag and write the heading for our registration form, namely “Register,” and then create a
tag to include the description for our form, which is “Kindly fill in this form to register”. tag is a part of tags consisting of ,,, , which is used to write headings or titles in HTML, while
tags are used to write a body of text such as paragraphs or descriptions. Now the following shows our current progress:
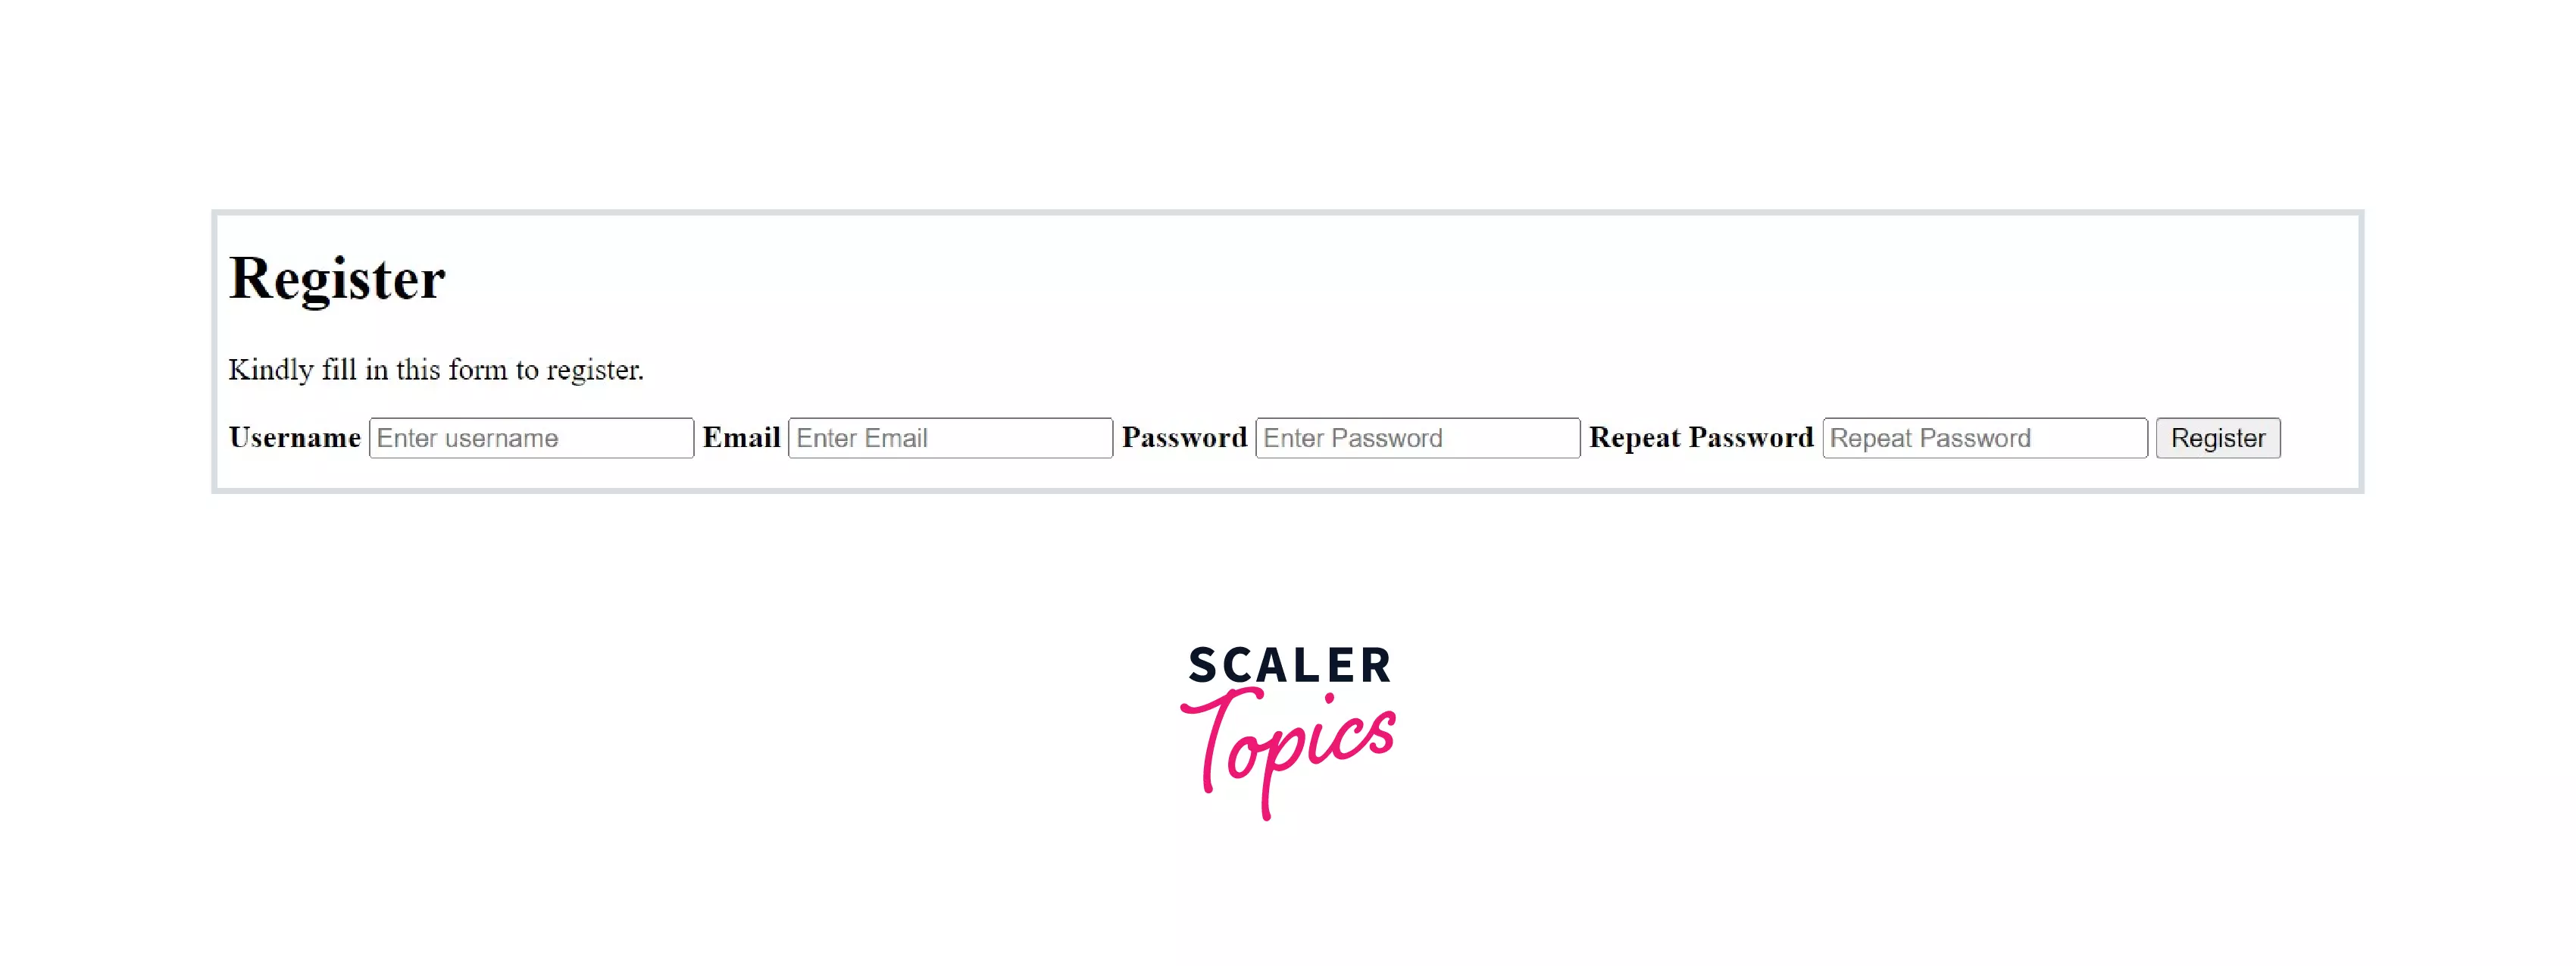
4. Now, we will add our input fields for entering the username, email, and password and another field for repeating the password. We add this as a pair of labels and input tags. tag labels the input field, while tags are used to enter user information. a. The label tag has an attribute that specifies the entity to which the label is associated with. b. We have added a tag inside the label tag to provide bold text. c. The input tag has mainly five attributes.
- type represents the type of information that the input field takes in. It can be numbers, text, passwords, email, etc. For example, if the type is specified as a number, the user won’t be able to add text to the input field.
- placeholder gives a brief hint to the user regarding what the input field expects as input data. It disappears when the user starts entering data.
- name refers to the entity entered in the input field after the form is submitted.
- id , as the name suggests, serves as a unique identifier of the element.
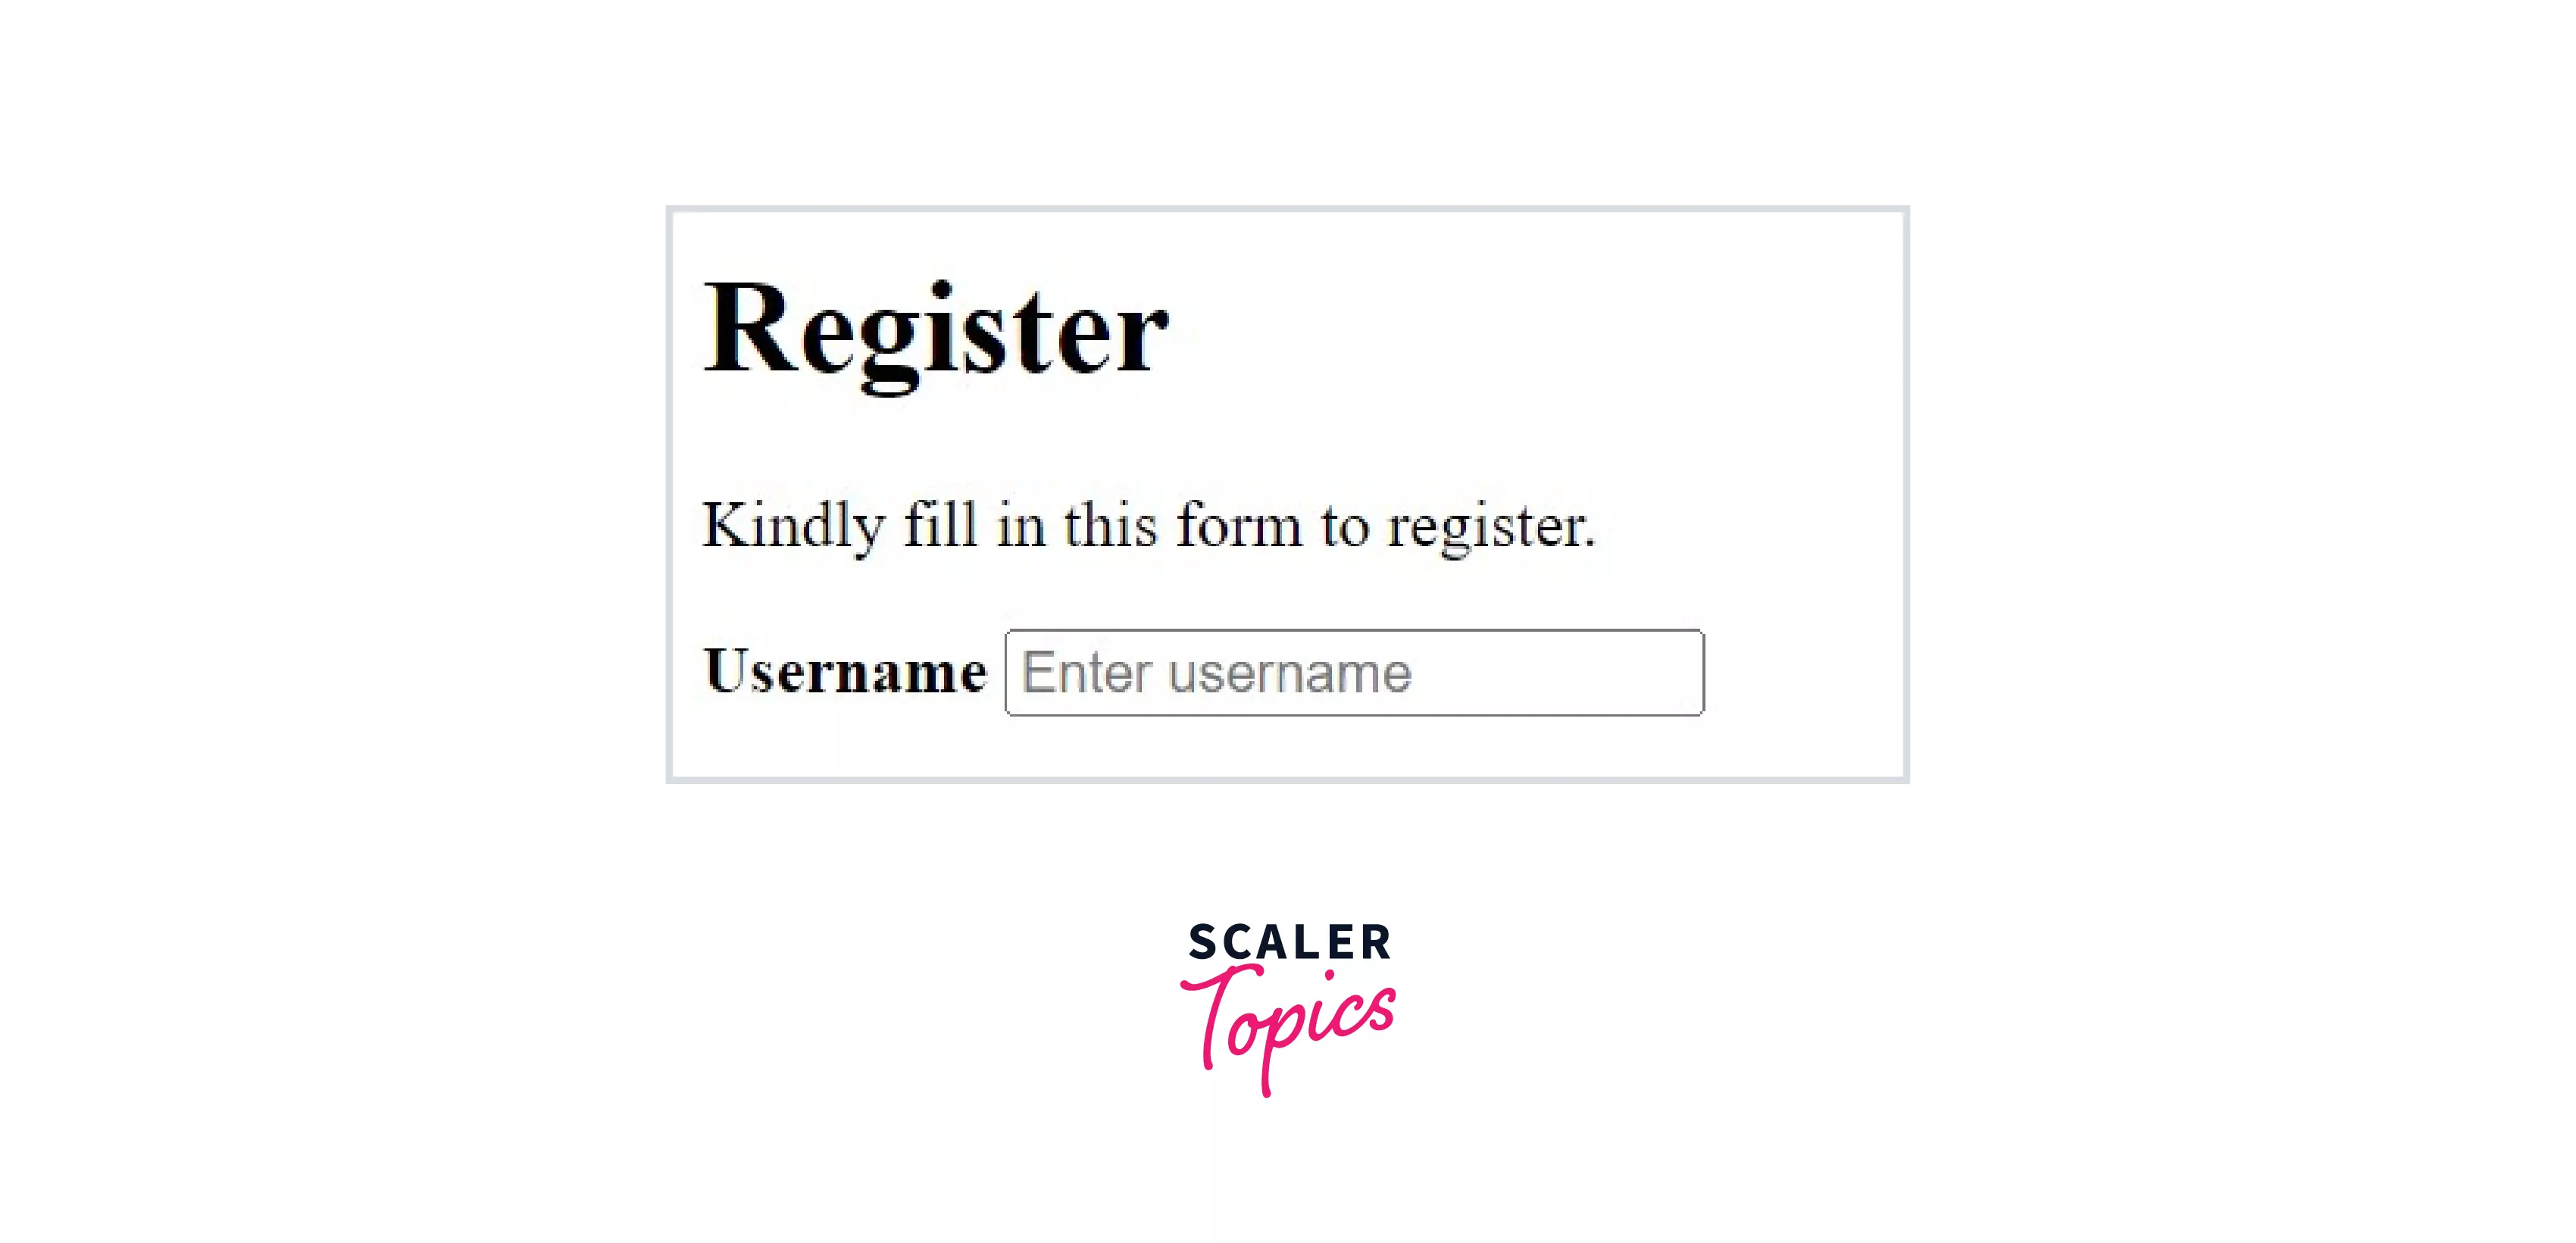
- required is a boolean attribute that specifies whether it is mandatory for the user to enter data. If a required attribute is mentioned inside the input tag, then the user must enter data in that field else the webpage will show a default error message. We have created a label and input field pair for entering the username, as shown below.
The output in the browser will be the following:
5. Similarly, we can add a corresponding label and input fields for entering email, password, and repeat-password as shown below.
And the output will be as follows:

6. Lastly, inside the first div, we can add a submit button to submit the registration form data, as shown below.
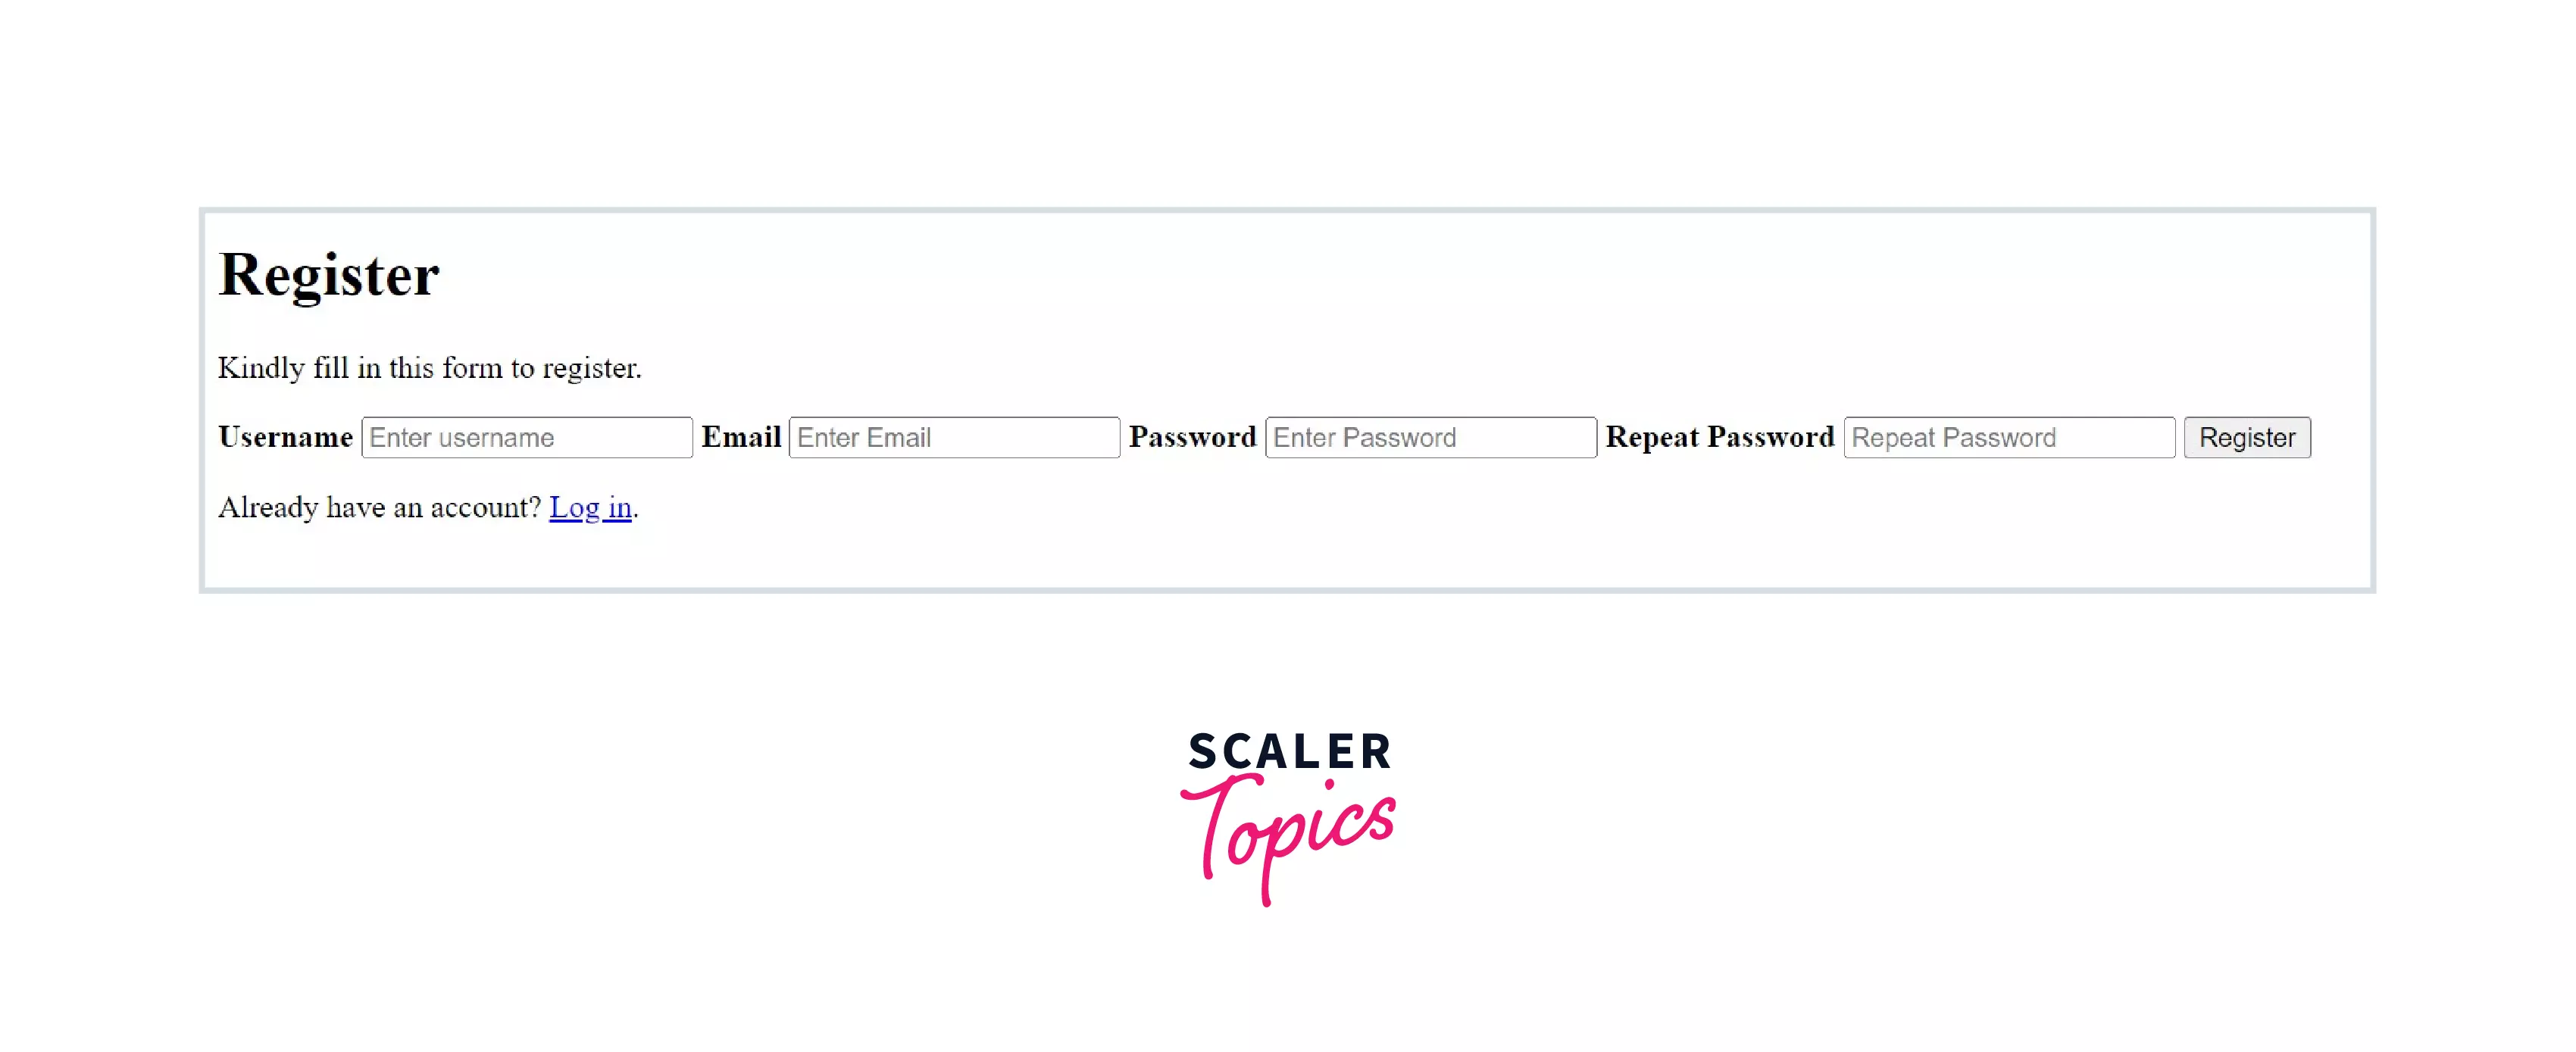
The browser will output the following: 7. Finally, inside the second div inside the form tag, we can add the routing to the login page by wrapping the text inside the p tag with the a tag, as shown below.
The browser output is shown below:
CSS Styling for Registration Page
We have successfully created the basic structure of the registration form. Next, we will discuss how to add styling to this form to make it look better using CSS.
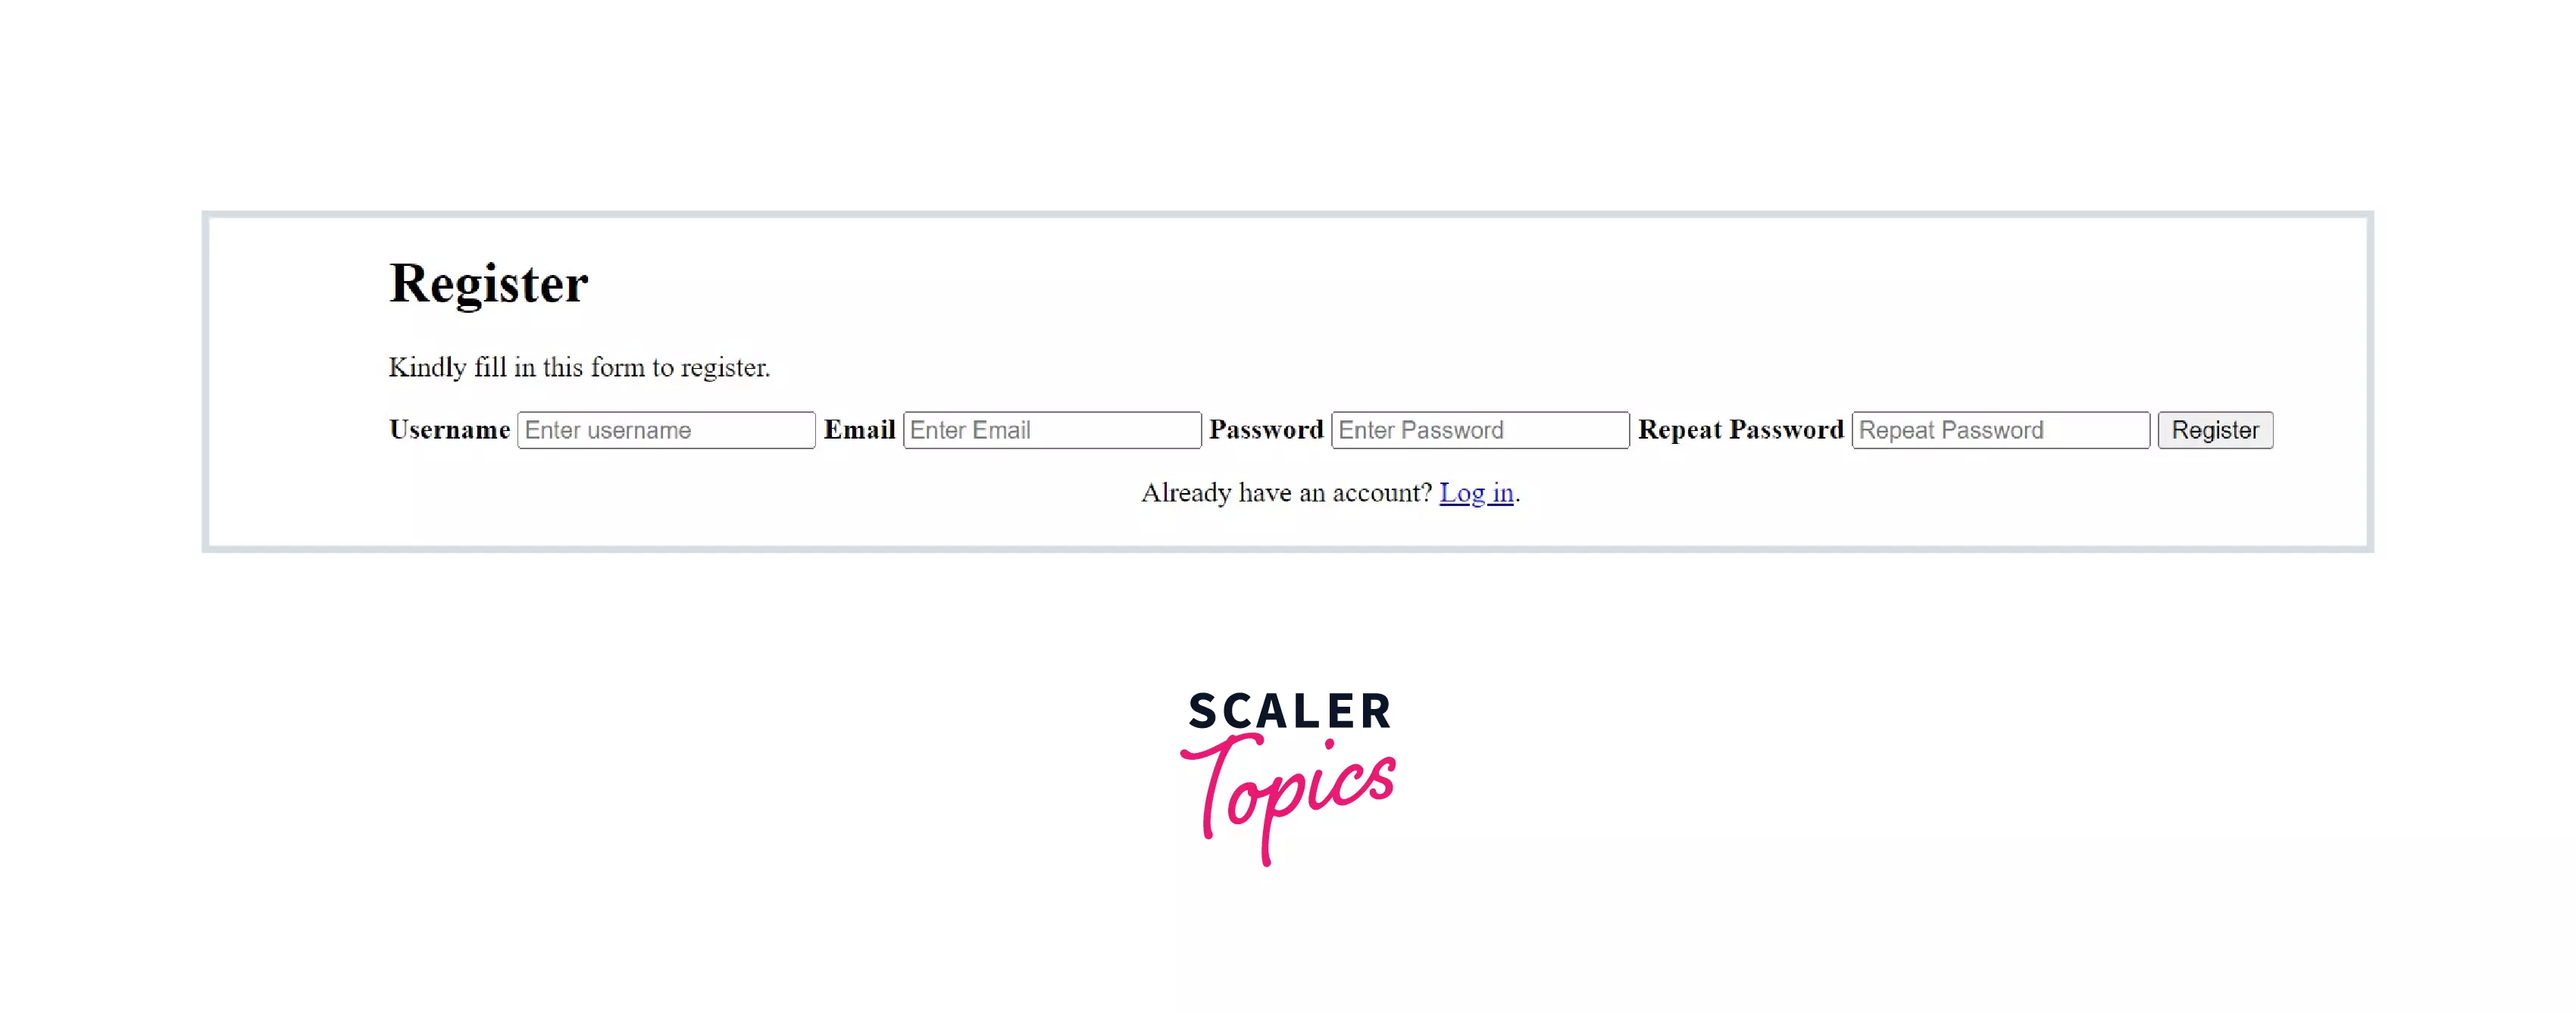
- First, let’s add some basic styles to the form, as shown below. The form tag is selected inside the CSS to add the necessary styles.
The above styles will center the form on the screen and provide the following result.
- Next, let’s add a class to the first div tag inside the form and name it «container». The following is the HTML code:
The following are the corresponding styles given to the class «container». In short, it aligns all the fields vertically as rows and takes up a width of 25vw.
The browser shows the following result.
The browser shows the corresponding changes as follows.
- The basic styling of the form is almost complete. Now, we can add fonts and necessary spacing to the input fields, as shown below.
Browser output:
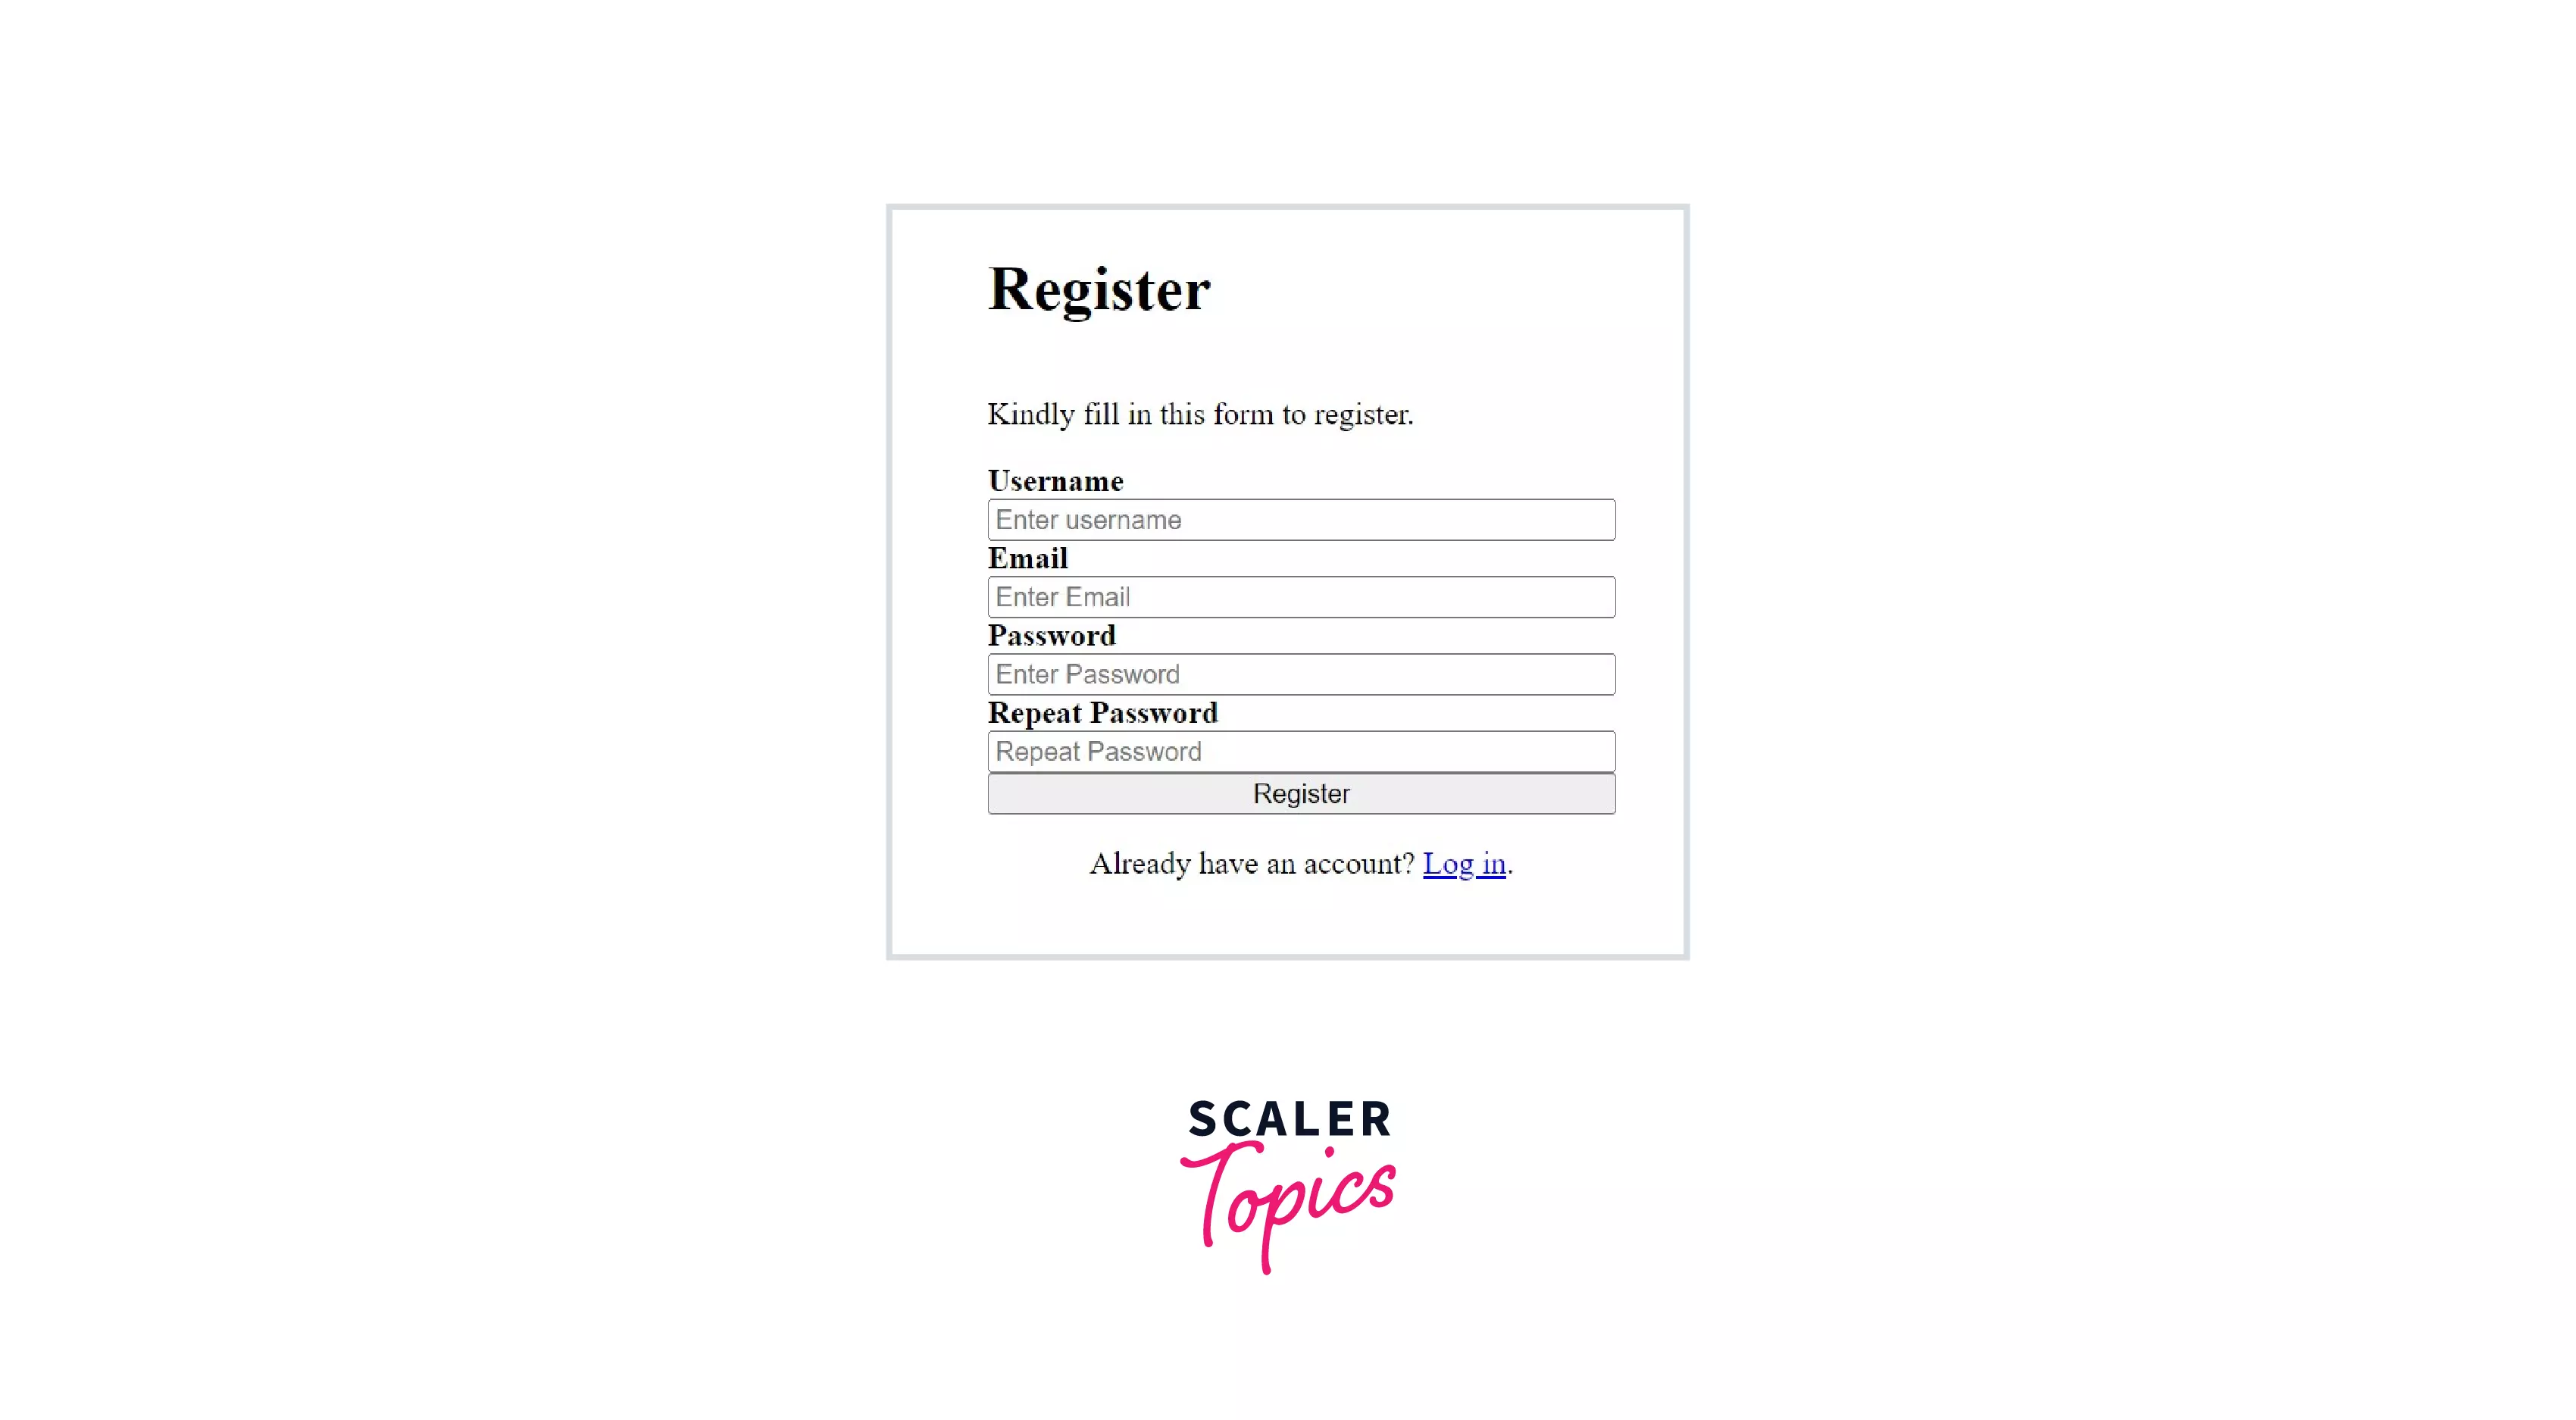
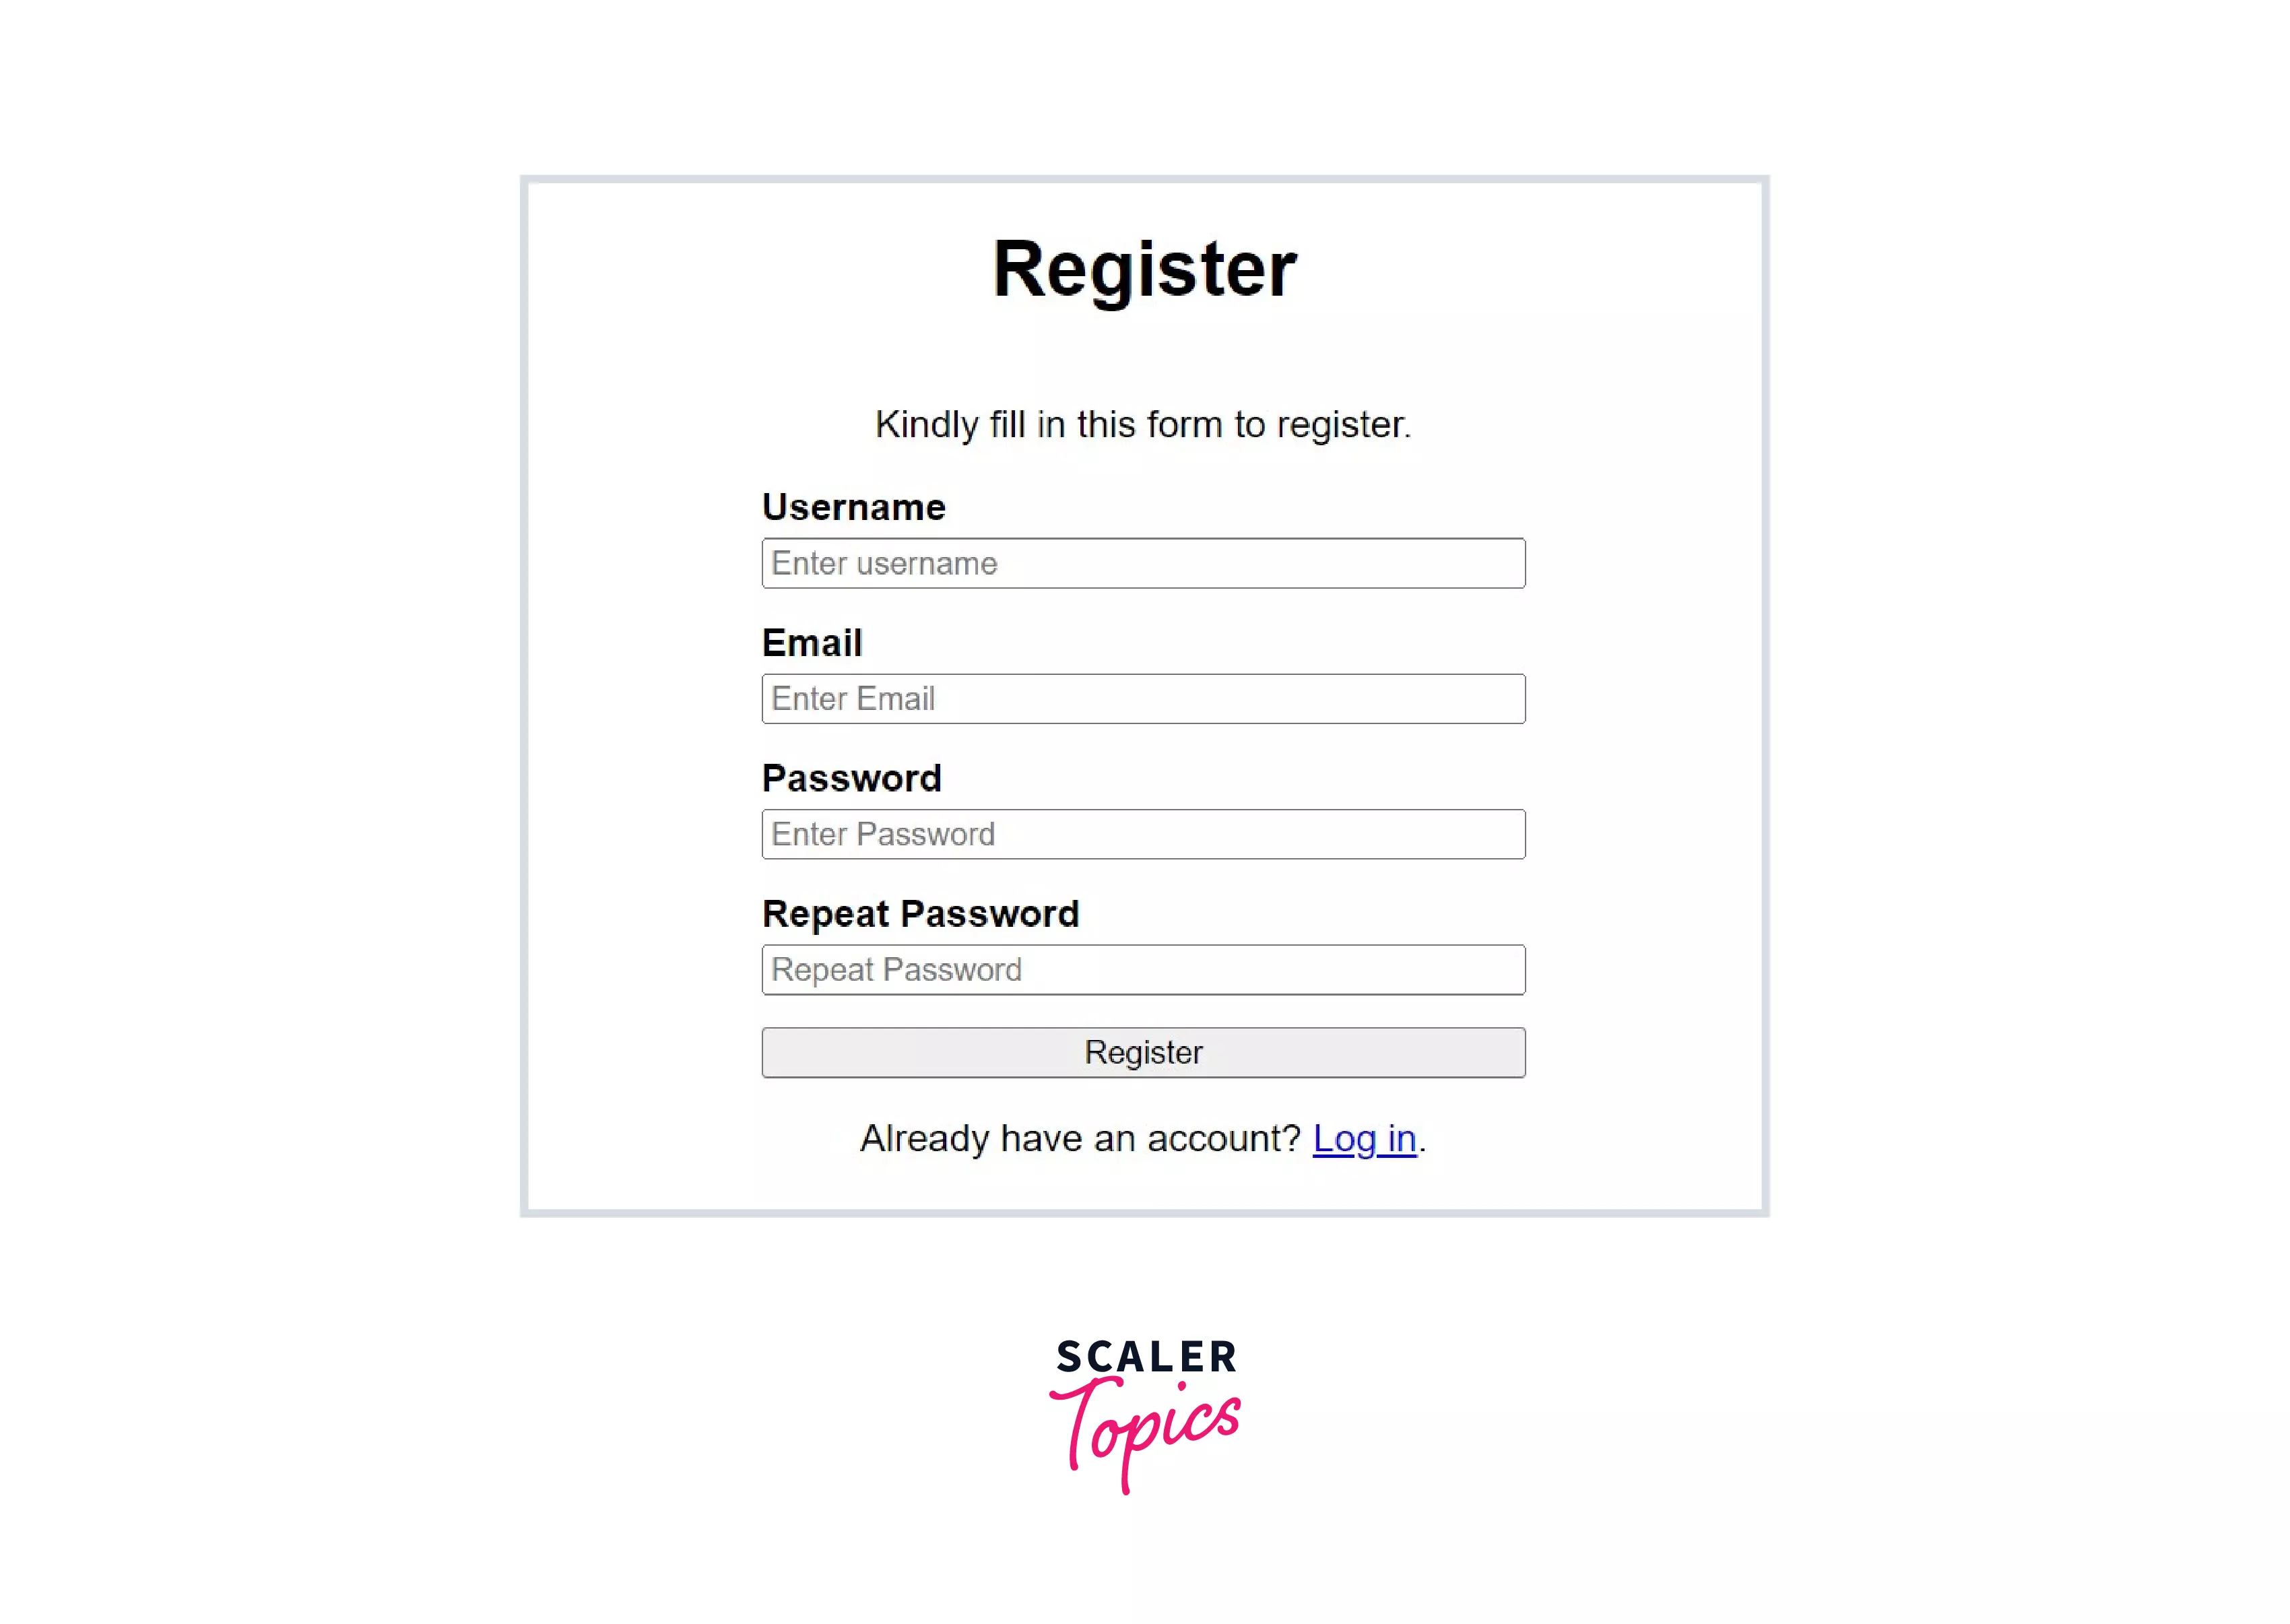
- Lastly, let’s add some basic styling to our submit button, including hover functionality, as shown below.
Finally, we successfully built a registration page, and the final output in the browser is shown below.

Conclusion
- It is important to have a good knowledge of flexbox in CSS before we start developing the registration page in HTML.
- The entire registration page is composed inside a form tag which contains two div s.
- Inside the first div, we have the title tag for the title and p tag for the description, and for each user input, we can add a pair of label and an input tag. Once all the user inputs are added, we finally add the submit button for submitting the form data.
- The second div contains the description for routing back to the login page, which is done using an a tag.
- Once the HTML is created, a basic flexbox can be used to style the form using CSS.
- By building a registration form, one gets to learn about the usage of form , input , label , and a tags and flexbox in CSS as well.