- Comment Box in HTML & CSS Code
- Comment Box HTML Code
- The CSS Styles
- The JavaScript for Displaying Comments
- What’s an “Action Page”?
- Add Comments the Easy Way
- 21 Bootstrap Comments
- Author
- Links
- Made with
- About a code
- Bootstrap 4 Comments
- Author
- Links
- Made with
- About a code
- Bootstrap 4 Comments Template
- Author
- Links
- Made with
- About a code
- Bootstrap 5 Comments List
- Author
- Links
- Made with
- About a code
- Bootstrap 4 Comment Section
- Author
- Links
- Made with
- About a code
- Bootstrap 4 Comment Section
- Author
- Links
- Made with
- About a code
- Bootstrap 4 Comment Template
- Author
- Links
- Made with
- About a code
- Bootstrap 4 Like Comment Share Section with Comment Box
- Author
- Links
- Made with
- About a code
- Bootstrap 4 Nested Comment Section with Reply
- Author
- Links
- Made with
- About a code
- Bootstrap 4 Recent Comment Section From Users
- Author
- Links
- Made with
- About a code
- Bootstrap 4 Latest Comments List Section
- Author
- Links
- Made with
- About a code
- Bootstrap 4 Beta Comment List
- Author
- Links
- Made with
- About a code
- Bootstrap Comments
- Author
- Links
- Made with
- About a code
- Bootstrap Blog Comments With Form
- Author
- Links
- Made with
- About a code
- Bootstrap Blog Item Comments
- Author
- Links
- Made with
- About a code
- Social Network Home News Feed
- Author
- Links
- Made with
- About a code
- Bootstrap Facebook Post Style with Comments Box
- Author
- Links
- Made with
- About a code
- Bootstrap Recent Comments Widget
- Author
- Links
- Made with
- About a code
- Bootstrap UI Comments
- Author
- Links
- Made with
- About a code
- Bootstrap Blog Comments
- Author
- Links
- Made with
- About a code
- Bootstrap Comments List
- Author
- Links
- Made with
- Как создать древовидный блок комментариев при помощи HTML5 и CSS3
Comment Box in HTML & CSS Code
This tutorial explains how to create a simple comment box input in HTML, CSS, and JavaScript. Basically, it is a frontend functionality (that can be handled in both jQuery and Vue JS) to quickly append a comment to the webpage. Further, it can be submitted to the server through JSON to publish a comment in real-time.
You can use this simple project for appending strings to the page in comment forms, to-do lists, or feedback forms in HTML. Similarly, you can use this technique in any web project to quickly append the text to the page. Before starting with coding I would suggest checking the demo page to check the comment form in action.
This comment form only appends the comment text to a specific div element without actually publishing it on the page. So, the entered text will be lost after refreshing the page. You have to submit (and store) the comment to the server for permanent.
Comment Box HTML Code
In HTML, create a section with an id «app» and place a textarea (for comment input) and p element for comment output.
The CSS Styles
After creating the HTML structure, now it’s time to style it using CSS. So, target the very first element «container» class and define its max-width of 640px. Similarly, define the background, margin, and padding properties as follows:
Now, target the «comment» class and display it as a block element. Likewise, specify min-height, border, and padding properties for commentClicked the class ad described below:
You can style the textarea/comment box according to your needs. Anyhow, the basic styles of the comment input are given below:
The «primaryContained» class defined the style for the comment submit button. Specify its background color, padding, box-shadow, and border-radius property as follows. You can set the custom color and font-size in order to customize it.
Target the button class with a hover pseudo-selector in order to define the hover styles. There you can set a different background color that will show on the hover event. You can also set the 3D button hover effect if you want to make a mindblowing hover effect for your comment form.
button.primaryContained:hover
The JavaScript for Displaying Comments
You can handle the comment string in both jQuery and Vue JS to submit and append the comment. So, load the jQuery and Vue JavaScript libraries by adding the following CDN link to your HTML page.
Finally, initialize the comment append function in the jQuery document ready function and done.
$(document).ready(function()< $(".primaryContained").on('click', function()< $(".comment").addClass("commentClicked"); >);//end click $("textarea").on('keyup.enter', function()< $(".comment").addClass("commentClicked"); >);//end keyup >);//End Function new Vue(< el: "#app", data:< title: 'Add a comment', newItem: '', item: [], >, methods: < addItem ()< this.item.push(this.newItem); this.newItem = ""; >> >); Note: The example provided above about creating an HMTL comment box is required an action page to process the content of the comment box when the user clicks on submit button.
What’s an “Action Page”?
An “action page” in web development is a web page that processes the data submitted by the user through a form. In the context of the content you provided earlier, an action page would be the page that receives and processes the contents of the comment box after the user clicks the “Submit” button.
Typically, an action page would contain a server-side script, such as PHP or Python, that processes the form data and performs some action with it, such as saving it to a database or sending it in an email.
Add Comments the Easy Way
There are free scripts available online that can help you create an action page to process the contents of a comment box submitted by users on your website. However, creating an action page can be complex, so using a pre-made script can be a simpler solution.
One such solution is HTMLCommentBox.com, which provides an easy way to add a comments section to your website by copying and pasting code. However, to moderate comments, you’ll need to log in using a Google account.
The advantage of using a pre-made script like this is that it’s free and easy to use. But keep in mind that you may have less control over how the script handles user comments. You can customize the comments section to some extent, but the level of control may be limited.
Ultimately, the decision to create your own script or use a pre-made one is up to you. There are also other pre-made guestbook scripts available online that you could consider, such as those from Matt’s Script Archive or JsWidget.com.
That’s all! I hope you have successfully created a simple comment box using HTML, CSS, and JS. If you have any questions or suggestions, let me know by commenting below.
Muhammad Asif
Muhammad Asif is a Front End Developer and Editor Staff at Codeconvey.com. He enjoys experimenting with new CSS features and helping others learn about them.
21 Bootstrap Comments
Collection of free Bootstrap comment code examples. Update of November 2020 collection. 1 new item.

Author
Links
Made with
About a code
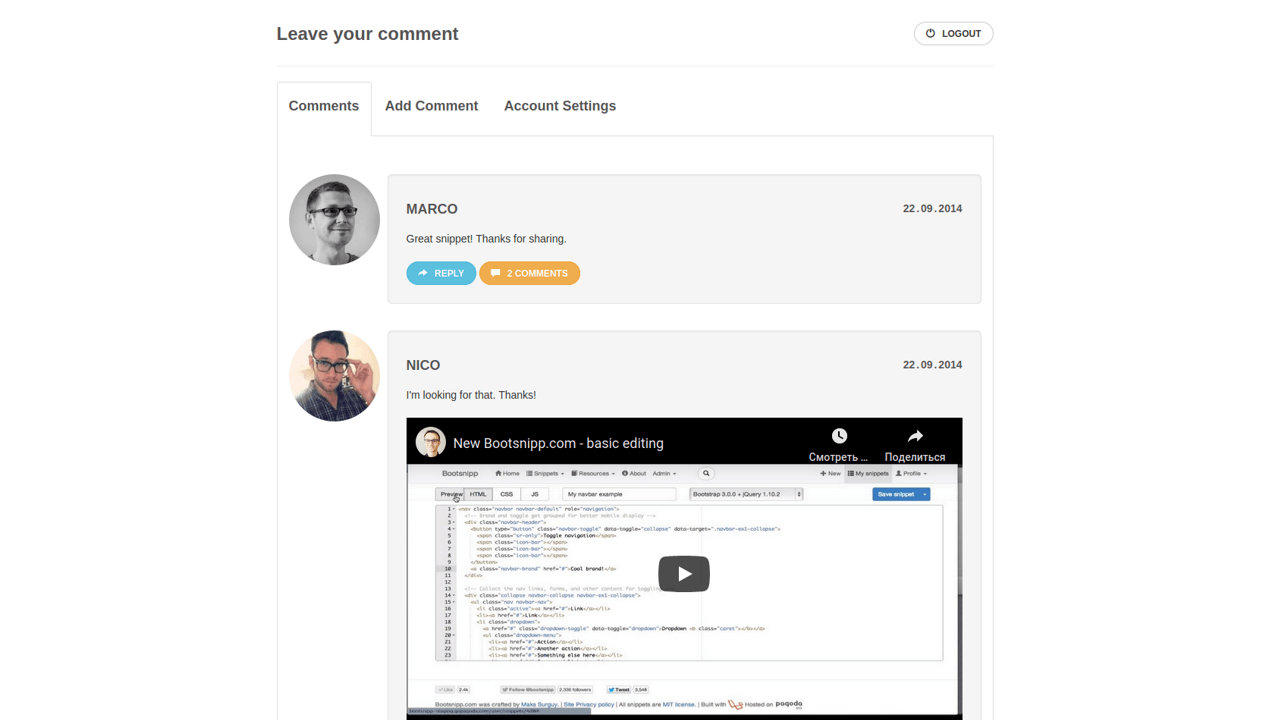
Bootstrap 4 Comments
Bootstrap 4 comment section with navbar.
Compatible browsers: Chrome, Edge, Firefox, Opera, Safari

Author
Links
Made with
About a code
Bootstrap 4 Comments Template
Compatible browsers: Chrome, Edge, Firefox, Opera, Safari
![]()
Author
Links
Made with
About a code
Bootstrap 5 Comments List
Bootstrap 5 comments list with Font Awesome icons and toggle button.
Compatible browsers: Chrome, Edge, Firefox, Opera, Safari

Author
Links
Made with
About a code
Bootstrap 4 Comment Section
Bootstrap 4 comment section form with ratings.
Compatible browsers: Chrome, Edge, Firefox, Opera, Safari

Author
Links
Made with
About a code
Bootstrap 4 Comment Section
Bootstrap 4 comment section with reply input and vote up and down.
Compatible browsers: Chrome, Edge, Firefox, Opera, Safari

Author
Links
Made with
About a code
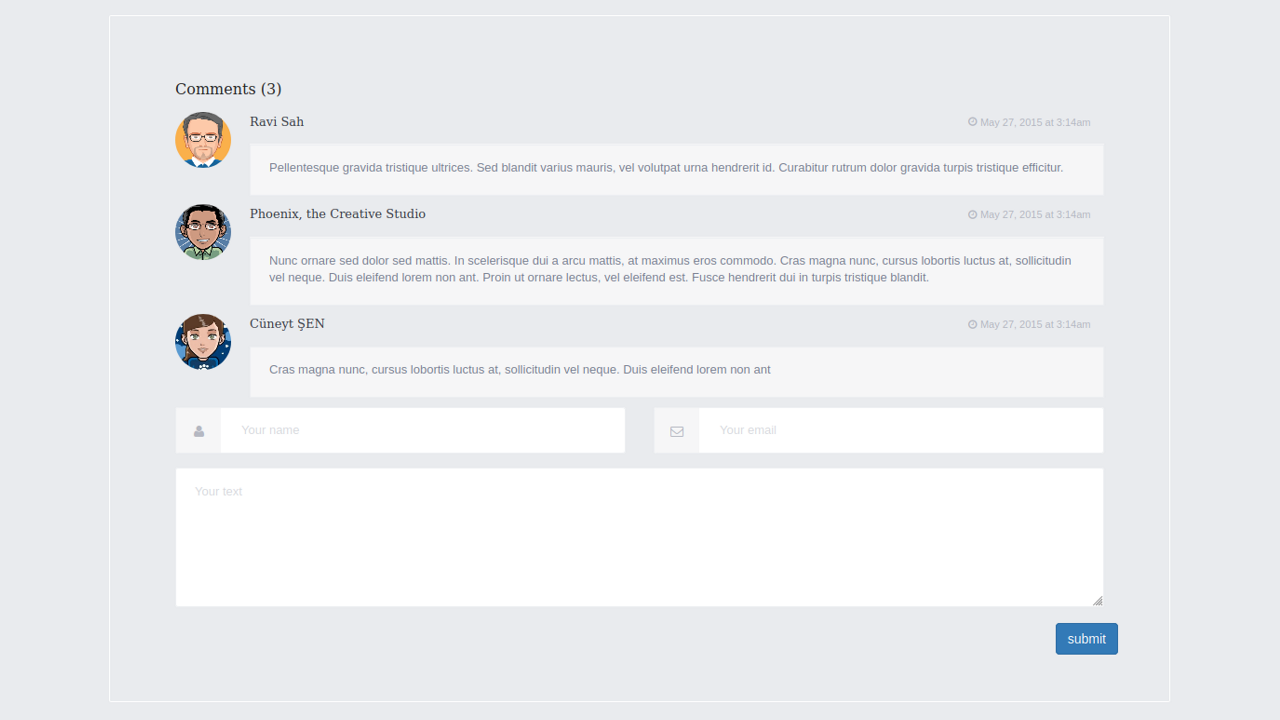
Bootstrap 4 Comment Template
Bootstrap 4 comment template with profile images.
Compatible browsers: Chrome, Edge, Firefox, Opera, Safari

Author
Links
Made with
About a code
Bootstrap 4 Like Comment Share Section with Comment Box
Compatible browsers: Chrome, Edge, Firefox, Opera, Safari

Author
Links
Made with
About a code
Bootstrap 4 Nested Comment Section with Reply
Compatible browsers: Chrome, Edge, Firefox, Opera, Safari

Author
Links
Made with
About a code
Bootstrap 4 Recent Comment Section From Users
Compatible browsers: Chrome, Edge, Firefox, Opera, Safari

Author
Links
Made with
About a code
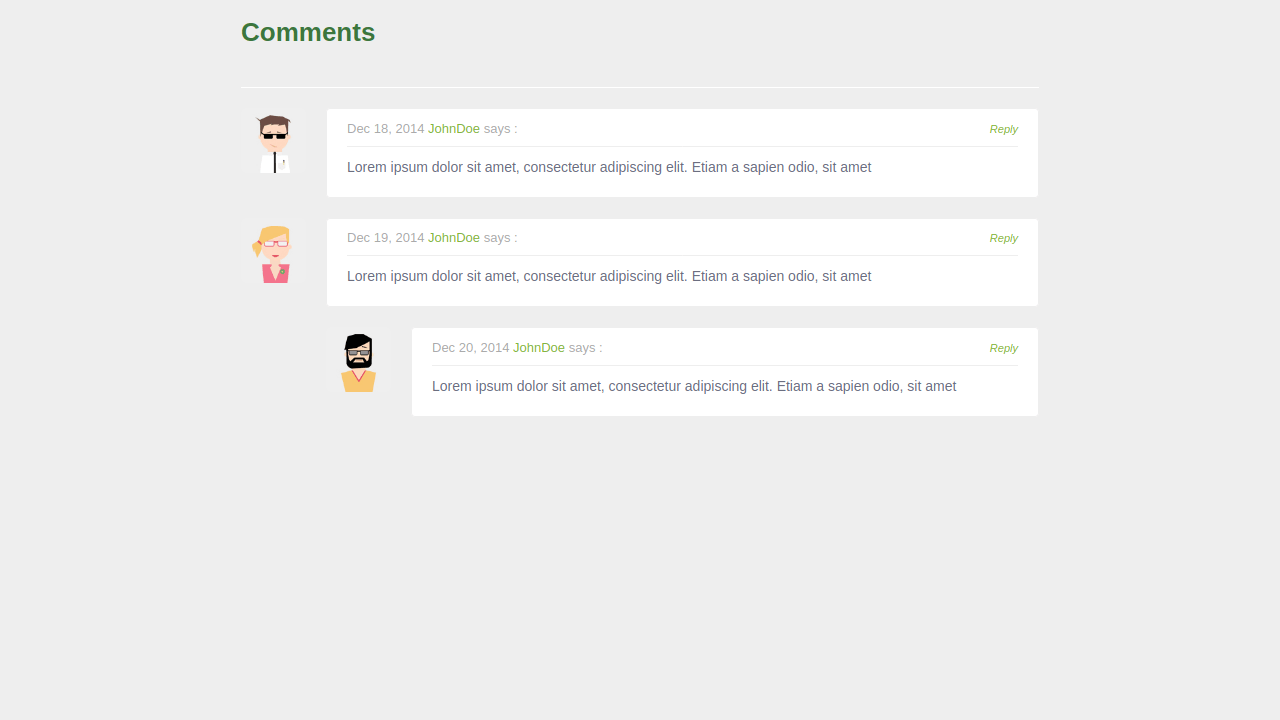
Bootstrap 4 Latest Comments List Section
Compatible browsers: Chrome, Edge, Firefox, Opera, Safari

Author
Links
Made with
About a code
Bootstrap 4 Beta Comment List
Compatible browsers: Chrome, Edge, Firefox, Opera, Safari

Author
Links
Made with
About a code
Bootstrap Comments
Compatible browsers: Chrome, Edge, Firefox, Opera, Safari
Author
Links
Made with
About a code
Bootstrap Blog Comments With Form
Compatible browsers: Chrome, Edge, Firefox, Opera, Safari

Author
Links
Made with
About a code
Bootstrap Blog Item Comments
Compatible browsers: Chrome, Edge, Firefox, Opera, Safari

Author
Links
Made with
About a code
Social Network Home News Feed
Compatible browsers: Chrome, Edge, Firefox, Opera, Safari

Author
Links
Made with
About a code
Bootstrap Facebook Post Style with Comments Box
Compatible browsers: Chrome, Edge, Firefox, Opera, Safari

Author
Links
Made with
About a code
Bootstrap Recent Comments Widget
Compatible browsers: Chrome, Edge, Firefox, Opera, Safari
Author
Links
Made with
About a code
Bootstrap UI Comments
Compatible browsers: Chrome, Edge, Firefox, Opera, Safari
Author
Links
Made with
About a code
Bootstrap Blog Comments
Compatible browsers: Chrome, Edge, Firefox, Opera, Safari

Author
Links
Made with
About a code
Bootstrap Comments List
Compatible browsers: Chrome, Edge, Firefox, Opera, Safari

Author
Links
Made with
Как создать древовидный блок комментариев при помощи HTML5 и CSS3
В блогах и форумах зачастую встроены древовидные комментарии. В этом уроке мы создадим простой макет древовидных комментариев основанный на HTML5 и CSS3.
Мы рассмотрим, как структурировать HTML5 документ, и как позиционировать элементы, используя CSS. На основе этого базового шаблона, разработчиком будет легко сделать изменения и реализацию такого рода блок комментариев под макет своих веб-сайтов.
Построение хэдера веб-страницы
Начнем с основного HTML шаблона, который мы используем в этом макете. Мы будем придерживаться HTML5 DOCTYPE закодированый в UTF-8, а также некоторых других элементов HTML5. Для веб-браузеров старше Internet Explorer 9, мы включили копию HTML5shiv скрипта, размещенного на Google dev серверах.
Это позволит новым элементам, таким как , и должным образом отображаться во всех браузерах. Единственной проблемой была бы работа в веб-браузерах с отключенным JavaScript. Вот еще один внешний ресурс для Wellfleet Google Шрифт, который стилизует текст заголовка страницы.
Внутренний body контент
- есть ID #comments. Каждому внутреннему элементу задается класс .cmmnt и он воспроизводит практически тот же внутренний контент. Вот пример комментария с макета страницы:
Pikabob - 5 дней назад Слушай, я сейчас тебе расскажу очень смешную историю
Внутренний комментарий содержит плавающее изображение аватара вместе с другим div, с помощью класса .cmmnt-content. Этот внутренний контейнер div помогает отличить от аватара колонки, чтобы наш контент находился только по правой стороне. Это также дает место для размещения и тегов внутри body комментария, который может удерживать дополнительные ссылки для редактирования и обмена.
Внутренние комментарии используют неупорядоченные списки с классом .replies, прикрепленый к каждому из них. Это позволяет нам дублировать уровни комментариев на 3 или даже 4 подуровня.
ТЕКСТ КОММЕНТАРИЯ
Sir_Pig - 1 день назад ТЕКСТ
ТЕКСТ КОММЕНТАРИЯ
Обратите внимание, что даже самый низкий уровень древовидных комментариев следует точно такому же форматированию, как и верхний уровень.
Сбрасывание CSS стилей
Мы создали документ styles.css, который содержит весь CSS-код для позиционирования и дизайна содержания страницы.
Следующий фрагмент кода, сбросит все шрифты, поля, отступы, и что более важно, box-sizing для всех элементов на странице, в каждом браузере. Мы также использовали свойства для динамического обновления цвета CSS Highlight.
html, body, div, span, applet, object, iframe, h1, h2, h3, h4, h5, h6, p, blockquote, pre, a, abbr, acronym, address, big, cite, code, del, dfn, em, img, ins, kbd, q, s, samp, small, strike, strong, sub, sup, tt, var, b, u, i, center, dl, dt, dd, ol, ul, li, fieldset, form, label, legend, table, caption, tbody, tfoot, thead, tr, th, td, article, aside, canvas, details, embed, figure, figcaption, footer, header, hgroup, menu, nav, output, ruby, section, summary, time, mark, audio, video < margin: 0; padding: 0; border: 0; font-size: 100%; font: inherit; vertical-align: baseline; outline: none; -webkit-box-sizing: border-box; -moz-box-sizing: border-box; box-sizing: border-box; >html < height: 101%; >body < background: #e3e0ef url('images/bg.png'); font-size: 62.5%; line-height: 1; font-family: Arial, sans-serif; padding-bottom: 65px; >::selection < background: #d7d0f3; >::-moz-selection < background: #d7d0f3; >::-webkit-selection < background: #d7d0f3; >article, aside, details, figcaption, figure, footer, header, hgroup, menu, nav, section < display: block; >ol, ul < list-style: none; >blockquote, q < quotes: none; >blockquote:before, blockquote:after, q:before, q:after < content: ''; content: none; >strong < font-weight: bold; >table < border-collapse: collapse; border-spacing: 0; >img
Двигаемся дальше. Мы включил код для сброса основных стилей на h1 элементе и параграфов на странице. Нам нужно настроить основные структуры для обёртки и контейнеров див. На контейнере, мы включили несколько CSS3 свойств для теней, чтобы выделиться из общего фона.
h1 < font-family: 'Wellfleet', 'Trebuchet MS', Tahoma, Arial, sans-serif; font-size: 2.85em; line-height: 1.6em; font-weight: normal; color: #756f8b; text-shadow: 0px 1px 1px #fff; margin-bottom: 21px; >p < font-family: Arial, Geneva, Verdana, sans-serif; font-size: 1.3em; line-height: 1.42em; margin-bottom: 12px; font-weight: normal; color: #656565; >a < color: #896dc6; text-decoration: none; >a:hover < text-decoration: underline; >/* page layout structure */ #w < display: block; width: 700px; margin: 0 auto; padding-top: 35px; >#container
Стилизация страницы комментариев
#comments < display: block; >#comments .cmmnt, ul .cmmnt, ul ul .cmmnt < display: block; position: relative; padding-left: 65px; border-top: 1px solid #ddd; >#comments .cmmnt .avatar < position: absolute; top: 8px; left: 0; >#comments .cmmnt .avatar img < -webkit-border-radius: 3px; -moz-border-radius: 3px; border-radius: 3px; -webkit-box-shadow: 1px 1px 2px rgba(0,0,0,0.44); -moz-box-shadow: 1px 1px 2px rgba(0,0,0,0.44); box-shadow: 1px 1px 2px rgba(0,0,0,0.44); -webkit-transition: all 0.4s linear; -moz-transition: all 0.4s linear; -ms-transition: all 0.4s linear; -o-transition: all 0.4s linear; transition: all 0.4s linear; >#comments .cmmnt .avatar a:hover img
- . Мы установили значение padding-left: 65px; таким образом, чтобы каждый блок был оттеснен в сторону, независимо от длины или высоты. Каждый аватар позиционируется абсолютно по левую сторону, так что наличие дополнительного пэддинга, удерживает содержание подальше от края.
Мы применили уникальный CSS3 border-radius эффект и переход на аватары. Как только вы наведете курсор на каждый из них, непрозрачность будет постепенно сокращаться до 77% в течение 400 миллисекунд. Это очень интересный эффект при помощи лишь нескольких строк кода.
#comments .cmmnt .cmmnt-content < padding: 0px 3px; padding-bottom: 12px; padding-top: 8px; >#comments .cmmnt .cmmnt-content header < font-size: 1.3em; display: block; margin-bottom: 8px; >#comments .cmmnt .cmmnt-content header .pubdate < color: #777; >#comments .cmmnt .cmmnt-content header .userlink < font-weight: bold; >#comments .cmmnt .replies
В этой последней части CSS кода, все что мы делаем, это позиционируем содержание, чтобы иметь дополнительный пэддинг, и обновляем цветовые схемы.