- Saved searches
- Use saved searches to filter your results more quickly
- License
- gestixi/image-scale
- Name already in use
- Sign In Required
- Launching GitHub Desktop
- Launching GitHub Desktop
- Launching Xcode
- Launching Visual Studio Code
- Latest commit
- Git stats
- Files
- README.md
- About
- How to resize images in Javascript?
- Manu Chaudhary
- Manu Chaudhary
- Table of contents
- Image resizing in JavaScript — Using canvas element
- Controlling image scaling behavior
- Image resizing in JavaScript — The serverless way
- Summary
Saved searches
Use saved searches to filter your results more quickly
You signed in with another tab or window. Reload to refresh your session. You signed out in another tab or window. Reload to refresh your session. You switched accounts on another tab or window. Reload to refresh your session.
Scale images to fit or fill any target container via two simple properties: scale and align
License
gestixi/image-scale
This commit does not belong to any branch on this repository, and may belong to a fork outside of the repository.
Name already in use
A tag already exists with the provided branch name. Many Git commands accept both tag and branch names, so creating this branch may cause unexpected behavior. Are you sure you want to create this branch?
Sign In Required
Please sign in to use Codespaces.
Launching GitHub Desktop
If nothing happens, download GitHub Desktop and try again.
Launching GitHub Desktop
If nothing happens, download GitHub Desktop and try again.
Launching Xcode
If nothing happens, download Xcode and try again.
Launching Visual Studio Code
Your codespace will open once ready.
There was a problem preparing your codespace, please try again.
Latest commit
Git stats
Files
Failed to load latest commit information.
README.md
Scale images to fit or fill any target container via two simple properties: scale and align.
This plugin is greatly inspired from Sproutcore SC.ImageView.
image-scale depends on jQuery. To use it, include this in your page :
If you want to identify the images that you want to scale, you can add a class to them. In this example we are adding a class call scale .
You can also set the data-scale and data-align attributes directly to the images if you want to override the default setting.


Now add this JavaScript code to your page :
Determines how the image will scale to fit within its containing space. Possible values:
- fill — stretches or compresses the source image to fill the target frame
- best-fill — fits the shortest side of the source image within the target frame while maintaining the original aspect ratio
- best-fit — fits the longest edge of the source image within the target frame while maintaining the original aspect ratio
- best-fit-down — same as best-fit but will not stretch the source if it is smaller than the target
- none — the source image is left unscaled
Type: String Default: best-fill Align the image within its frame. Possible values:
Type: String Default: center A jQuery Object against which the image size will be calculated. If null, the parent of the image will be used.
Type: jQuery Object Default: null A boolean determining if the parent should hide its overflow.
Type: Boolean Default: true A duration in milliseconds determining how long the fadeIn animation will run when your image is scale for the firstTime.
Set it to 0 if you don’t want any animation.
Type: Number or String Default: 0 A boolean indicating if the image size should be rescaled when the window is resized.
The window size is checked using requestAnimationFrame for good performance.
Type: Boolean Default: false A function that will be call each time the receiver is scaled.
Type: Function Parameters: - firstTime true if the image was scale for the first time. - options the options passed to the scale method. A number indicating the debug level :
Main method. Used to scale the images.
When rescaleOnResize is set to true, this method is executed each time the windows size changes.
If rescaleOnResize is set to false, you may want to call it manually. Here is an example on how you should do it:
Removes the data for the element.
Here is an example on how you can call the destroy method:
You can also check out the Sproutcore Automatic Image Scaling demo to understand the difference between all the different options.
Original Size: 4.3KB gzipped (15.04KB uncompressed)
Compiled Size: 1.9KB gzipped (4.65KB uncompressed)
Nicolas Badia
Copyright 2013-2016 GestiXi under The MIT License (MIT).
About
Scale images to fit or fill any target container via two simple properties: scale and align
How to resize images in Javascript?
Learn different techniques to resize images in Javascript, when you should avoid browser-side resizing, and the right way to manipulate & serve images on the web.
Manu Chaudhary
Manu Chaudhary
Table of contents
Image resizing is computationally expensive and usually done on the server-side so that right-sized image files are delivered to the client-side. This approach also saves data while transmitting images from the server to the client.
However, there are a couple of situations where you might need to resize images purely using JavaScript on the client side. For example —
- Resizing images before uploading to server
A rich image editor that offers image resize, crop, rotation, zoom IN and zoom OUT capabilities often require image manipulation on the client-side. The speed is critical for the user in these editors.
Image manipulation in JavaScript is done using the canvas element. There are libraries like fabric.js that offer rich APIs.
Apart from the above two reasons, in almost all cases, you would want to get the resized images from the backend itself so that client doesn’t have to deal with heavy processing tasks.
In this post—
- We will first talk about how to do resizing purely in JavaScript using the canvas element.
- Then we will cover in great detail how you can resize, crop, and do a lot with images by changing the image URL in the src attribute. This is the preferred way to resize images without degrading the user experience programmatically.
Image resizing in JavaScript — Using canvas element
The HTML element is used to draw graphics, on the fly, via JavaScript. Resizing images in browser using canvas is relatively simple.
drawImage function allows us to render and scale images on canvas element.
drawImage(image, x, y, width, height)The first argument image can be created using the Image() constructor, as well as using any existing element.
Let’s write the code to resize a user-uploaded image on the browser side 300×300 .
Let’s understand this in parts. First, the input file type field in HTML
Now we need to read the uploaded image and create an img element using Image() constructor.
let imgInput = document.getElementById('image-input'); imgInput.addEventListener('change', function (e) < if (e.target.files) < let imageFile = e.target.files[0]; var reader = new FileReader(); reader.onload = function (e) < var img = document.createElement("img"); img.onload = function(event) < // Actual resizing >img.src = e.target.result; > reader.readAsDataURL(imageFile); > >);Finally, let’s draw the image on canvas and show preview element.
// Dynamically create a canvas element var canvas = document.createElement("canvas"); var ctx = canvas.getContext("2d"); // Actual resizing ctx.drawImage(img, 0, 0, 300, 300); // Show resized image in preview element var dataurl = canvas.toDataURL(imageFile.type); document.getElementById("preview").src = dataurl;You might notice that the resized image looks distorted in a few cases. It is because we are forced 300×300 dimensions. Instead, we should ideally only manipulate one dimension, i.e., height or width, and adjust the other accordingly.
All this can be done in JavaScript, since you have access to input image original height ( img.width ) and width using ( img.width ).
For example, we can fit the output image in a container of 300×300 dimension.
var MAX_WIDTH = 300; var MAX_HEIGHT = 300; var width = img.width; var height = img.height; // Change the resizing logic if (width > height) < if (width >MAX_WIDTH) < height = height * (MAX_WIDTH / width); width = MAX_WIDTH; >> else < if (height >MAX_HEIGHT) < width = width * (MAX_HEIGHT / height); height = MAX_HEIGHT; >> var canvas = document.createElement("canvas"); canvas.width = width; canvas.height = height; var ctx = canvas.getContext("2d"); ctx.drawImage(img, 0, 0, width, height);Controlling image scaling behavior
Scaling images can result in fuzzy or blocky artifacts. There is a trade-off between speed and quality. By default browsers are tuned for better speed and provides minimum configuration options.
You can play with the following properties to control smoothing effect:
ctx.mozImageSmoothingEnabled = false; ctx.webkitImageSmoothingEnabled = false; ctx.msImageSmoothingEnabled = false; ctx.imageSmoothingEnabled = false;Image resizing in JavaScript — The serverless way
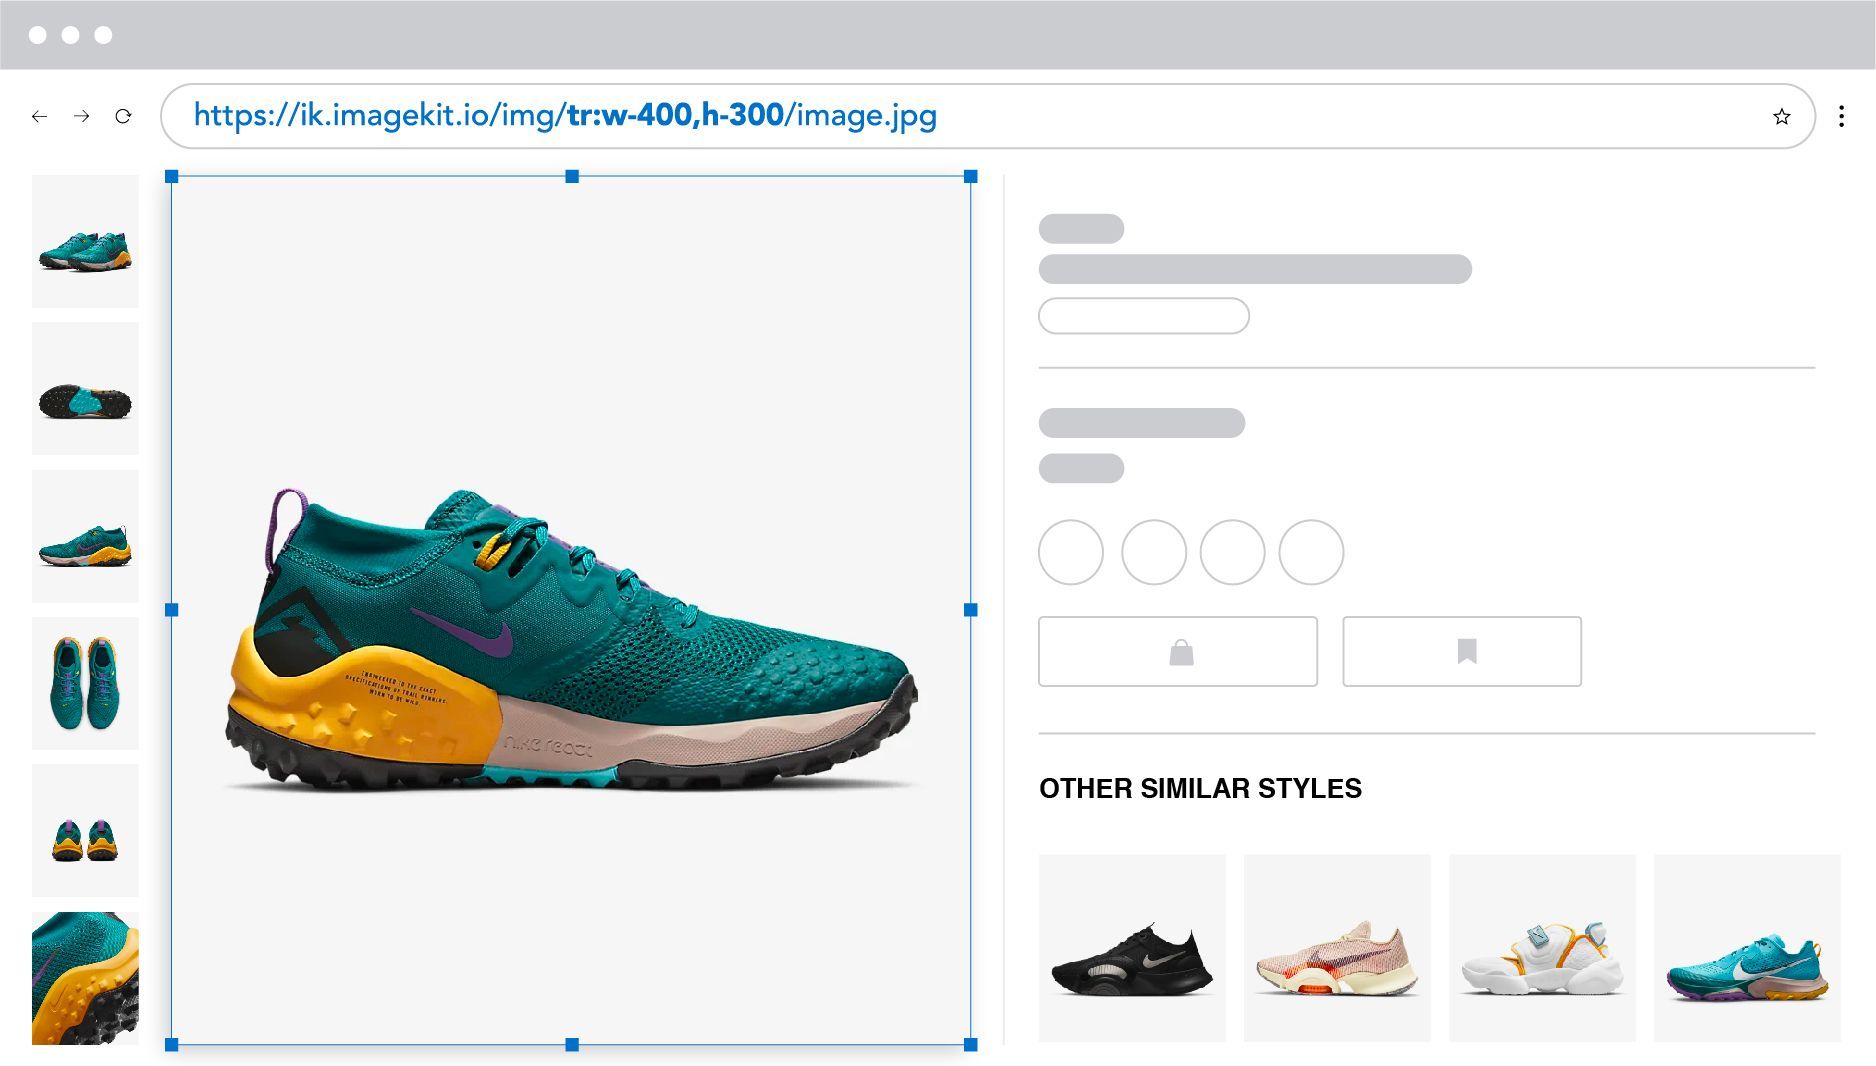
ImageKit allows you to manipulate image dimensions directly from the image URL and get the exact size or crop you want in real-time. Start with a single master image, as large as possible, and create multiple variants from the same.
For example, we can create a 400 x 300 variant from the original image like this:
https://ik.imagekit.io/ikmedia/ik_ecom/shoe.jpeg?tr=w-400,h-300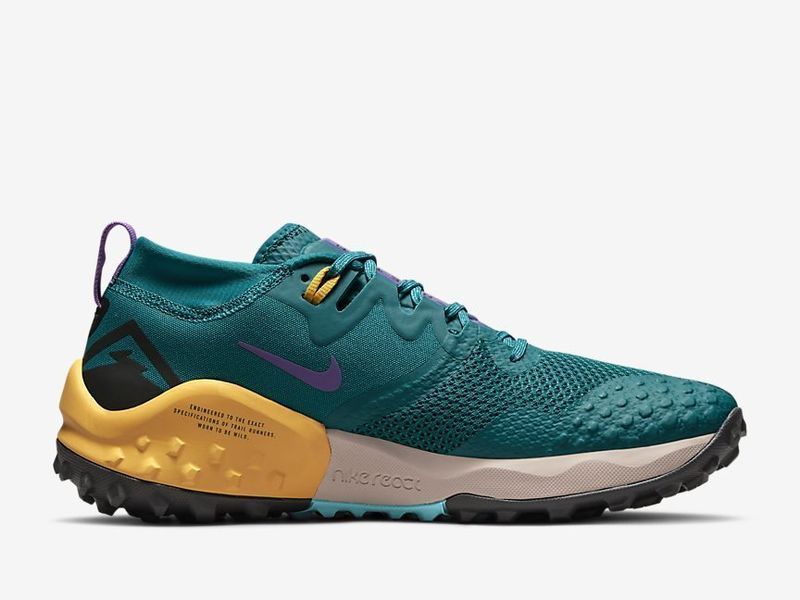
You can use this URL directly on your website or app for the product image, and your users get the correct image instantly.
If you don’t want to crop the image while resizing, there are several possible crop modes.
https://ik.imagekit.io/ikmedia/ik_ecom/shoe.jpeg?tr=w-400,h-300,cm-pad_resize,bg-F5F5F5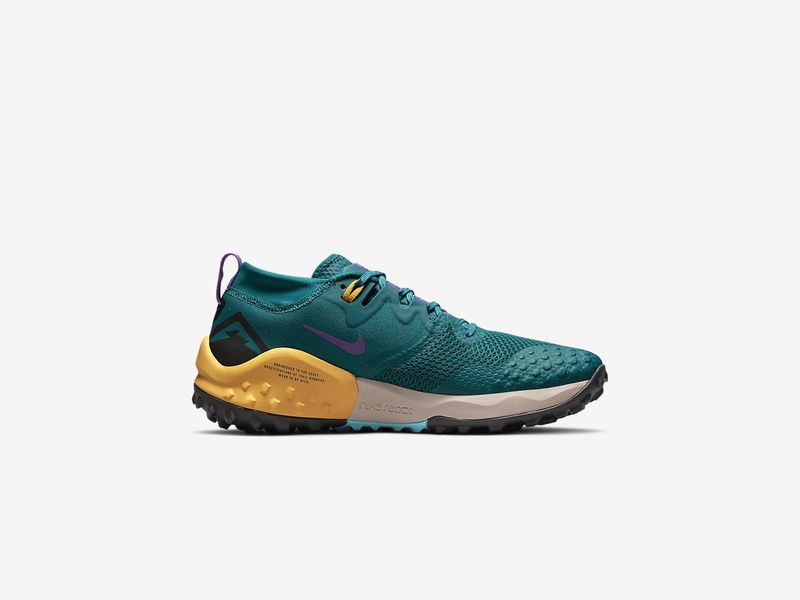
We have published guides on how you can do the following things using ImageKit’s real-time image manipulation.
Summary
- In most cases, you should not do image resizing in the browser because it is slow and results in poor quality. Instead, you should use an image CDN like ImageKit.io to resize images dynamically by changing the image URL. Try our forever free plan today!
- If your use-case demands client-side resizing, it is possible using the canvas element.