- Let’s build a responsive navbar and hamburger menu using HTML, CSS, and Javascript.
- dev-ggaurav / responsive-hamburger-tutorial
- So let’s start with the HTML,
- So this is the HTML that we need.
- Now let’s add the CSS reset
- Now let’s add styles to the elements one by one,
- After this, It should look like this,
- But It’s not responsive yet, so let’s add the media queries.
- Let’s add the javascript.
- It should look like this now,
- But there is a catch, the hamburger menu doesn’t close when we click a link. So let’s add that now,
- How to Create Responsive Navbar in CSS?
- Pre-requisites
- What is a Responsive Navbar?
- How to Create a Responsive Navbar?
- How to Create a Responsive Navbar with Dropdown?
- Step 1 : Adding HTML
- Step 2 : Styling the Navbar and The Dropdown Menu
- Step 3 : Responsive Navbar Using CSS Media Queries
- Dropdown Menu
- How to Create a Responsive Navbar with Hamburger Menu?
- Step 1. Structure of a Responsive Hamburger Menu (HTML)
- Step 2. Styling the Navbar Using CSS Flexbox
- Step 3. Adding Functionality to the Hamburger Menu with CSS
- Step 4. Responsive Navbar Using CSS Media Queries
- How to Create Responsive Mobile Menu?
- Step 1: Adding HTML
- Step 2. Styling the Navigation Menu
- Step 3. Styling the Hamburger Menu
- Step 4. Styling the Hamburger Icon
- Step 5. Adding Functionality to The Hamburger Menu With CSS
- 6. Using Media Queries to Make It Responsive
- Conclusion
Let’s build a responsive navbar and hamburger menu using HTML, CSS, and Javascript.
Hello everyone! In this tutorial lets build a responsive navbar and hamburger menu using html,css and a little bit of javascript. This is how it will look, Github link :
dev-ggaurav / responsive-hamburger-tutorial
So let’s start with the HTML,
class="header"> class="navbar"> href="#" class="nav-logo">WebDev. class="nav-menu"> class="nav-item"> href="#" class="nav-link">Services class="nav-item"> href="#" class="nav-link">Blog class="nav-item"> href="#" class="nav-link">About class="nav-item"> href="#" class="nav-link">Contact class="hamburger"> class="bar"> class="bar"> class="bar"> - header with the class of header which work as a container of our navbar
- nav with the class of navbar
- a link with the class of nav-logo
- ul with the class of nav-menu
- inside the ul we have 4 li s with the class of nav-item
- inside each nav-item we have a link with the class of nav-link
- for our hamburger I have added a div with the class of hamburger and inside which we have 3 span s with the class of bar
So this is the HTML that we need.
Now let’s add the CSS reset
(Here we will import the font we need and add some basic CSS to reset all the default styles.
@import url('https://fonts.googleapis.com/css2?family=Roboto:ital,wght@0,500;1,400&display=swap'); * margin: 0; padding: 0; box-sizing: border-box; > html font-size: 62.5%; font-family: 'Roboto', sans-serif; > li list-style: none; > a text-decoration: none; > Now let’s add styles to the elements one by one,
.header border-bottom: 1px solid #E2E8F0; > .navbar display: flex; justify-content: space-between; align-items: center; padding: 1rem 1.5rem; > .hamburger display: none; > .bar display: block; width: 25px; height: 3px; margin: 5px auto; -webkit-transition: all 0.3s ease-in-out; transition: all 0.3s ease-in-out; background-color: #101010; > .nav-menu display: flex; justify-content: space-between; align-items: center; > .nav-item margin-left: 5rem; > .nav-link font-size: 1.6rem; font-weight: 400; color: #475569; > .nav-link:hover color: #482ff7; > .nav-logo font-size: 2.1rem; font-weight: 500; color: #482ff7; > After this, It should look like this,

But It’s not responsive yet, so let’s add the media queries.
@media only screen and (max-width: 768px) .nav-menu position: fixed; left: -100%; top: 5rem; flex-direction: column; background-color: #fff; width: 100%; border-radius: 10px; text-align: center; transition: 0.3s; box-shadow: 0 10px 27px rgba(0, 0, 0, 0.05); > .nav-menu.active left: 0; > .nav-item margin: 2.5rem 0; > .hamburger display: block; cursor: pointer; > > What this media query does is, hides our nav-menu by setting position: fixed; left: -100%; on it.
Also, we set our hamburger to display: block; so it’s visible now.
We have also added an extra class that is .nav-menu.active which sets left: 0; on the nav-menu . Now we will have to add the javascript which will add this active class on the nav-menu when we click our hamburger.
Let’s add the javascript.
const hamburger = document.querySelector(".hamburger"); const navMenu = document.querySelector(".nav-menu"); hamburger.addEventListener("click", mobileMenu); function mobileMenu() hamburger.classList.toggle("active"); navMenu.classList.toggle("active"); > Here the function mobileMenu() also adds an active class on our hamburger and our nav-menu which makes our mobile menu open. we can use the active class on the hamburger to create that X animation when we click on the hamburger . so let’s do that now.
// Inside the Media Query. .hamburger.active .bar:nth-child(2) opacity: 0; > .hamburger.active .bar:nth-child(1) transform: translateY(8px) rotate(45deg); > .hamburger.active .bar:nth-child(3) transform: translateY(-8px) rotate(-45deg); > It should look like this now,
But there is a catch, the hamburger menu doesn’t close when we click a link. So let’s add that now,
const navLink = document.querySelectorAll(".nav-link"); navLink.forEach(n => n.addEventListener("click", closeMenu)); function closeMenu() hamburger.classList.remove("active"); navMenu.classList.remove("active"); > The closeMenu() function removes the active class from both the nav-menu and the hamburger which makes our mobile menu close.
So that’s it guys we built a responsive navbar and hamburger menu with HTML CSS and javascript. Hope u liked it. Share this article. Thank you 😀
How to Create Responsive Navbar in CSS?

Responsive design is essentially a technique for building websites that automatically adjust their features and information to fit the size of the screen. The responsive navbar offers links to relevant pages, which facilitates navigation. We can develop responsive designs by using CSS media queries. We can create a variety of navbars, including those with dropdown menus, hamburger menus, and navigation for mobile devices. In this article, we’ll learn how to make responsive navbars.
Pre-requisites
Make sure you understand the following fundamental ideas of HTML & CSS before continuing :
What is a Responsive Navbar?
The responsive navbar is a UI element on the website that contains links to appropriate sections or pages. It makes it easier for the user to navigate the necessary documents without having to type in the URL of a particular webpage. The responsive navigation bar works perfectly fine regardless of the device. It adapts itself to fit any device. We need to design a navbar that enriches the user’s experience and leaves a lasting impression.
For building an ideal navbar, it should follow three key elements:
- Simple : It needs to be simple to read and crystal clear. We should focus on the larger sections of your site rather than overcrowding the navbar with links to every page. Then, if necessary, we may add a dropdown sub-menu to the main menu.
- Noticeable: Simple does not equate to boring. We should use contrast, color schemes, and other visual cues to draw attention to the clickable components in the navigation bar.
- Responsive : Our website must have responsive mobile navigation since a significant portion of the global population accesses the internet using a mobile device.
How to Create a Responsive Navbar?
Let’s begin by creating the responsive navbar now that we have a firm understanding of the design concepts. Step 1 : First of all, let’s give structure to our navbar.
- a div container having a class nav acts as a container for our navbar.
- four links using anchor tags .
- a heading and a paragraph element.
- An active class to highlight the active link.
STEP 2: Styling the navbar container and the links.
STEP 3 : Using media queries to make it responsive.

Output:
How to Create a Responsive Navbar with Dropdown?
A drop-down menu is a way to display a long list of options since just one option is visible at first until the user activates the drop-down box.
The following example describes a responsive Navbar with a dropdown :
Step 1 : Adding HTML
Step 2 : Styling the Navbar and The Dropdown Menu
Step 3 : Responsive Navbar Using CSS Media Queries
Dropdown Menu

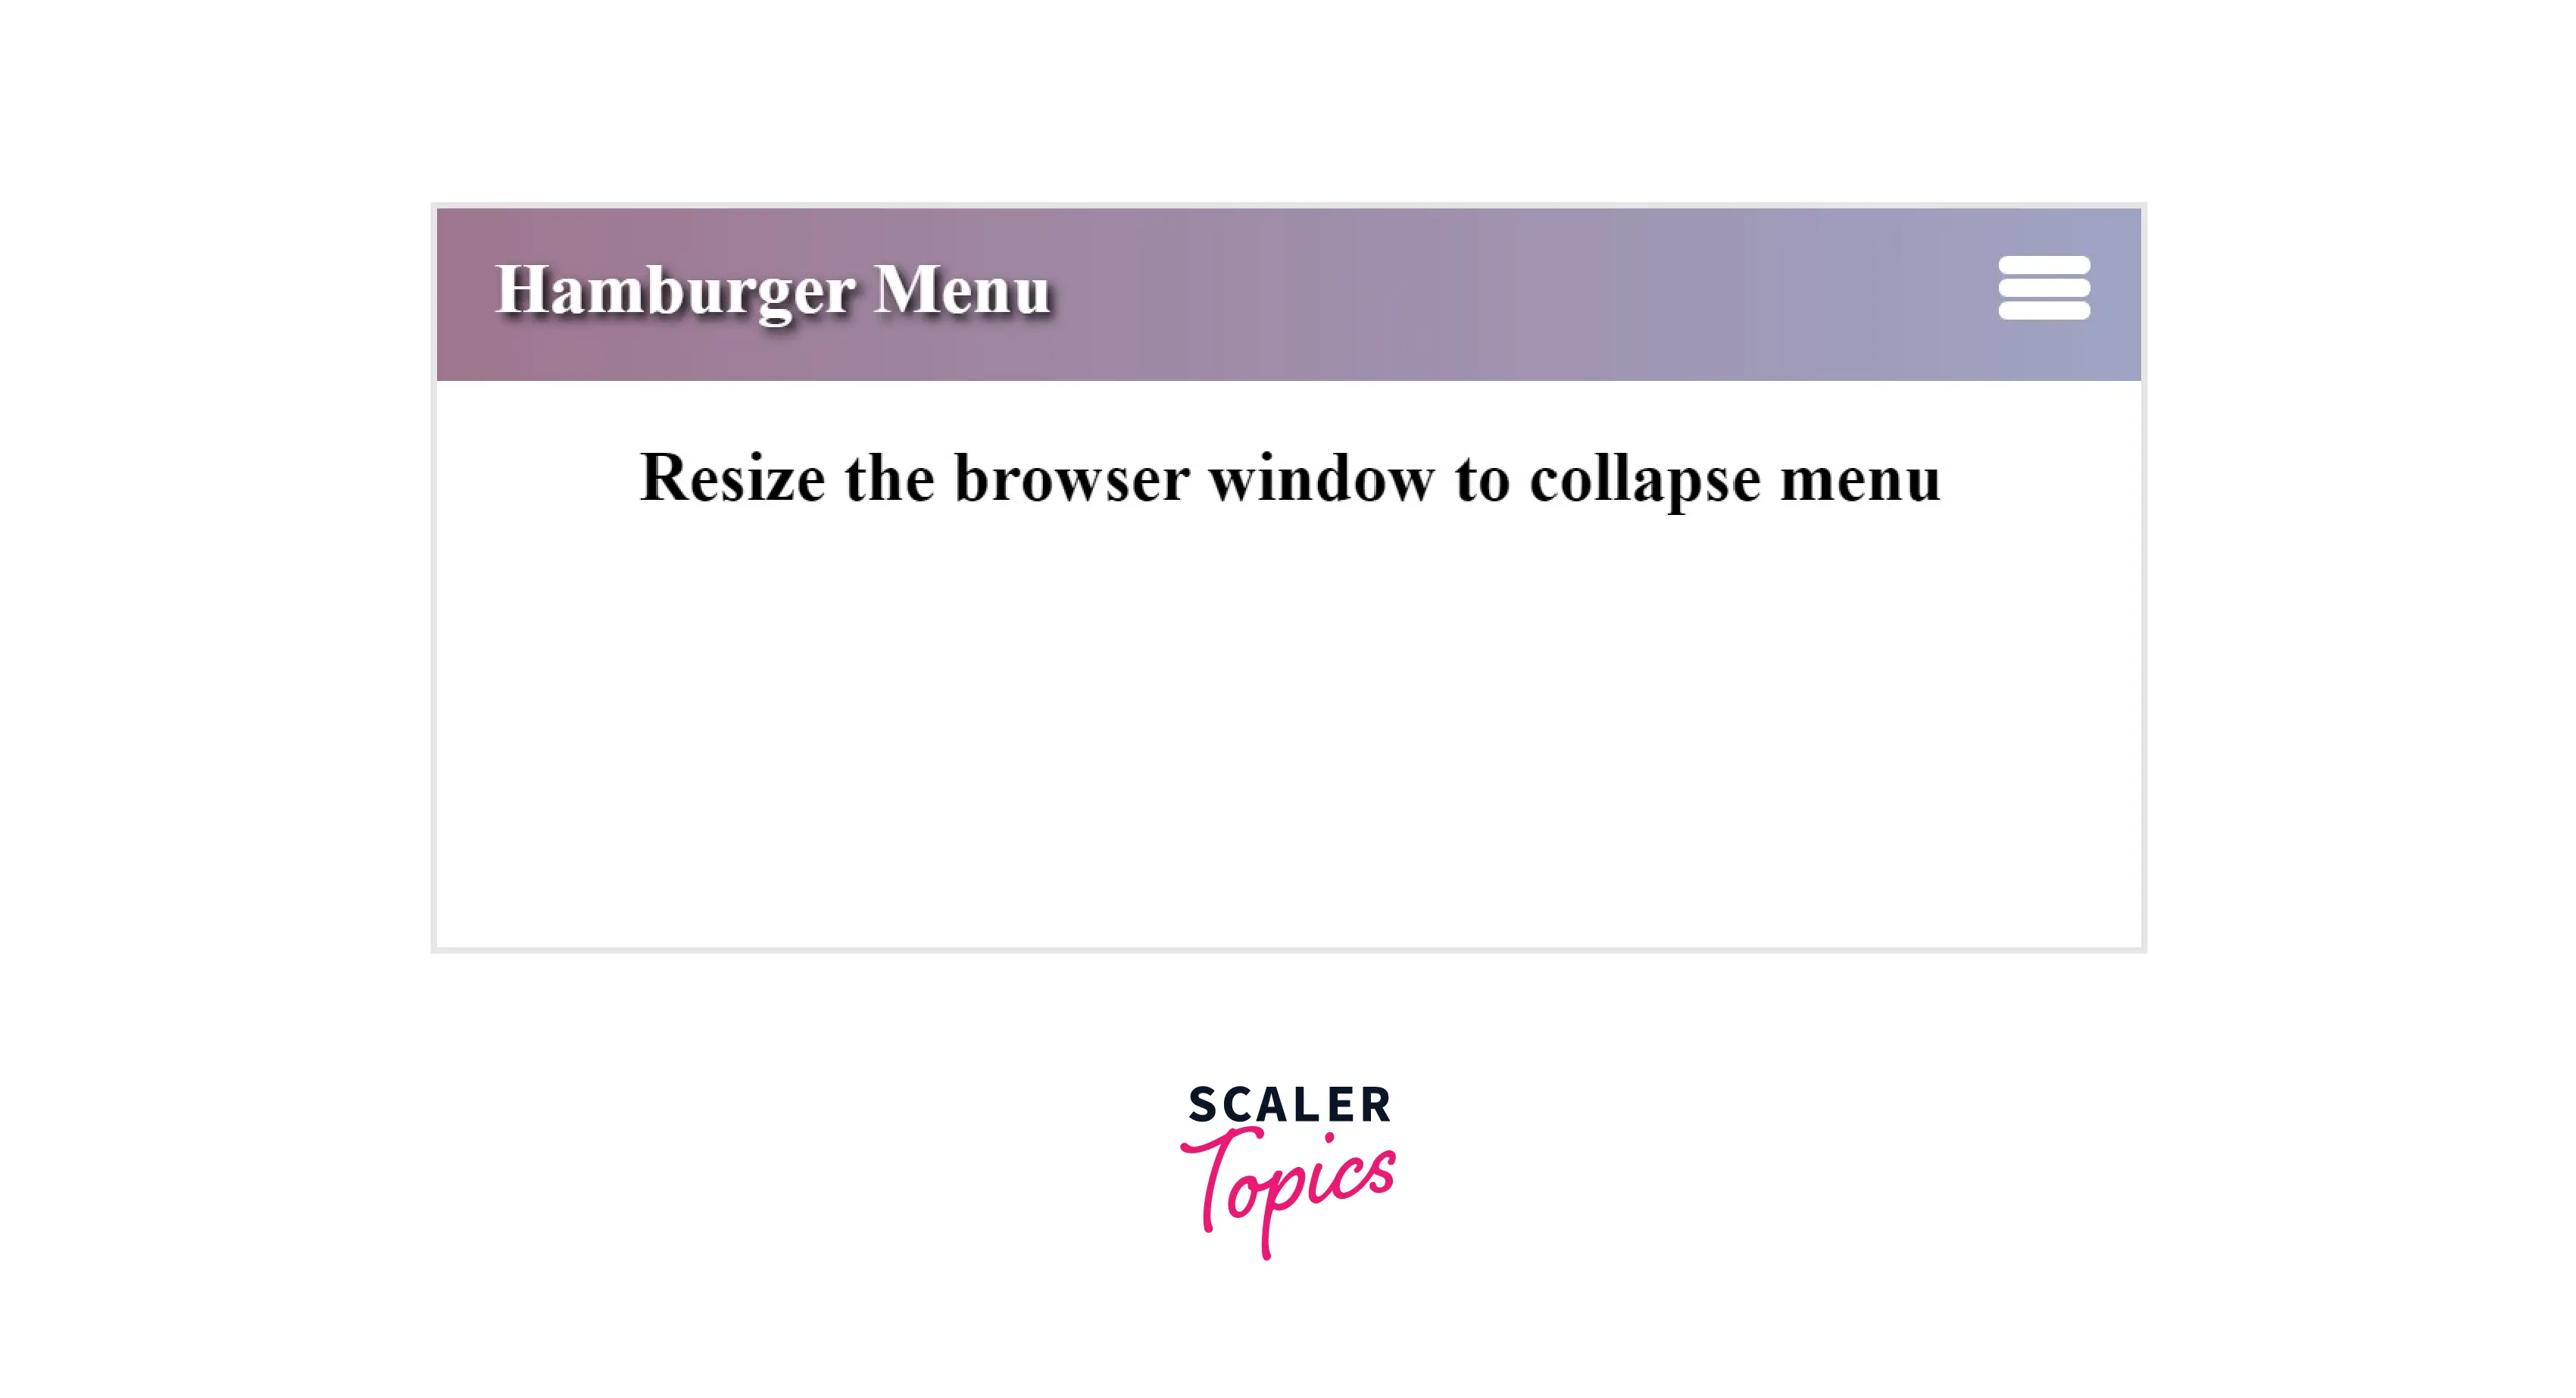
How to Create a Responsive Navbar with Hamburger Menu?
A hamburger menu turns the navigation bar on and off by hiding it behind the button or displaying it. Three lines that mimic a stack of hamburgers make up a hamburger icon.
The following example describes how to create a hamburger menu.
Step 1. Structure of a Responsive Hamburger Menu (HTML)
- We have the main navigation menu and a container for creating the hamburger icon.
- The navigation menu consists of a few links.
- Since we are using pure CSS, we will control the state of the icon, i.e., whether to show and hide the navbar using the HTML checkbox .
- We will specify an id for the checkbox and associate it with the label using the for attribute. Clicking the will select and deselect the checkbox. Then we will toggle the checkbox using CSS.
Step 2. Styling the Navbar Using CSS Flexbox
- We will style the main menu nav and the hamburger menu-button-container using the CSS Flexbox.
- To draw the three lines for the hamburger icon, we’ll use the ::before and ::after pseudo-elements. The CSS for this is:
Step 3. Adding Functionality to the Hamburger Menu with CSS
- We will move the top and bottom bars or lines of the icon to the position of the middle line.
- We will hide the middle line.
- Lastly, we will rotate the top and bottom lines 45 degrees in opposite directions to create a cut/cross icon.
Step 4. Responsive Navbar Using CSS Media Queries
- We will add the CSS media queries to make our hamburger navbar responsive.
- We must select a screen width that will toggle a full-width menu and the responsive CSS hamburger menu.
How to Create Responsive Mobile Menu?
The following example describes how to create a responsive mobile menu :
Step 1: Adding HTML
Step 2. Styling the Navigation Menu
Step 3. Styling the Hamburger Menu
Step 4. Styling the Hamburger Icon
Step 5. Adding Functionality to The Hamburger Menu With CSS
6. Using Media Queries to Make It Responsive

Conclusion
- The responsive navbar is a UI element on the website that contains links to appropriate sections.
- The responsive navigation bar works perfectly fine regardless of the device.
- We can develop responsive designs by using CSS media queries.
- A dropdown is a list of choices that appears when the user interacts with the menu.
- A hamburger menu turns the navigation bar on and off by hiding it behind the button or displaying it.