- Java Resize Image to Fixed Width and Height Example
- Java Resize Image Example
- Converted Images
- References
- How to resize images in Java
- About the Author:
- 3 Ways to Resize Images in Java
- In this article, we cover the following techniques to resize images in Java:
- Techniques to Resize Images in Java
- Resizing an Image Using BufferedImage.getScaledInstance()
- Resizing an Image Using Graphics2D
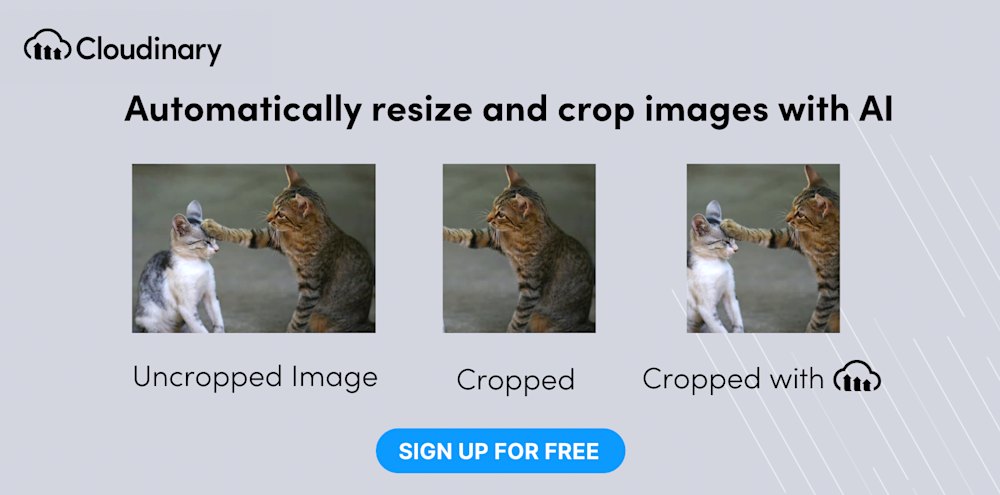
- Automatically Resize and Crop Images in Java with Cloudinary
- Get started with automated resize and cropping today!
Java Resize Image to Fixed Width and Height Example
In this tutorial we show a Java Resize Image to Fixed Width and Height Example. We can resize an image using different algorithms. Each algorithm focuses on a different aspect. You can configure the image scaling process using you own custom algorithm.
Java Resize Image Example
This example is sufficient if you only want to do some small image scaling. You can configure your scaling algorithm by using one of the following configuration.
- Image.SCALE_DEFAULT – uses the default image-scaling algorithm.
- Image.SCALE_FAST – uses an image-scaling algorithm that gives higher priority to scaling speed than smoothness of the scaled image.
- Image.SCALE_SMOOTH – uses an image-scaling algorithm that gives higher priority to image smoothness than scaling speed.
- Image.SCALE_REPLICATE – use the image scaling algorithm embodied in the ReplicateScaleFilter class.
- Image.SCALE_AREA_AVERAGING – uses the area averaging image scaling algorithm.
package com.memorynotfound.image; import javax.imageio.ImageIO; import java.awt.*; import java.awt.image.BufferedImage; import java.io.File; import java.io.IOException; public class ResizeImageExample < public static void main(String. args) throws IOException < File input = new File("/tmp/duke.png"); BufferedImage image = ImageIO.read(input); BufferedImage resized = resize(image, 500, 500); File output = new File("/tmp/duke-resized-500x500.png"); ImageIO.write(resized, "png", output); >private static BufferedImage resize(BufferedImage img, int height, int width) < Image tmp = img.getScaledInstance(width, height, Image.SCALE_SMOOTH); BufferedImage resized = new BufferedImage(width, height, BufferedImage.TYPE_INT_ARGB); Graphics2D g2d = resized.createGraphics(); g2d.drawImage(tmp, 0, 0, null); g2d.dispose(); return resized; >>The major problem with single step scaling is they don’t generally produce quality output, as they focus on taking the original and squeezing it into a smaller space, usually by dropping out a lot of pixel information. If you are resizing large images please use dedicated libraries for the optimal performance/quality of the image.
Converted Images
To demonstrate the result, we added the following table. The first image is the original. The subsequent are different images that we have resized in various sizes.
| duke.png (original) | duke-resized-50×50.jpg | duke-resized-100×100.jpg | duke-resized-500×500.jpg |
|---|---|---|---|
| Size: 9KB | Size: 2KB | Size: 5KB | Size: 51KB |
 |  |
References
How to resize images in Java
In Java, to resize (or scale) an image read from an image file and save the scaled image into another image file, we can follow these steps:
-
- Create a BufferedImage object for the input image by calling the method read(File) of the ImageIO class.
- Create a BufferedImage object for the output image with a desired width and height.
- Obtain a Graphics2D object from the output image’s BufferedImage object.
- Draw the input image’s BufferedImage object onto the output image’s Graphics2D object.
- Save the output image to a file on disk using the method write(File) of the ImageIO class.
Here is a utility class which implements two methods for resizing an image and saves the result to another image file.
package net.codejava.graphic; import java.awt.Graphics2D; import java.awt.image.BufferedImage; import java.io.File; import java.io.IOException; import javax.imageio.ImageIO; /** * This program demonstrates how to resize an image. * * @author www.codejava.net * */ public class ImageResizer < /** * Resizes an image to a absolute width and height (the image may not be * proportional) * @param inputImagePath Path of the original image * @param outputImagePath Path to save the resized image * @param scaledWidth absolute width in pixels * @param scaledHeight absolute height in pixels * @throws IOException */ public static void resize(String inputImagePath, String outputImagePath, int scaledWidth, int scaledHeight) throws IOException < // reads input image File inputFile = new File(inputImagePath); BufferedImage inputImage = ImageIO.read(inputFile); // creates output image BufferedImage outputImage = new BufferedImage(scaledWidth, scaledHeight, inputImage.getType()); // scales the input image to the output image Graphics2D g2d = outputImage.createGraphics(); g2d.drawImage(inputImage, 0, 0, scaledWidth, scaledHeight, null); g2d.dispose(); // extracts extension of output file String formatName = outputImagePath.substring(outputImagePath .lastIndexOf(".") + 1); // writes to output file ImageIO.write(outputImage, formatName, new File(outputImagePath)); >/** * Resizes an image by a percentage of original size (proportional). * @param inputImagePath Path of the original image * @param outputImagePath Path to save the resized image * @param percent a double number specifies percentage of the output image * over the input image. * @throws IOException */ public static void resize(String inputImagePath, String outputImagePath, double percent) throws IOException < File inputFile = new File(inputImagePath); BufferedImage inputImage = ImageIO.read(inputFile); int scaledWidth = (int) (inputImage.getWidth() * percent); int scaledHeight = (int) (inputImage.getHeight() * percent); resize(inputImagePath, outputImagePath, scaledWidth, scaledHeight); >/** * Test resizing images */ public static void main(String[] args) < String inputImagePath = "D:/Photo/Puppy.jpg"; String outputImagePath1 = "D:/Photo/Puppy_Fixed.jpg"; String outputImagePath2 = "D:/Photo/Puppy_Smaller.jpg"; String outputImagePath3 = "D:/Photo/Puppy_Bigger.jpg"; try < // resize to a fixed width (not proportional) int scaledWidth = 1024; int scaledHeight = 768; ImageResizer.resize(inputImagePath, outputImagePath1, scaledWidth, scaledHeight); // resize smaller by 50% double percent = 0.5; ImageResizer.resize(inputImagePath, outputImagePath2, percent); // resize bigger by 50% percent = 1.5; ImageResizer.resize(inputImagePath, outputImagePath3, percent); >catch (IOException ex) < System.out.println("Error resizing the image."); ex.printStackTrace(); >> >Note: the resized images may not have same quality as the original ones.
Other Java Graphics Tutorials:
About the Author:

Nam Ha Minh is certified Java programmer (SCJP and SCWCD). He started programming with Java in the time of Java 1.4 and has been falling in love with Java since then. Make friend with him on Facebook and watch his Java videos you YouTube.
3 Ways to Resize Images in Java
Java is a popular object-oriented programming language originally designed and used for distributed enterprise applications. Today it is widely used for mobile development, as the programming language for Android smartphone applications, and is commonly used for edge devices and internet of things (IoT) development.
Resizing an image means removing pixels and reducing its physical size, or “blowing up” the image by adding pixels, which will reduce image quality. If a resize operation changes the aspect ratio of an image, it will result in “squeezing” the image out of its current proportions.
Java provides several techniques for programmatic bulk image resize, including the getScaledInstance() method and the Graphics2D class. We’ll also show how to use Cloudinary to resize images in Java while automatically adjusting the image to focus on objects of interest.
In this article, we cover the following techniques to resize images in Java:
Techniques to Resize Images in Java
Resizing an Image Using BufferedImage.getScaledInstance()
You can resize an image in Java using the getScaledInstance() function, available in the Java Image class. We’ll use the BufferedImage class that extends the basic Image class. It stores images as an array of pixels.
First, we import the necessary Java libraries:
import javax.imageio.ImageIO; import javax.swing.*; import java.awt.*; import java.awt.image.BufferedImage; import java.io.File; import java.io.IOException;
Now, we create an object from the BufferedImage class, and use the ImageIO.read() function to read an image from the file system. The File() method calls the File class constructor, taking the path of the image as an argument.
BufferedImage bufferedImage = ImageIO.read(new File("C:\\example.png"));We now have a new object containing the image, which provides the getScaledInstance() method, which we can use to get a resized version of the image. The method takes the following arguments:
- Target width in pixels after resizing
- Target height in pixels after resizing
- Image scaling algorithm (if you don’t have a special preference, you can use Image.SCALE_DEFAULT which uses the default sampling algorithm)
Here is how to scale the source image to 800 x 500 pixels:
Image image = bufferedImage.getScaledInstance(800, 500, Image.SCALE_DEFAULT);
Note that this operation scales the bufferedImage object in memory, but does not save the resized image to the file system, and also does not display the image.
Let’s arrange the resized image using a JFrame. We’ll set the layout to FlowLayout, which specifies that components in the JFrame should be displayed from left to right, and set the size of the JFrame to a larger size than the image, ensuring it will be shown in its entirety.
ImageIcon icon = new ImageIcon(image); JFrame frame = new JFrame(); frame.setLayout(new FlowLayout()); frame.setSize(1200, 800);
The last step is to display the image to the user. We’ll do this using a JLabel object, adding the JLabel to the frame and setting visibility to true.
JLabel jLabel = new JLabel(); jLabel.setIcon(icon); frame.add(jLabel); frame.setVisible(true); frame.setDefaultCloseOperation(JFrame.EXIT_ON_CLOSE);

Resizing an Image Using Graphics2D
Another option for resizing an image in Java is the Graphics2D class. This class extends the Graphics class to provide fine-grained control over geometry, coordinate transformations, and color management of 2-dimensional shapes and images.
Here are the required imports:
import javax.imageio.ImageIO; import java.awt.*; import java.awt.image.BufferedImage; import java.io.File; import java.io.IOException;
Like in the previous example, we use ImageIo.read() and the File() method to read the image from the file system and store it as a BufferedImage object:
BufferedImage bufferedImage = ImageIO.read(new File("C:\\example.png"));We create another object that will store the resize operation result:
BufferedImage bufferedImageResult = new BufferedImage( resizeWidth, resizeHeight, bufferedImage.getType() );
Now it’s time to use the g2d class. We’ll call the createGraphics() method, passing the bufferedImageResult object. This returns a g2d (Graphics2D) object.
Graphics2D g2d = bufferedImageResult.createGraphics();
We can now use the drawImage() function on the g2d object, which takes the following arguments:
- A BufferedImage object
- X and Y coordinates. For a resize operation, these should be set to 0.
- The new height and width after resizing.
- ImageObserver – handles notifications of image loading; not needed in this case and can be left as null.
g2d.drawImage( bufferedImage, 0, 0, resizeWidth, resizeHeight, null );
We use the following command to dispose of context and resources used by g2d, which are not necessary for the next steps:
Finally, we save the resized image in the local directory using the ImageIo.write() function.
String formatName = imagePathToWrite.substring( imagePathToWrite.lastIndexOf(".") + 1 ); ImageIO.write( bufferedImageResult, formatName, new File(imagePathToWrite) );Automatically Resize and Crop Images in Java with Cloudinary
A cloud-based service for managing images and videos, Cloudinary offers a generous free-forever subscription plan. While on that platform, you can upload your images, and apply built-in effects, filters, and modifications. You can also resize images automatically, focusing on the most important elements with AI, or adapt them to your website design without having to manually crop or scale them.
You can set the target dimensions of your resized image by specifying width, height, and/or the target aspect ratio as qualifiers of your resize transformation.
You can change the dimensions of an uploaded image by setting the image’s height, width, and/or aspect ratio, and Cloudinary automatically resizes or crops the image to fit into the requested size.
For example, this original image is 1200 x 1200 pixels:
Resizing the image to 200 x 200 pixels, using crop, scale, fill and pad results in the following images:
Get started with automated resize and cropping today!
- Get a free Cloudinary account
- Install the Java SDK
- Deliver the crop transformations shown above as follows:
# focus on the model in portrait crop cloudinary.url().transformation(new Transformation().height(200).width(200).crop("crop")).imageTag("https://res.cloudinary.com/demo/image/upload/docs/model.jpg"); # detect the face for thumbnail crop cloudinary.url().transformation(new Transformation().height(200).width(200).crop("crop")).imageTag("https://res.cloudinary.com/demo/image/upload/docs/model.jpg"); # crop to a banner automatically focusing on region of interest cloudinary.url().transformation(new Transformation().aspectRatio("2.5").width(450).crop("crop")).imageTag("https://res.cloudinary.com/demo/image/upload/docs/model.jpg");