- Display Images in Tkinter Using Labels
- For .PNG Files
- For .JPG File
- Quick Revision :-
- Tkinter Label
- Introduction to Tkinter Label widget
- Displaying a regular label
- Setting a specific font for the Label
- Displaying an image
- Summary
- Python tkinter image icons
- Adding image using Label
- Using a Button to add image.
- PIL ( Python Imaging Library )
- Background Image of the window
- Width and height of the image
Display Images in Tkinter Using Labels
Before understanding how to display images in Tkinter using labels? Let’s have a sneak peek about Python GUI first. In python there are various methods for creating graphical user interfaces (GUIs). Most Common used are:-
- Tkinter – It is Python Standard GUI Framework, open source and simple.
- Kivy – It is open source, supports multiple platforms such as Windows, Linux, etc. and contains over 20 widgets in its toolkit.
- wxPython – It is implemented as a Python extension module and for cross-platform GUI library wxwidgets support as an open source wrapper.
Tkinter is Python’s Standard GUI Framework.It is an open source platform and most commonly used because of its simplicity. Any beginner in python can create their very own GUI using tkinter by just using these simple steps:-
- Import Tkinter module.
- Create the GUI application main window.
- Add widgets to the GUI application.
- Create a main event loop to perform action for every event triggered by the user.
In this blog, we are going to learn how to display images in python tkinter using labels for your GUI. We are going to understand how to display .png and .jpg image files.
As the Tkinter PhotoImage module currently does not support .jpg files, we are going to use a pillow library which will help us to display .jpg files in our GUI.
For .PNG Files
Step1. Import tkinter library and all of it modules using the following command. ‘*’ is used to signify that we want to import all modules from the tkinter library.
Step2. Now, we need to create a root window which is the main application window of our program, it contains a title bar and borders.It should be created before any widgets.
Step3. With the help of the geometry method we will set the width X height of our window.
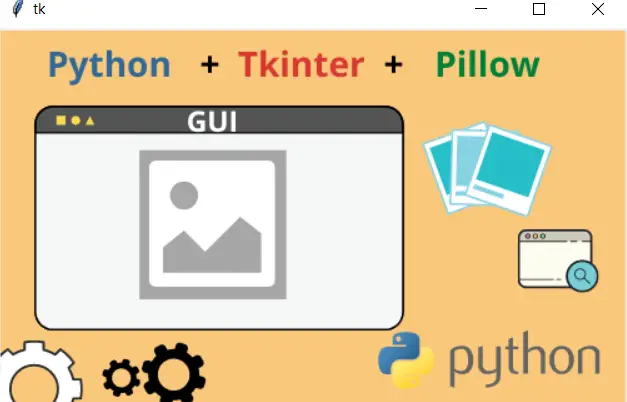
Step4. PhotoImage method is used to add user defined images in the application and pass the parameter file=”path_of_png_image_file”.
pic=PhotoImage(file="blog4-mainpage.png")
Step5. Now, with the help of Label widget we can display a box in our window that contain text or image. Here we are displaying image so will pass parameter image=pic. After creating label pack it.
label=Label(image=pic) label.pack()
Step6. Create a main event loop to perform action for every event triggered by the user.
For .JPG File
Step1. Install Pillow by running the below command in your terminal.
Step2. Import tkinter library and all of it modules using the following command. ‘*’ is used to signify that we want to import all modules from the tkinter library. Import Image,ImageTk from PIL library.
from tkinter import * from PIL import Image,ImageTk
Step3. Now, we need to create a root window which is the main application window of our program, it contains a title bar and borders.It should be created before any widgets.
root= Tk() Step4. With the help of the geometry method we will set the width X height of our window.
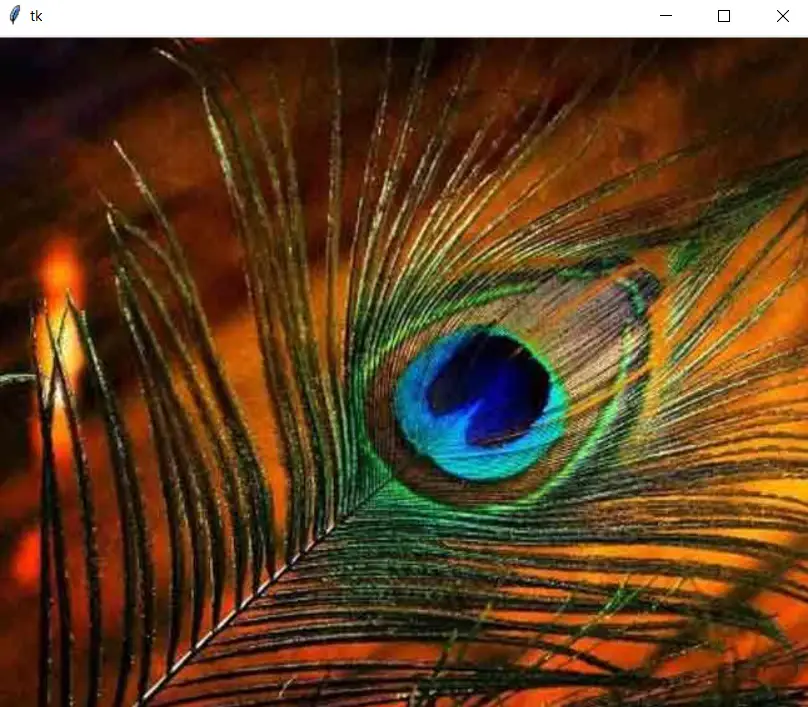
Step5. Image module will help us to load images from file and ImageTk module contains support to create and modify Tkinter PhotoImage module.
image=Image.open('avatar.jpg') pic=ImageTk.PhotoImage(image) Step6. Now, with the help of Label widget we can display a box in our window that contain text or image. Here we are displaying image so will pass parameter image=pic. After creating label we need to pack it.
label=Label(image=pic) label.pack()
Step7. Create a main event loop to perform action for every event triggered by the user.
Quick Revision :-
- Import Tkinter module.
- Create the GUI application main window.
- Load the image
- Add Image to the Label Widget.
- Pack the Label.
- Create a main event loop to perform action for every event triggered by the user.
Tkinter Label
Summary: in this tutorial, you’ll learn about Tkinter Label widget and how to use it to display a text or image on the screen.
Introduction to Tkinter Label widget
Tkinter Label widget is used to display a text or image on the screen. To use a Label widget, you use the following general syntax:
label = ttk.Label(container, **options)Code language: Python (python)The Label widget has many options that allow you to customize its appearance:
| Options | Meaning |
|---|---|
| anchor | When the text and/or image are smaller than the width, the anchor option determines where to position them tk.W , tk.CENTER or tk.E for left, center, and right alignment respectively. |
| background | Set the background color for the label |
| borderwidth | Add a border around the label. |
| class_ | Specify a custom widget class name for changing the label’s appearance. |
| compound | Specify how to display both text and image on the Label. |
| cursor | Specify the mouse cursor’s appearance when the mouse is over the widget. |
| font | Specify the font style for displaying text |
| foreground | Specify the color of the text |
| image | Specify an image or images to show in addition to text or instead of text. |
| justify | If the text contains newline characters, the justify option specifies how each line is positioned horizontally. The valid values are tk.LEFT (left-justify), tk.CENTER (center), and tk.RIGHT (right-justify). |
| padding | Add more space around the label. |
| relief | Use this option to create an effect for the Label .e.g, flat, raised, sunken, groove, and ridge. |
| style | Specify the custom widget style. |
| takefocus | is a boolean value that specifies whether the label is visited during focus traversal. It defaults to False which doesn’t get focus. |
| text | Specify a string of text to show in the widget |
| textvariable | A StringVar instance that holds the text value of the widget. It overrides the text option if both textvariable and text are available. |
| underline | Specify the position of the letter that should be underlined e.g, underline = 0 would underline the letter E in the text=’Exit’ |
| width | Specify the number of characters to show |
| wraplength | Chop the text into the lines which less than the length specified by the wraplength option. |
The following shows a skeleton program that we’ll use to illustrate various options of the Label widget:
import tkinter as tk from tkinter import ttk root = tk.Tk() root.geometry('300x200') root.resizable(False, False) root.title('Label Widget Demo') # show the label here root.mainloop()Code language: Python (python)Displaying a regular label
The following program shows how to display a regular label on the root window:
import tkinter as tk from tkinter.ttk import Label root = tk.Tk() root.geometry('300x200') root.resizable(False, False) root.title('Label Widget Demo') # show a label label = Label(root, text='This is a label') label.pack(ipadx=10, ipady=10) root.mainloop()Code language: Python (python)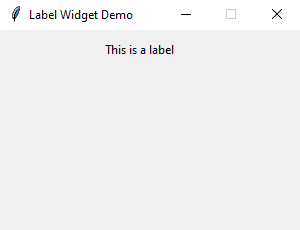
- First, import Label class from the tkinter.ttk module.
- Second, create the root window and set its properties including size, resizeable, and title.
- Third, create a new instance of the Label widget, set its container to the root window, and assign a literal string to its text property.
Setting a specific font for the Label
To set a particular font for a label, you pass the font keyword argument to the Label constructor like this:
font = ('font name', font_size)Code language: Python (python)The font keyword argument is a tuple that contains font name and size. For example:
font=("Helvetica", 14)Code language: Python (python)The following example shows a label with the Helvetica font:
import tkinter as tk from tkinter import ttk root = tk.Tk() root.geometry('300x200') root.resizable(False, False) root.title('Label Widget Demo') # label with a specific font label = ttk.Label( root, text='A Label with the Helvetica font', font=("Helvetica", 14)) label.pack(ipadx=10, ipady=10) root.mainloop() Code language: Python (python)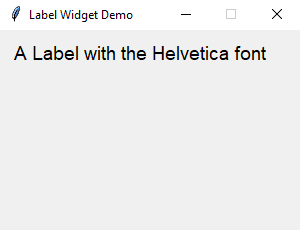
Displaying an image
To use a Label widget to display an image, you follow these steps:
First, create a PhotoImage widget by passing the path to the photo to the PhotoImage constructor:
photo = tk.PhotoImage(file='./assets/python.png')Code language: Python (python)Second, assign the PhotoImage object to the image option of the Label widget:
Label(. image=photo)Code language: Python (python)The following example shows how to use a Label widget to display an image:
import tkinter as tk from tkinter import ttk # create the root window root = tk.Tk() root.geometry('300x200') root.resizable(False, False) root.title('Label Widget Image') # display an image label photo = tk.PhotoImage(file='./assets/python.png') image_label = ttk.Label( root, image=photo, padding=5 ) image_label.pack() root.mainloop() Code language: Python (python)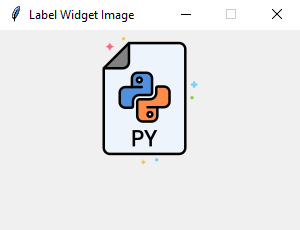
Note that the image file is located at the /assets/ folder.
To display both text and image, you’ll use the text attribute and compound option.
The compound option specifies the position of the image relative to the text. Its valid values are:
| Compound | Effect |
|---|---|
| ‘top’ | Display the image above the text. |
| ‘bottom’ | Display the image below the text. |
| ‘left’ | Display the image to the left of the text. |
| ‘right’ | Display the image to the right of the text. |
| ‘none’ | Display the image if there’s one, otherwise display the text. The compound option defaults to ‘none’ . |
| ‘text’ | Display the text, not the image |
| ‘image’ | Display the image, not the text. |
The following program shows how to display both text and image on a label:
import tkinter as tk from tkinter import ttk # create the root window root = tk.Tk() root.geometry('300x200') root.resizable(False, False) root.title('Label Widget Image') # display an image label photo = tk.PhotoImage(file='./assets/python.png') image_label = ttk.Label( root, image=photo, text='Python', compound='top' ) image_label.pack() root.mainloop() Code language: PHP (php)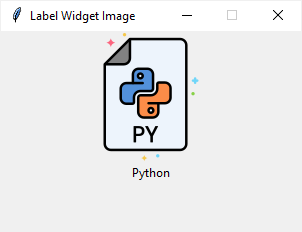
Summary
Python tkinter image icons
![]()
There is a default icon comes with the window.
import tkinter as tk my_w=tk.Tk() my_w.geometry('300x100') my_w.title('www.plus2net.com') my_w.mainloop()Tkinter displaying icon or JPG PNG image in windows by using Label or button using PILLOW library
![]()
Escape the path by using two backslashes if you have any char with can be used with backslash. Here \f can be understood as form feed, so we used two backslashes.
import tkinter as tk my_w=tk.Tk() my_w.geometry('300x100') my_w.title('www.plus2net.com') my_w.iconbitmap('D:\\images\\favicon.ico') my_w.mainloop()Adding image using Label
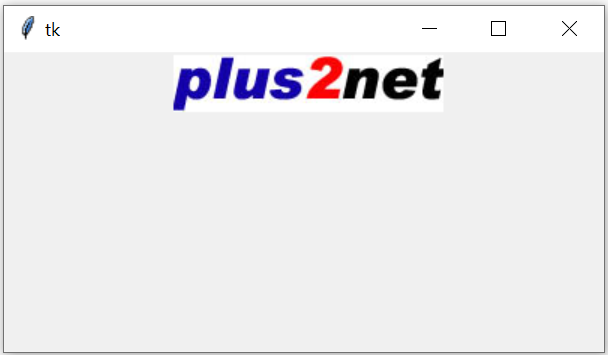
import tkinter as tk my_w = tk.Tk() my_w.geometry("400x200") l1 = tk.Label(my_w, width=15 ) l1.grid(row=1,column=1) my_img = tk.PhotoImage(file = "D:\\top2.png") l2 = tk.Label(my_w, image=my_img ) l2.grid(row=1,column=2) my_w.mainloop()Using a Button to add image.
We can place image over one Button
import tkinter as tk my_w=tk.Tk() my_w.geometry('300x100') my_w.title('www.plus2net.com') my_w.iconbitmap('D:\\images\\favicon.ico') my_img = tk.PhotoImage(file = "D:/images/top2.png") b1=tk.Button(my_w,image=my_img) b1.grid(row=1,column=1) my_w.mainloop()PIL ( Python Imaging Library )
from PIL import ImageTk, ImageIf PIL ( Python Image Library ) is not installed then use PIP to install it. You can check the status by using this command and check all installed libraries.
import tkinter as tk my_w=tk.Tk() from PIL import Image,ImageTk my_w.geometry('300x100') my_w.title('www.plus2net.com') my_img = ImageTk.PhotoImage(Image.open("D:/images/top2.jpg")) b1=tk.Button(my_w,image=my_img) b1.grid(row=1,column=1) my_w.mainloop()Background Image of the window
Change the path of the image used at my_img2.
To use JPG image we have to include PIL library.
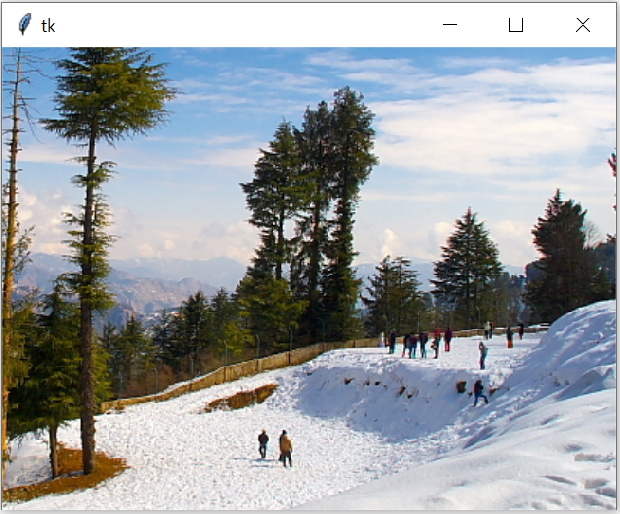
import tkinter as tk from tkinter import ttk from PIL import Image,ImageTk my_w = tk.Tk() my_w.geometry("840x570") #my_img = tk.PhotoImage(file = "D:\\top2.png") my_img2 = ImageTk.PhotoImage(Image.open("D:\\my_data\\background1.jpg")) bg = tk.Label(my_w, image=my_img2) bg.place(x=0, y=0, relwidth=1, relheight=1) my_w.mainloop()my_img = tk.PhotoImage(file = "D:\\top2.png") Width and height of the image
import tkinter as tk my_w = tk.Tk() my_w.geometry("840x570") my_img = tk.PhotoImage(file = "H:\\top2.png") print(my_img.width(),my_img.height()) # Width and height of the image b1=tk.Button(my_w,image=my_img) b1.grid(row=1,column=1) my_w.mainloop()import tkinter as tk my_w=tk.Tk() from PIL import Image,ImageTk my_w.geometry('400x300') my_w.title('www.plus2net.com') my_img = ImageTk.PhotoImage(Image.open("H:/top2.jpg")) print(my_img.width(),my_img.height()) # Print width and height of the image b1=tk.Button(my_w,image=my_img) b1.grid(row=1,column=1,padx=20,pady=20) my_w.mainloop()import tkinter as tk my_w=tk.Tk() from PIL import Image,ImageTk my_w.geometry('400x300') my_w.title('www.plus2net.com') my_img = Image.open("H:/top2.jpg") # change the path of your image print(my_img.size) # Print the tuple with width and height of the image print('Width: ',my_img.size[0],' , Height: ',my_img.size[1]) my_img = ImageTk.PhotoImage(Image.open("H:/top2.jpg")) b1=tk.Button(my_w,image=my_img) b1.grid(row=1,column=1,padx=20,pady=20) my_w.mainloop()