- Tkinter Canvas
- Introduction to the Tkinter canvas widget
- Adding items to a canvas using create_* methods
- Creating a line
- Creating a rectangle
- Creating an oval
- Creating a polygon
- Creating a text
- Create an arc
- Create an image
- Binding an event to the item
- Summary
- Рисуем линии, прямоугольники, круг и текст в Tkinter [Урок №6]
- Рисуем линии в Tkinter — create_line()
- Создаем цветные прямоугольники в Tkinter
- Рисуем различные формы в Tkinter
Tkinter Canvas
Summary: in this tutorial, you’ll learn about the Tkinter Canvas widget and how to draw various objects on it.
Introduction to the Tkinter canvas widget
The canvas widget is the most flexible widget in Tkinter. The Canvas widget allows you to build anything from custom widgets to complete user interfaces.
The canvas widget is a blank area on which you can draw figures, create text, and place images.
To create a canvas widget, you create a new instance of the Canvas class from the tkinter module. For example, the following creates a canvas on a window:
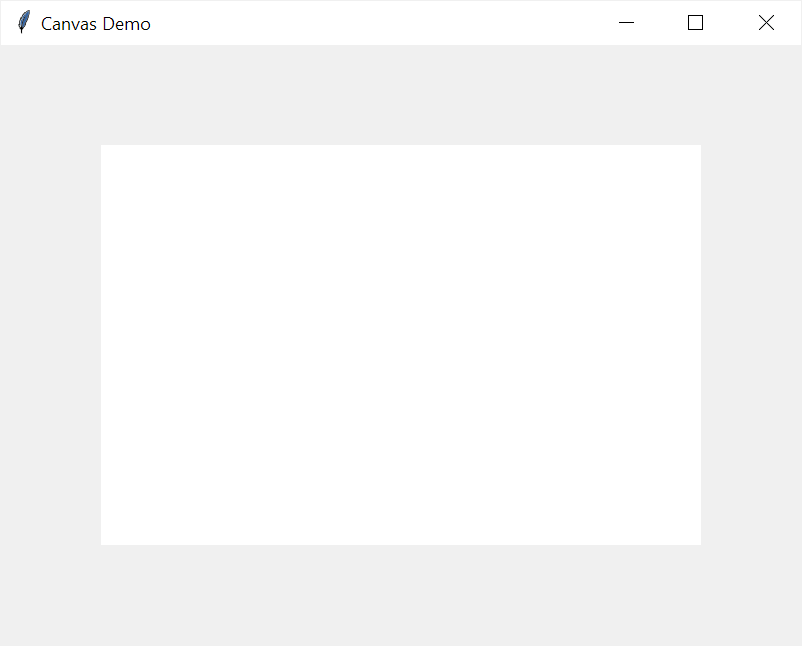
import tkinter as tk root = tk.Tk() root.geometry('800x600') root.title('Canvas Demo') canvas = tk.Canvas(root, width=600, height=400, bg='white') canvas.pack(anchor=tk.CENTER, expand=True) root.mainloop()Code language: Python (python)First, create a new Canvas object with the width 600px , height 400px and background white :
canvas = tk.Canvas(root, width=600, height=400, bg='white')Code language: Python (python)Second, place the canvas object on the root window using the pack() geometry.
canvas.pack(anchor=tk.CENTER, expand=True)Code language: Python (python)A canvas has a coordinate system like a window. The origin (0,0) is at the top-left corner. The direction of the x-axis is from left to right and the direction of the y-axis is from top to bottom.
Adding items to a canvas using create_* methods
A canvas object has a number of add_* methods. These methods allow you to place items on it. The items are:
| Item | Method |
|---|---|
| Line | create_line() |
| Rectangle | create_rectangle() |
| Oval | create_oval() |
| Arc | create_arc() |
| Polygon | create_polygon() |
| Text | create_text(() |
| Image | create_image() |
Creating a line
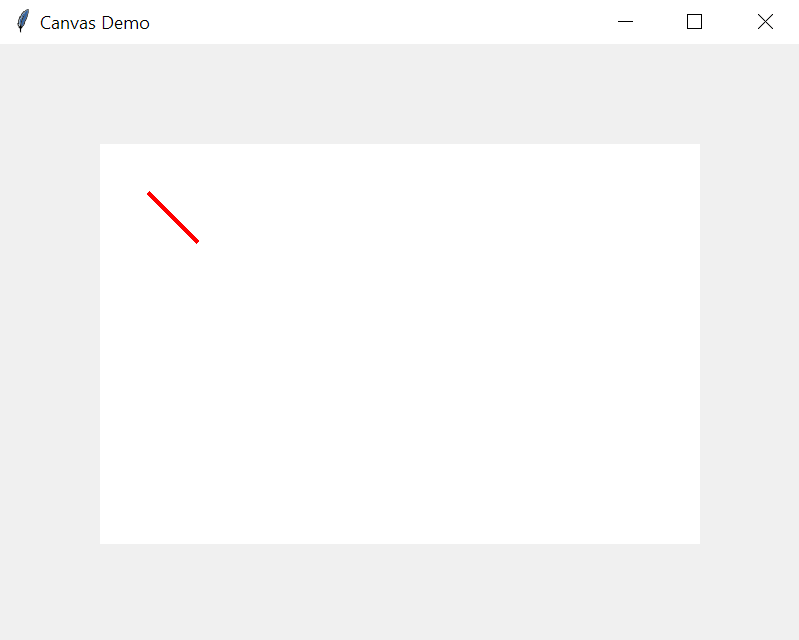
To create a line, you use the create_line() method. For example, the following creates a red line:
canvas.create_line((50, 50), (100, 100), width=4, fill='red')Code language: Python (python)In this example, a line consists of two points (50,50) and (100,100) . The create_line() method connects the dots between these points.
The width argument specifies the width of the line. And the fill argument specifies the color of the line.
Creating a rectangle
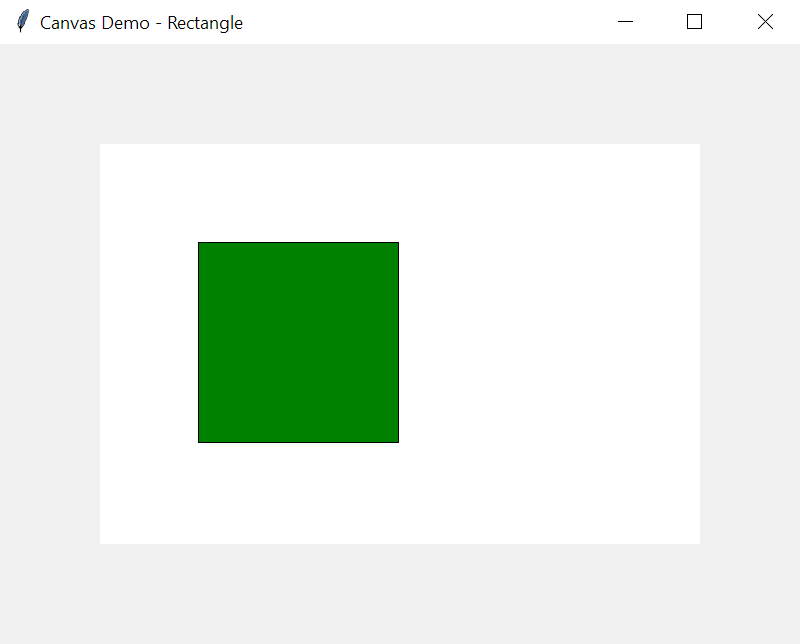
To draw a rectangle, you use the create_rectangle() method. For example:
import tkinter as tk root = tk.Tk() root.geometry('800x600') root.title('Canvas Demo - Rectangle') canvas = tk.Canvas(root, width=600, height=400, bg='white') canvas.pack(anchor=tk.CENTER, expand=True) canvas.create_rectangle((100, 100), (300, 300), fill='green') root.mainloop()Code language: Python (python)Creating an oval
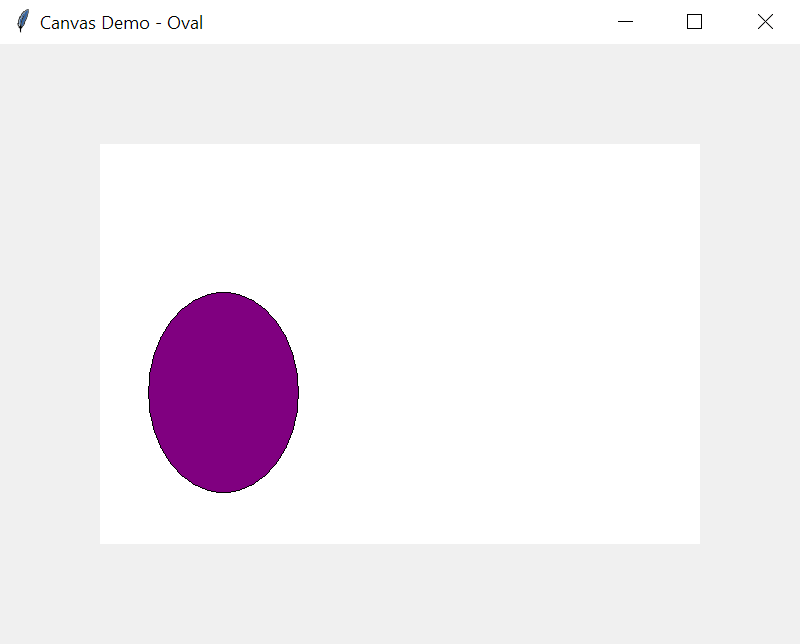
To draw an oval, you use the create_oval() method. For example:
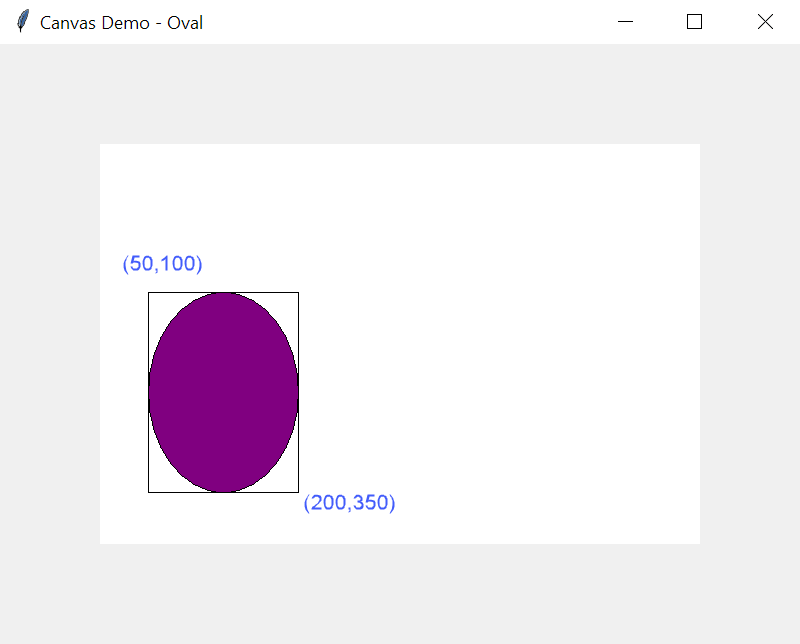
import tkinter as tk root = tk.Tk() root.geometry('800x600') root.title('Canvas Demo - Oval') canvas = tk.Canvas(root, width=600, height=400, bg='white') canvas.pack(anchor=tk.CENTER, expand=True) points = ( (50, 150), (200, 350), ) canvas.create_oval(*points, fill='purple') root.mainloop()Code language: Python (python)Like a rectangle, an oval takes the coordinate of the upper-left and lower-right corners of its bounding box. A bounding box of an oval is the smallest rectangle that contains the oval.
In this example, the upper-left and lower-right corners of the bounding box are (50,150) and (200,350) .
Creating a polygon
To draw a polygon, you use the create_polygon() method. For example:
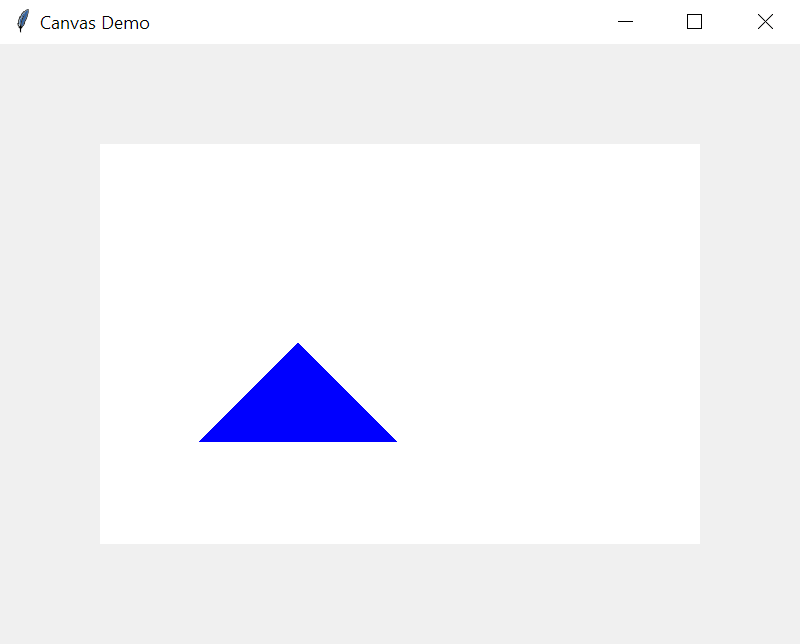
import tkinter as tk root = tk.Tk() root.geometry('800x600') root.title('Canvas Demo - Polygon') canvas = tk.Canvas(root, width=600, height=400, bg='white') canvas.pack(anchor=tk.CENTER, expand=True) # create a polygon points = ( (100, 300), (200, 200), (300, 300), ) canvas.create_polygon(*points, fill='blue') root.mainloop() Code language: Python (python)Creating a text
To place a text on a canvas, you use the create_text() method. For example:
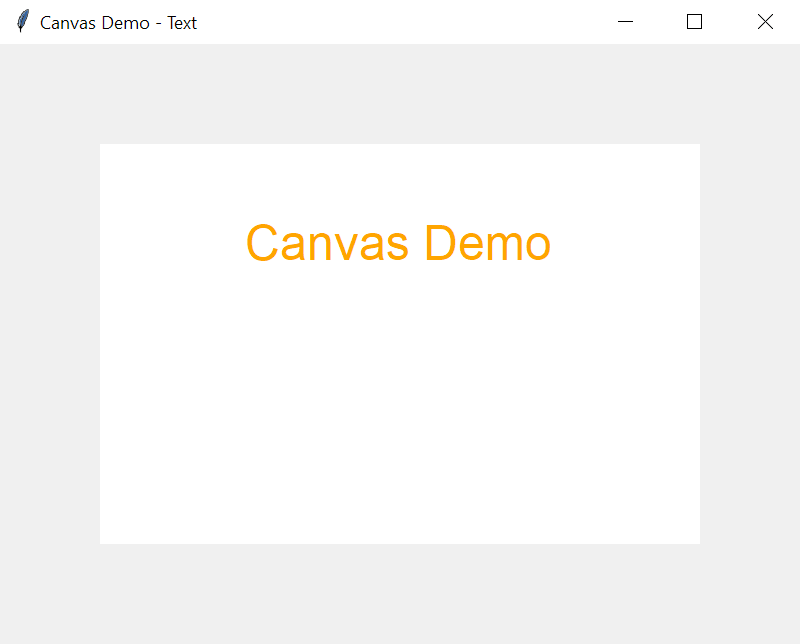
import tkinter as tk root = tk.Tk() root.geometry('800x600') root.title('Canvas Demo - Text') canvas = tk.Canvas(root, width=600, height=400, bg='white') canvas.pack(anchor=tk.CENTER, expand=True) canvas.create_text( (300, 100), text="Canvas Demo", fill="orange", font='tkDefaeultFont 24' ) root.mainloop()Code language: Python (python)Create an arc
To draw an arc on a canvas, you use the create_arc() method. For example:
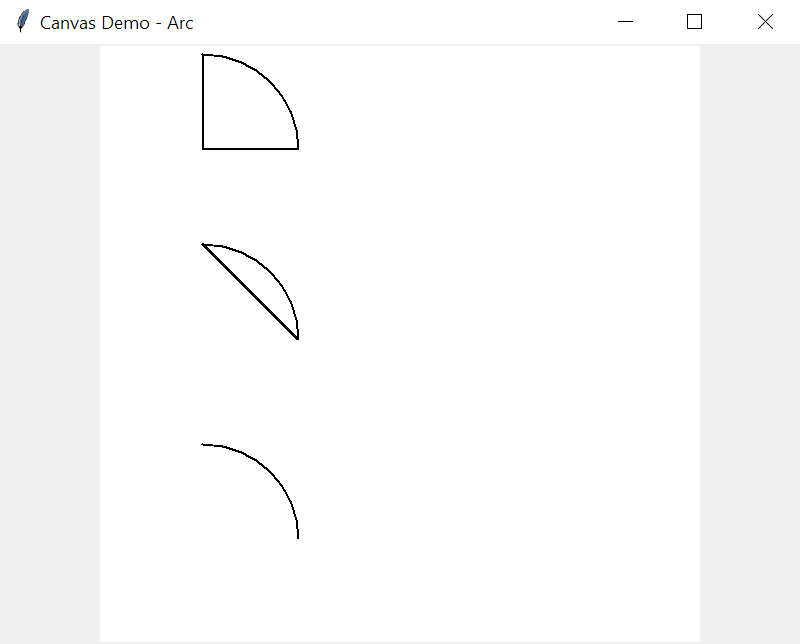
import tkinter as tk from turtle import width root = tk.Tk() root.geometry('800x600') root.title('Canvas Demo - Arc') canvas = tk.Canvas(root, width=600, height=600, bg='white') canvas.pack(anchor=tk.CENTER, expand=True) canvas.create_arc((10, 10), (200, 200), style=tk.PIESLICE, width=2) canvas.create_arc((10, 200), (200, 390), style=tk.CHORD, width=2) canvas.create_arc((10, 400), (200, 590), style=tk.ARC, width=2) root.mainloop() Code language: Python (python)Create an image
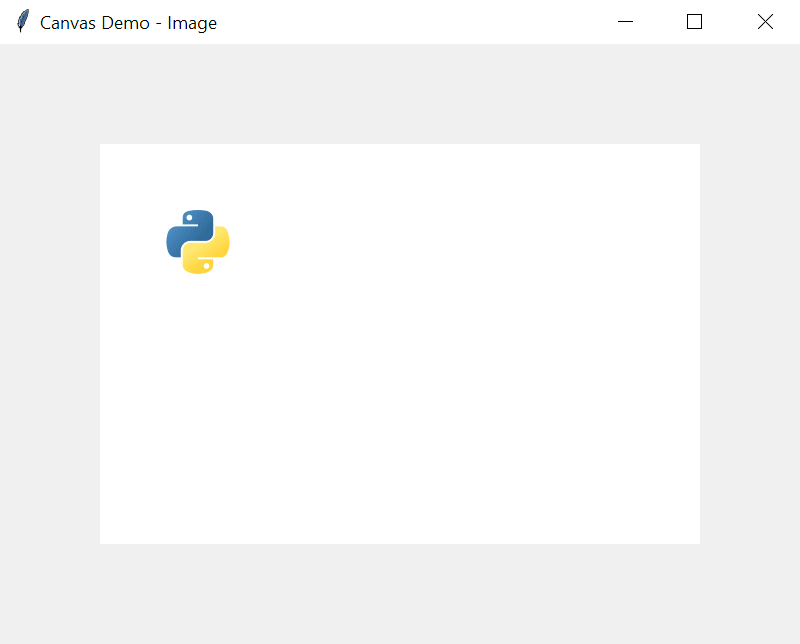
To place an image on a canvas, you use the create_image() method. For example:
import tkinter as tk root = tk.Tk() root.geometry('800x600') root.title('Canvas Demo - Image') canvas = tk.Canvas(root, width=600, height=400, bg='white') canvas.pack(anchor=tk.CENTER, expand=True) python_image = tk.PhotoImage(file='python.gif') canvas.create_image( (100, 100), image=python_image ) root.mainloop()Code language: Python (python)Note that if you pass directly the PhotoImage to the create_image() method, the image won’t display because it is automatically garbage collected.
The following code won’t work:
canvas.create_image( (100, 100), image=tk.PhotoImage(file='python.gif') )Code language: Python (python)Binding an event to the item
All the create_* method returns a string value that identifies the item in the context of the Canvas object. And you can use this value to bind an event to the item.
To bind an event to an item, you use the tag_bind() method of the Canvas object. For example:
import tkinter as tk root = tk.Tk() root.geometry('800x600') root.title('Canvas Demo - Binding Event') canvas = tk.Canvas(root, width=600, height=400, bg='white') canvas.pack(anchor=tk.CENTER, expand=True) python_image = tk.PhotoImage(file='python.gif') image_item = canvas.create_image( (100, 100), image=python_image ) canvas.tag_bind( image_item, '', lambda e: canvas.delete(image_item) ) root.mainloop()Code language: Python (python)In this example, we bind the left-mouse click to the image item. If you click the image, the lambda will execute that removes the image from the canvas.
Summary
- A canvas is a blank area where you can draw items such as lines, rectangles, ovals, arcs, texts, and images.
- Use Canvas() to create a new canvas object.
- Use tag_bind() method to bind an event to an item on a canvas.
Рисуем линии, прямоугольники, круг и текст в Tkinter [Урок №6]
В этой части изучения Tkinter мы немного порисуем. Рисование в Tkinter реализовано при помощи виджета Canvas. Это функционал высокого уровня, который позволяет создавать графику в Tkinter. Рисование можно использовать для создания графиков статистики, самодельных пользовательских виджетов и даже небольших игр.
Рисуем линии в Tkinter — create_line()
Линия – это примитивный геометрический элемент. На виджете Canvas создать линию можно при помощи метода create_line().
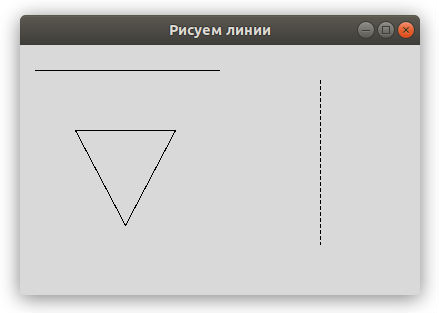
В примере нашего кода, мы рисуем простые линии в Tkinter.
Параметрами метода create_line() являются координаты x и y , которые обозначают стартовые и конечные точки линии.
Мы нарисовали вертикальную линию. Опция dash позволяет создать пунктированную линию. Множества (4, 3) означает:
Если указать dash=(1, 1) то у нас будет линия из точек.
Метод create_line() может содержать несколько конечных точек, которые будут пресекаться линией. Согласно этому коду мы нарисовали треугольник имея три координата разных точек.
Создаем цветные прямоугольники в Tkinter
Цвет является объектом, который отображает комбинацию Красного, Зеленого и Синего цветов (RGB).
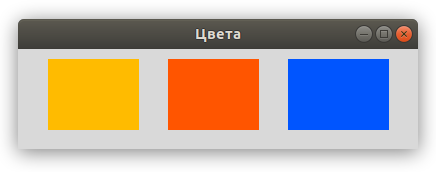
В данном примере мы нарисовали прямоугольники и закрасили их разными цветами. Мы ранее работали с выбором цвета в Tkinter используя диалоговое окно цветовой палитры.
Есть вопросы по Python?
На нашем форуме вы можете задать любой вопрос и получить ответ от всего нашего сообщества!
Telegram Чат & Канал
Вступите в наш дружный чат по Python и начните общение с единомышленниками! Станьте частью большого сообщества!
Одно из самых больших сообществ по Python в социальной сети ВК. Видео уроки и книги для вас!
С помощью create_rectangle() мы создаем прямоугольник на холсте. Первыми четырьмя параметрами являются x и y координаты двух ограничительных точек: верхней левой и нижней правой. При помощи параметра outline мы можем задать цвет контура прямоугольников. А параметр fill используется для окрашивания всей внутренней области прямоугольника.
Рисуем различные формы в Tkinter
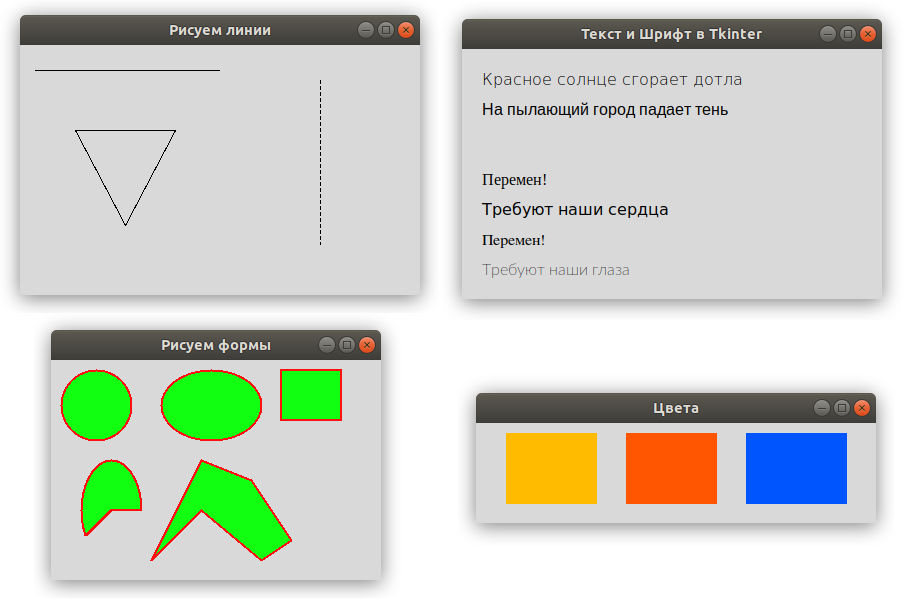
На холсте мы можем нарисовать самые разнообразные формы. На представленном ниже примере показаны некоторые из них.
Мы нарисовали разные формы в окне:
Контур окрашен в красный цвет, фигуры были наполнены зеленым цветом. Ширина контура указана в 2 пикселя.
Метод create_oval() используется для того, чтобы создать круг в Tkinter. Первые четыре параметра определяют ограничивающие координаты фигуры. Иными словами, это x и y координаты верхней левой и правой нижней точек квадрата, в который помещен круг.
Мы нарисовали прямоугольник в Tkinter. Координаты снова обозначают ограничительные точки с координатами x и y ..
С помощью этого кода мы создаем дугу. Дуга является частью круга. Мы указывает ограничительные координаты нашей дуги.
Успейте заказать просмотры на видео в YouTube ДокторСмм по наиболее дешевой цене с большими оптовыми скидками. Кроме того, с заказом Вы сможете получить также персональные условия на приобретение ресурса с возможностью выбора более подходящей для Вашей ситуации скорости поступления просмотров. Торопитесь, скидки действуют ограниченное время!
С помощью параметра start мы устанавливаем угол дуги. Параметр extent указывает на размер угла.
