- Working with Documents
- Opening a document
- REALLY opening a document
- Opening a ‘file-like’ document
- Table of Contents
- Работа с файлами MS Word в Python
- Чтение документов MS Word
- Стилевое оформление
- Стили абзацев
- Стили символов
- Атрибуты объекта Run
- Запись докуменов MS Word
- Добавление заголовков
- Добавление разрывов строк и страниц
- Добавление изображений
- Добавление таблицы
- Дополнительно
- how to create docx files with python
- 2 Answers 2
Working with Documents
python-docx allows you to create new documents as well as make changes to existing ones. Actually, it only lets you make changes to existing documents; it’s just that if you start with a document that doesn’t have any content, it might feel at first like you’re creating one from scratch.
This characteristic is a powerful one. A lot of how a document looks is determined by the parts that are left when you delete all the content. Things like styles and page headers and footers are contained separately from the main content, allowing you to place a good deal of customization in your starting document that then appears in the document you produce.
Let’s walk through the steps to create a document one example at a time, starting with two of the main things you can do with a document, open it and save it.
Opening a document
The simplest way to get started is to open a new document without specifying a file to open:
from docx import Document document = Document() document.save('test.docx')
This creates a new document from the built-in default template and saves it unchanged to a file named ‘test.docx’. The so-called “default template” is actually just a Word file having no content, stored with the installed python-docx package. It’s roughly the same as you get by picking the Word Document template after selecting Word’s File > New from Template… menu item.
REALLY opening a document
If you want more control over the final document, or if you want to change an existing document, you need to open one with a filename:
document = Document('existing-document-file.docx') document.save('new-file-name.docx')
- You can open any Word 2007 or later file this way (.doc files from Word 2003 and earlier won’t work). While you might not be able to manipulate all the contents yet, whatever is already in there will load and save just fine. The feature set is still being built out, so you can’t add or change things like headers or footnotes yet, but if the document has them python-docx is polite enough to leave them alone and smart enough to save them without actually understanding what they are.
- If you use the same filename to open and save the file, python-docx will obediently overwrite the original file without a peep. You’ll want to make sure that’s what you intend.
Opening a ‘file-like’ document
python-docx can open a document from a so-called file-like object. It can also save to a file-like object. This can be handy when you want to get the source or target document over a network connection or from a database and don’t want to (or aren’t allowed to) interact with the file system. In practice this means you can pass an open file or StringIO/BytesIO stream object to open or save a document like so:
f = open('foobar.docx', 'rb') document = Document(f) f.close() # or with open('foobar.docx', 'rb') as f: source_stream = StringIO(f.read()) document = Document(source_stream) source_stream.close() . target_stream = StringIO() document.save(target_stream)
The ‘rb’ file open mode parameter isn’t required on all operating systems. It defaults to ‘r’ which is enough sometimes, but the ‘b’ (selecting binary mode) is required on Windows and at least some versions of Linux to allow Zipfile to open the file.
Okay, so you’ve got a document open and are pretty sure you can save it somewhere later. Next step is to get some content in there …
Table of Contents
Работа с файлами MS Word в Python
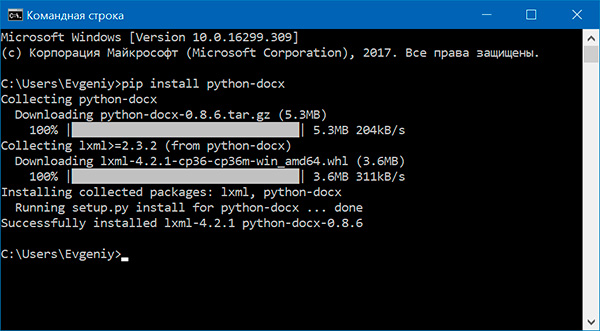
При установке модуля надо вводить python-docx , а не docx (это другой модуль). В то же время при импортировании модуля python-docx следует использовать import docx , а не import python-docx .
Чтение документов MS Word
Файлы с расширением .docx обладают развитой внутренней структурой. В модуле python-docx эта структура представлена тремя различными типами данных. На самом верхнем уровне объект Document представляет собой весь документ. Объект Document содержит список объектов Paragraph , которые представляют собой абзацы документа. Каждый из абзацев содержит список, состоящий из одного или нескольких объектов Run , представляющих собой фрагменты текста с различными стилями форматирования.

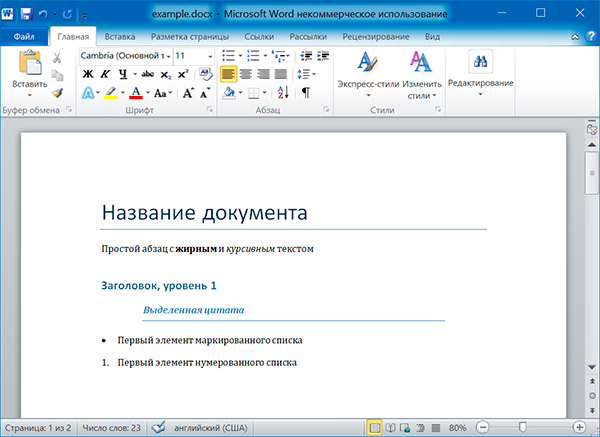
import docx doc = docx.Document('example.docx') # количество абзацев в документе print(len(doc.paragraphs)) # текст первого абзаца в документе print(doc.paragraphs[0].text) # текст второго абзаца в документе print(doc.paragraphs[1].text) # текст первого Run второго абзаца print(doc.paragraphs[1].runs[0].text)
6 Название документа Простой абзац с жирным и курсивным текстом Простой абзац с
Получаем весь текст из документа:
text = [] for paragraph in doc.paragraphs: text.append(paragraph.text) print('\n'.join(text))
Название документа Простой абзац с жирным и курсивным текстом Заголовок, уровень 1 Выделенная цитата Первый элемент маркированного списка Первый элемент нумерованного списка
Стилевое оформление
В документах MS Word применяются два типа стилей: стили абзацев, которые могут применяться к объектам Paragraph , стили символов, которые могут применяться к объектам Run . Как объектам Paragraph , так и объектам Run можно назначать стили, присваивая их атрибутам style значение в виде строки. Этой строкой должно быть имя стиля. Если для стиля задано значение None , то у объекта Paragraph или Run не будет связанного с ним стиля.
Стили абзацев
- Normal
- Body Text
- Body Text 2
- Body Text 3
- Caption
- Heading 1
- Heading 2
- Heading 3
- Heading 4
- Heading 5
- Heading 6
- Heading 7
- Heading 8
- Heading 9
- Intense Quote
- List
- List 2
- List 3
- List Bullet
- List Bullet 2
- List Bullet 3
- List Continue
- List Continue 2
- List Continue 3
- List Number
- List Number 2
- List Number 3
- List Paragraph
- Macro Text
- No Spacing
- Quote
- Subtitle
- TOCHeading
- Title
Стили символов
- Emphasis
- Strong
- Book Title
- Default Paragraph Font
- Intense Emphasis
- Subtle Emphasis
- Intense Reference
- Subtle Reference
paragraph.style = 'Quote' run.style = 'Book Title'
Атрибуты объекта Run
Отдельные фрагменты текста, представленные объектами Run , могут подвергаться дополнительному форматированию с помощью атрибутов. Для каждого из этих атрибутов может быть задано одно из трех значений: True (атрибут активизирован), False (атрибут отключен) и None (применяется стиль, установленный для данного объекта Run ).
- bold — Полужирное начертание
- underline — Подчеркнутый текст
- italic — Курсивное начертание
- strike — Зачеркнутый текст
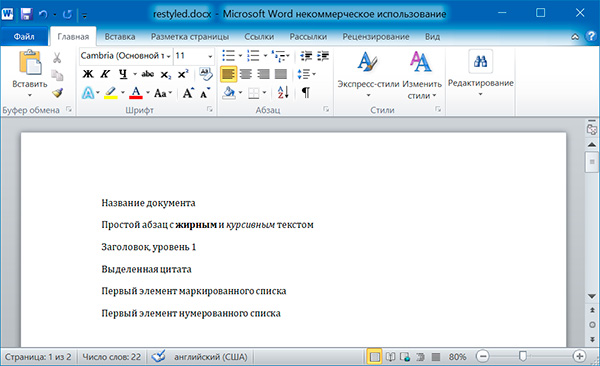
Изменим стили для всех параграфов нашего документа:
import docx doc = docx.Document('example.docx') # изменяем стили для всех параграфов for paragraph in doc.paragraphs: paragraph.style = 'Normal' doc.save('restyled.docx')
А теперь восстановим все как было:
import docx os.chdir('C:\\example') doc1 = docx.Document('example.docx') doc2 = docx.Document('restyled.docx') # получаем из первого документа стили всех абзацев styles = [] for paragraph in doc1.paragraphs: styles.append(paragraph.style) # применяем стили ко всем абзацам второго документа for i in range(len(doc2.paragraphs)): doc2.paragraphs[i].style = styles[i] doc2.save('restored.docx')

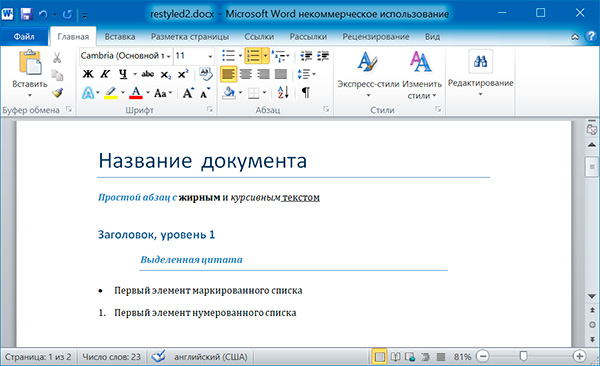
Изменим форматирвание объектов Run второго абзаца:
import docx doc = docx.Document('example.docx') # добавляем стиль символов для runs[0] doc.paragraphs[1].runs[0].style = 'Intense Emphasis' # добавляем подчеркивание для runs[4] doc.paragraphs[1].runs[4].underline = True doc.save('restyled2.docx')
Запись докуменов MS Word
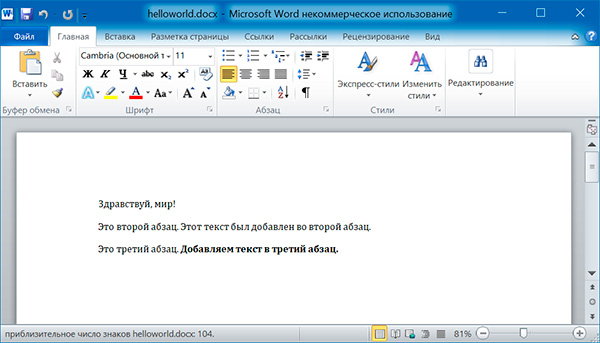
Добавление абзацев осуществляется вызовом метода add_paragraph() объекта Document . Для добавления текста в конец существующего абзаца, надо вызвать метод add_run() объекта Paragraph :
import docx doc = docx.Document() # добавляем первый параграф doc.add_paragraph('Здравствуй, мир!') # добавляем еще два параграфа par1 = doc.add_paragraph('Это второй абзац.') par2 = doc.add_paragraph('Это третий абзац.') # добавляем текст во второй параграф par1.add_run(' Этот текст был добавлен во второй абзац.') # добавляем текст в третий параграф par2.add_run(' Добавляем текст в третий абзац.').bold = True doc.save('helloworld.docx')
Оба метода, add_paragraph() и add_run() принимают необязательный второй аргумент, содержащий строку стиля, например:
doc.add_paragraph('Здравствуй, мир!', 'Title')
Добавление заголовков
Вызов метода add_heading() приводит к добавлению абзаца, отформатированного в соответствии с одним из возможных стилей заголовков:
doc.add_heading('Заголовок 0', 0) doc.add_heading('Заголовок 1', 1) doc.add_heading('Заголовок 2', 2) doc.add_heading('Заголовок 3', 3) doc.add_heading('Заголовок 4', 4)
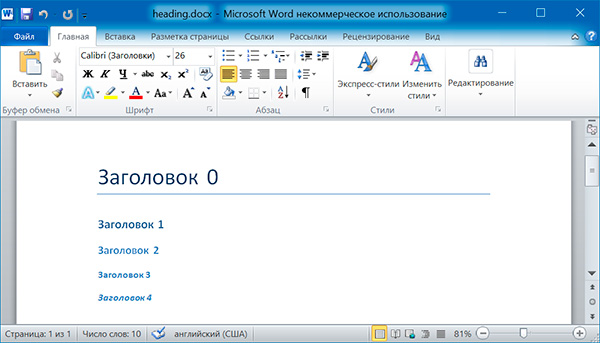
Аргументами метода add_heading() являются строка текста и целое число от 0 до 4. Значению 0 соответствует стиль заголовка Title .
Добавление разрывов строк и страниц
Чтобы добавить разрыв строки (а не добавлять новый абзац), нужно вызвать метод add_break() объекта Run . Если же требуется добавить разрыв страницы, то методу add_break() надо передать значение docx.enum.text.WD_BREAK.PAGE в качестве единственного аргумента:
import docx doc = docx.Document() doc.add_paragraph('Это первая страница') doc.paragraphs[0].runs[0].add_break(docx.enum.text.WD_BREAK.PAGE) doc.add_paragraph('Это вторая страница') doc.save('pages.docx')
Добавление изображений
Метод add_picture() объекта Document позволяет добавлять изображения в конце документа. Например, добавим в конец документа изображение kitten.jpg шириной 10 сантиметров:
import docx doc = docx.Document() doc.add_paragraph('Это первый абзац') doc.add_picture('kitten.jpg', width = docx.shared.Cm(10)) doc.save('picture.docx')
Именованные аргументы width и height задают ширину и высоту изображения. Если их опустить, то значения этих аргументов будут определяться размерами самого изображения.
Добавление таблицы
import docx doc = docx.Document() # добавляем таблицу 3x3 table = doc.add_table(rows = 3, cols = 3) # применяем стиль для таблицы table.style = 'Table Grid' # заполняем таблицу данными for row in range(3): for col in range(3): # получаем ячейку таблицы cell = table.cell(row, col) # записываем в ячейку данные cell.text = str(row + 1) + str(col + 1) doc.save('table.docx')
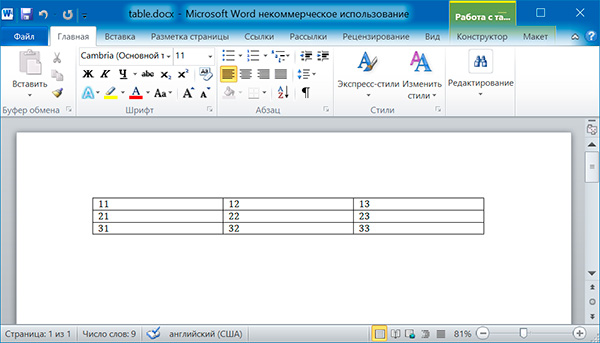
import docx doc = docx.Document('table.docx') # получаем первую таблицу в документе table = doc.tables[0] # читаем данные из таблицы for row in table.rows: string = '' for cell in row.cells: string = string + cell.text + ' ' print(string)
11 12 13 21 22 23 31 32 33
Дополнительно
how to create docx files with python
I am trying to take my data and put it in tables in either microsoft words or libreoffice writer. I need to be able to change the background of cells within the table and I need to be able to change the page property to ‘landscape’. I have been looking for a library with simple code ( I am a beginner in coding ) but I did not find one for what I need to do. Have you heard of anything for me ? If there are example on how to use it that would make it easier for me to learn it.
2 Answers 2
It’s pretty simple to use, i haven’t tested this, but it should work:
from docx import Document document = Document() r = 2 # Number of rows you want c = 2 # Number of collumns you want table = document.add_table(rows=r, cols=c) table.style = 'LightShading-Accent1' # set your style, look at the help documentation for more help for y in range(r): for x in range(c): cell.text = 'text goes here' document.save('demo.docx') # Save document It don’t think you can set the page orientation property with this library, but what you could do is create a blank word document that is in landscape yourself, store it in the working directory and make a copy of it every time you generate this document.
python-docx can indeed set the page orientation. It’s in the section properties and you set it for each section (many documents only need to be one section). You just need to set the «orientation» property for the section object to WD_ORIENT.PORTRAIT or WD_ORIENT.LANDSCAPE to get the orientation you want. Link to details: python-docx.readthedocs.org/en/latest/api/section.html#id1