- How to Install OpenCV on Debian 11
- Real-world application of OpenCV
- How to install OpenCV on Debian
- Method 1: Install OpenCV using apt command
- Method 2: Install OpenCV using source
- How to remove OpenCV from Debian 11
- Conclusion
- Manuel Ignacio López Quintero
- Install OpenCV on Ubuntu or Debian
- Option 1. Install OpenCV from the Ubuntu or Debian repository
- Option 2. Install OpenCV from the official site
- 2.1. Run an installation script
- 2.2. Execute some OpenCV examples
- 2.3. Compile a demonstration
- How to Install OpenCV on Debian 10 Linux
- Introduction
- Install OpenCV from the Debian Repository
- Installing OpenCV from the Source
- Conclusion
How to Install OpenCV on Debian 11
OpenCV (an acronym of Open-Source Computer Vision) is a well-known mega open-source library to accomplish several computer vision and machine learning-related tasks. The Computer Vision concepts assist machines to understand the graphical content specifically images and videos; however, it also defines a set of rules to retrieve and manipulate data from images and videos. In short, Computer Vision is the process of giving access to computing machines so that they can act like humans.
The OpenCV library is primarily based on C/C++; however, it provides support for Java and Python as well. Usually, execution in python is slower as compared to C++/C but it is easy to use; therefore, you can code in C/C++ and then create python wrappers of that code; these wrappers are referred to as modules and can be used to effectively solve the targeted problems. Moreover, this library contains thousands of algorithms based on the machine learning concepts for computer vision; these algorithms are available publicly for commercial as well as academic purposes.
Real-world application of OpenCV
In daily life, we encounter the implementation of OpenCV on several platforms and locations. Few commonly experienced daily lives applications of OpenCV are listed below:
- Analyzing the images related to the medical field
- Driverless car control system
- Count number of vehicles and their speeds
- Count number of people at several gatherings
- Surveillance system
How to install OpenCV on Debian
To get access to OpenCV on Debian 11; there are two methods that we will explain in detail:
- Method 1: Using an apt command
- Method 2: Using source on Debian 11
Both methods are perfect to install OpenCV on Debian 11: the upcoming sections contain a brief explanation of both methods.
Method 1: Install OpenCV using apt command
You can get the python module of OpenCV from the Debian repository, so, firstly, update the packages list with the help of the following command:
And now run the following command in the terminal to get the OpenCV python module:
$ sudo apt install python3-opencv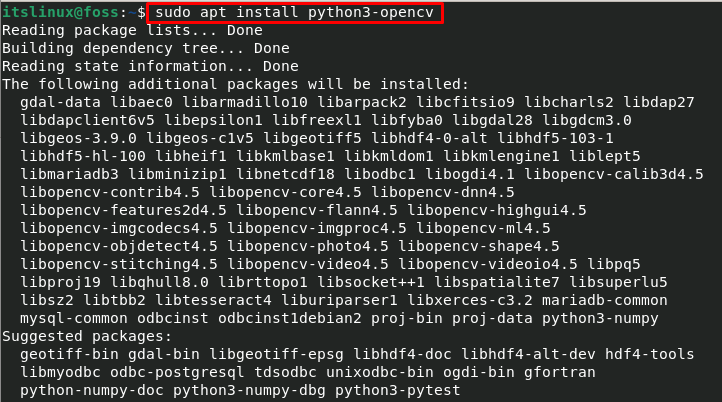
Method 2: Install OpenCV using source
The OpenCV library can be built using source on Debian 11 to install OpenCV, Follow the steps in this section to get access to OpenCV on your Debian 11 system:
Step 1: Install the required dependencies
Initially, you must install the required dependencies, however, it is recommended to get optional dependencies the below mentioned command will install optional as well as required dependencies as well,
$ sudo apt install build-essential cmake git pkg-config libgtk-3-dev libavcodec-dev libavformat-dev libswscale-dev libv4l-dev libxvidcore-dev libx264-dev libjpeg-dev libpng-dev libtiff-dev gfortran openexr libatlas-base-dev python3-dev python3-numpy libtbb2 libtbb-dev libdc1394-22-dev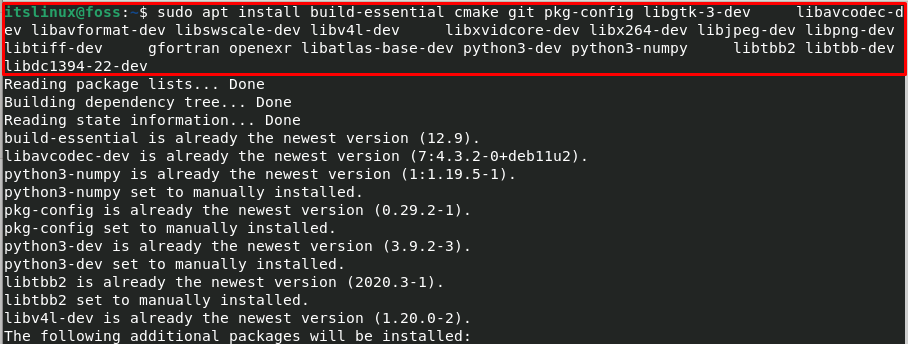
Step 2: Fetch “OpenCV_contrib” and “OpenCV” repositories
Make a new directory and change the present working directory to that:
$ mkdir opencv_git $ cd opencv_git
To clone OpenCV; execute the following command:
$ git clone https://github.com/opencv/opencv.git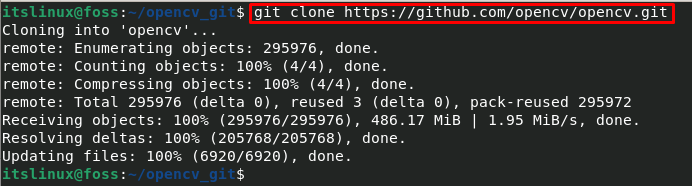
And for OpenCV; clone it using the command written below:
$ git clone https://github.com/opencv/opencv_contrib.git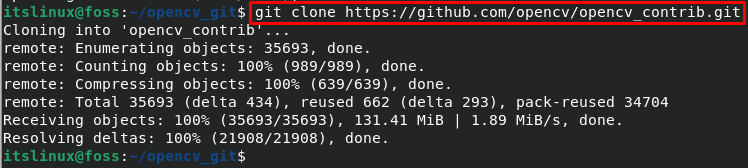
Step 3: Setup and compile the build
After cloning, create a directory and switch to that newly made folder:
You have to make this directory inside the cloned project “opencv”; and in our case the path to “opencv” is “~/opencv_git/opencv”; firstly, navigate to “opencv” directory and then create a new build directory:
$ cd opencv $ mkdir cvbuild $ cd cvbuild 
Now setup the newly made build with the help of CMake:
$ cmake -D CMAKE_BUILD_TYPE=RELEASE \ -D CMAKE_INSTALL_PREFIX=/usr/local \ -D INSTALL_C_EXAMPLES=ON \ -D INSTALL_PYTHON_EXAMPLES=ON \ -D OPENCV_GENERATE_PKGCONFIG=ON \ -D OPENCV_EXTRA_MODULES_PATH=~/opencv_build/opencv_contrib/module \ -D BUILD_EXAMPLES=ON ..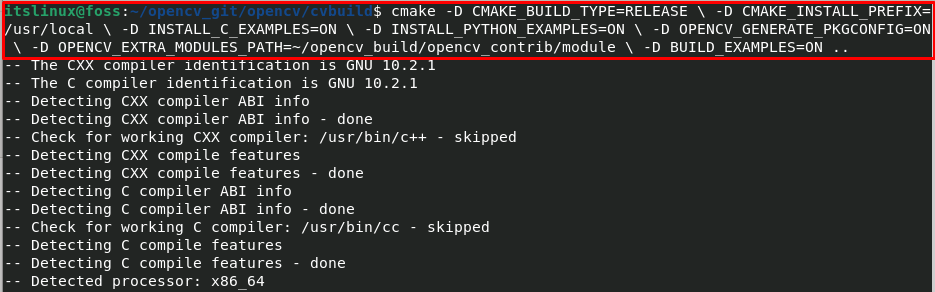
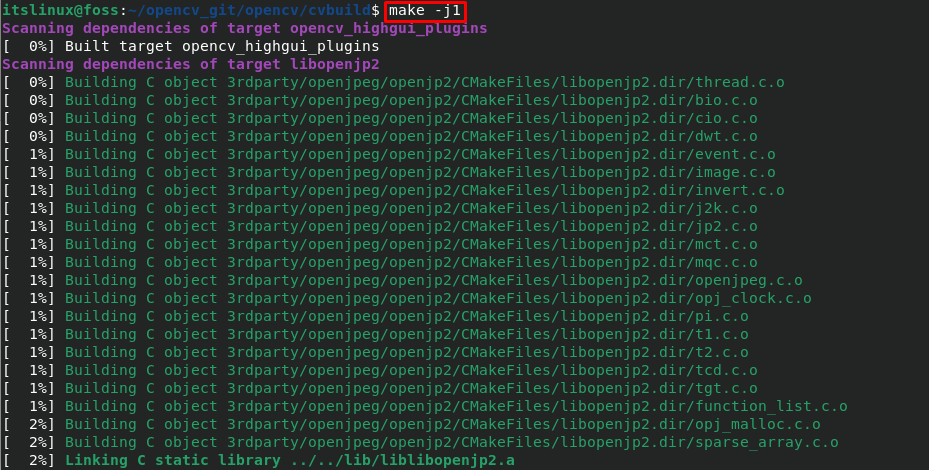
After setting up the build, use the following command to start the compilation process; the “-j” refers to a number of cores of your processor:
Note: You can check the number of cores of your processor by executing “nproc” in your terminal:
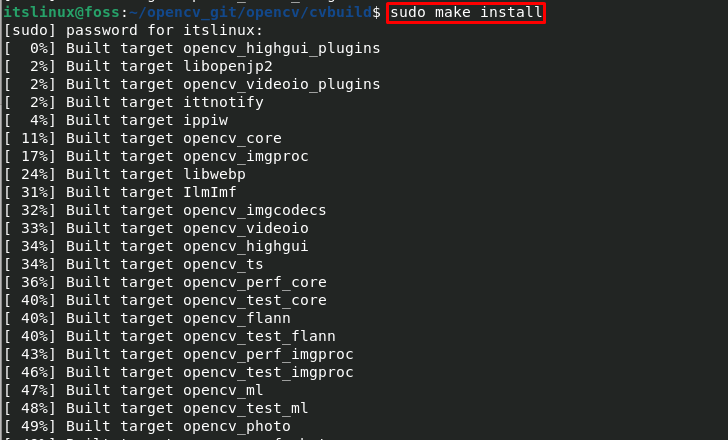
Step 4: Install OpenCV
After setting up the environment; you are ready to install OpenCV by using the following make command:
How to remove OpenCV from Debian 11
You can remove OpenCV from your Debian 11 by executing the below-mentioned command in terminal:
$ sudo apt-get purge python3-opencv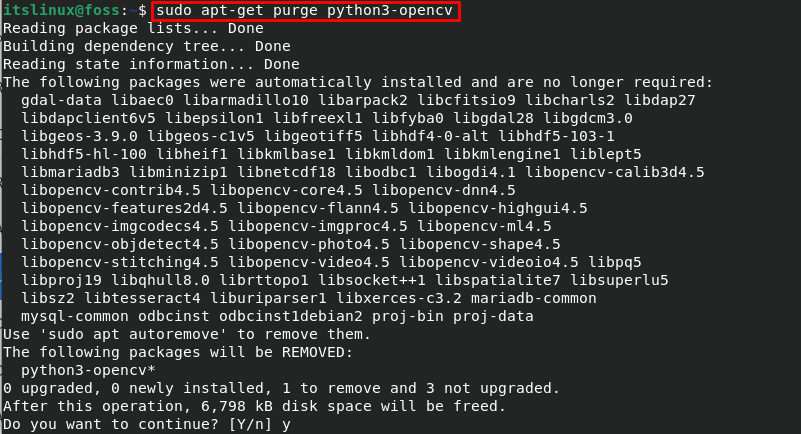
Conclusion
OpenCV is an open-source library that contains around 2500 optimization algorithms to assist in accomplishing several computer vision and machine learning tasks. Initially, this project was started by Intel to get to the advanced level of computer vision phenomena by assisting developers to build a readable and transferable common infrastructure. In this descriptive post, we have described two ways to install OpenCV on Debian 11. The first method is simple and easy for novice users; however, the source method is helpful in building an effective OpenCV environment in Debian 11; therefore, Method 2 is recommended to get OpenCV.
TUTORIALS ON LINUX, PROGRAMMING & TECHNOLOGY
Manuel Ignacio López Quintero
Do you like this article? Share it with this link. Thanks!
Install OpenCV on Ubuntu or Debian
Install OpenCV on Ubuntu or Debian is a bit long but very easy. You can install OpenCV from the Ubuntu or Debian repository or from the official site.
Option 1. Install OpenCV from the Ubuntu or Debian repository
You can install OpenCV from the Ubuntu or Debian repository: sudo apt-get install libopencv-dev python3-opencv . However, you will probably not have installed the latest version of OpenCV and you may miss some features.
Option 2. Install OpenCV from the official site
To install the latest version of OpenCV be sure that you have removed the library from the repository with sudo apt-get autoremove libopencv-dev python-opencv and follow the steps below.
2.1. Run an installation script
The most simple and elegant way to install a library is running an installation script.
Download the installation script install-opencv.sh, open your terminal and execute:
Type your sudo password and you will have installed OpenCV. This operation may take a long time due to the packages to be installed and the compilation process.
2.2. Execute some OpenCV examples
Go to your OpenCV directory and execute a C++ example:
Now, go to your OpenCV directory and execute a Python example:
Finally, go to your OpenCV directory and execute a Java example:
ant -DocvJarDir=../../../build/bin -DocvLibDir=../../../build/lib
2.3. Compile a demonstration
Download the files demo.cpp and CMakeLists.txt and put them into a folder. Now, open your terminal, go to the folder and execute:
mkdir build && cd build && cmake .. && make
Finally, run the demo: ./demo .
And that’s it! You have installed OpenCV, run some examples, and compiled OpenCV code!
Do you like this article? Share it with this link. Thanks!
How to Install OpenCV on Debian 10 Linux
In this tutorial, you will set up OpenCV on Debian 10, Buster.

Introduction
Before we begin talking about how to install OpenCV on Debian 10 Linux, let’s briefly understand – What is OpenCV?
OpenCV (Open Source Computer Vision Library) is an open-source computer vision library with C++, Python, and Java bindings. It is used for a wide variety of tasks, including 3D model extraction, face detection and recognition, street view image stitching, medical image analysis, tracking moving objects, and surveillance video.
OpenCV has GPU acceleration for real-time operation and can make use of multicore processing.
In this tutorial, you will set up OpenCV on Debian 10, Buster. The most convenient method for most users to install OpenCV on Debian is through the apt management tool. Scroll down to the section of this tutorial titled Installing OpenCV from the Source if you want to install the most recent stable version of OpenCV from the source.
Select the installation method that best meets your requirements.
Install OpenCV from the Debian Repository
The default Debian repository includes the OpenCV Python module. OpenCV version 3.2, which is no longer supported, is available in the default Debian repository as of the time of writing.
Install the OpenCV Python module by typing:
sudo apt update sudo apt install python3-opencv All the packages required to run OpenCV will be installed by the aforementioned command.
Import the cv2 module and print the OpenCV version to confirm the installation:
python3 -c "import cv2; print(cv2.__version__)" Install the python-opencv package if you intend to install OpenCV with Python 2 bindings.
Installing OpenCV from the Source
Installing OpenCV is best done by building the OpenCV library from the source. You will have total control over the build choices, and they will be tailored to your specific system.
Follow these steps to install the most recent OpenCV version directly from the source
1) Install the following dependencies, both essential and optional:
sudo apt install build-essential cmake git pkg-config libgtk-3-dev \ libavcodec-dev libavformat-dev libswscale-dev libv4l-dev \ libxvidcore-dev libx264-dev libjpeg-dev libpng-dev libtiff-dev \ gfortran openexr libatlas-base-dev python3-dev python3-numpy \ libtbb2 libtbb-dev libdc1394-22-dev 2) Use the commands below to clone the OpenCV and OpenCV contrib repositories:
mkdir ~/opencv_build && cd ~/opencv_build git clone https://github.com/opencv/opencv.git git clone https://github.com/opencv/opencv_contrib.git Version 4.2.0 is the default version at the time of writing in the GitHub repositories. cd to the opencv and opencv_contrib directories, then run git checkout < opencv-version>to install an older version of OpenCV.
3) When the download is completed, make a temporary build directory and navigate to it:
cd ~/opencv_build/opencv mkdir build && cd build Using CMake, configure the OpenCV build:
cmake -D CMAKE_BUILD_TYPE=RELEASE \ -D CMAKE_INSTALL_PREFIX=/usr/local \ -D INSTALL_C_EXAMPLES=ON \ -D INSTALL_PYTHON_EXAMPLES=ON \ -D OPENCV_GENERATE_PKGCONFIG=ON \ -D OPENCV_EXTRA_MODULES_PATH=~/opencv_build/opencv_contrib/modules \ -D BUILD_EXAMPLES=ON .. You will see something like the following after the CMake build system is complete:
Output . -- Configuring done -- Generating done -- Build files have been written to: /home/pi/opencv_build/opencv/build 4) Start the compilation procedure:
The -j flag should be changed to suit your processor. If you are unsure about your processor’s core count, type nproc to find out.
Depending on your system configuration, the compilation may take several minutes or longer. When finished, you should see something similar to this:
Output . [100%] Linking CXX executable ../../bin/example_tutorial_imgcodecs_imwrite [100%] Built target example_tutorial_goodFeaturesToTrack_Demo [100%] Built target example_tutorial_imgcodecs_imwrite 5) Type the following to install OpenCV:
Output . -- Installing: /usr/local/share/opencv4/samples/python/video_threaded.py -- Installing: /usr/local/share/opencv4/samples/python/video_v4l2.py -- Installing: /usr/local/share/opencv4/samples/python/watershed.py 6) Enter the following command to see the OpenCV version and determine whether OpenCV has been successfully installed:
pkg-config --modversion opencv4 python3 -c "import cv2; print(cv2.__version__)" Conclusion
We have demonstrated two methods for installing OpenCV on Debian 10. The approach you select is determined by your interests and requirements. Installing OpenCV from the Ubuntu repository’s packaged version is simpler, but creating OpenCV from source allows you more versatility and should be your first choice.
If you have any queries, please leave a comment below and we’ll be happy to respond to them.