- How to fix ModuleNotFoundError: No module named ‘pip’ in Python
- How to reproduce the error
- How to fix this error
- Alternative ways to install pip
- Adding pip to PATH
- Conclusion
- Take your skills to the next level ⚡️
- About
- Search
- Tags
- Python no module named pip windows
- # ModuleNotFoundError: No module named ‘pip’ in Python
- # Install pip using ensurepip
- # Using the official get-pip.py script to install pip
- # Using an operating system-specific command to install pip
- # Try creating a virtual environment
- # Installing pip from the directory of the executable
- # Setting Python and pip in your PATH environment variable
- # Additional Resources
How to fix ModuleNotFoundError: No module named ‘pip’ in Python
One error that you might encounter while using Python is:
This error occurs when the pip module is not available in your Python environment.
This tutorial shows an example that causes this error and how to fix it.
How to reproduce the error
Suppose you want to import the pip module in your source code as follows:
But you get the following error when running the code:
This error occurs when the pip module is not available in your Python environment.
The pip module is usually bundled with Python, so it should be available when you installed the Python program.
But if you see this error, then Python might have skipped building the pip module when you install it.
How to fix this error
To resolve this error, you need to install the pip module using the ensurepip module.
Try to run one of the commands below:
Once the module is installed, run one of the following commands to see if pip is available: If the command works, then you should be able to import pip in your source code without receiving the error.
Alternative ways to install pip
If the command above doesn’t work, you can try using the get-pip.py script to install the module.
First, download the script from https://bootstrap.pypa.io/get-pip.py into your computer. You need to open the context menu with right-click and select the ‘Save As..’ option.
Next, run the get-pip.py script using Python from your terminal as follows:
You should have a similar output as follows:
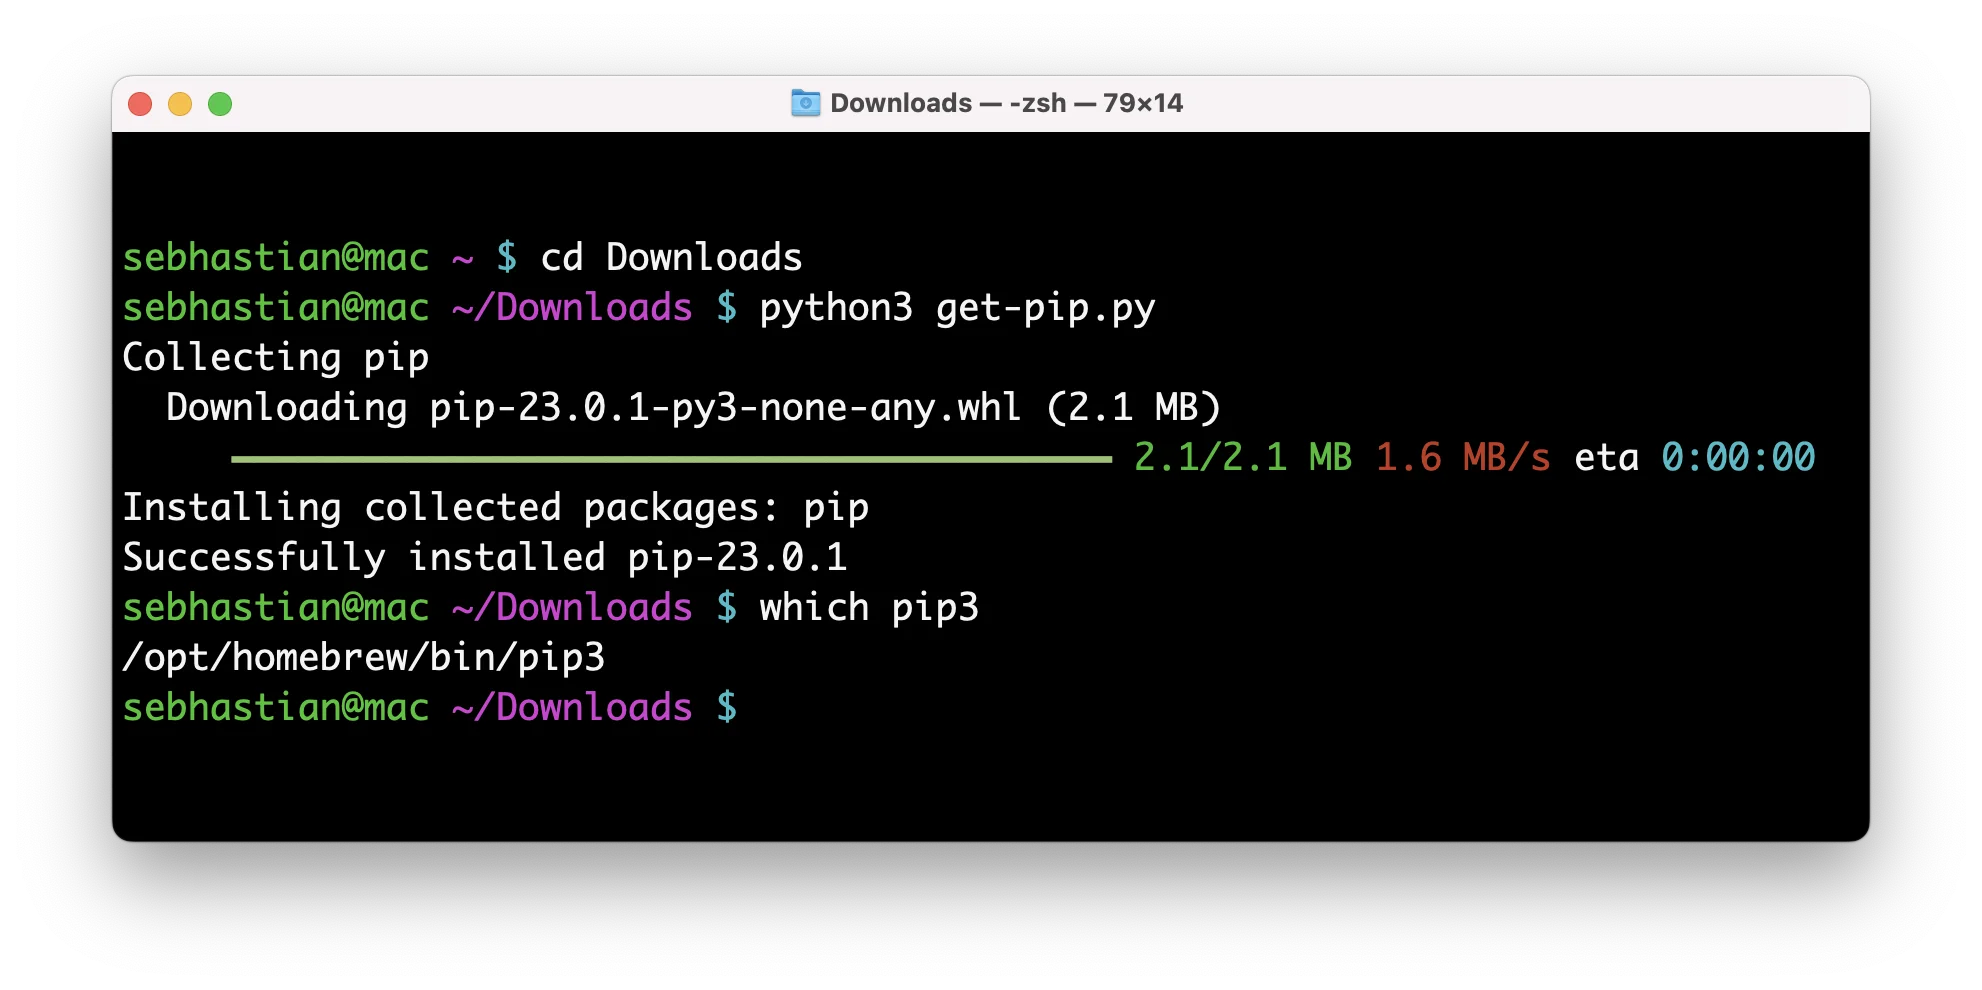
You should be able to run pip or pip3 from the terminal now.
If you still can’t access pip , then try to install the module using commands specific to your Operating System:
If you’re using Windows or macOS, you need to reinstall Python using the official installer, which should also take care of adding pip to the system PATH.
Adding pip to PATH
If you can’t run pip -V but able to run python -m pip -V , that means the path to pip is not added to your PATH system.
In Windows, you can do this using the set PATH command.
Get the location of Python using the where python command as follows:
Next, add the location to python.exe to your PATH as follows:
That should allow the command prompt to find the pip module for the current session. If you want to add the location permanently to the PATH, use the setx command instead of set .
For Linux and macOS, run the export PATH command followed by the $PATH variable:
You need to add the absolute path to the Python location as well.
Conclusion
The ModuleNotFoundError: No module named ‘pip’ occurs in Python when the pip module is not available in the current Python environment.
To resolve this error, run the ensurepip or get-pip.py script that will install pip to your system.
I hope this tutorial is helpful. See you in other tutorials! 👍
Take your skills to the next level ⚡️
I’m sending out an occasional email with the latest tutorials on programming, web development, and statistics. Drop your email in the box below and I’ll send new stuff straight into your inbox!
About
Hello! This website is dedicated to help you learn tech and data science skills with its step-by-step, beginner-friendly tutorials.
Learn statistics, JavaScript and other programming languages using clear examples written for people.
Search
Type the keyword below and hit enter
Tags
Click to see all tutorials tagged with:
Python no module named pip windows
Last updated: Feb 6, 2023
Reading time · 4 min

# ModuleNotFoundError: No module named ‘pip’ in Python
The Python «ModuleNotFoundError: No module named ‘pip'» occurs when pip is not installed in our Python environment.
To solve the error, install the module by running the python -m ensurepip —upgrade command on Linux or MacOS or py -m ensurepip —upgrade on Windows.

# Install pip using ensurepip
Open your terminal and run the following command to install pip.
Copied!# 👇️ On Linux or macOS python -m ensurepip --upgrade # 👇️ using python 3 python3 -m ensurepip --upgrade # 👇️ On Windows py -m ensurepip --upgrade
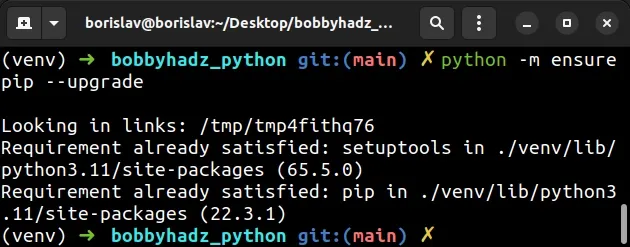
The ensurepip package enables us to bootstrap the pip installer into an existing Python installation or virtual environment.
If the PATH for pip is not set up on your machine, replace pip with python -m pip :
Copied!# 👇️ make sure to use your version of Python, e.g. 3.10 python -m pip install requests python3 -m pip install requests # 👇️ on Windows py -m pip install requests
# Using the official get-pip.py script to install pip
Alternatively, you can use the official get-pip script to install pip.
Open your terminal in the location where the get-pip.py file is downloaded and run the following command.
Copied!# 👇️ On Linux or macOS python get-pip.py # 👇️ using python 3 python3 get-pip.py # 👇️ On Windows py get-pip.py
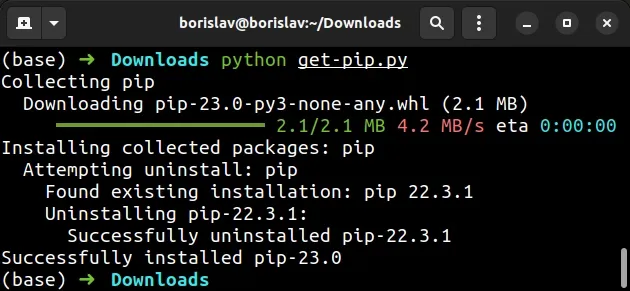
The get-pip.py script uses bootstrapping logic to install pip .
You can also download the script using curl .
Copied!curl https://bootstrap.pypa.io/get-pip.py -o get-pip.py python get-pip.py --force-reinstall python3 get-pip.py --force-reinstall py get-pip.py --force-reinstall
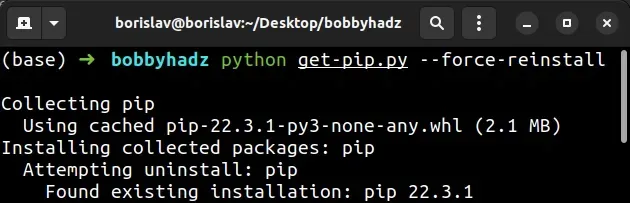
The —force-reinstall option forces pip to reinstall the package.
If you got an error that «‘curl’ is not recognized as an internal or external command», click on the following article.
# Using an operating system-specific command to install pip
If none of the suggestions helped, try to install pip with a command that’s specific to your operating system.
Copied!# 👇️ On Debian / Ubuntu sudo apt update sudo apt install python3-venv python3-pip # ---------------------------------------------------- # 👇️ On macOS brew install python # ---------------------------------------------------- # 👇️ On Fedora sudo dnf update sudo dnf install python3-pip python3-wheel # ---------------------------------------------------- # 👇️ on CentOS / RHEL sudo yum update sudo yum install python3 python3-pip # ---------------------------------------------------- # 👇️ on Arch Linux sudo pacman -S python-pip
Try upgrading pip by running:
Copied!# 👇️ on macOS or Linux python -m pip install --upgrade pip # 👇️ if you get permissions error python -m pip install --user --upgrade pip # 👇️ for Python 3 python3 -m pip install --upgrade pip # 👇️ if you get permissions error python3 -m pip install --user --upgrade pip # 👇️ on Windows py -m pip install --upgrade pip # 👇️ if you get permissions error py -m pip install --user --upgrade pip
If the error persists, get your Python version and make sure you are installing the package using the correct Python version.
Copied!python --version python3 --version

For example, my Python version is 3.10.4 , so I would install the requests package with pip3.10 install requests .
Copied!pip3.10 install requests # 👇️ if you get permissions error pip3.10 install requests --user sudo pip3.10 install requests
Notice that the version number corresponds to the version of Python I’m using.
If you have multiple versions of Python, make sure the correct Python interpreter is selected in your IDE.
# Try creating a virtual environment
If that didn’t help and you’re using a virtual environment, try recreating it.
Copied!# 👇️ optionally store installed packages in a file pip freeze > requirements.txt # 👇️ deactivate deactivate # 👇️ Remove the old virtual environment folder: macOS and Linux rm -rf venv # 👇️ Remove the old virtual environment folder: Windows rd /s /q "venv" # 👇️ initialize a new virtual environment python -m venv venv # 👇️ activate on Unix or MacOS source venv/bin/activate # 👇️ activate on Windows (cmd.exe) venv\Scripts\activate.bat # 👇️ activate on Windows (PowerShell) venv\Scripts\Activate.ps1 # 👇️ upgrade your pip version pip install --upgrade pip # 👇️ install the modules in your requirements.txt file pip install -r requirements.txt
If the python -m venv venv command doesn’t work, try the following 2 commands:
Your virtual environment will use the version of Python that was used to create it.
This should work if your previous virtual environment didn’t have pip installed for some reason.
# Installing pip from the directory of the executable
If none of the suggestions helped on a Windows machine, try installing pip from the directory where the pip.exe file is located.
First, locate Python by running the following command using cmd :
Copied!# 👇️ for Windows where python # 👇️ or a specific version if you have multiple installed where python3
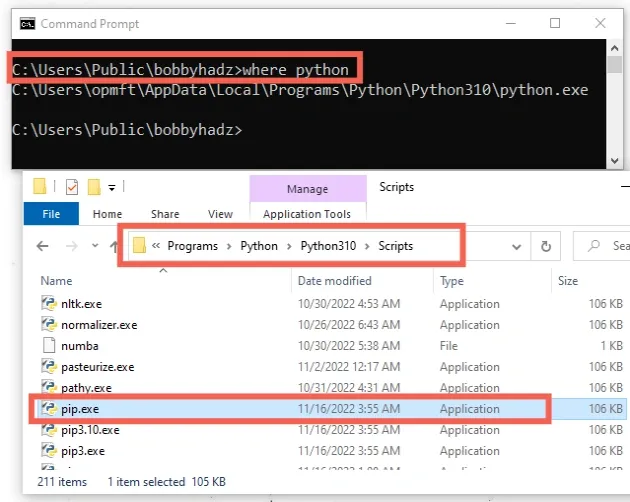
The path in the example is similar to the following.
Copied!C:\Users\MyUser\AppData\Local\Programs\Python\Python310\python.exe
The path for you will likely be different, so make sure to use the one you got from issuing the where Python command.
There should be a Scripts directory in your Python3XX folder.
Now open the Scripts folder and make sure it contains the pip.exe file.
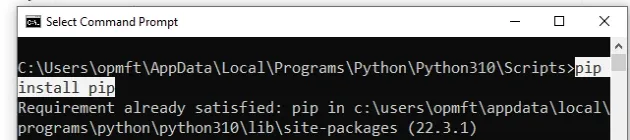
Open your command prompt in the Scripts directory right next to the pip.exe file and run the following command.
Copied!pip install pip py -m pip install --upgrade pip
If you get an error that «The term ‘pip’ is not recognized as the name of a cmdlet», click on the following article.
# Setting Python and pip in your PATH environment variable
If the error persists, I would suggest watching a quick video on how to set Python and pip in your PATH environment variable.
This one is for setting Python and pip in the PATH on Windows :
This one is for setting Python and pip in the PATH on MacOS and Linux :
# Additional Resources
You can learn more about the related topics by checking out the following tutorials:
I wrote a book in which I share everything I know about how to become a better, more efficient programmer.