- Matplotlib Figure Size – How to Change Plot Size in Python with plt.figsize()
- How to Change Plot Size in Matplotlib with plt.figsize()
- Here’s what the syntax looks like:
- How to Change Plot Width in Matplotlib with set_figwidth()
- How to Change Plot Height in Matplotlib with set_figheight()
- How to Change Default Plot Size in Matplotlib with rcParams
- Summary
- Изменить размер рисунка в Matplotlib
- Создание сюжета
- Изменить размер рисунка в Matplotlib
- Установите аргумент figsize
- Установите высоту и ширину фигуры в Matplotlib
Matplotlib Figure Size – How to Change Plot Size in Python with plt.figsize()

Ihechikara Vincent Abba

When creating plots using Matplotlib, you get a default figure size of 6.4 for the width and 4.8 for the height (in inches).
In this article, you’ll learn how to change the plot size using the following:
- The figsize() attribute.
- The set_figwidth() method.
- The set_figheight() method.
- The rcParams parameter.
How to Change Plot Size in Matplotlib with plt.figsize()
As stated in the previous section, the default parameters (in inches) for Matplotlib plots are 6.4 wide and 4.8 high. Here’s a code example:
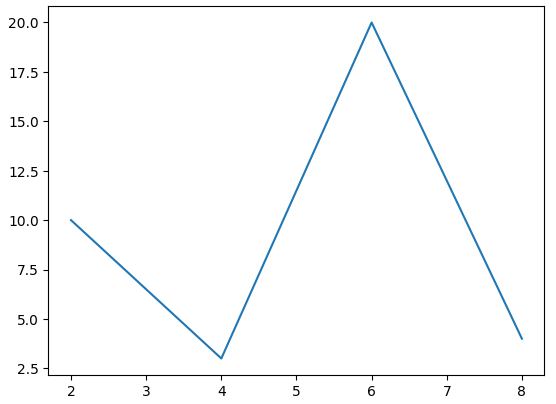
import matplotlib.pyplot as plt x = [2,4,6,8] y = [10,3,20,4] plt.plot(x,y) plt.show()In the code above, we first imported matplotlib . We then created two lists — x and y — with values to be plotted.
Using plt.plot() , we plotted list x on the x-axis and list y on the y-axis: plt.plot(x,y) .
Lastly, the plt.show() displays the plot. Here’s what the plot would look like with the default figure size parameters:
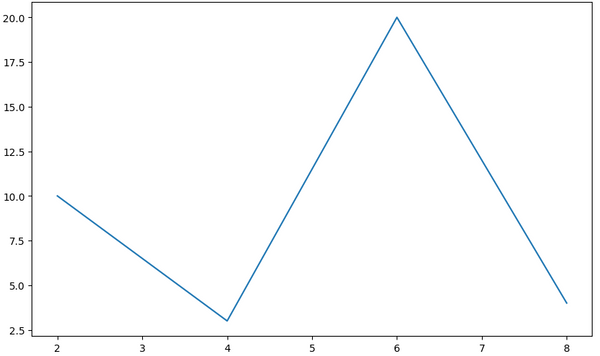
We can change the size of the plot above using the figsize() attribute of the figure() function.
The figsize() attribute takes in two parameters — one for the width and the other for the height.
Here’s what the syntax looks like:
figure(figsize=(WIDTH_SIZE,HEIGHT_SIZE))import matplotlib.pyplot as plt x = [2,4,6,8] y = [10,3,20,4] plt.figure(figsize=(10,6)) plt.plot(x,y) plt.show()We’ve added one new line of code: plt.figure(figsize=(10,6)) . This will modify/change the width and height of the plot.
Here’s what the plot would look like:
How to Change Plot Width in Matplotlib with set_figwidth()
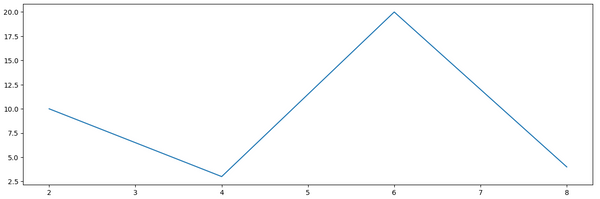
You can use the set_figwidth() method to change the width of a plot.
We’ll pass in the value the width should be changed to as a parameter to the method.
This method will not change the default or preset value of the plot’s height.
import matplotlib.pyplot as plt x = [2,4,6,8] y = [10,3,20,4] plt.figure().set_figwidth(15) plt.plot(x,y) plt.show()Using the set_figwidth() method, we set the width of the plot to 10. Here’s what the plot would look like:
How to Change Plot Height in Matplotlib with set_figheight()
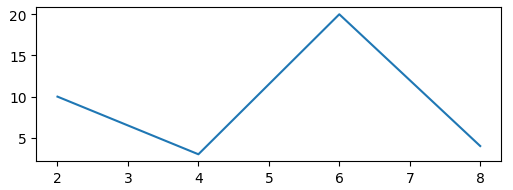
You can use the set_figheight() method to change the height of a plot.
This method will not change the default or preset value of the plot’s width.
import matplotlib.pyplot as plt x = [2,4,6,8] y = [10,3,20,4] plt.figure().set_figheight(2) plt.plot(x,y) plt.show()Using the set_figheight() in the example above, we set the plot’s height to 2. Here’s what the plot would look like:

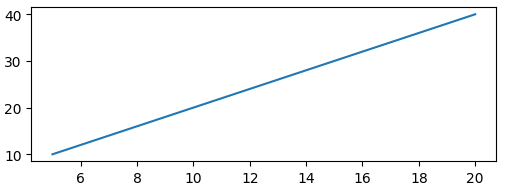
How to Change Default Plot Size in Matplotlib with rcParams
You can override the default plot size in Matplotlib using the rcParams parameter.
This is useful when you want all your plots to follow a particular size. This means you don’t have to change the size of every plot you create.
Here’s an example with two plots:
import matplotlib.pyplot as plt x = [2,4,6,8] y = [10,3,20,4] plt.rcParams['figure.figsize'] = [4, 4] plt.plot(x,y) plt.show()a = [5,10,15,20] b = [10,20,30,40] plt.plot(a,b)Using the figure.figsize parameter, we set the default width and height to 4: plt.rcParams[‘figure.figsize’] = [4, 4] . These parameters will change the default width and height of the two plots.
Summary
In this article, we talked about the different ways you can change the size of a plot in Matplotlib.
We saw code examples and visual representation of the plots. This helped us understand how each method can be used to change the size of a plot.
We discussed the following methods used in changing the plot size in Matplotlib:
- The figsize() attribute can be used when you want to change the default size of a specific plot.
- The set_figwidth() method can be used to change only the width of a plot.
- The set_figheight() method can be used to change only the height of a plot.
- The rcParams parameter can be used when want to override the default plot size for all your plots. Unlike the the figsize() attribute that targets a specific plot, the rcParams parameter targets all the plots in a project.
Изменить размер рисунка в Matplotlib
Matplotlib — одна из наиболее широко используемых библиотек визуализации данных в Python. Большая часть популярности Matplotlib связана с его параметрами настройки — вы можете настроить практически любой элемент из его иерархии объектов.
В этом уроке мы рассмотрим, как изменить размер фигуры в Matplotlib.
Создание сюжета
Сначала создадим простой график на фигуре:
import matplotlib.pyplot as plt import numpy as np x = np.arange(0, 10, 0.1) y = np.sin(x) plt.plot(x, y) plt.show() Здесь мы построили синусоидальную функцию, начиная от 0 и до 10 с шагом 0.1 . Выполнение этого кода дает:
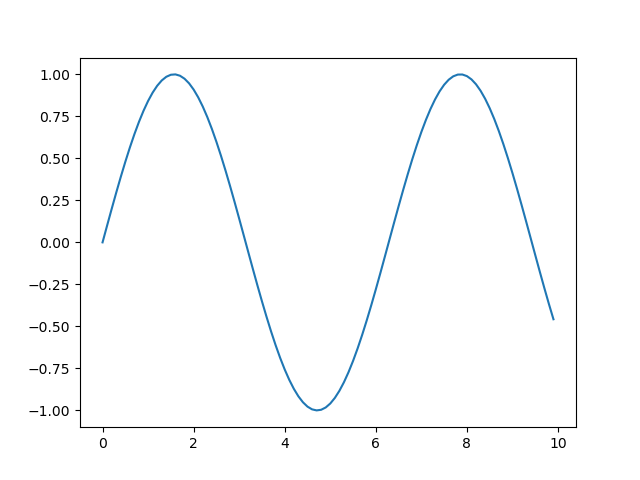
Объект Figure , если явно не создан, создается по умолчанию и содержит все элементы, которые мы можем и не можем видеть. Изменение размера Figure , в свою очередь, изменит размер наблюдаемых элементов.
Давайте посмотрим, как можно изменить размер фигуры.
Изменить размер рисунка в Matplotlib
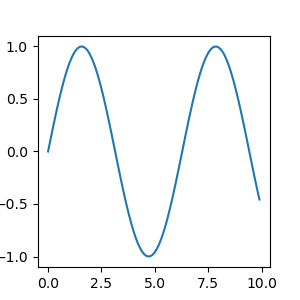
Установите аргумент figsize
Во-первых, самый простой способ изменить размер фигуры — использовать аргумент figsize . Вы можете использовать этот аргумент либо при инициализации Pyplot, либо в существующем объекте Figure .
Давайте сначала изменим его во время инициализации:
import matplotlib.pyplot as plt import numpy as np x = np.arange(0, 10, 0.1) y = np.sin(x) plt.figure(figsize=(3, 3)) plt.plot(x, y) plt.show() Здесь мы получили доступ к экземпляру Figure , который был создан по умолчанию, и передали аргумент figsize . Обратите внимание, что размер определяется в дюймах, а не в пикселях. В результате получится фигура размером 3 на 3 дюйма:
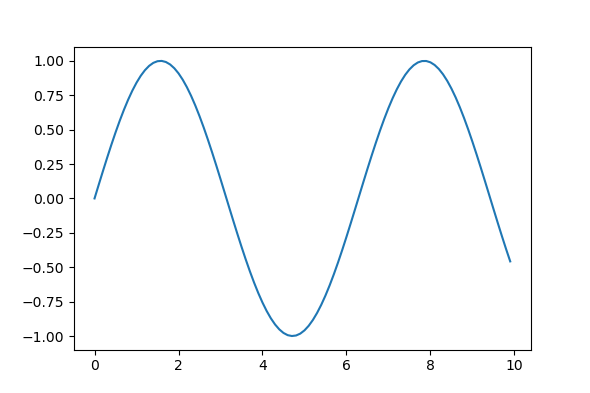
Перед построением переменных важно установить размер фигуры.
Matplotlib / PyPlot в настоящее время не поддерживают размеры метрик, однако легко написать вспомогательную функцию для преобразования между ними:
def cm_to_inch(value): return value/2.54 А затем отрегулируйте размер графика следующим образом:
plt.figure(figsize=(cm_to_inch(15),cm_to_inch(10))) Это создаст участок размером 15 см на 10 см:
В качестве альтернативы, если вы создаете объект Figure для своего сюжета, вы можете сразу назначить размер:
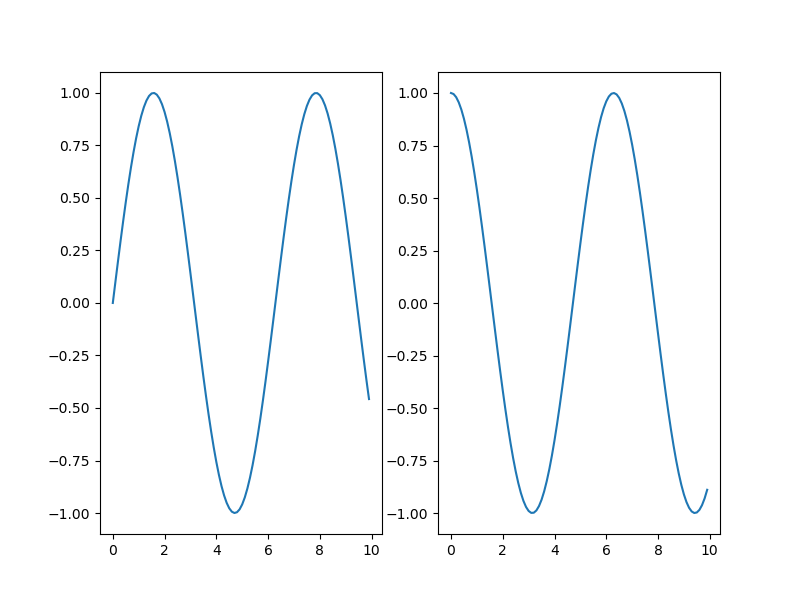
import matplotlib.pyplot as plt import numpy as np x = np.arange(0, 10, 0.1) y = np.sin(x) z = np.cos(x) fig = plt.figure(figsize=(8, 6)) # Adds subplot on position 1 ax = fig.add_subplot(121) # Adds subplot on position 2 ax2 = fig.add_subplot(122) ax.plot(x, y) ax2.plot(x, z) plt.show() Здесь мы явно присвоили объекту возвращаемое значение функции figure() . Затем мы можем добавить оси к этой фигуре, чтобы создать несколько подзаголовков и построить на них график.
Мы использовали функцию add_subplot() , которая принимает ряд числовых значений. Первое число указывает, сколько строк вы хотите добавить к фигуре, второе число указывает, сколько столбцов вы хотите добавить, а третье число указывает номер графика, который вы хотите добавить.
Это означает, что если вы перейдете 111 в функцию add_subplots() , к рисунку будет добавлен один новый подзаголовок. Между тем, если бы вы использовали числа 221 , полученный график имел бы четыре оси с двумя столбцами и двумя строками, а формируемый вами подзаголовок находится в 1-й позиции.
Установите высоту и ширину фигуры в Matplotlib
Вместо аргумента figsize мы также можем установить высоту и ширину фигуры. Это можно сделать либо с помощью функции set() с figheight и figwidth , или через функции set_figheight() и set_figwidth() .
Первый позволяет вам написать одну строку для нескольких аргументов, а второй предоставляет более читаемый код.
Пойдем со вторым вариантом:
import matplotlib.pyplot as plt import numpy as np x = np.arange(0, 10, 0.1) y = np.sin(x) z = np.cos(x) fig = plt.figure() fig.set_figheight(5) fig.set_figwidth(10) # Adds subplot on position 1 ax = fig.add_subplot(121) # Adds subplot on position 2 ax2 = fig.add_subplot(122) ax.plot(x, y) ax2.plot(x, z) plt.show() 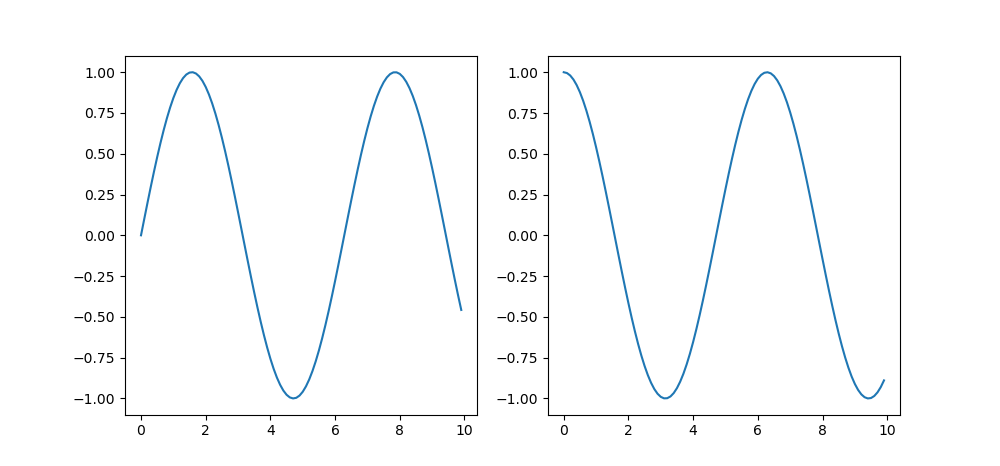
Наконец, вы также можете использовать эту функцию set_size_inches() :
fig = plt.figure() fig.set_size_inches(10, 5) # Adds subplot on position 1 ax = fig.add_subplot(121) # Adds subplot on position 2 ax2 = fig.add_subplot(122) ax.plot(x, y) ax2.plot(x, z) plt.show() И это работает так же, как установка аргумента figsize или использование двух функций: