Getting Started with XlsxWriter
Here are some easy instructions to get you up and running with the XlsxWriter module.
Installing XlsxWriter
The first step is to install the XlsxWriter module. There are several ways to do this.
Using PIP
The pip installer is the preferred method for installing Python modules from PyPI, the Python Package Index:
$ pip install XlsxWriter # Or to a non system dir: $ pip install --user XlsxWriter
Installing from a tarball
If you download a tarball of the latest version of XlsxWriter you can install it as follows (change the version number to suit):
$ tar -zxvf XlsxWriter-1.2.3.tar.gz $ cd XlsxWriter-1.2.3 $ python setup.py install
A tarball of the latest code can be downloaded from GitHub as follows:
$ curl -O -L http://github.com/jmcnamara/XlsxWriter/archive/main.tar.gz $ tar zxvf main.tar.gz $ cd XlsxWriter-main/ $ python setup.py install
Cloning from GitHub
The XlsxWriter source code and bug tracker is in the XlsxWriter repository on GitHub. You can clone the repository and install from it as follows:
$ git clone https://github.com/jmcnamara/XlsxWriter.git $ cd XlsxWriter $ python setup.py install
Running a sample program
If the installation went correctly you can create a small sample program like the following to verify that the module works correctly:
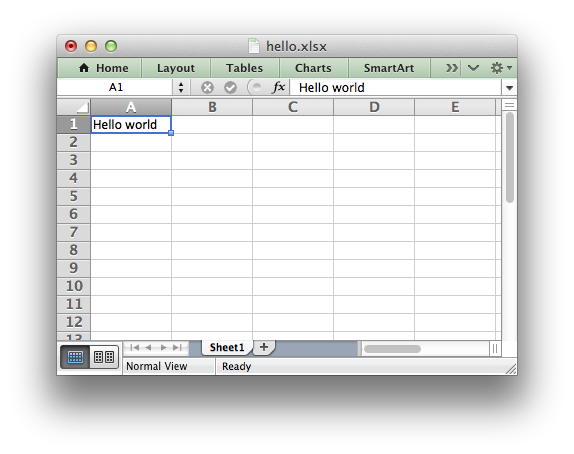
import xlsxwriter workbook = xlsxwriter.Workbook('hello.xlsx') worksheet = workbook.add_worksheet() worksheet.write('A1', 'Hello world') workbook.close()
Save this to a file called hello.py and run it as follows:
This will output a file called hello.xlsx which should look something like the following:
If you downloaded a tarball or cloned the repo, as shown above, you should also have a directory called examples with some sample applications that demonstrate different features of XlsxWriter.
Documentation
The latest version of this document is hosted on Read The Docs. It is also available as a PDF.
Once you are happy that the module is installed and operational you can have a look at the rest of the XlsxWriter documentation. Tutorial 1: Create a simple XLSX file is a good place to start.
© Copyright 2013-2023, John McNamara.
Created using Sphinx 1.8.6.
Tutorial 1: Create a simple XLSX file
Let’s start by creating a simple spreadsheet using Python and the XlsxWriter module.
Say that we have some data on monthly outgoings that we want to convert into an Excel XLSX file:
expenses = ( ['Rent', 1000], ['Gas', 100], ['Food', 300], ['Gym', 50], )
To do that we can start with a small program like the following:
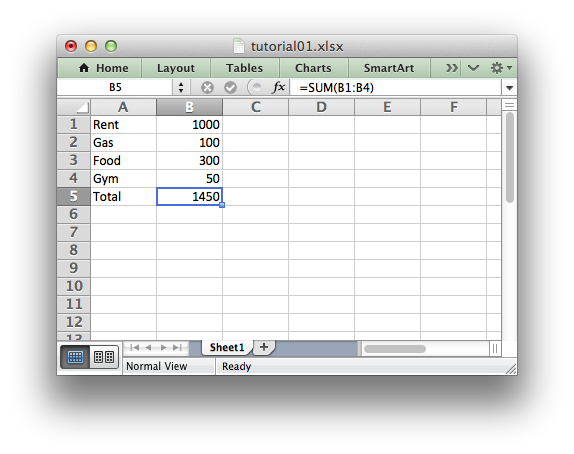
import xlsxwriter # Create a workbook and add a worksheet. workbook = xlsxwriter.Workbook('Expenses01.xlsx') worksheet = workbook.add_worksheet() # Some data we want to write to the worksheet. expenses = ( ['Rent', 1000], ['Gas', 100], ['Food', 300], ['Gym', 50], ) # Start from the first cell. Rows and columns are zero indexed. row = 0 col = 0 # Iterate over the data and write it out row by row. for item, cost in (expenses): worksheet.write(row, col, item) worksheet.write(row, col + 1, cost) row += 1 # Write a total using a formula. worksheet.write(row, 0, 'Total') worksheet.write(row, 1, '=SUM(B1:B4)') workbook.close()
If we run this program we should get a spreadsheet that looks like this:
This is a simple example but the steps involved are representative of all programs that use XlsxWriter, so let’s break it down into separate parts.
The first step is to import the module:
The next step is to create a new workbook object using the Workbook() constructor.
Workbook() takes one, non-optional, argument which is the filename that we want to create:
workbook = xlsxwriter.Workbook('Expenses01.xlsx')
XlsxWriter can only create new files. It cannot read or modify existing files.
The workbook object is then used to add a new worksheet via the add_worksheet() method:
worksheet = workbook.add_worksheet()
By default worksheet names in the spreadsheet will be Sheet1 , Sheet2 etc., but we can also specify a name:
worksheet1 = workbook.add_worksheet() # Defaults to Sheet1. worksheet2 = workbook.add_worksheet('Data') # Data. worksheet3 = workbook.add_worksheet() # Defaults to Sheet3.
We can then use the worksheet object to write data via the write() method:
worksheet.write(row, col, some_data)
Throughout XlsxWriter, rows and columns are zero indexed. The first cell in a worksheet, A1 , is (0, 0) .
So in our example we iterate over our data and write it out as follows:
# Iterate over the data and write it out row by row. for item, cost in (expenses): worksheet.write(row, col, item) worksheet.write(row, col + 1, cost) row += 1
We then add a formula to calculate the total of the items in the second column:
worksheet.write(row, 1, '=SUM(B1:B4)')
Finally, we close the Excel file via the close() method:
And that’s it. We now have a file that can be read by Excel and other spreadsheet applications.
In the next sections we will see how we can use the XlsxWriter module to add formatting and other Excel features.
© Copyright 2013-2023, John McNamara.
Created using Sphinx 1.8.6.
Creating Excel files with Python and XlsxWriter
XlsxWriter is a Python module for creating Excel XLSX files.
XlsxWriter is a Python module that can be used to write text, numbers, formulas and hyperlinks to multiple worksheets in an Excel 2007+ XLSX file. It supports features such as formatting and many more, including:
- 100% compatible Excel XLSX files.
- Full formatting.
- Merged cells.
- Defined names.
- Charts.
- Autofilters.
- Data validation and drop down lists.
- Conditional formatting.
- Worksheet PNG/JPEG/GIF/BMP/WMF/EMF images.
- Rich multi-format strings.
- Cell comments.
- Textboxes.
- Integration with Pandas and Polars.
- Memory optimization mode for writing large files.
It supports Python 3.4+ and PyPy3 and uses standard libraries only.
This document explains how to use the XlsxWriter module. See the following sections for more information, or jump straight to the Introduction .
- Working with Cell Notation
- Working with and Writing Data
- Working with Formulas
- Working with Dates and Time
- Working with Colors
- Working with Charts
- Working with Object Positioning
- Working with Autofilters
- Working with Data Validation
- Working with Conditional Formatting
- Working with Worksheet Tables
- Working with Textboxes
- Working with Sparklines
- Working with Cell Comments
- Working with Outlines and Grouping
- Working with Memory and Performance
- Working with VBA Macros
- Working with Pandas and XlsxWriter
- Working with Polars and XlsxWriter