- Visualize (plot) a NumPy array in Python using Seaborn
- Plotting the NumPy array in Seaborn
- Plot an Array in Python
- Plot 1-D Arrays in Python
- Plot 2-D Arrays in Python
- Related Article — Python Array
- How to Visualize a 2D Array?
- Introduction
- NumPy Array Functions
- Visualize Different Types of 2D Arrays
- Plot NumPy Array
- Plot NumPy Array as Line
- Plot NumPy Array as Scatter Plot
- Plot NumPy Array as Multiple Lines
- Plot NumPy Array as a Heatmap
- Plot NumPy Array as Image
- Plot NumPy Array as a Matrix
- Using pcolormesh() Function
- Conclusion
Visualize (plot) a NumPy array in Python using Seaborn
Hello programmers, in this tutorial we will see how to visualize a NumPy array in Python using the inbuilt visualization module seaborn.
NumPy is a module built-in Python that is mainly used for scientific computing. Seaborn is a visualization module in Python which is based on matplotlib. It helps in building high-level graphs with more informative statistical graphics.
Install the three modules using the following commands in your command prompt.
pip install numpy pip install matplotlib pip install seaborn
Create a NumPy array
We create a numpy array using the ‘np.array()’ method. We can have a single dimension of the array specified or even multiple dimensions.
For example, we create a numpy array of single dimensions as follows:
#Importing necesary libraries import numpy as np #Create single dimension numpy array function def createSingDimArray(): singDimNpAry = np.array([1,2,3,4,5]) print(f'The type of the array is: and the shape of the array is: .') #driver if __name__ == "__main__": createSingDimArray() #call the function
The type of the array is: and the shape of the array is: (5,).
Now, let us create a numpy array of 2 dimensions as follows:
#Importing necesary libraries import numpy as np #Create 2D numpy array function def createMultDimArray(): multDimNpAry = np.array([[1,2,3,4,5], [6,7,8,9,10]]) print(f'The type of the array is: and the shape of the array is: .') #driver if __name__ == "__main__": createMultDimArray() #call the function
The type of the array is: and the shape of the array is: (2, 5).
Plotting the NumPy array in Seaborn
We will first create a numpy array and then visualize it using the seaborn library.
npArray = np.random.randint(low = 0, high = 10, size = (3,3)) df = pd.DataFrame(npArray) print(df)
0 1 2 0 2 3 3 1 4 3 7 2 2 8 0
Explanation
We create a numpy array with random values from 0 to 10 with the size of the 2D matrix as 3×3. Then we generate a data frame using the pandas library and print out the data frame to better understand the structure of the data.
We will use a heat map to visualize the randomly generated numpy array created above.
sns.heatmap(npArray, annot = True) plt.title('Heatmap visualization of a random generated numpy array.') plt.show() Explanation
We use seaborn as ‘sns’ and use the inbuilt heatmap method of it. We pass the data and the annotation inside the method as parameters and create the graph for the following.
Let us generate another numpy array and visualize using a bar plot.
npArray = np.array([1,2,3,4,5,6,7,8,9]) npArray2 = np.array([0,1,4,2,3,1,6,4,2])
sns.barplot(npArray, npArray2) plt.title('Heatmap visualization of a random generated numpy array.') plt.show() Visualize the above numpy array using a scatter plot.
sns.scatterplot(npArray, npArray2) plt.title('Heatmap visualization of a random generated numpy array.') plt.show() The scatter plot is depicted.
Visualize the above numpy array using a histogram.
sns.displot(npArray, npArray2) plt.title('Heatmap visualization of a random generated numpy array.') plt.show() The histogram is depicted.
Explanation
The above-used method is ‘displot()’ which stands for distribution plot. It helps in visualizing mainly the univariate and the bivariate variables using histograms.
Plot an Array in Python

- Plot 1-D Arrays in Python
- Plot 2-D Arrays in Python
Visualizing data improves the general understanding of the data and helps with memory because humans tend to remember the visuals more than the texts. Visualization of data is crucial because we have a lot of data available to us, and we need a well-structured format to understand it. This activity is a part of the daily routine of every data scientist and machine learning enthusiast. They have to visualize data to understand it better and construct good and efficient machine learning models.
Often, data is represented in the form of arrays, and we end up in situations where we have to plot it. This article talks about how we can plot such data using Python.
Before we proceed with the code, we have to understand one thing. Arrays can be n-dimensional , which means we can have arrays inside arrays ( 2-D arrays ), or arrays inside arrays that further have arrays inside them (3D arrays) so on. And as the number of dimensions increases, the complexity of plotting the arrays increases. In such cases, the arrays have to be converted into another format suitable for plotting or plotting some other kind of graph that makes visualization better. This article will talk about plotting 1D, and 2D arrays.
We will use Matplotlib , a comprehensive python-based library for visualization purposes, and NumPy to plot arrays.
You can read more about them here ( Matplotlib ) and here ( NumPy ).
Plot 1-D Arrays in Python
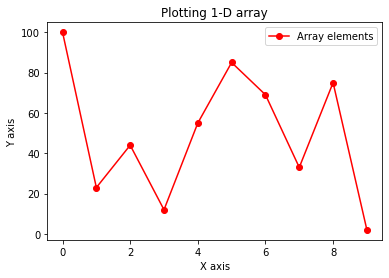
To plot a 1-dimensional array, refer to the following code.
import numpy as np import matplotlib.pyplot as plt x = np.array(range(0, 10)) y = np.array([100, 23, 44, 12, 55, 85, 69, 33, 75, 2]) plt.title("Plotting 1-D array") plt.xlabel("X axis") plt.ylabel("Y axis") plt.plot(x, y, color = "red", marker = "o", label = "Array elements") plt.legend() plt.show() The variable y holds the data that has to be plotted, and the variable x holds the indexes. Here, for plotting purposes too, 0-based indexing has been considered. Note that one can also change the indexing back to 1-based indexing by add this x = np.array(range(1, 11)) . The plot function first takes the data for the x-axis and then for the y-axis . The color argument sets the color of the line plot, the marker argument sets the symbol to be used for marking the points over the line graph, and the label argument sets the label to be shown for this particular line. Note that, without plt.legend() , no information about the label will be shown over the graph.
The output of the code above will look like this.
Plot 2-D Arrays in Python
To plot a 2-dimensional array, refer to the following code.
import numpy as np import matplotlib.pyplot as plt from matplotlib.pyplot import figure figure(figsize = (8, 6)) x = np.array(range(0, 10)) y = np.array([ [32, 69, 92, 81, 27, 97, 64, 98, 26, 22], [85, 76, 63, 44, 94, 52, 71, 66, 2, 62], [45, 80, 46, 24, 10, 74, 10, 33, 12, 60], [73, 94, 21, 6, 93, 74, 36, 47, 16, 99], [96, 84, 66, 12, 43, 58, 17, 16, 28, 6], [83, 4, 56, 94, 97, 36, 94, 41, 74, 14], [90, 13, 11, 71, 79, 49, 9, 69, 73, 61], [94, 52, 28, 18, 14, 15, 91, 95, 16, 42], [73, 35, 40, 25, 46, 25, 33, 1, 99, 30], [61, 7, 89, 33, 94, 64, 1, 60, 41, 81] ]) plt.title("Plotting a2-D array") plt.xlabel("X axis") plt.ylabel("Y axis") for i, array in enumerate(y): plt.plot(x, array, color = np.random.rand(3, ), marker = "o", label = f"Array #i>") plt.legend(loc = "center left", bbox_to_anchor=(1, 0.5)) plt.show() The variable y holds the 2-D array. We iterate over each array of the 2-D array, plot it with some random color and a unique label. Once the plotting is done, we reposition the legend box and show the plot.
The output of the code above will look like this.

Vaibhav is an artificial intelligence and cloud computing stan. He likes to build end-to-end full-stack web and mobile applications. Besides computer science and technology, he loves playing cricket and badminton, going on bike rides, and doodling.
Related Article — Python Array
How to Visualize a 2D Array?
Matplotlib and Numpy provide the modules and functions to visualize a 2D array in Python. To visualize an array or list in matplotlib, we have to generate the data, which the NumPy library can do, and then plot the data using matplotlib. There are many functions by which we can add data to the array numpy.array(), numpy.arange(), numpy.linspace(), etc. Post that, using the matplotlib library, we can plot multiple graphs using the arrays.
Introduction
NumPy is a Python library using which we can generate arrays , and these arrays can be plotted using matplotlib in Python to visualize them as a graph. NumPy arrays can be visualized as line plots, scatter plots, color mesh , etc.
NumPy Array Functions
Before visualizing the NumPy array in matplotlib, we need to know all the functions used to generate the NumPy array to understand the topic better.
- numpy.array() This function generates a NumPy array to store data in numpy.array() we have to give a list as a parameter.
- numpy.arange() The numpy.arange() function allows us to initialize a sequence of integers based on the range (starting point, stopping point, and interval).
- numpy.ones() The numpy.ones() function allows us to generate an array of ones of user-specific size .
- numpy.zeros() The numpy.zeros() function allows us to generate an array of zeros of user-specific size .
- numpy.linspace() The numpy.linspace() function allows us to generate N evenly spaced points within a user-specified interval where both starting and stopping points are inclusive. This function is different from numpy.arange() because this function generates N evenly spaced number between intervals where we have to pass N as a parameter in the function but in numpy.arange() function, we pass the interval as the parameter. Example:
Visualize Different Types of 2D Arrays
Plot NumPy Array
In matplotlib, we can plot the NumPy array on the graph. We need two NumPy 1-D arrays of equal size for the simple plot to plot data on the graph. We can visualize it on different plots such as line plots, scatter plots, bar graphs, etc.
Example: Plot Numpy array

Output:
Code explanation:
- Importing the required modules.
- Creating the figure and increasing the resolution using the parameter dpi .
- Storing the x-axis and y-axis data points in a numpy array.
- matplotlib.pyplot.plot() function to plot the data.
- Adding details to the plot by using matplotlib.pyplot.title(), matplotlib.pyplot.xlabel() and matplotlib.pyplot.ylabel() functions.
- matplotlib.pyplot.show() function to display the plot.
Plot NumPy Array as Line
For plotting a numpy array as a line plot. First, we have to generate data (2 arrays of the same size), then plot data using matplotlib.pyplot.plt() function.
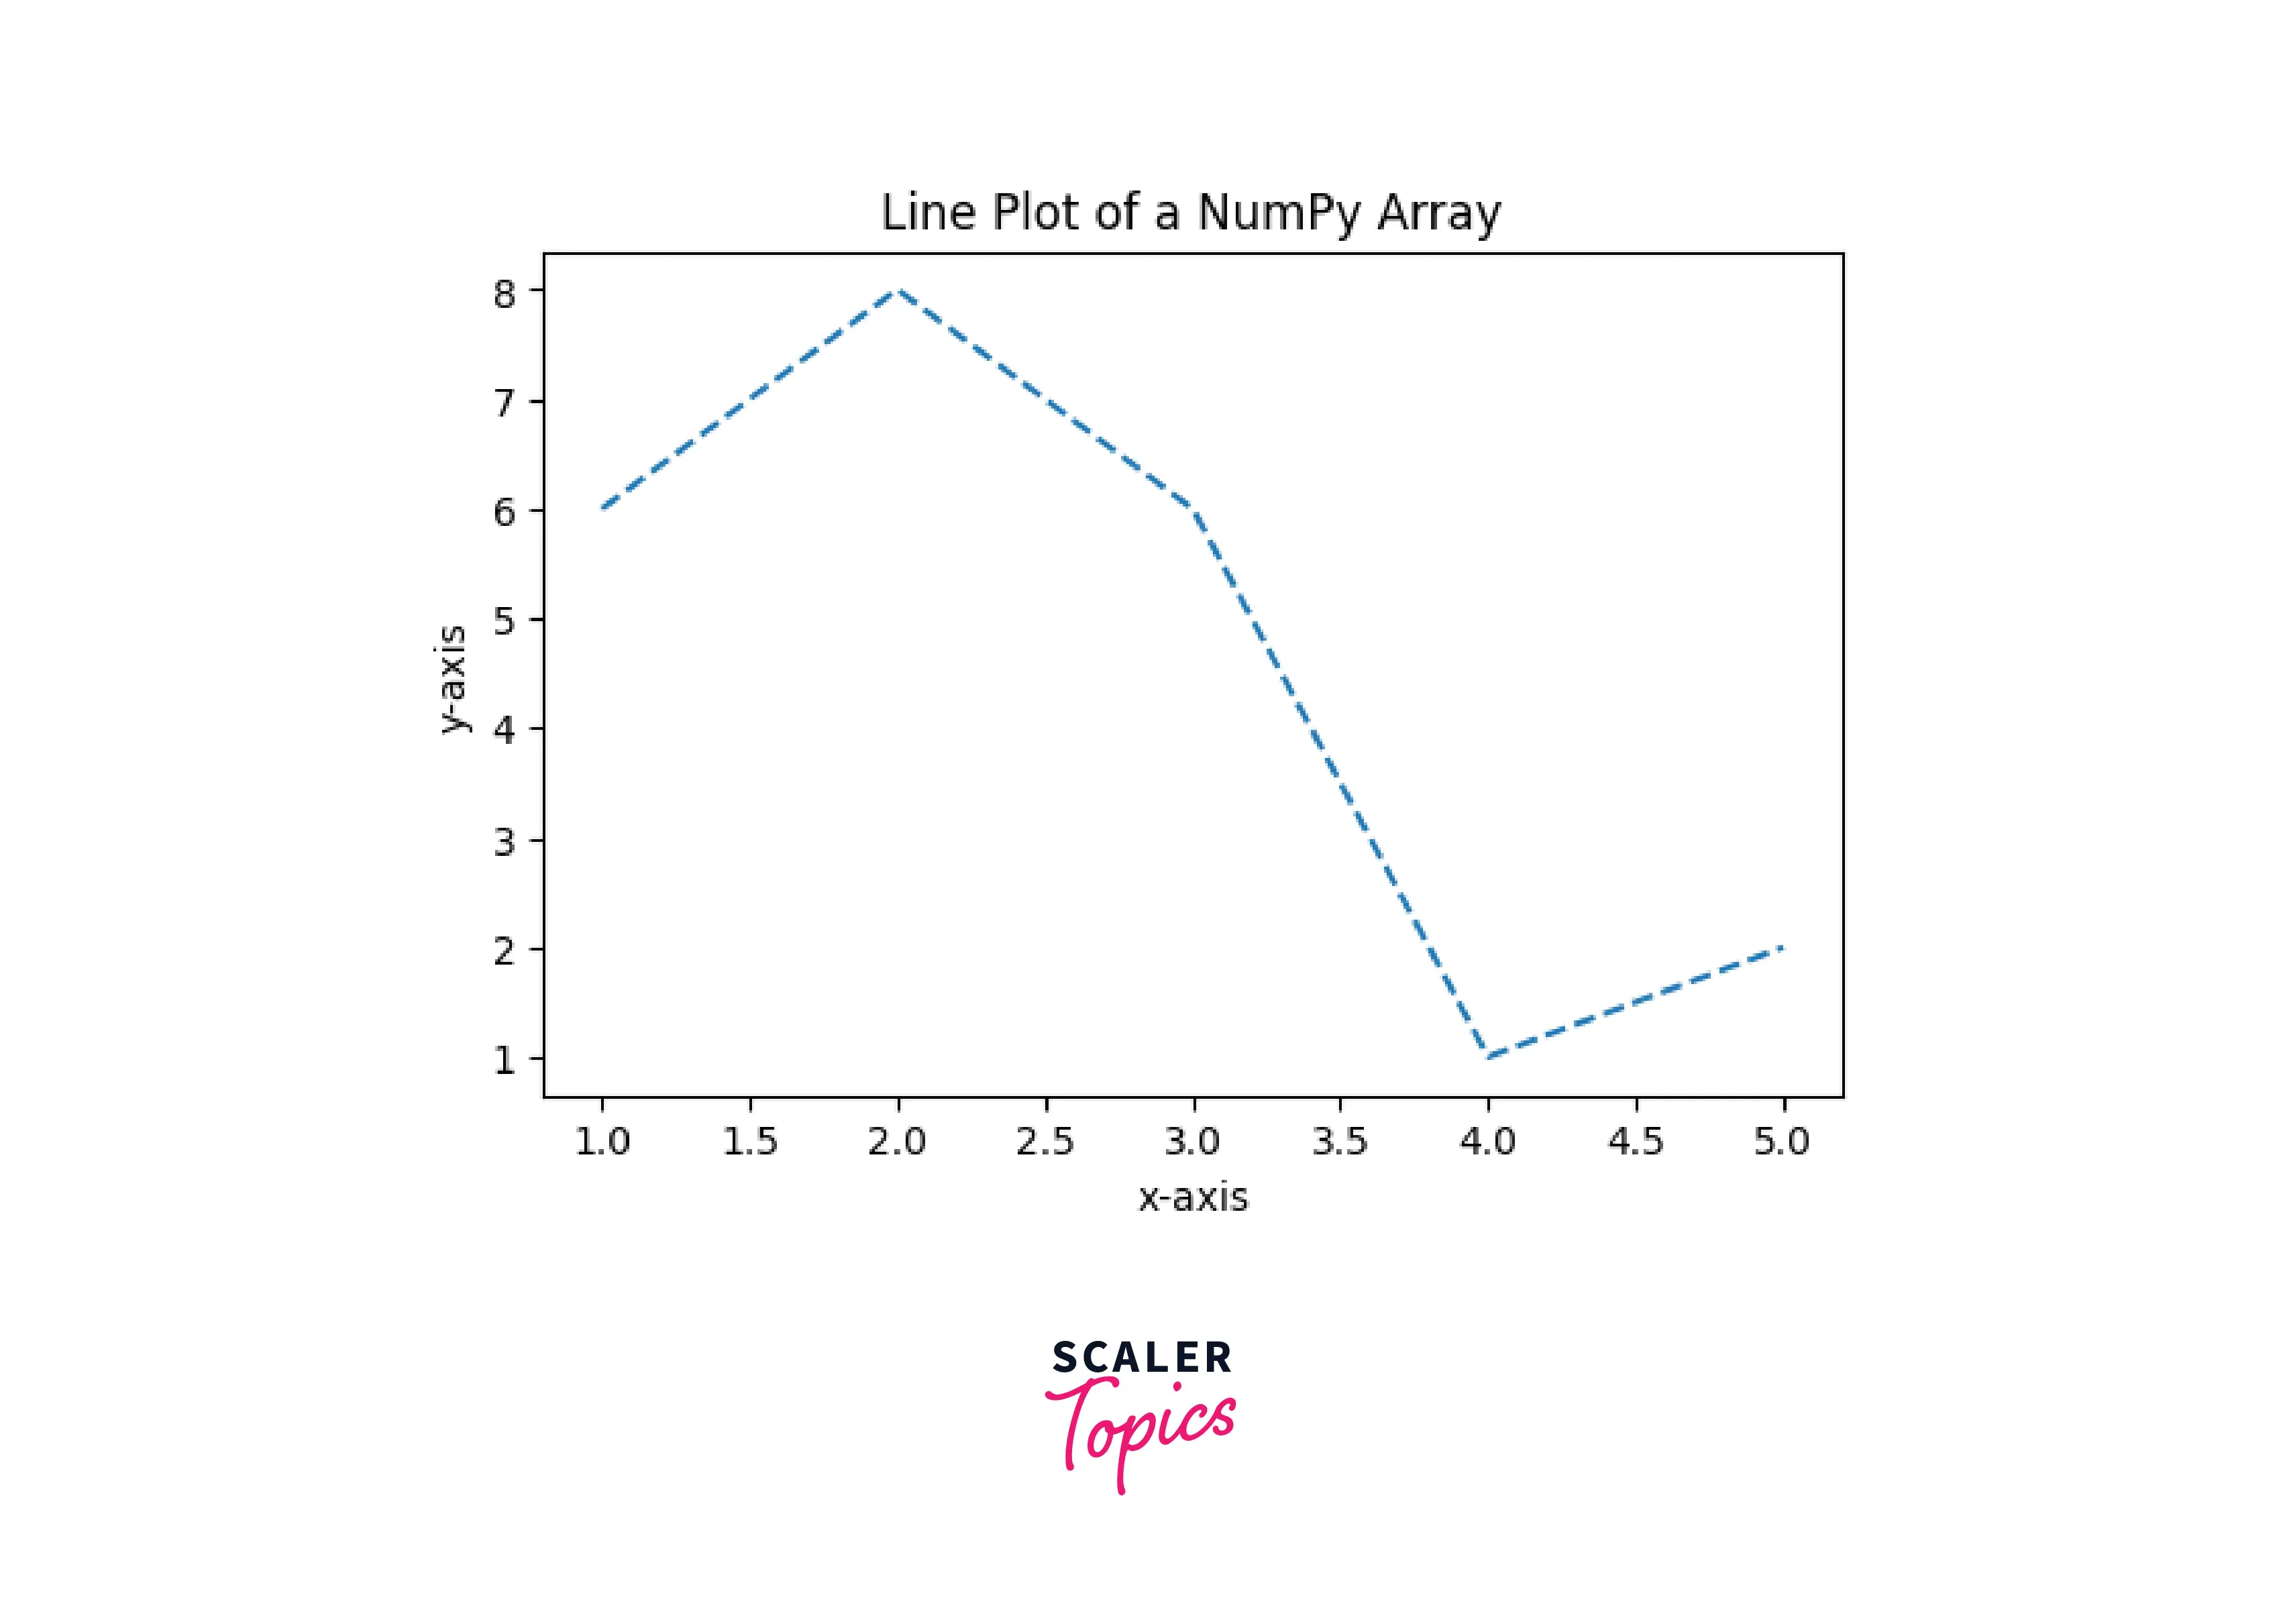
Output:
Plot NumPy Array as Scatter Plot
As we have plotted the data as a line plot in matplotlib. Similarly, we can plot the data as a scatter plot.
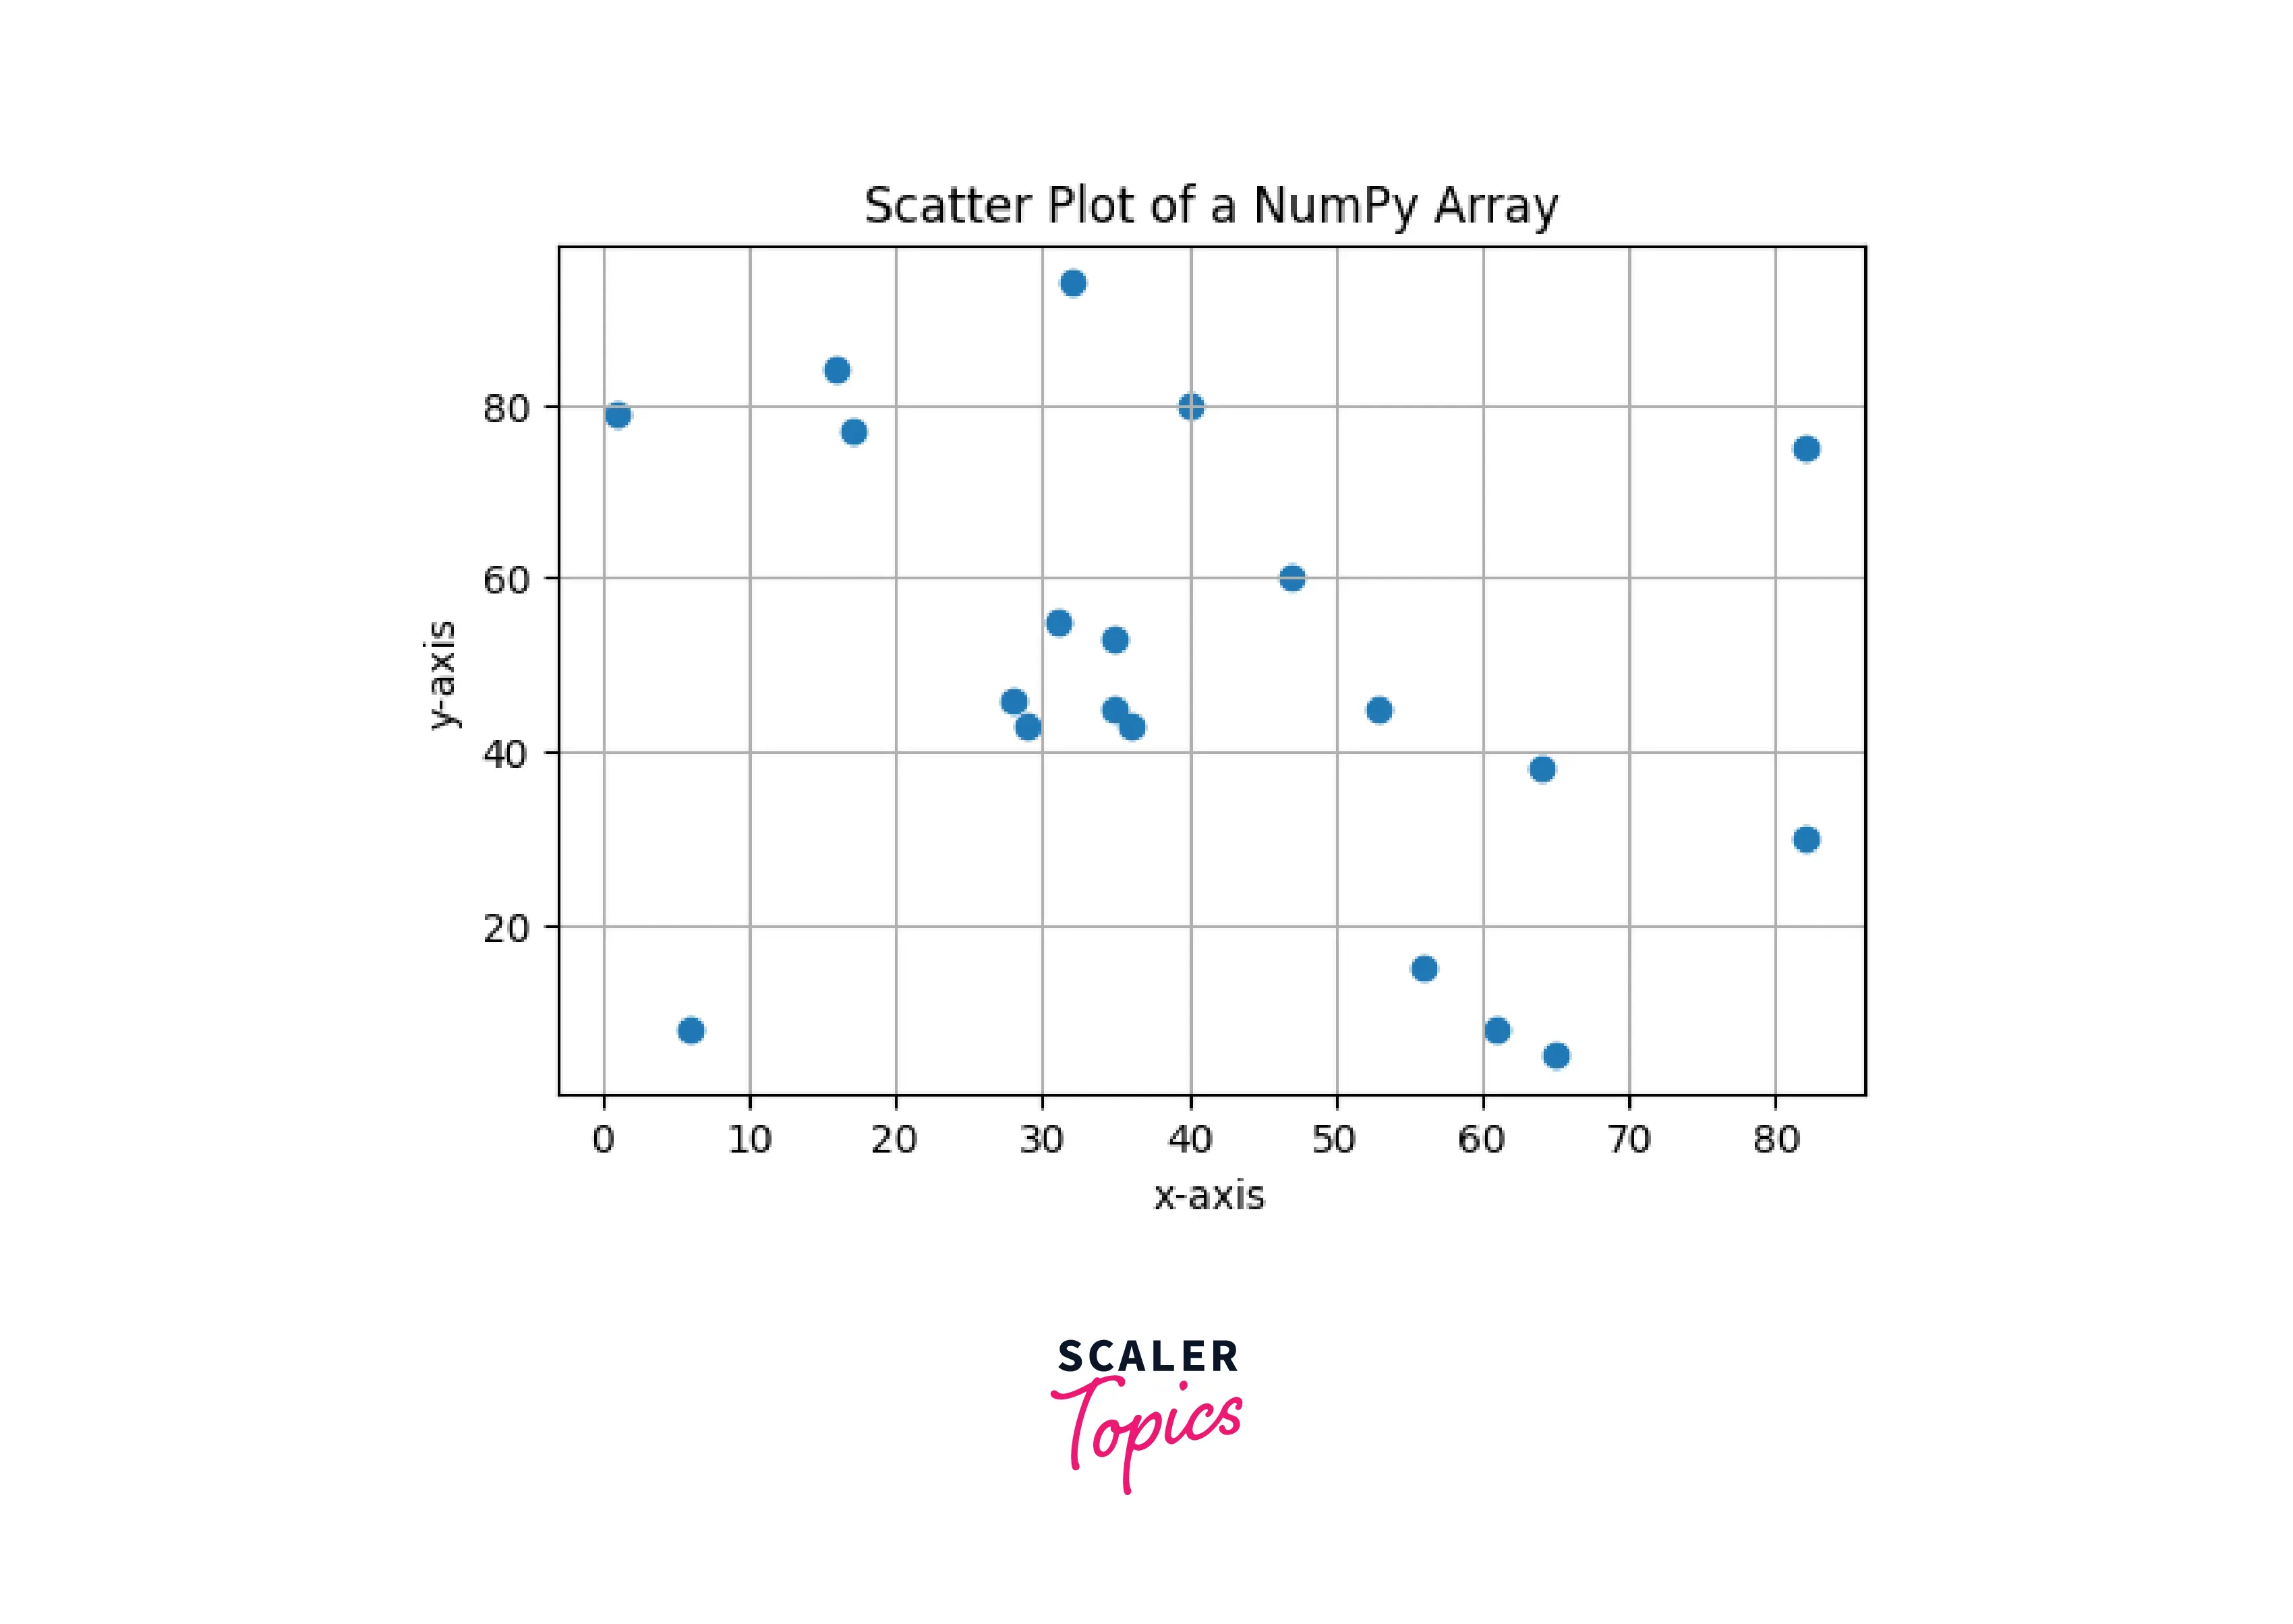
Output:
Plot NumPy Array as Multiple Lines
We can plot a numpy array as multiple lines. We must generate two arrays` for each plot.
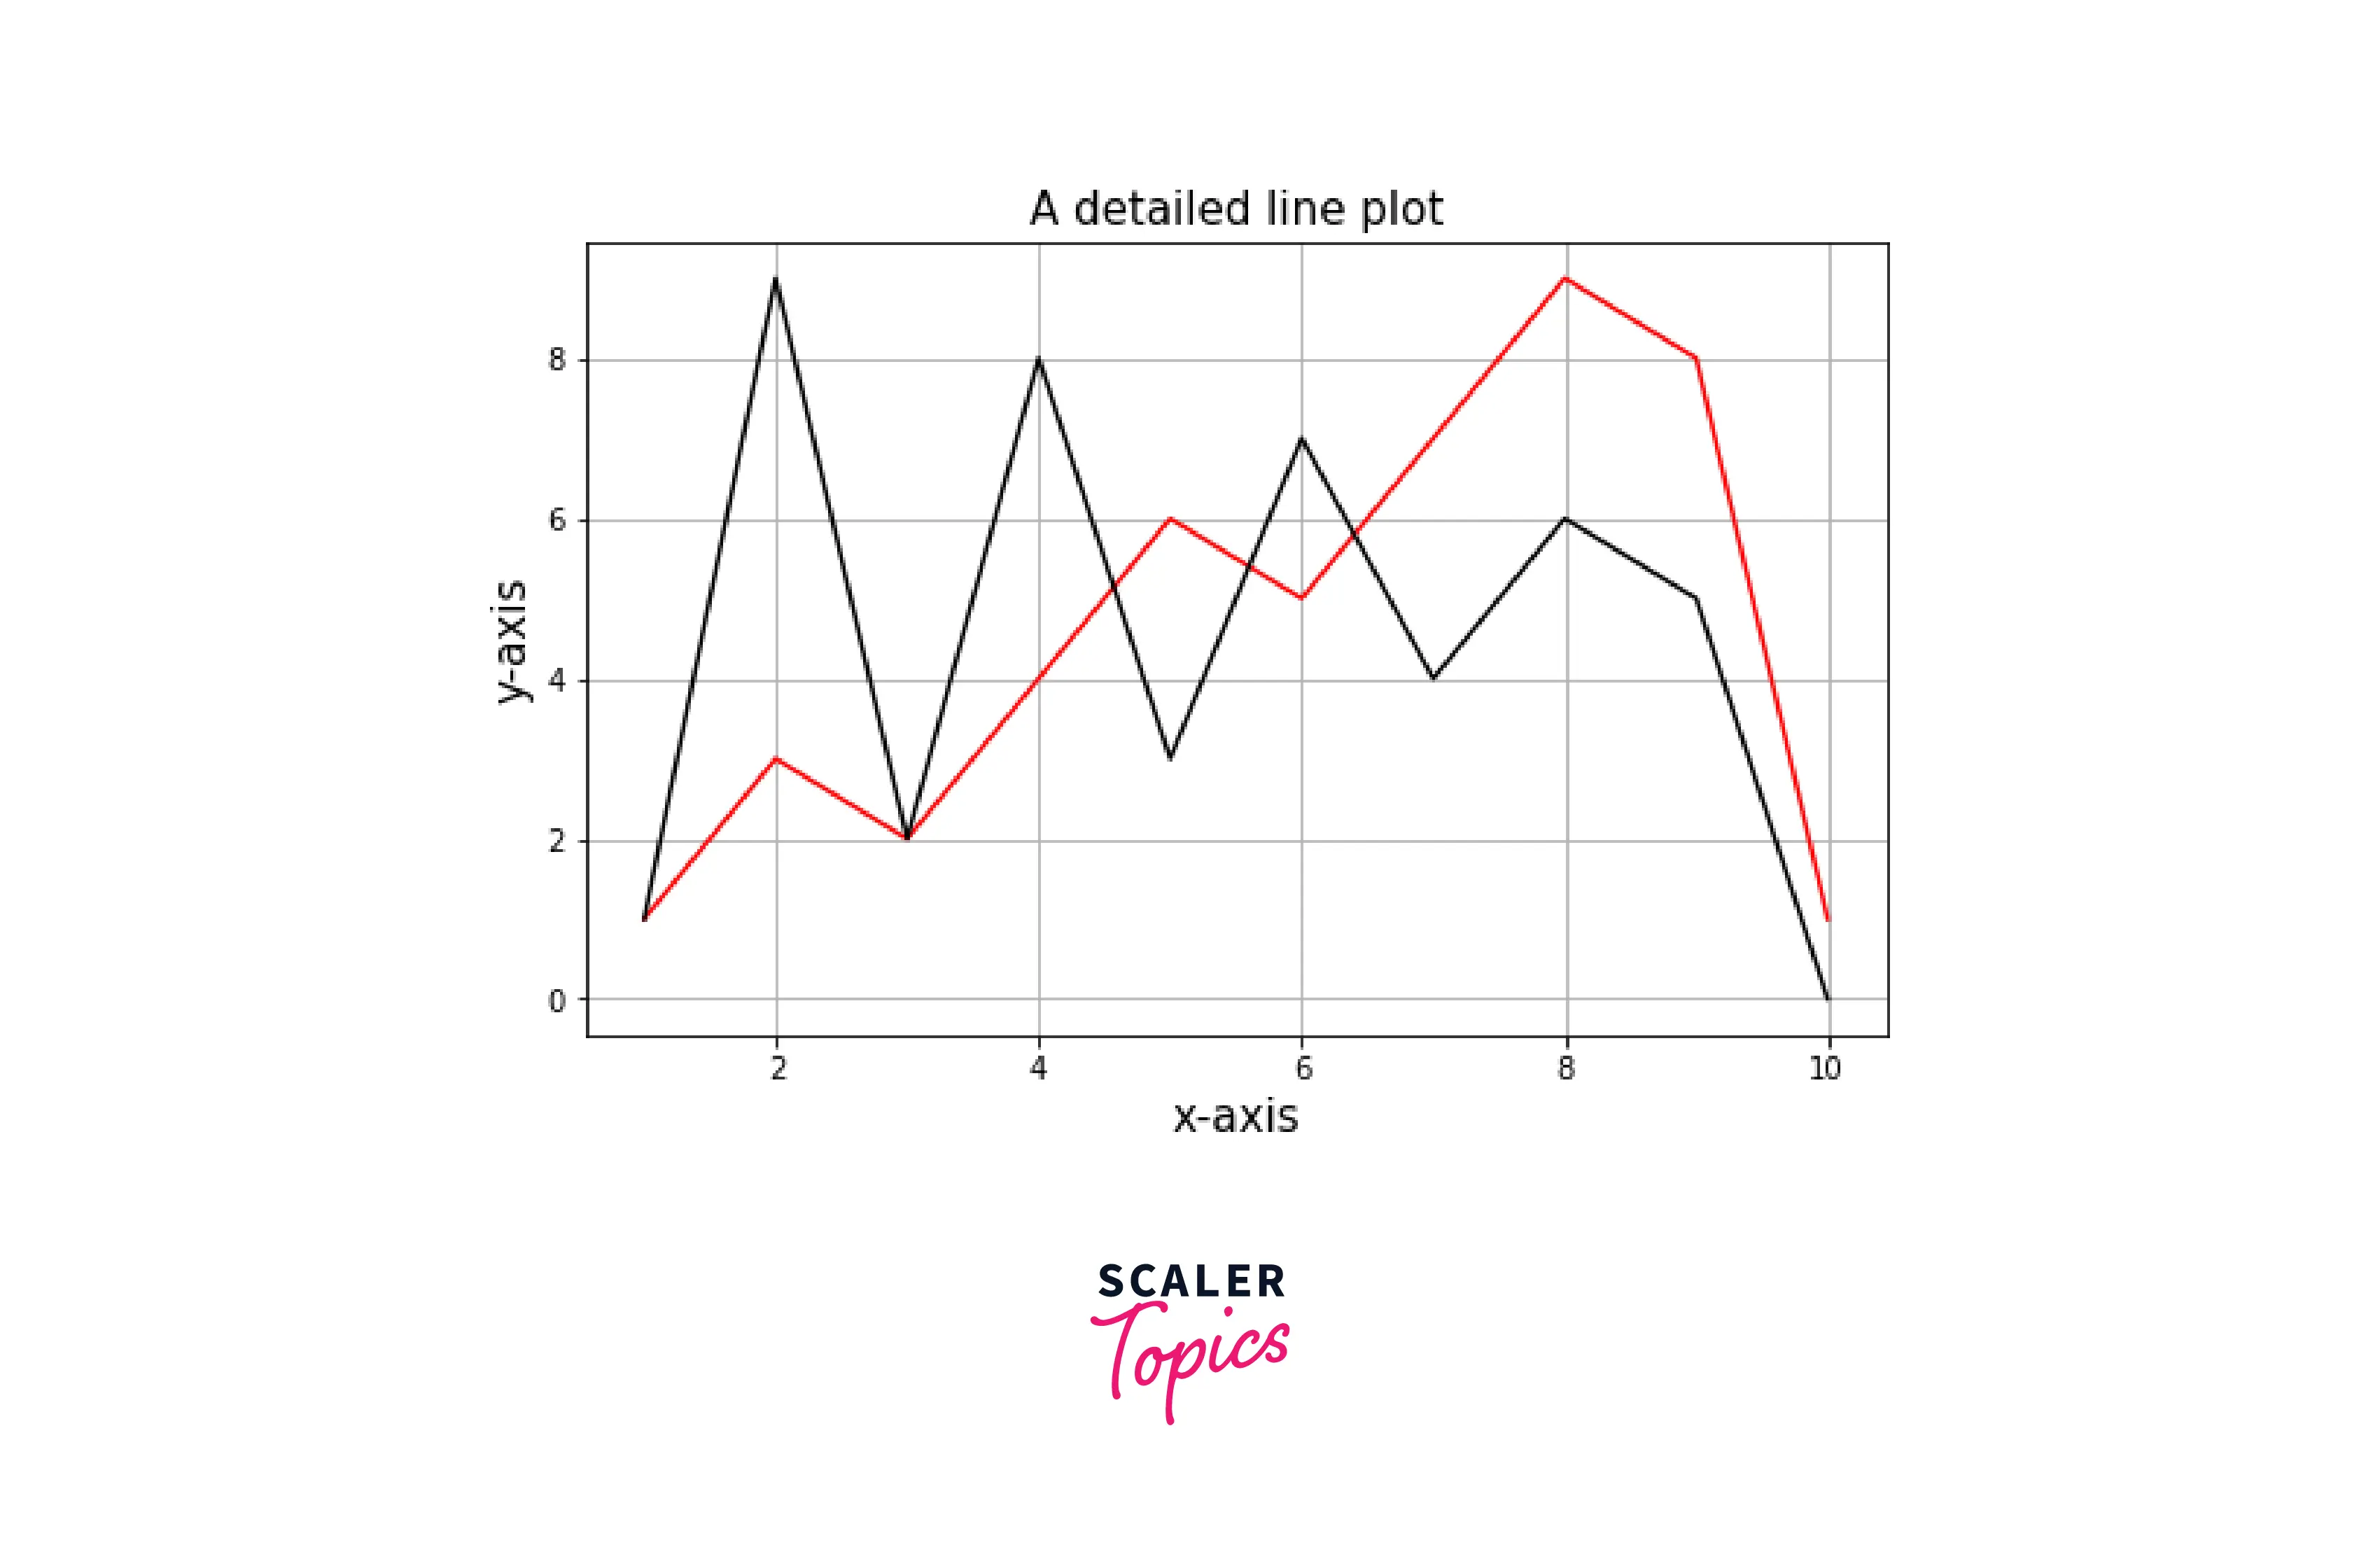
Output:
Plot NumPy Array as a Heatmap
To generate a heat map using a numpy array, first, we must generate data for a 2-D array , then show that array as an image file. Here is the Example of the same.
Example1: Using imshow() method
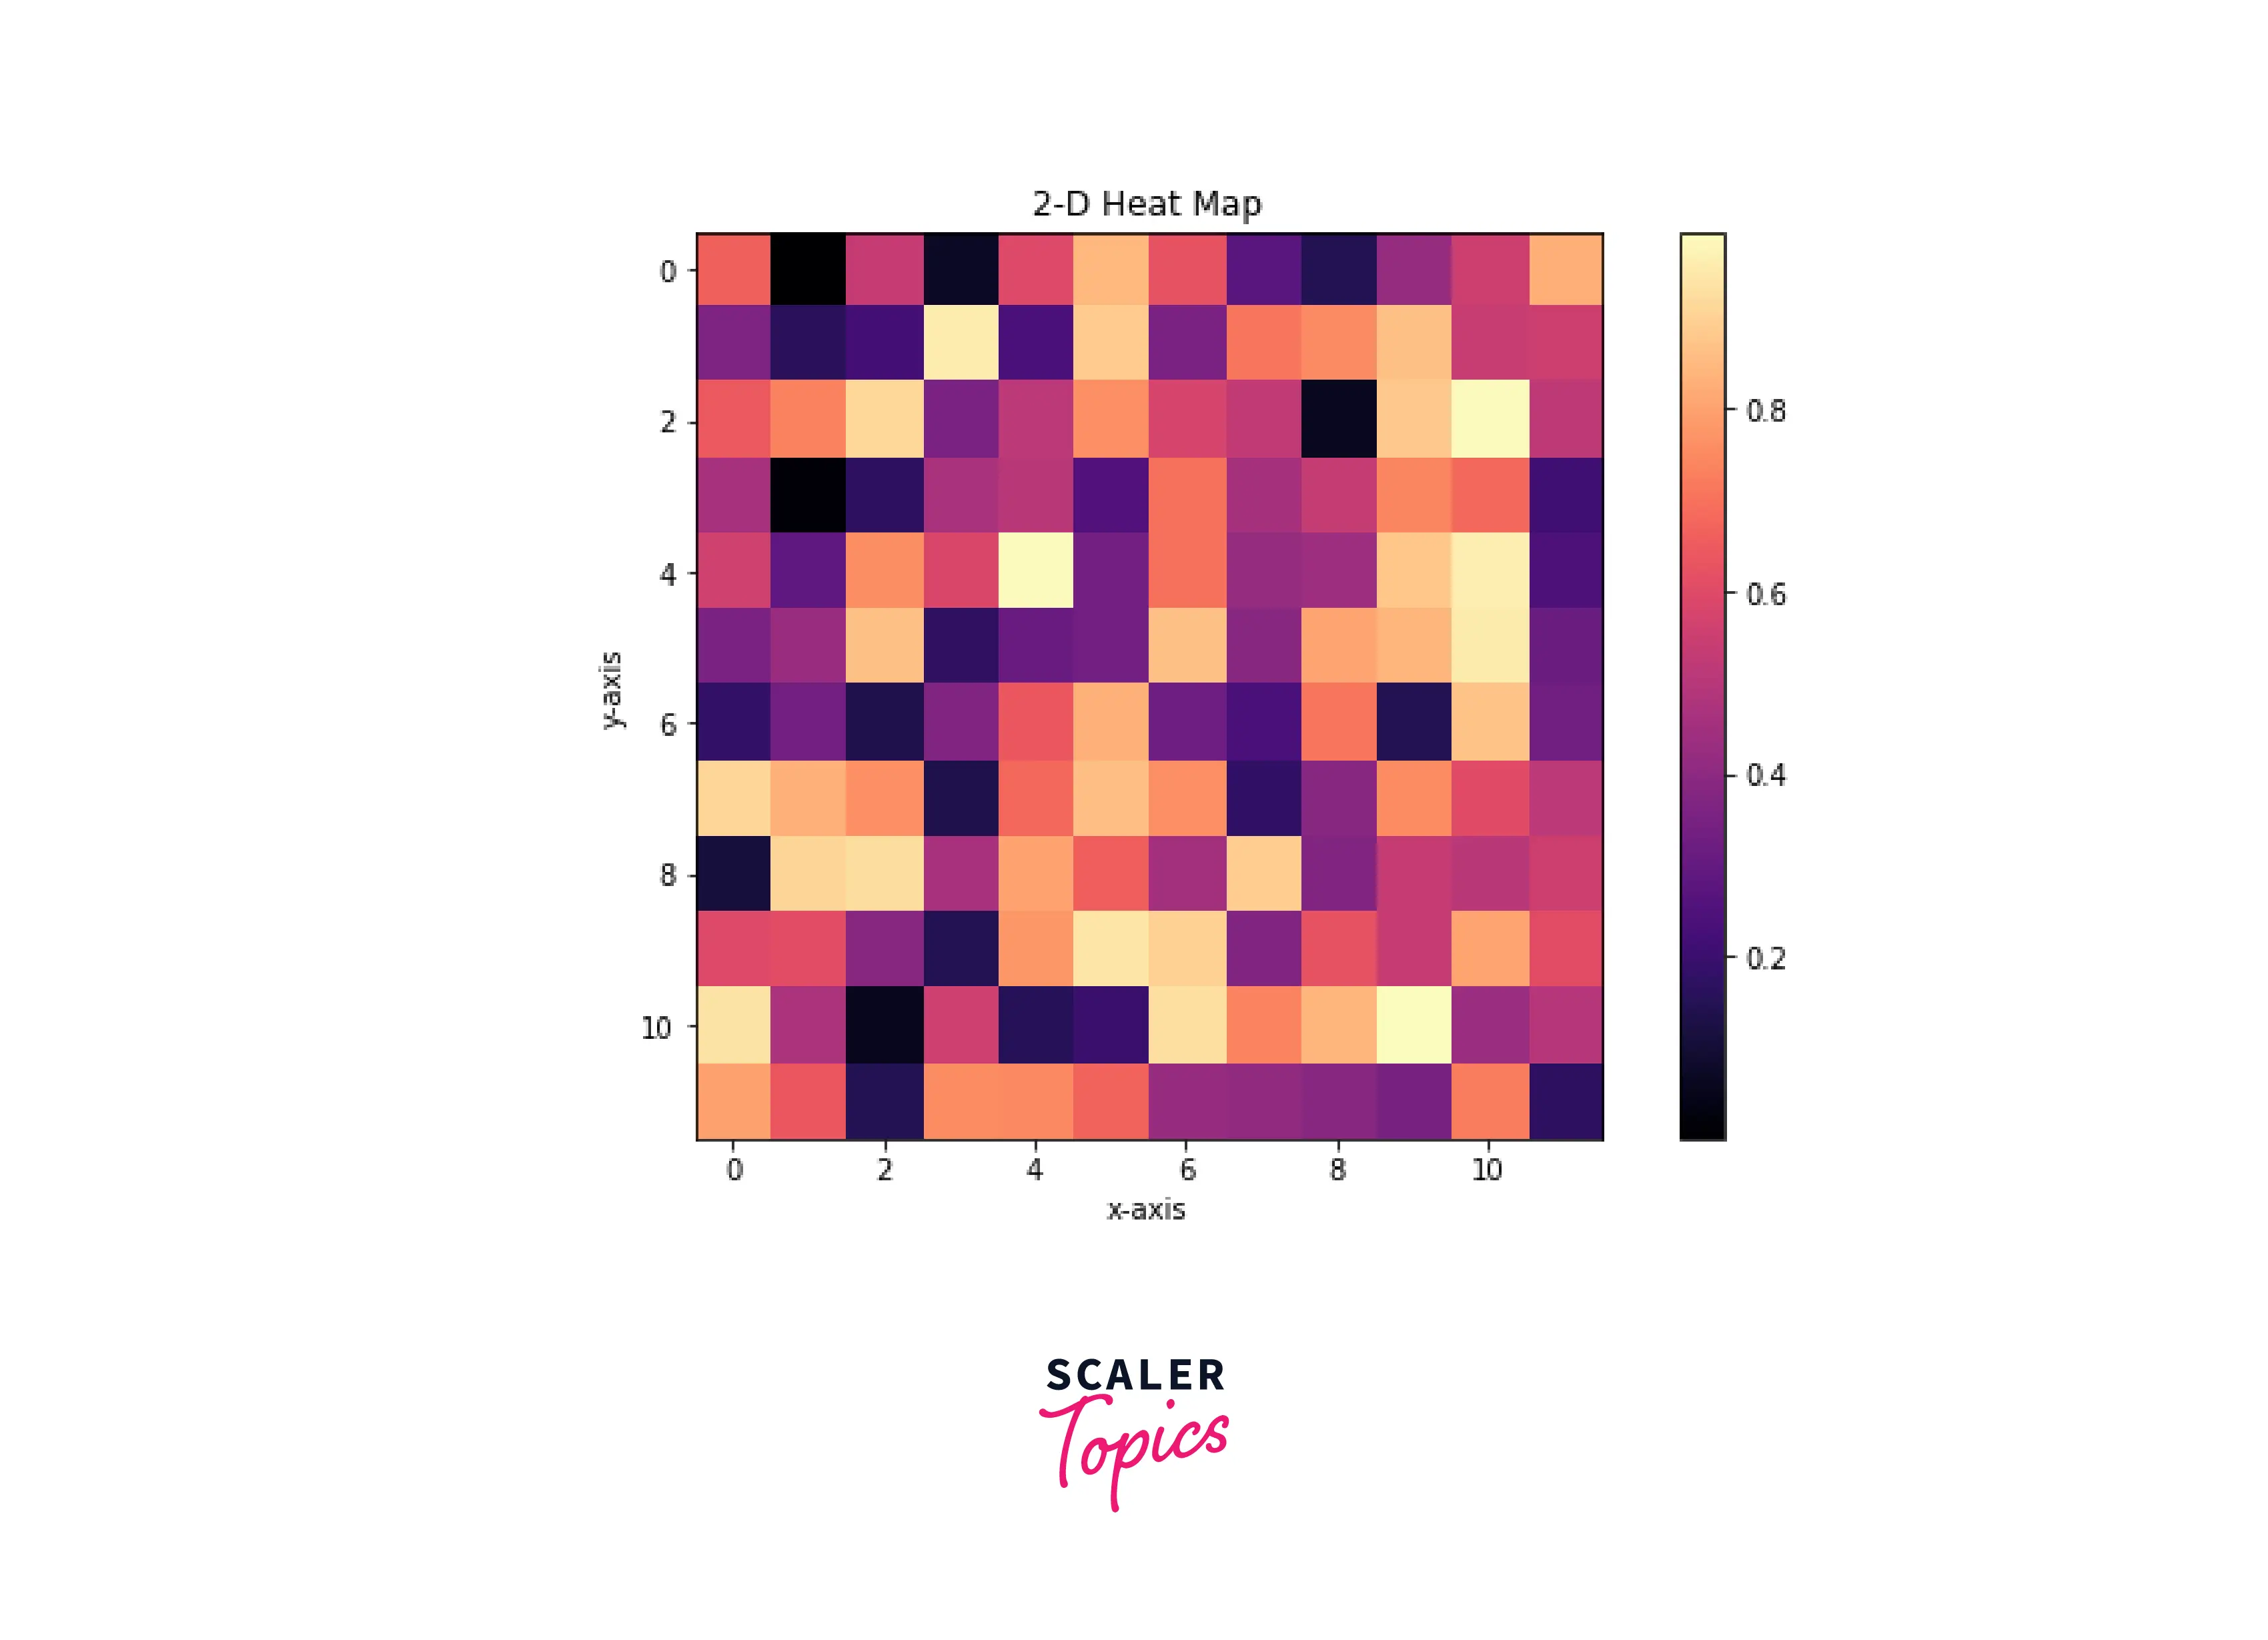
Output:
Code explanation:
- Importing the required modules.
- Generating 2×2 matrix of random values using numpy.random.random() function.
- matplotlib.pyplot.imshow() function takes data of the array and shows the color according to the heatmap.
- Adding details to the plot by using matplotlib.pyplot.title(), matplotlib.pyplot.xlabel() and matplotlib.pyplot.ylabel() functions.
- Then, adding colorbar to the plot using matplotlib.pyplot.colorbar() function.
- matplotlib.pyplot.show() function to display the plot.
Example2: Using Seaborn library
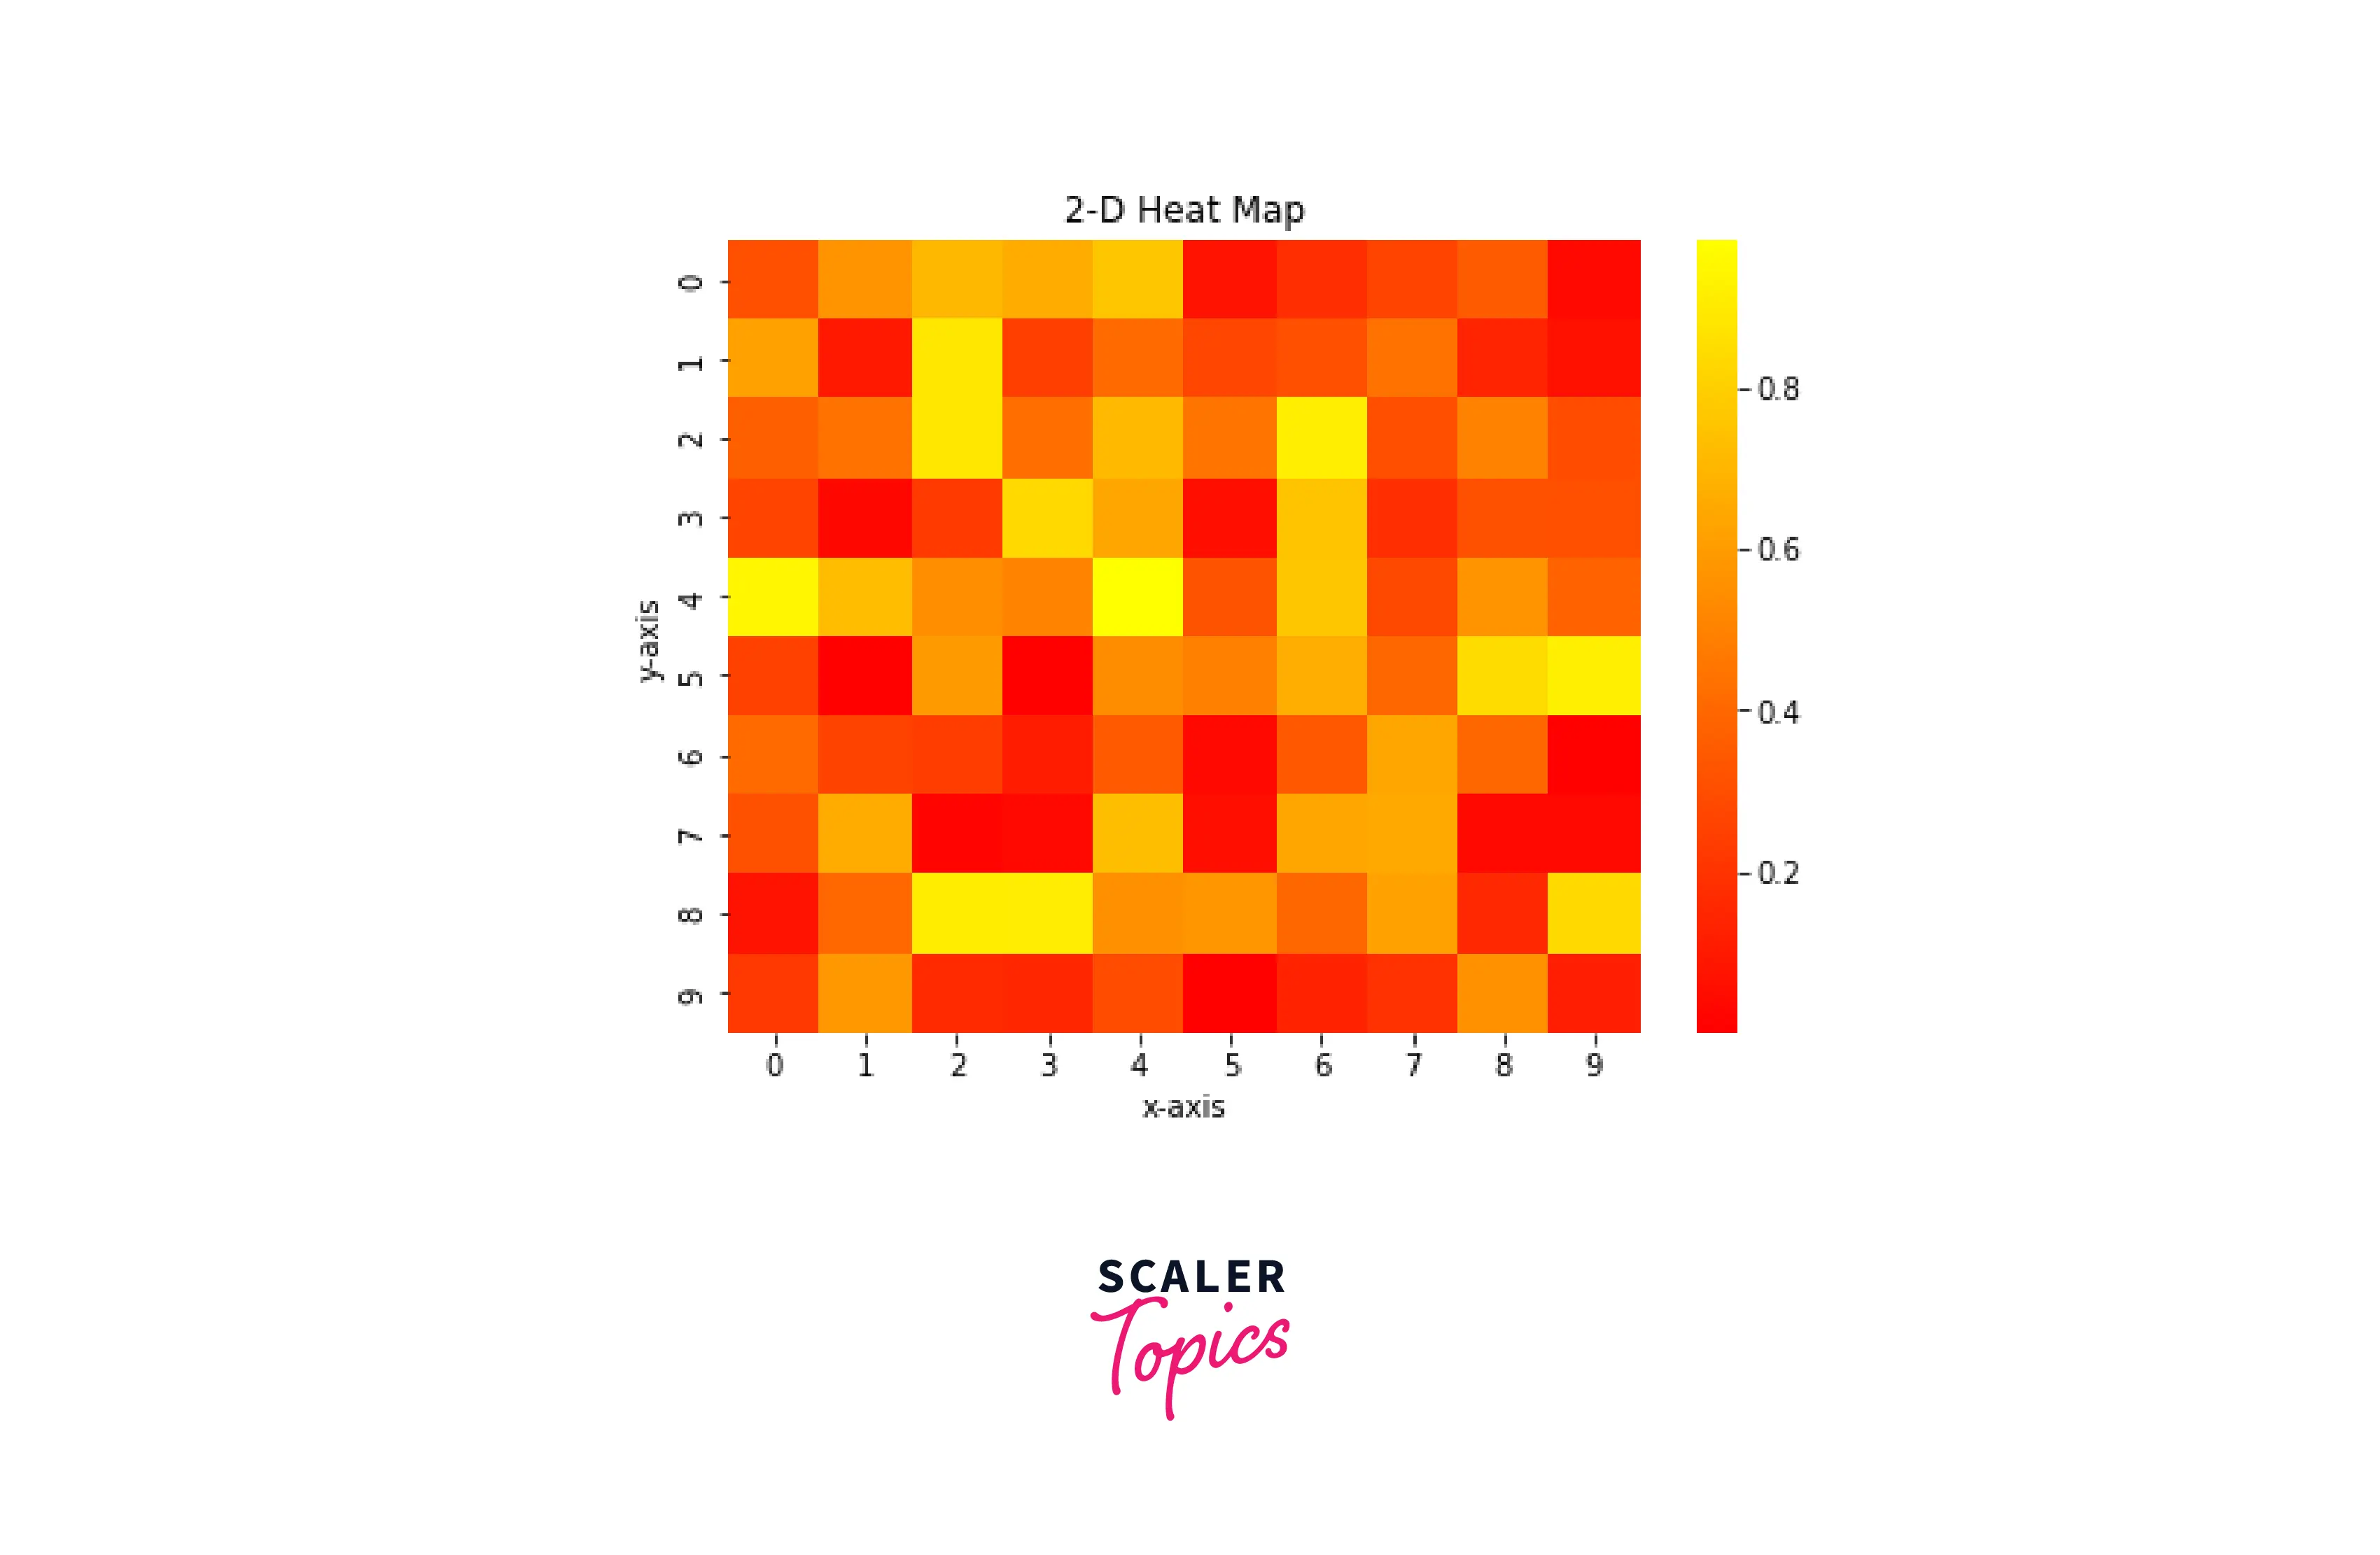
Output:
Plot NumPy Array as Image
A numpy array can be read as an image where the array index acts like a single pixel and the value at that index as color. Here is the Example of the same.
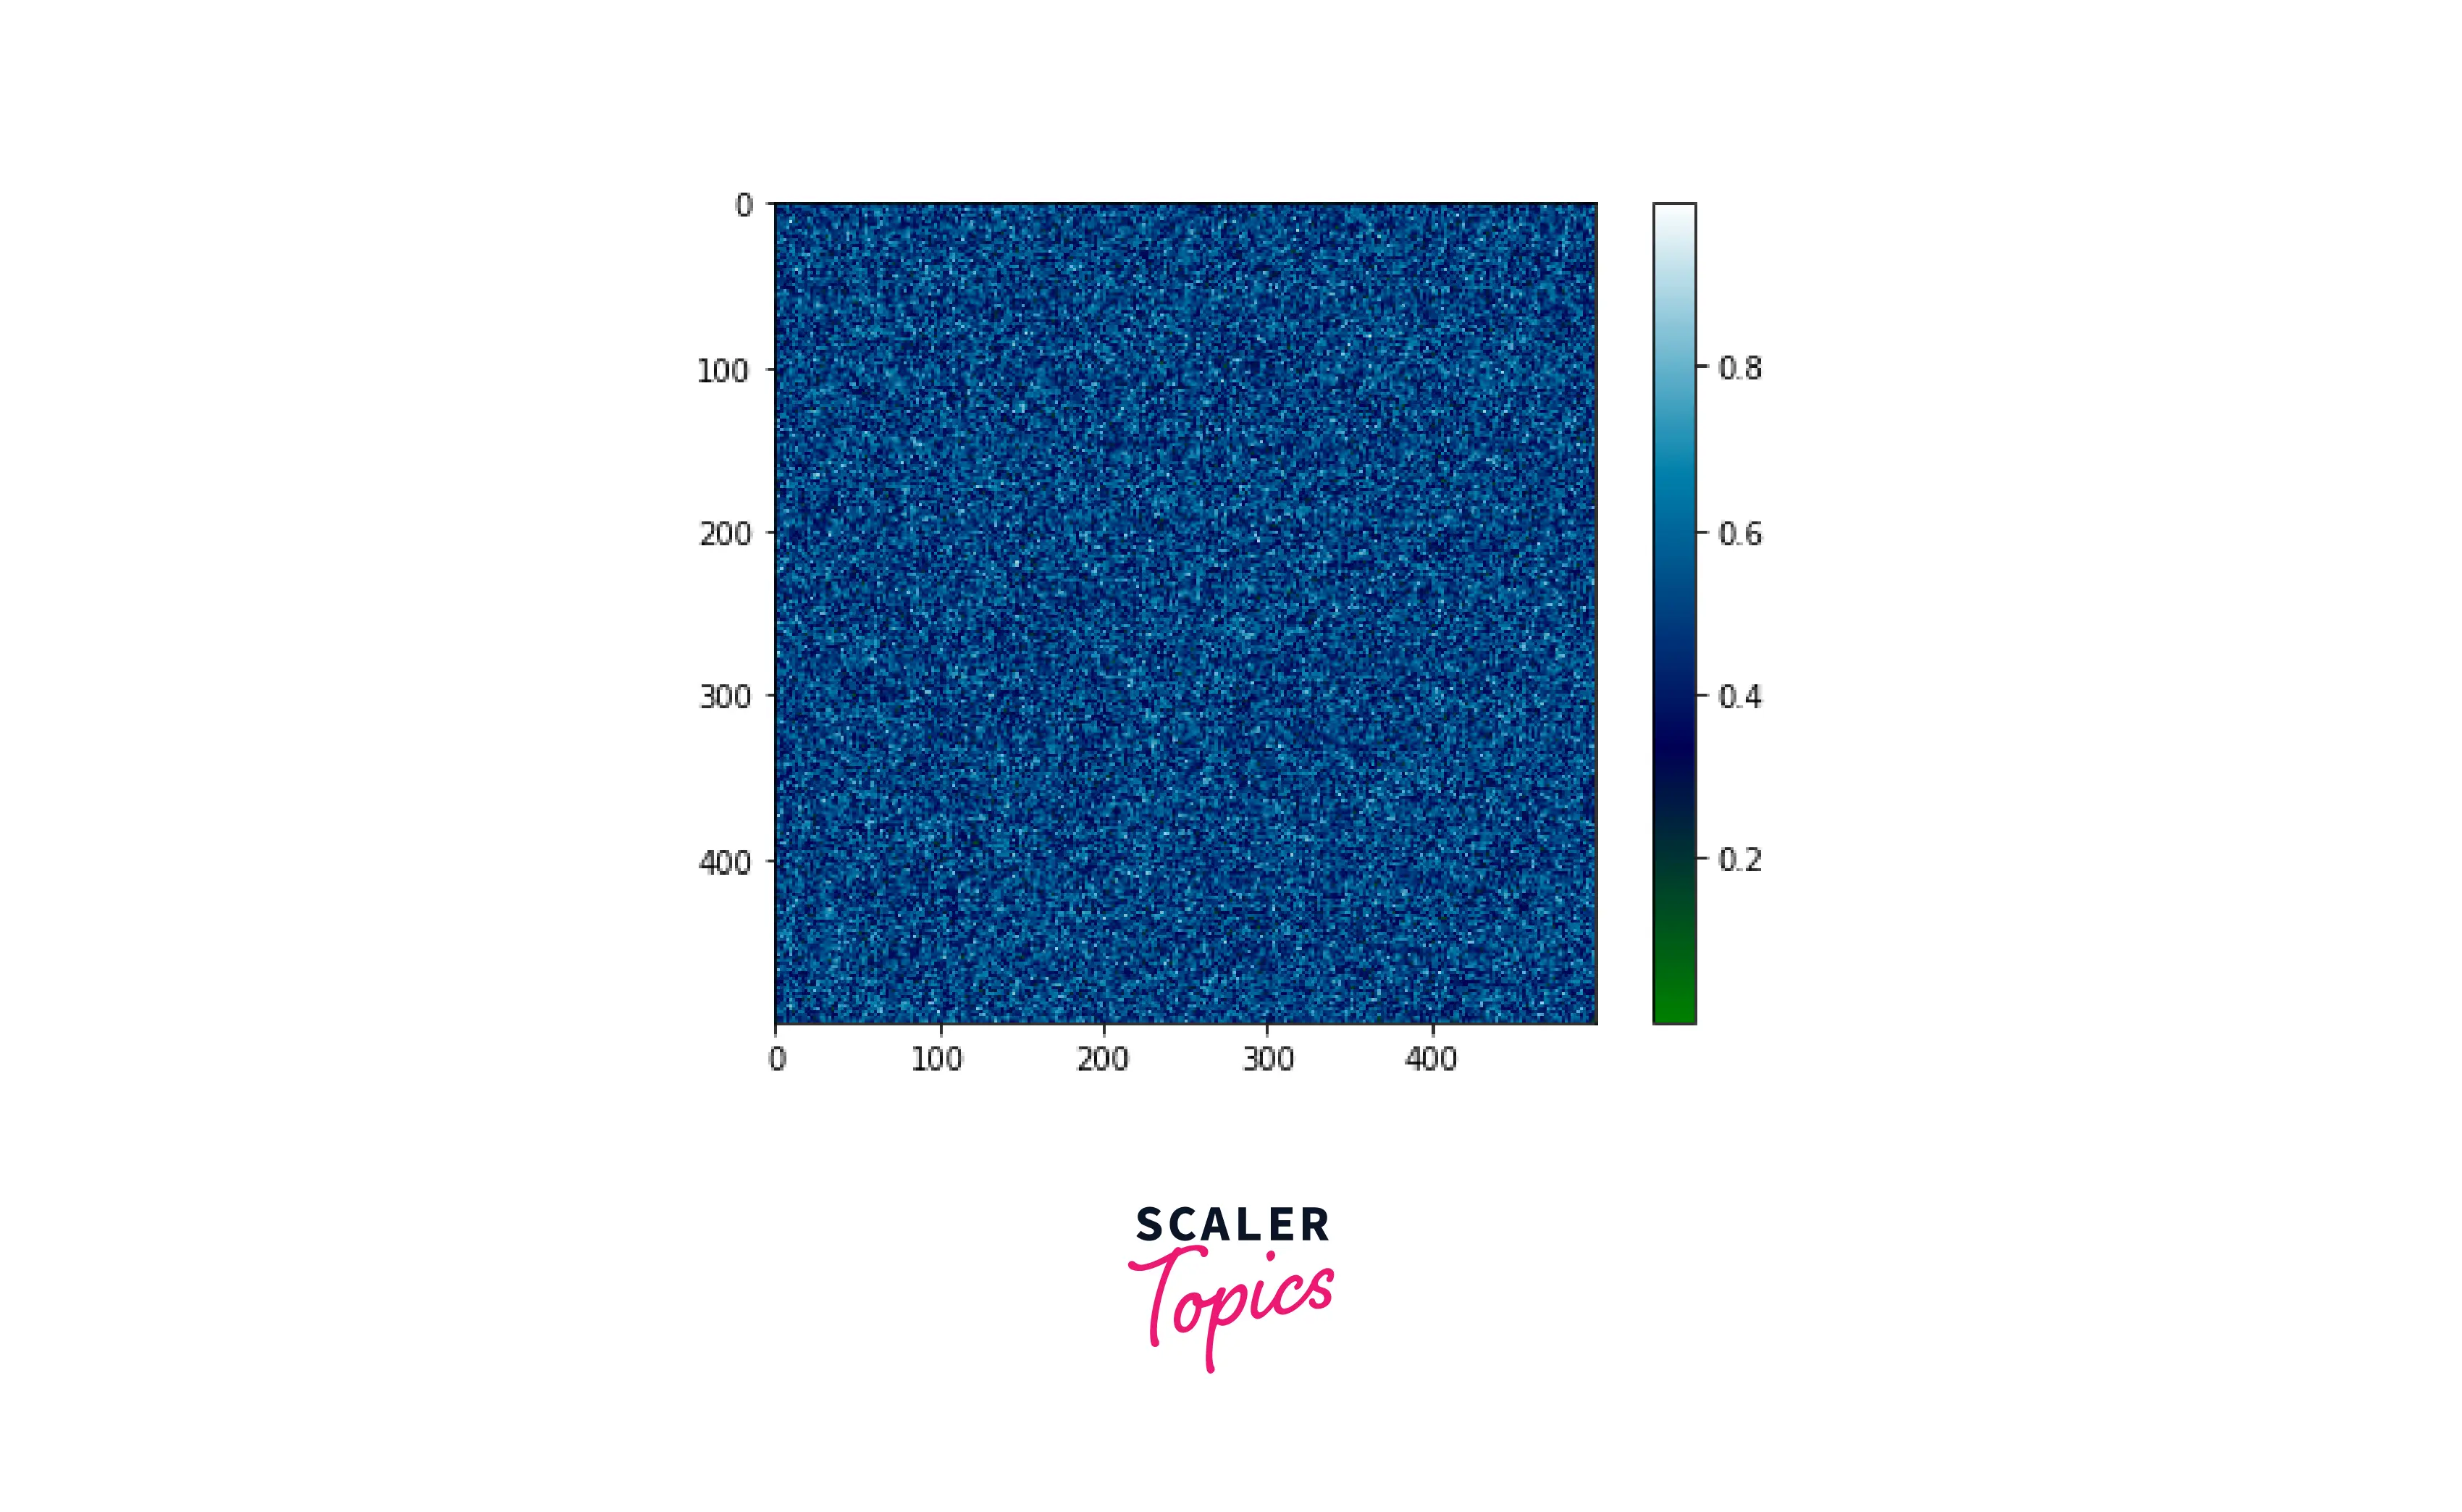
Output:
Plot NumPy Array as a Matrix
The matplotlib.pyplot.matshow() function displays an array as a matrix in a new figure window.
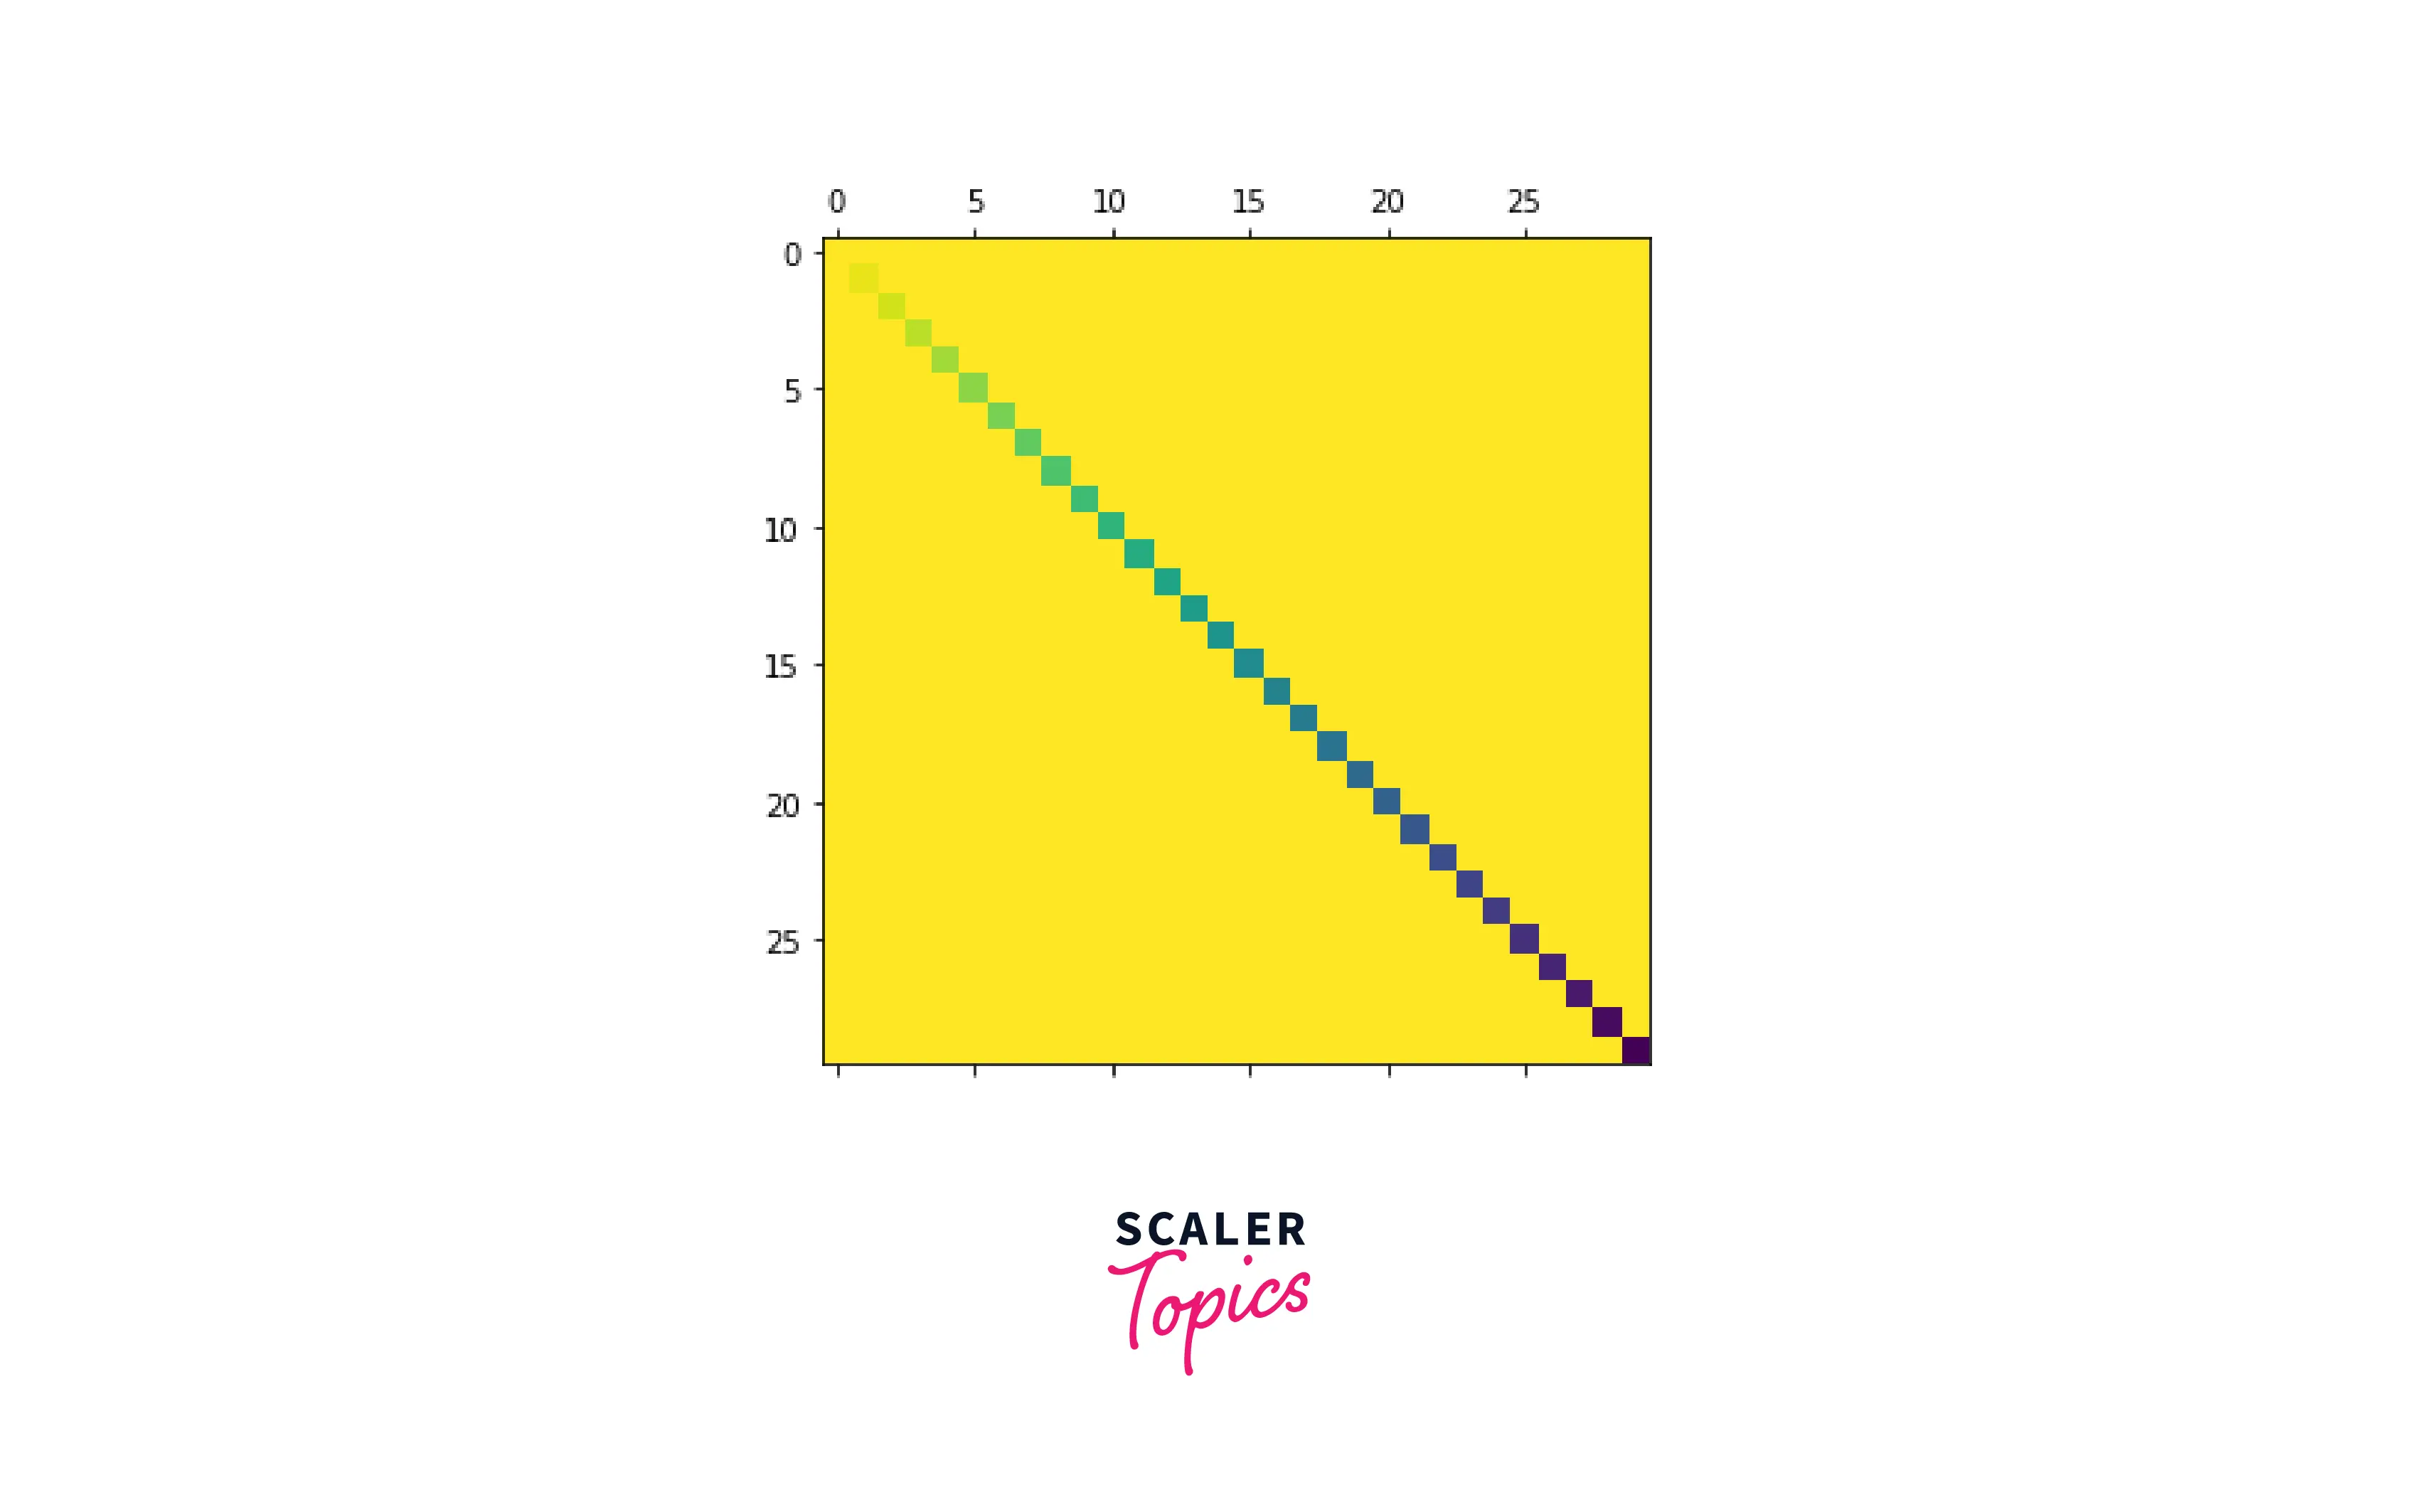
Output:
Using pcolormesh() Function
The pcolormesh() function creates a pseudocolor plot with a non-regular rectangular grid.
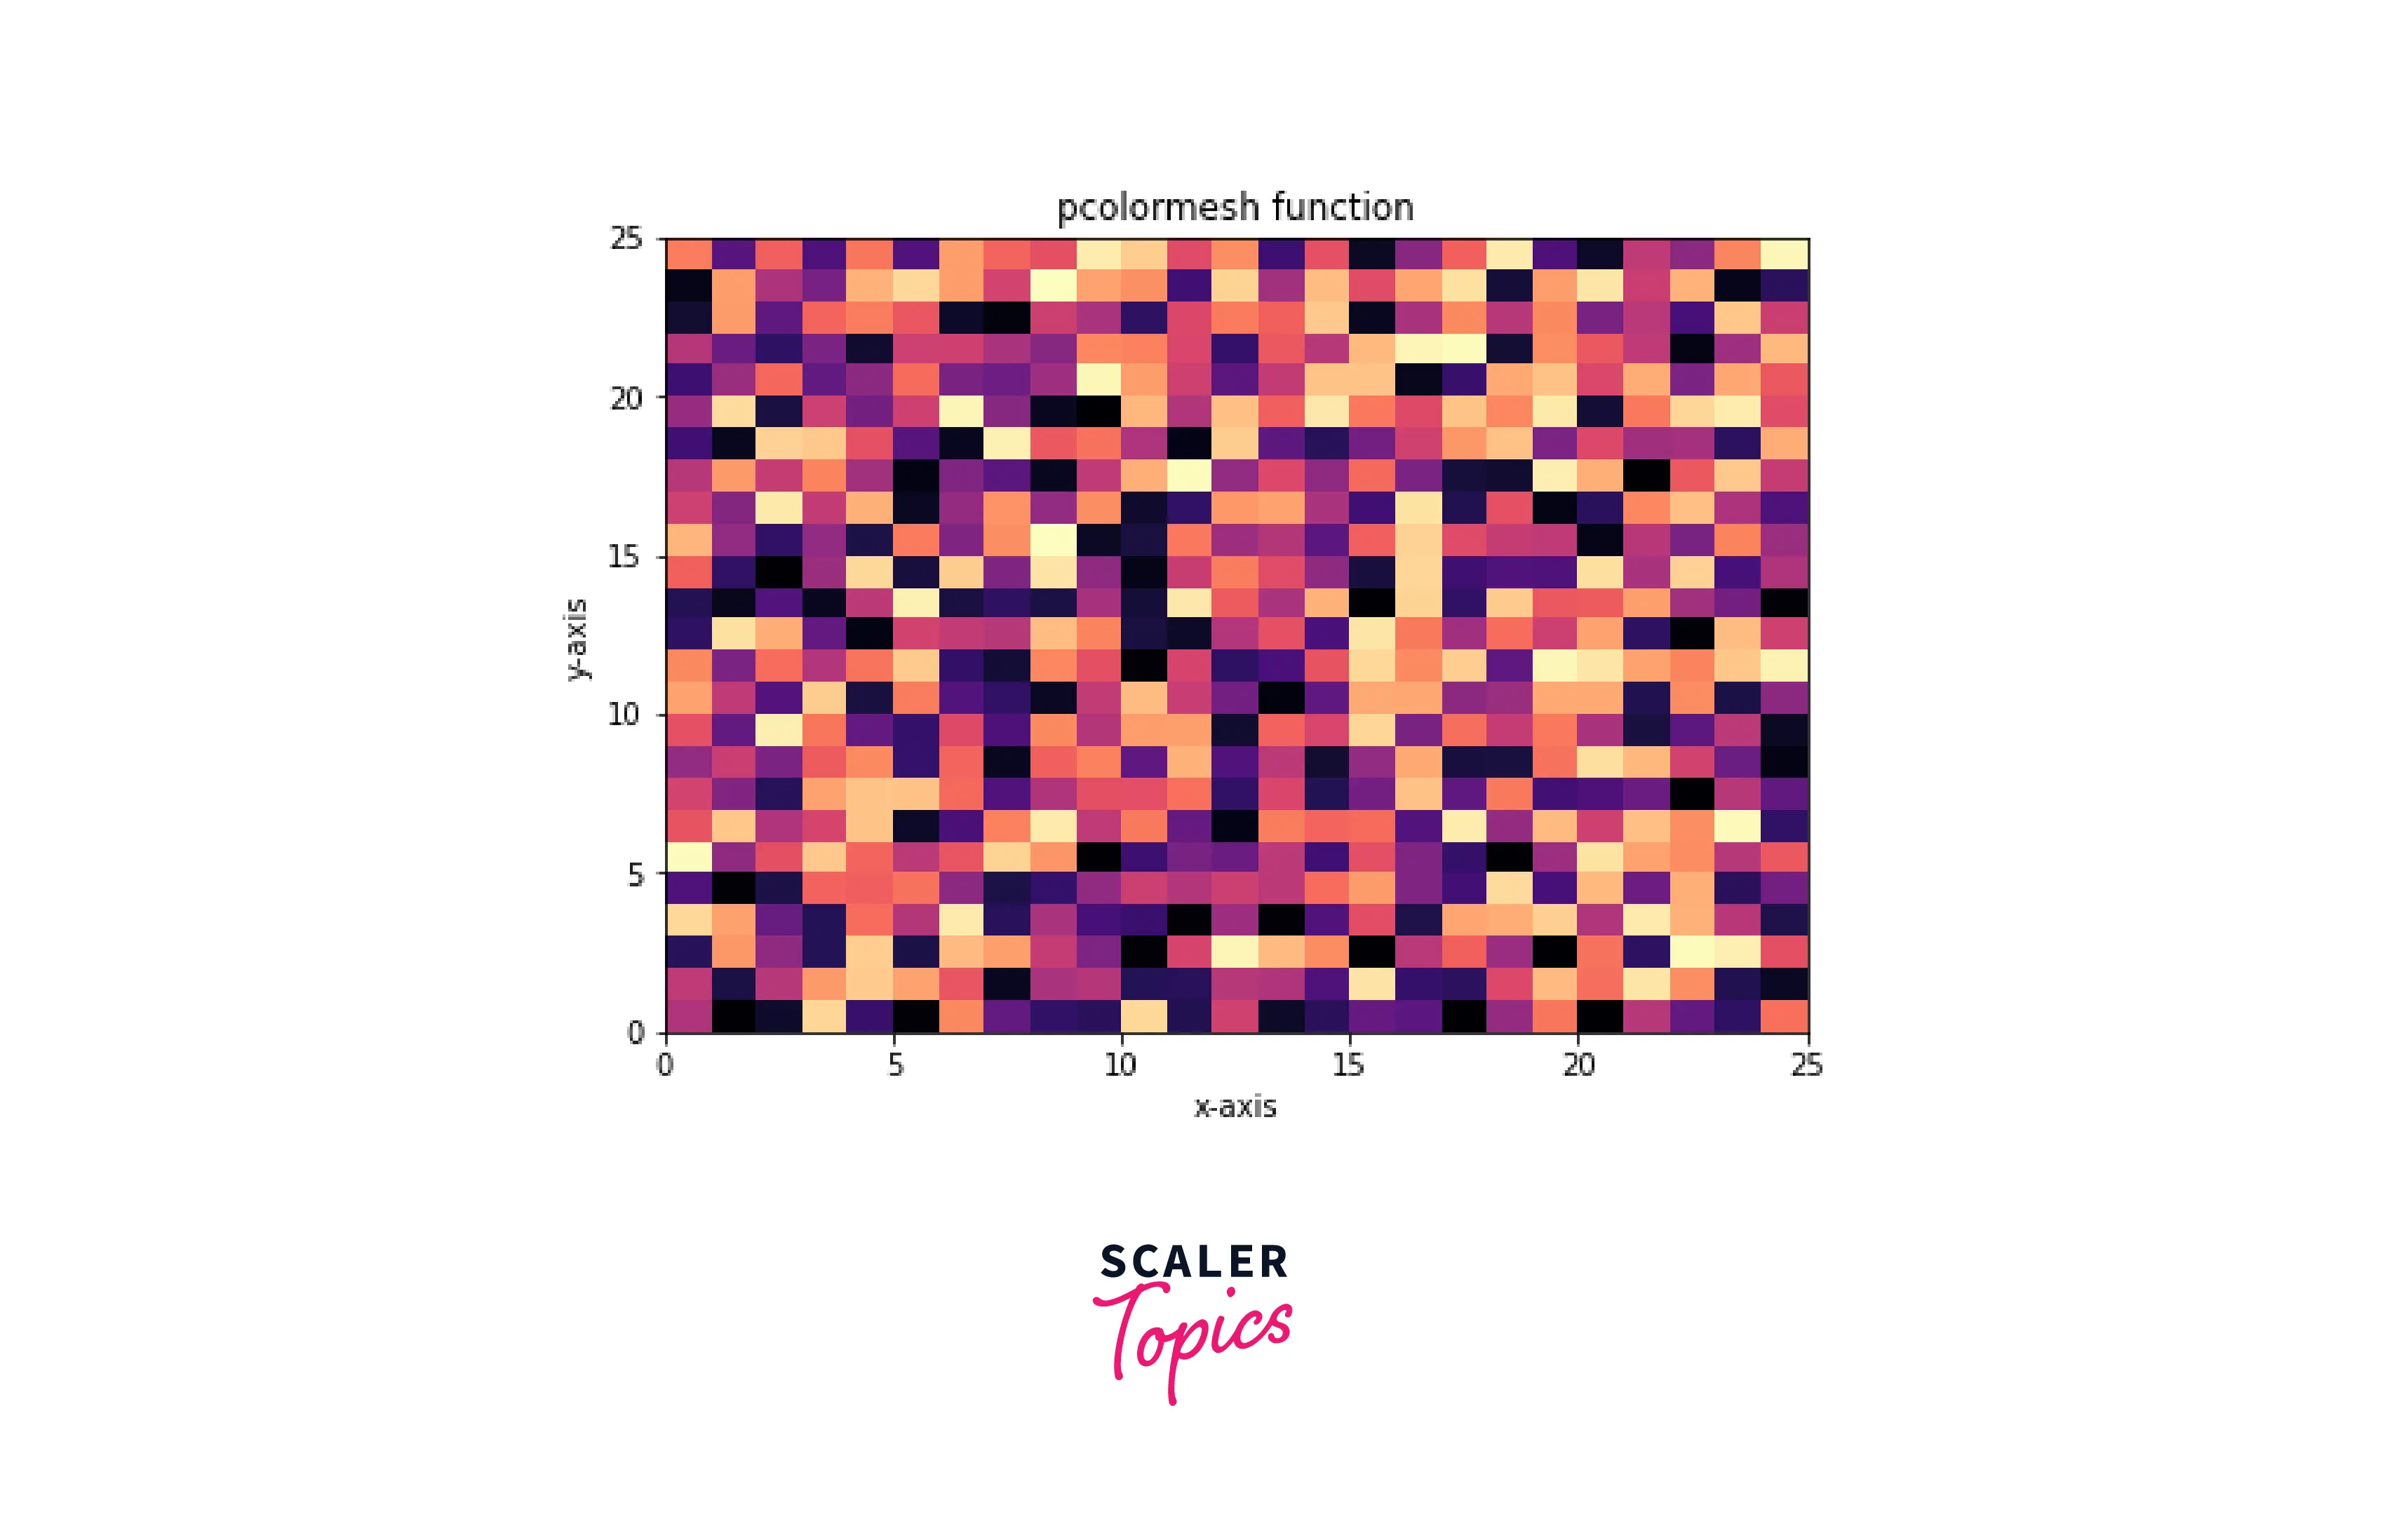
Output:
Conclusion
- First, we generate the data and store it in an array for plotting on the graph.
- We visualize the numpy array by plotting the data on the graph or making a heat map using it.
- When we visualize a 2D array on the graph, each index is the coordinate, and the data at that index is the value of the color.