- How to use pie chart graph in android?
- Pie Chart in Android
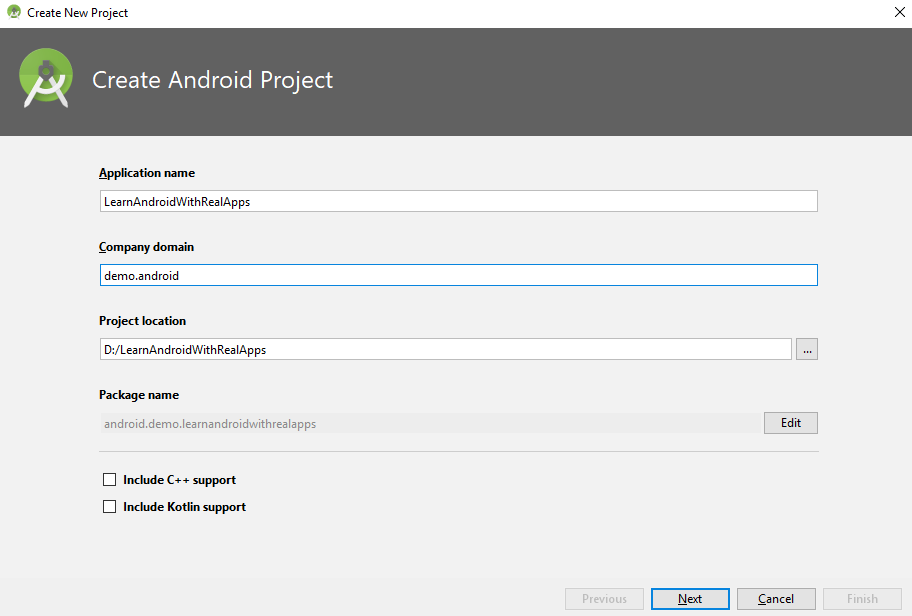
- Step 1: Input Project Name and Select Project Location
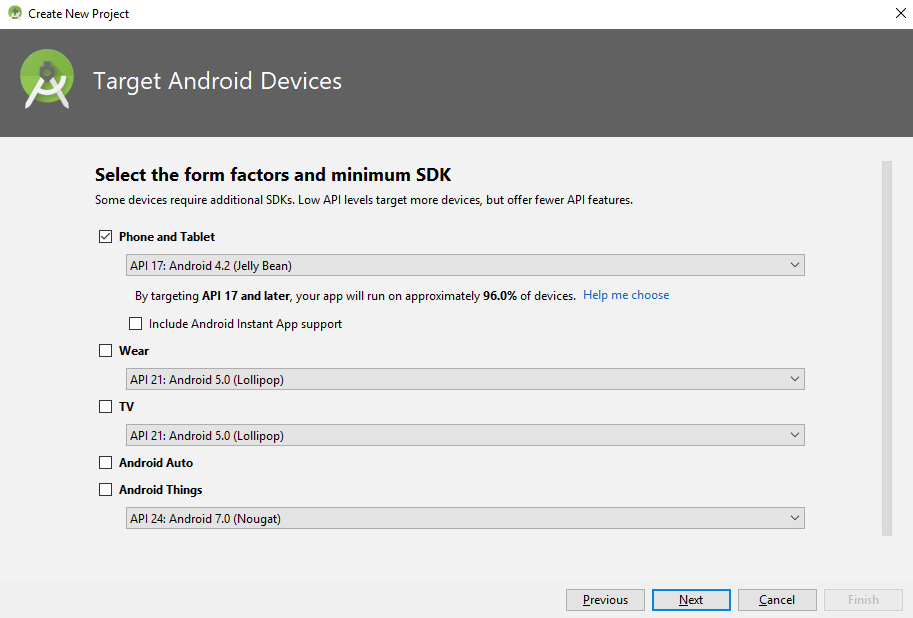
- Step 2: Select SDK for Android App
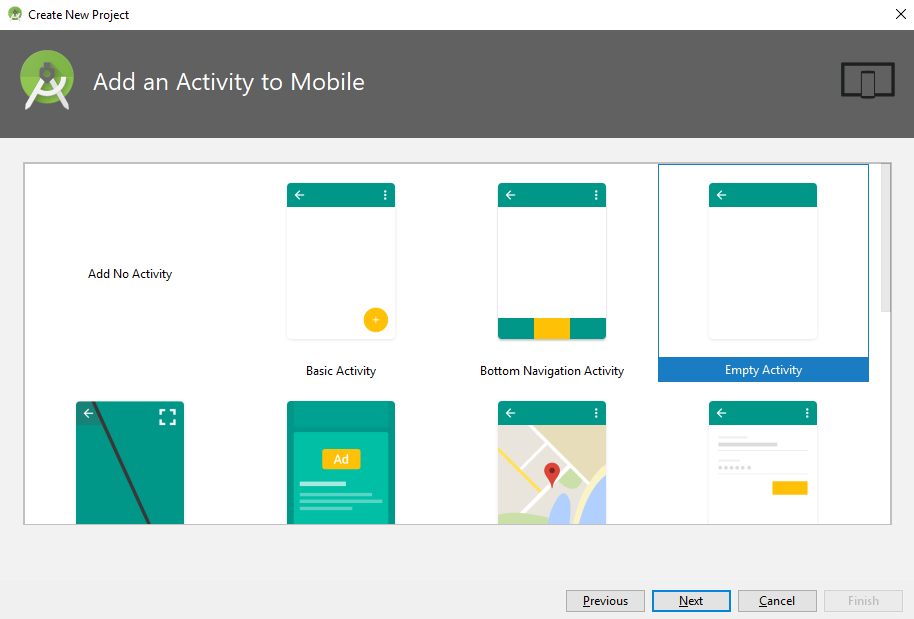
- Step 3: Select Default Activity for App
- Step 4: Finish create project
- Add Strings
- Add Library as Dependencies
- Main Activity Layout
- Main Activity Class
- How to create Graphs in Android Application?
- Create a Project
- Add a library
- AndroidManifest.xml
- Line Graph
- Bar Graph
- Points Graph
- Pie Graph
- Animate the graph view
- Summing Up
- 2 thoughts on “How to create Graphs in Android Application?”
- Leave a Comment Cancel reply
- Join Our Newsletter
How to use pie chart graph in android?
This example demonstrate about How to use pie chart graph in android.
Step 1 − Create a new project in Android Studio, go to File ⇒ New Project and fill all required details to create a new project.
Step 2 − Open build.gradle(module level) and add library dependency.
apply plugin: ‘com.android.application’ android < packagingOptions < exclude 'META-INF/proguard/androidx-annotations.pro' >packagingOptions < exclude 'META-INF/DEPENDENCIES' exclude 'META-INF/LICENSE' exclude 'META-INF/LICENSE.txt' exclude 'META-INF/license.txt' exclude 'META-INF/NOTICE' exclude 'META-INF/NOTICE.txt' exclude 'META-INF/notice.txt' exclude 'META-INF/ASL2.0' >compileSdkVersion 28 defaultConfig < applicationId "com.example.andy.myapplication" minSdkVersion 15 targetSdkVersion 28 versionCode 1 versionName "1.0" testInstrumentationRunner "android.support.test.runner.AndroidJUnitRunner" >buildTypes < release < minifyEnabled false proguardFiles getDefaultProguardFile('proguard-android.txt'), 'proguard-rules.pro' >> > dependencies
Step 3 − Open build.gradle(application level) and add library dependency.
// Top-level build file where you can add configuration options common to all sub-projects/modules. buildscript < repositories < google() jcenter() >dependencies < classpath 'com.android.tools.build:gradle:3.2.1' // NOTE: Do not place your application dependencies here; they belong // in the individual module build.gradle files >> allprojects < repositories < google() jcenter() maven < url 'https://jitpack.io' >> > task clean(type: Delete)
Step 4 − Add the following code to res/layout/activity_main.xml.
In the above code, we have taken pieChart view to show pie chart
Step 4 − Add the following code to src/MainActivity.java
package com.example.andy.myapplication; import android.graphics.Color; import android.os.Bundle; import android.support.v7.app.AppCompatActivity; import com.github.mikephil.charting.charts.PieChart; import com.github.mikephil.charting.data.PieData; import com.github.mikephil.charting.data.PieDataSet; import com.github.mikephil.charting.data.PieEntry; import com.github.mikephil.charting.utils.ColorTemplate; import java.util.ArrayList; public class MainActivity extends AppCompatActivity < PieChart pieChart; PieData pieData; PieDataSet pieDataSet; ArrayList pieEntries; ArrayList PieEntryLabels; @Override protected void onCreate(Bundle savedInstanceState) < super.onCreate(savedInstanceState); setContentView(R.layout.activity_main); pieChart = findViewById(R.id.pieChart); getEntries(); pieDataSet = new PieDataSet(pieEntries, ""); pieData = new PieData(pieDataSet); pieChart.setData(pieData); pieDataSet.setColors(ColorTemplate.JOYFUL_COLORS); pieDataSet.setSliceSpace(2f); pieDataSet.setValueTextColor(Color.WHITE); pieDataSet.setValueTextSize(10f); pieDataSet.setSliceSpace(5f); >private void getEntries() < pieEntries = new ArrayList<>(); pieEntries.add(new PieEntry(2f, 0)); pieEntries.add(new PieEntry(4f, 1)); pieEntries.add(new PieEntry(6f, 2)); pieEntries.add(new PieEntry(8f, 3)); pieEntries.add(new PieEntry(7f, 4)); pieEntries.add(new PieEntry(3f, 5)); > >

Let’s try to run your application. I assume you have connected your actual Android Mobile device with your computer. To run the app from android studio, open one of your project’s activity files and click Run icon from the toolbar. Select your mobile device as an option and then check your mobile device which will display your default screen –
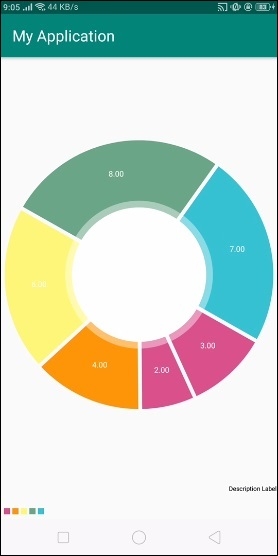
In the above result, it is showing the pie chart as per our data set values.
Click here to download the project code
Pie Chart in Android
Create new project in Android Studio with steps as below:
Step 1: Input Project Name and Select Project Location
Step 2: Select SDK for Android App
Step 3: Select Default Activity for App
Step 4: Finish create project
Add Strings
Open res\values\strings.xml file and add new string as below:
Learn Android with Real Apps Election Results Pie Chart Add Library as Dependencies
Open build.gradle file in Gradle Scripts and add new library as below:
repositories < maven < url 'http://repo1.maven.org/maven2' >maven < url 'https://jitpack.io' >> dependencies
Main Activity Layout
Open res\layout\activity_main.xml file and create layout as below:
Main Activity Class
Add code to MainActivity.java in android.demo.learnandroidwithrealapps package as below:
package android.demo.learnandroidwithrealapps; import android.graphics.Color; import android.os.Bundle; import android.support.v7.app.AppCompatActivity; import com.github.mikephil.charting.charts.PieChart; import com.github.mikephil.charting.components.Description; import com.github.mikephil.charting.data.PieData; import com.github.mikephil.charting.data.PieDataSet; import com.github.mikephil.charting.data.PieEntry; import com.github.mikephil.charting.formatter.PercentFormatter; import com.github.mikephil.charting.utils.ColorTemplate; import java.util.ArrayList; public class MainActivity extends AppCompatActivity < @Override protected void onCreate(Bundle savedInstanceState) < super.onCreate(savedInstanceState); setContentView(R.layout.activity_main); drawChart(); >private void drawChart() < PieChart pieChart = findViewById(R.id.pieChart); pieChart.setUsePercentValues(true); ArrayListyvalues = new ArrayList(); yvalues.add(new PieEntry(8f, "January", 0)); yvalues.add(new PieEntry(15f, "February", 1)); yvalues.add(new PieEntry(12f, "March", 2)); yvalues.add(new PieEntry(25f, "April", 3)); yvalues.add(new PieEntry(23f, "May", 4)); yvalues.add(new PieEntry(17f, "June", 5)); PieDataSet dataSet = new PieDataSet(yvalues, getString(R.string.election_results)); PieData data = new PieData(dataSet); data.setValueFormatter(new PercentFormatter()); pieChart.setData(data); Description description = new Description(); description.setText(getString(R.string.pie_chart)); pieChart.setDescription(description); pieChart.setDrawHoleEnabled(true); pieChart.setTransparentCircleRadius(58f); pieChart.setHoleRadius(58f); dataSet.setColors(ColorTemplate.VORDIPLOM_COLORS); data.setValueTextSize(13f); data.setValueTextColor(Color.DKGRAY); > > How to create Graphs in Android Application?

Hello readers, I have come up with a new energizing topic called how to create graphs in the Android application. Here, I will direct you to make the graphs on Android so we should begin the work.
The graphs will make simpler to visually illustrate the relationships in the data and make to take the decisions easy based on that.
When we develop the apps like business apps, Fitness apps, Marketing apps or Bank apps one of the common UI components that we need to use is graph or chart.
We have distinctive kinds of Graphs and some of them are present here.
Create a Project
To execute the graphs in the Android application. Initially, we have to make a Project.
1. Open Android Studio on your pc.
2. Go to File menu->New->New Project
3. Set the application name as GraphsDemo.
4. Company domain: Your package name.
5. Then click on the Next button.
6. We are using the minimum SDK as Android 4.4 (KitKat).
7. Again tap on the Next button.
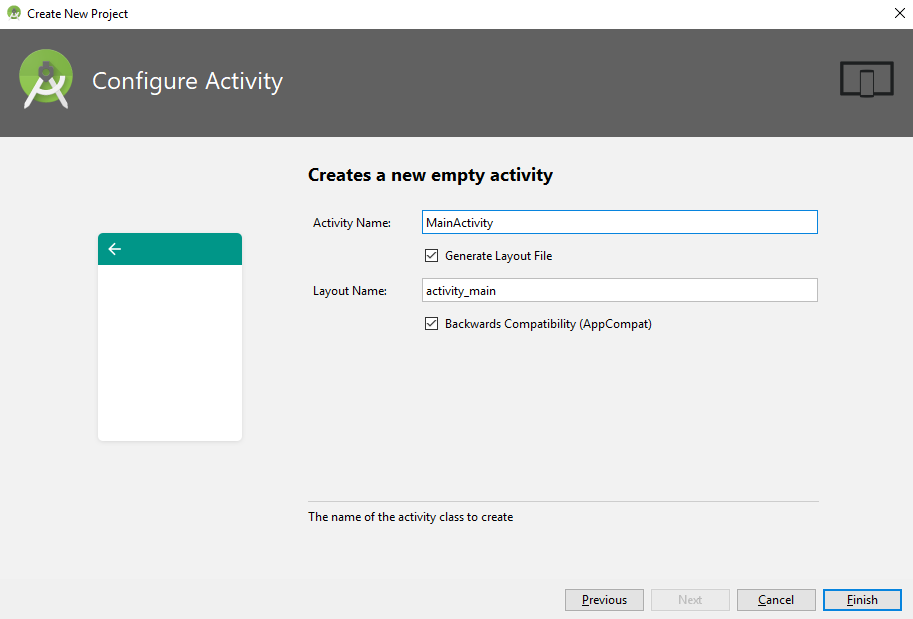
8. Pick the Activity type as Empty Activity, afterward click on the Next button.
9. Activity Name: MainActivity.
10. At last, click on the Finish button.
This will make your Android application Project named as GraphsDemo.
Add a library
1. Here, we have to add the graphview library to our project to create the graphs in our application.
2. Open the app-level build.gradle file in your project and the following dependency.
dependencies compile 'com.jjoe64:graphview:4.2.1' >
3. Likewise, include the following in the project-level build.gradle file.
AndroidManifest.xml
Here the final look of AndroidManifest file.
package="com.loginworks.graphsdemo"> android:allowBackup="true" android:icon="@mipmap/ic_launcher" android:label="@string/app_name" android:roundIcon="@mipmap/ic_launcher_round" android:supportsRtl="true" android:theme="@style/AppTheme">
Line Graph
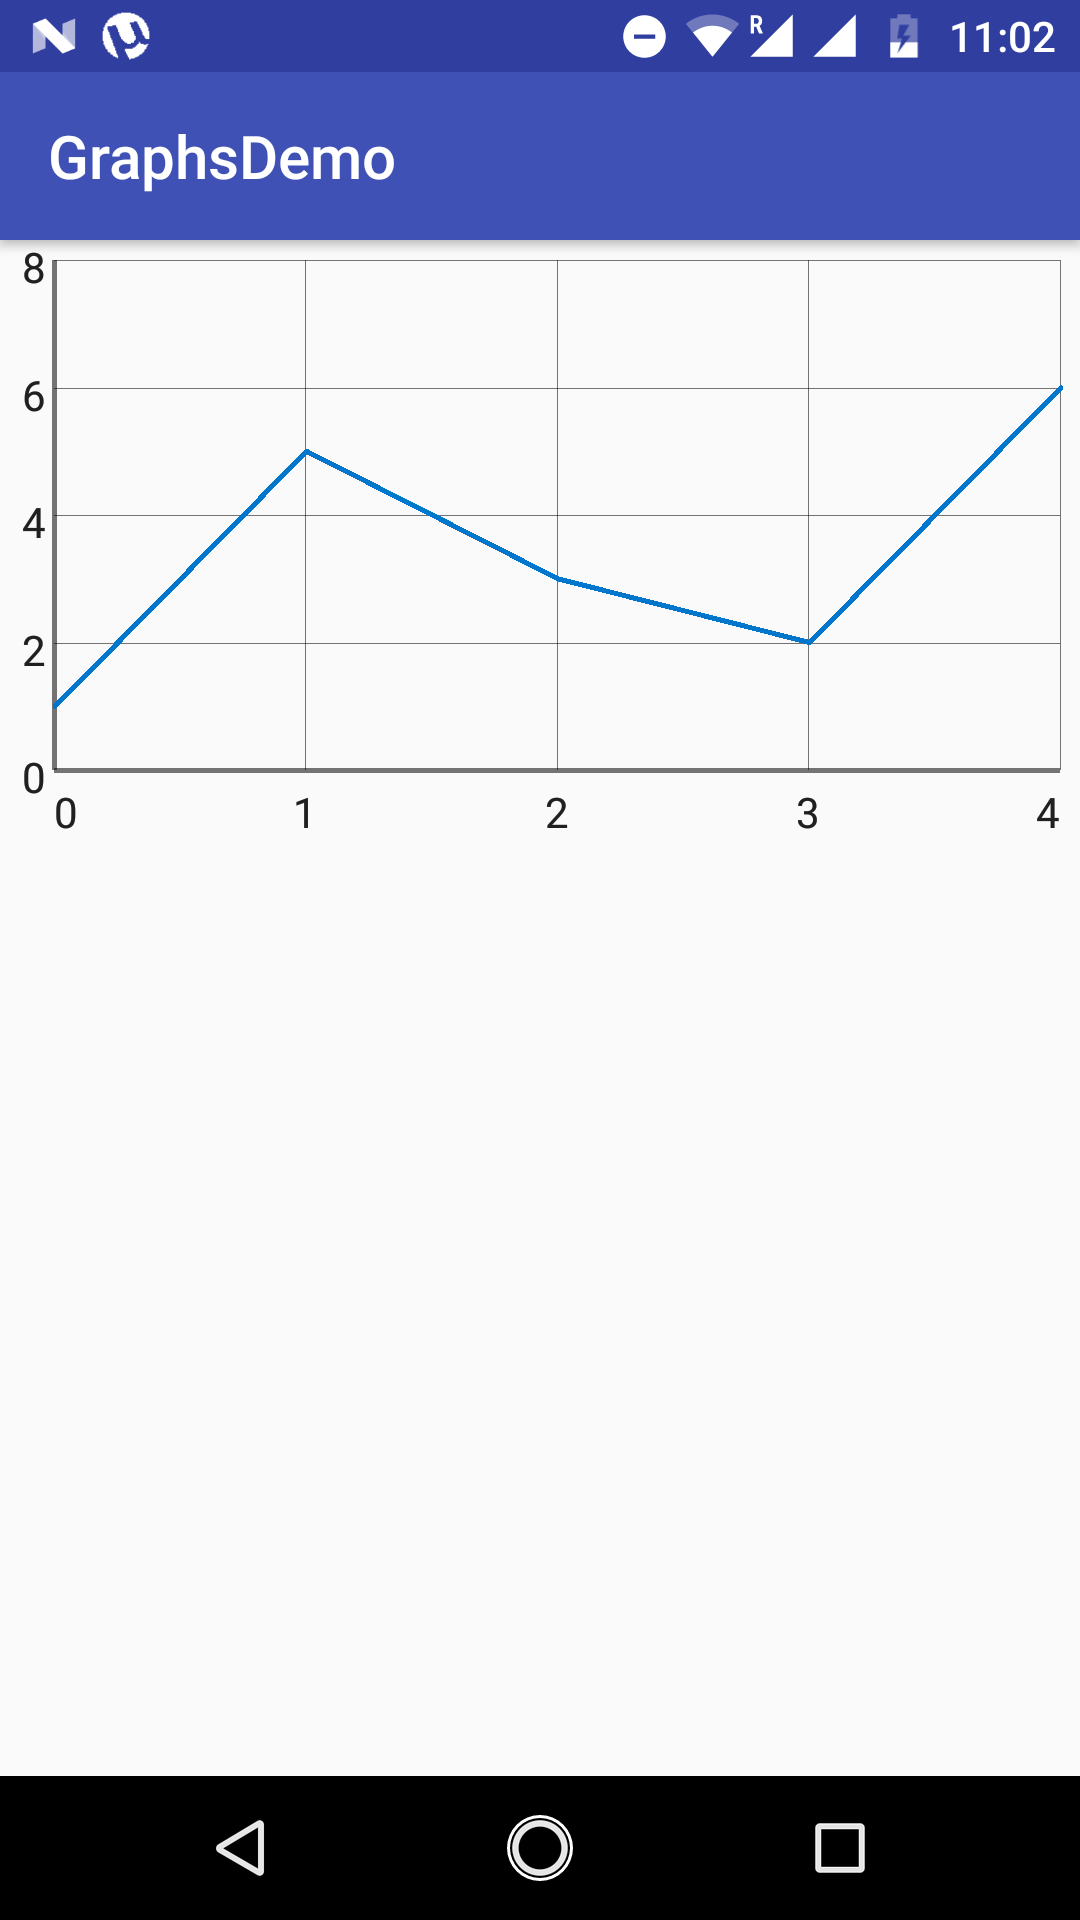
1. A line Graph is also called a line outline, here the data points are plotted and connected by a line in dot-to-dot design.
2. To display the line chart in the Android application we need to use the underneath elements in the layout file.
3. Next, initialize the line graph in your class by utilizing the following code.
GraphView linegraph = (GraphView) findViewById(R.id.line_graph);
4. Set the data in the graph by using DataPoint.
LineGraphSeries lineSeries = new LineGraphSeries<>(new DataPoint[] new DataPoint(0, 1), new DataPoint(1, 5), new DataPoint(2, 3), new DataPoint(3, 2), new DataPoint(4, 6) >); linegraph.addSeries(lineSeries);
5. For tweaking the Line Graph style view follow these steps.
a) Color: setColor() method is used to indicate the color of the line.
b) Title: Allowed for changing the title of the graph using setTitle().
c) Thickness: To make the changes in the density of the line by using setThickness() method.
d) Data Point Radius: To set the radius of the data point using setDataPointRadius() method.
6. Here the complete picture of Line Graph.
Bar Graph
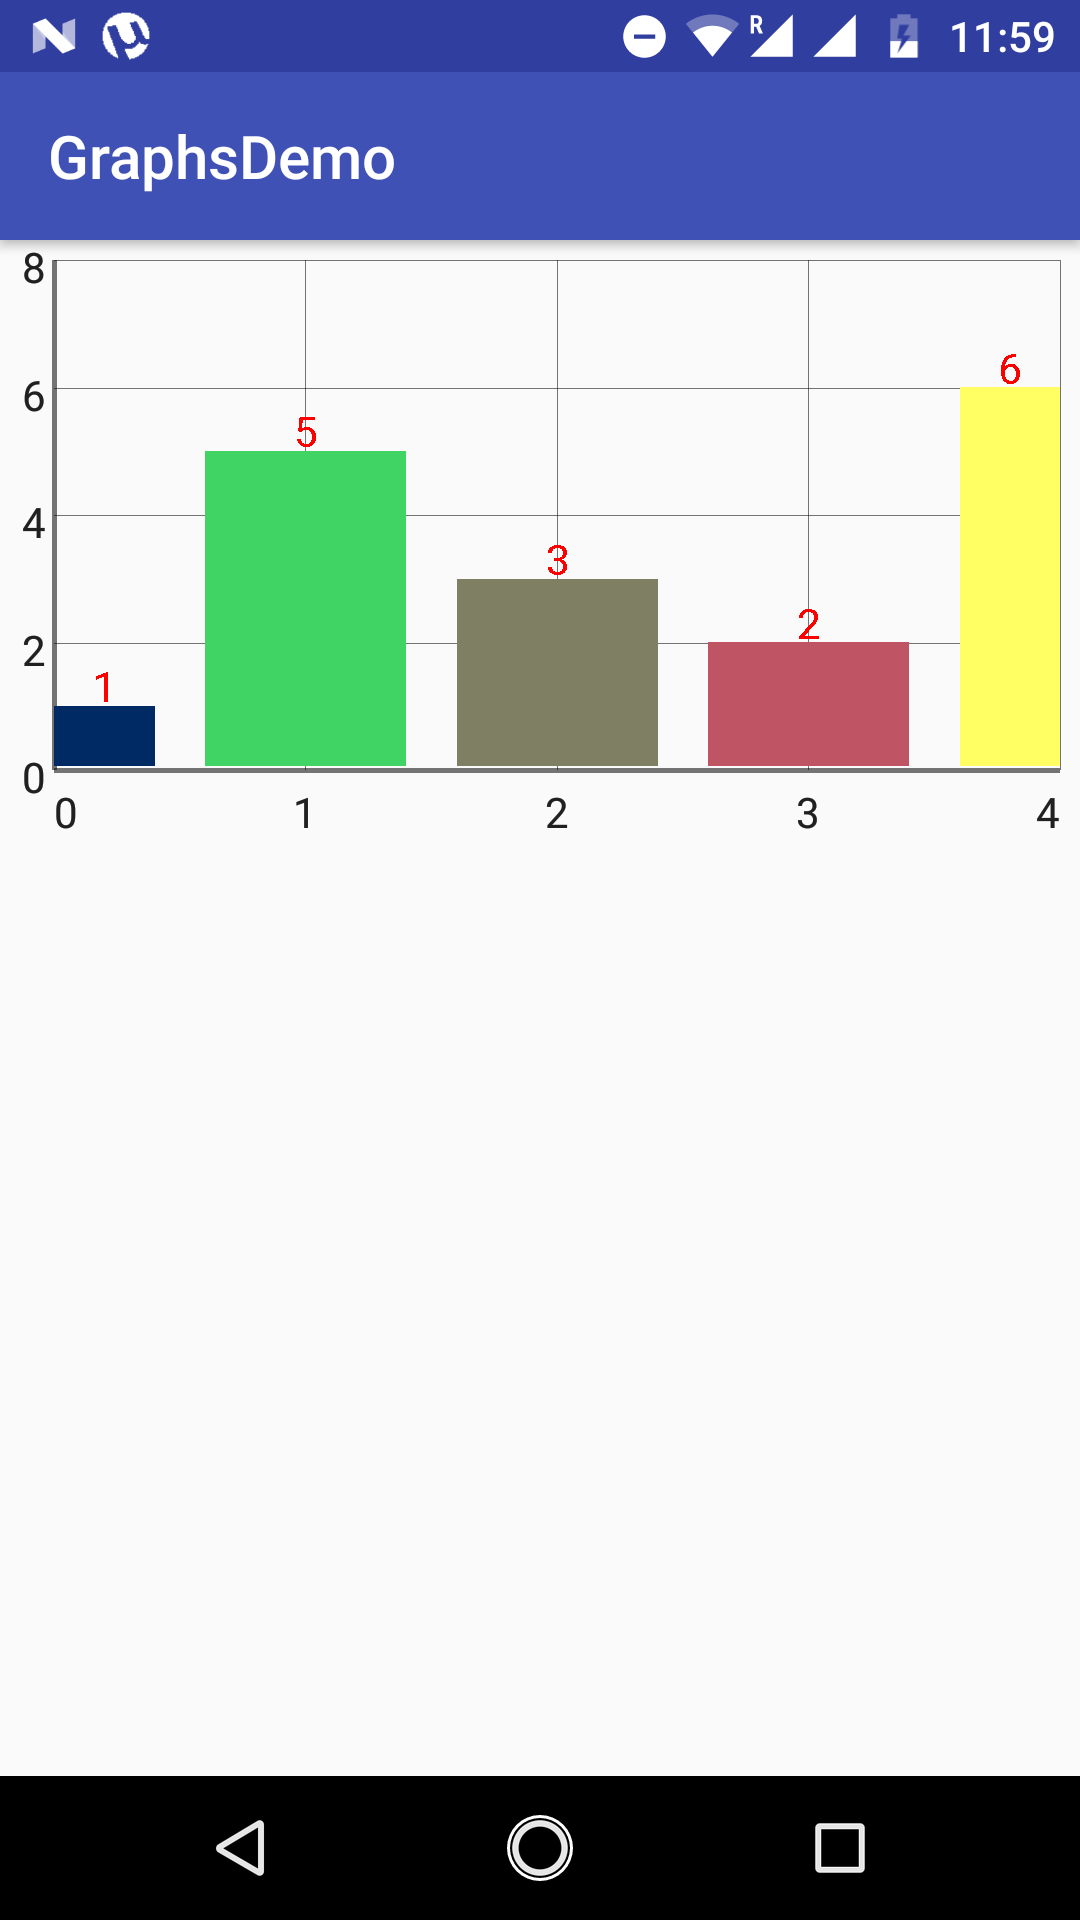
1. The Bar Graph is a graphical show of information with rectangular bars of various statures or lengths related to the values that they represent.
2. Include the below lines of code in Layout file to represent the Bar Graph in Android Application.
3. Initialize the Bar Graph in the activity class.
GraphView bar_Graph = (GraphView) findViewById(R.id.bar_graph);
4. Setting data to the Bar Graph.
BarGraphSeries barGraph_Data = new BarGraphSeries<>(new Data[] new Data(0, 1), new Data(1, 5), new Data(2, 3), new Data(3, 2), new Data(4, 6) >); bar_Graph.addSeries(barGraph_Data);
5. setValueDependentColor() is used to define the color of the bars in reliance of the y-value.
barGraph_Data.setValueDependentColor(new ValueDependentColor() @Override public int get(Data info) return Color.rgb((int) info.getX()*255/4, (int) Math.abs(info.getY()*255/6), 100); > >);
6. To change the spacing between two bars we utilize the setSpacing() method.
barGraph_Data.setSpacing(20);
7. To draw the values of the highest point of the bar and set the color of the values.
barGraph_Data.setDrawValuesOnTop(true); barGraph_Data.setValuesOnTopColor(Color.RED); 8. Finally, the result of the designed Bar Graph is below.
Points Graph
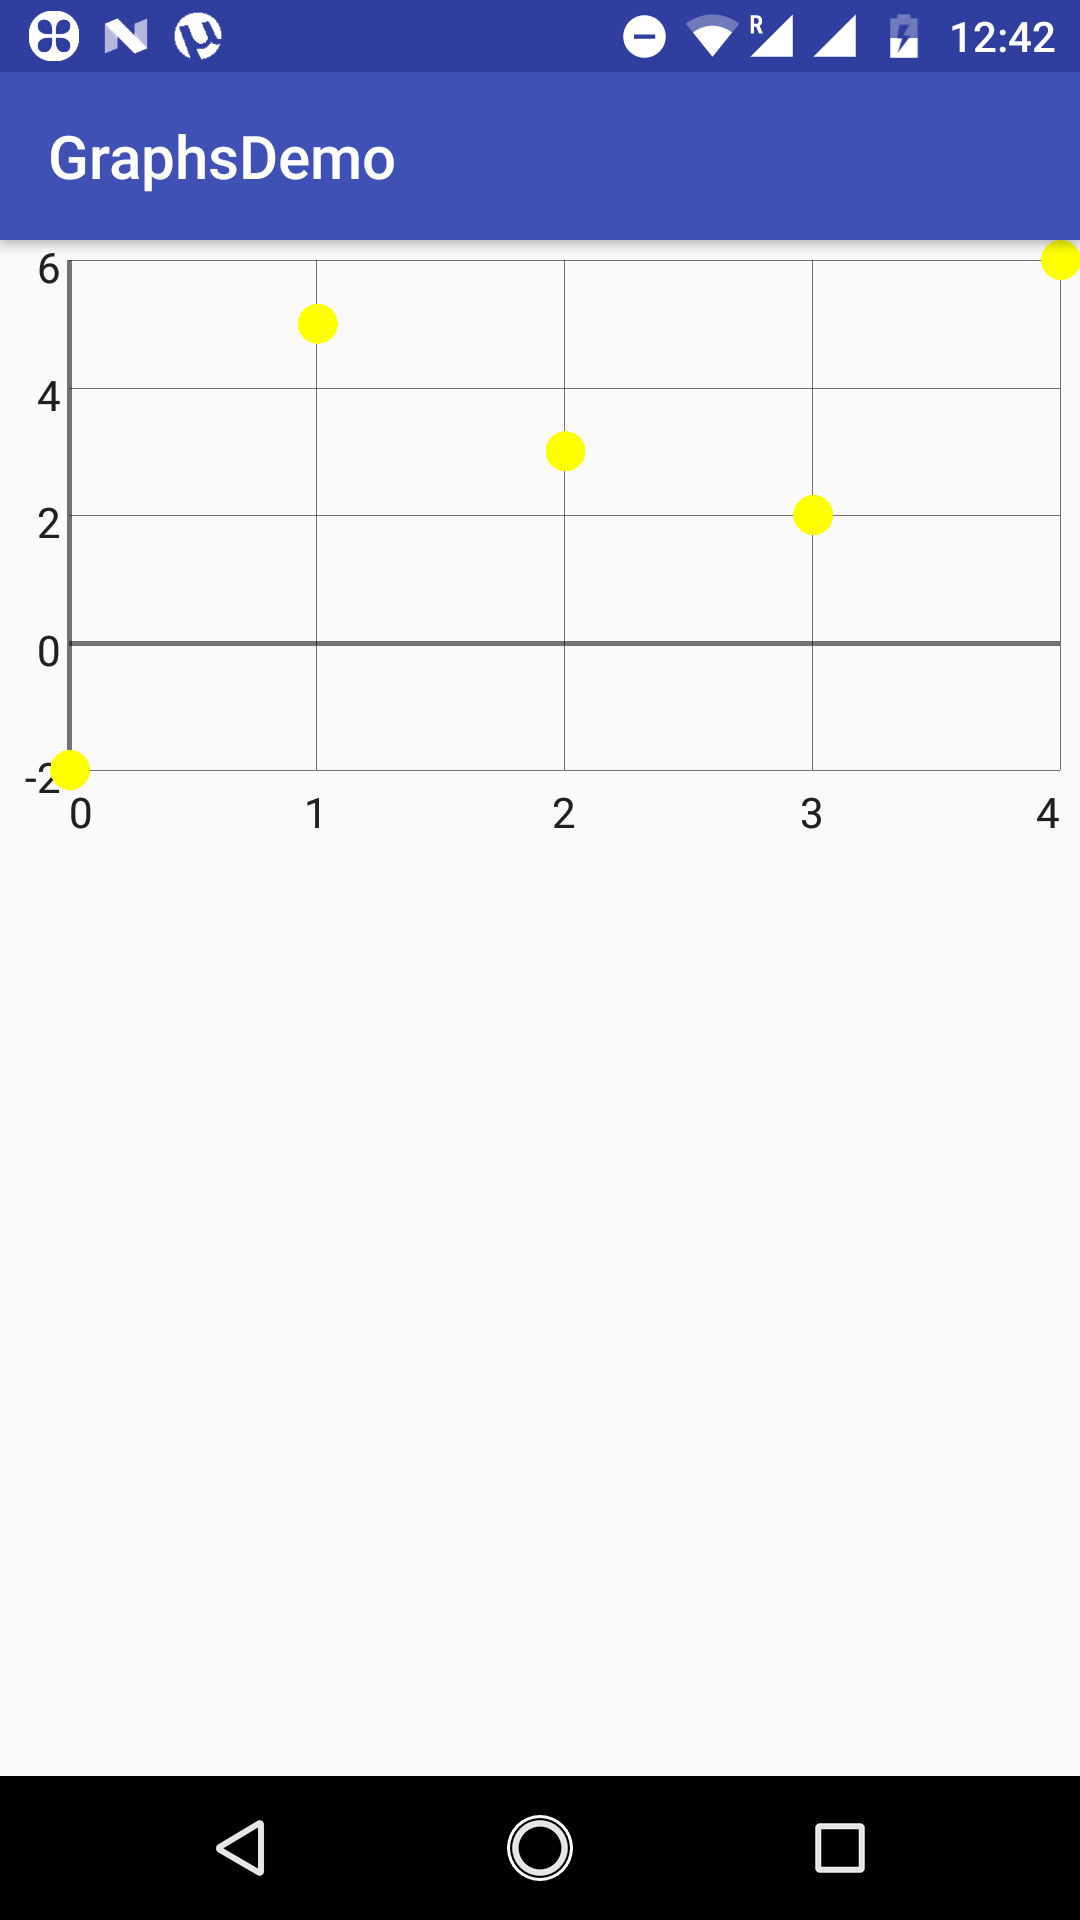
1. The Points Graph is used to display the data in the form of points.
2. Add the following to the Layout file to display the view of Points Graph.
3. Initialize the Points Graph in MainActivity class.
GraphView points_Graph = (GraphView) findViewById(R.id.points_graph);
4. Next, set the data in Points Graph.
PointsGraphSeries pointsGraph_Data = new PointsGraphSeries<>(new DataPoint[] new DataPoint(0, -2), new DataPoint(1, 5),f new DataPoint(2, 3), new DataPoint(3, 2), new DataPoint(4, 6) >); points_Graph.addSeries(pointsGraph_Data );
5. To change the shape of the point from hover shape to rectangle use the below code.
pointsGraph_Data.setShape(PointsGraphSeries.Shape.RECTANGLE);
6. To change the color of the point using setColor() method.
pointsGraphData.setColor(Color.YELLOW);
7. The example design of Points Graph as shown here.
Pie Graph
1. To build a Pie graph we are using another library called as a MpAndroidChart library.
2. Add the library to a build.gradle file to use the library features.
dependencies compile ' com.github.PhilJay:MPAndroidChart:v2.0.9' >
3. It is also a type of graph in which the circle is divided into a number of sectors.
4. Add the below element in Layout file to create the Pie Chart in the application.
5. we need to initialize the pie chart.
PieChart pie_Chart = (PieChart) findViewById(R.id.pie_chart);
6. Define the x-axis values in the pie chart.
ArrayList xaxisValues = new ArrayList(); xaxisValuess.add("January"); xaxisValues.add("February"); xaxisValues.add("March"); xaxisValues.add("April"); xaxisValues.add("May"); xaxisValues.add("June"); PieData data = new PieData(xaxisValues, dataSet); 7. To set the y-axis data in the pie chart, we need to create the DataSet as follows.
ArrayList yaxisvalues = new ArrayList(); yaxisvalues.add(new Entry(8f, 0)); yaxisvalues.add(new Entry(15f, 1)); yaxisvalues.add(new Entry(12f, 2)); yaxisvalues.add(new Entry(25f, 3)); yaxisvalues.add(new Entry(23f, 4)); yaxisvalues.add(new Entry(17f, 5)); pie_Chart.setUsePercentValues(true); PieDataSet pieData = new PieDataSet(yaxisvalues, "Pie Chart");
8. To display the pie chart in the form of a percentage then pass newPercentFormatter as a parameter.
data.setValueFormatter(new PercentFormatter());
9. For setting the data we need to pass the pie data into setData() method.
pie_Chart.setData(data);
10. Here the library MpAndroidChart gives the predefined color templates.
pieData.setColors(ColorTemplate.COLORFUL_COLORS);
11. To make the changes of size and color of the text, Use the following code.
data.setValueTextSize(13f); data.setValueTextColor(Color.DKGRAY);
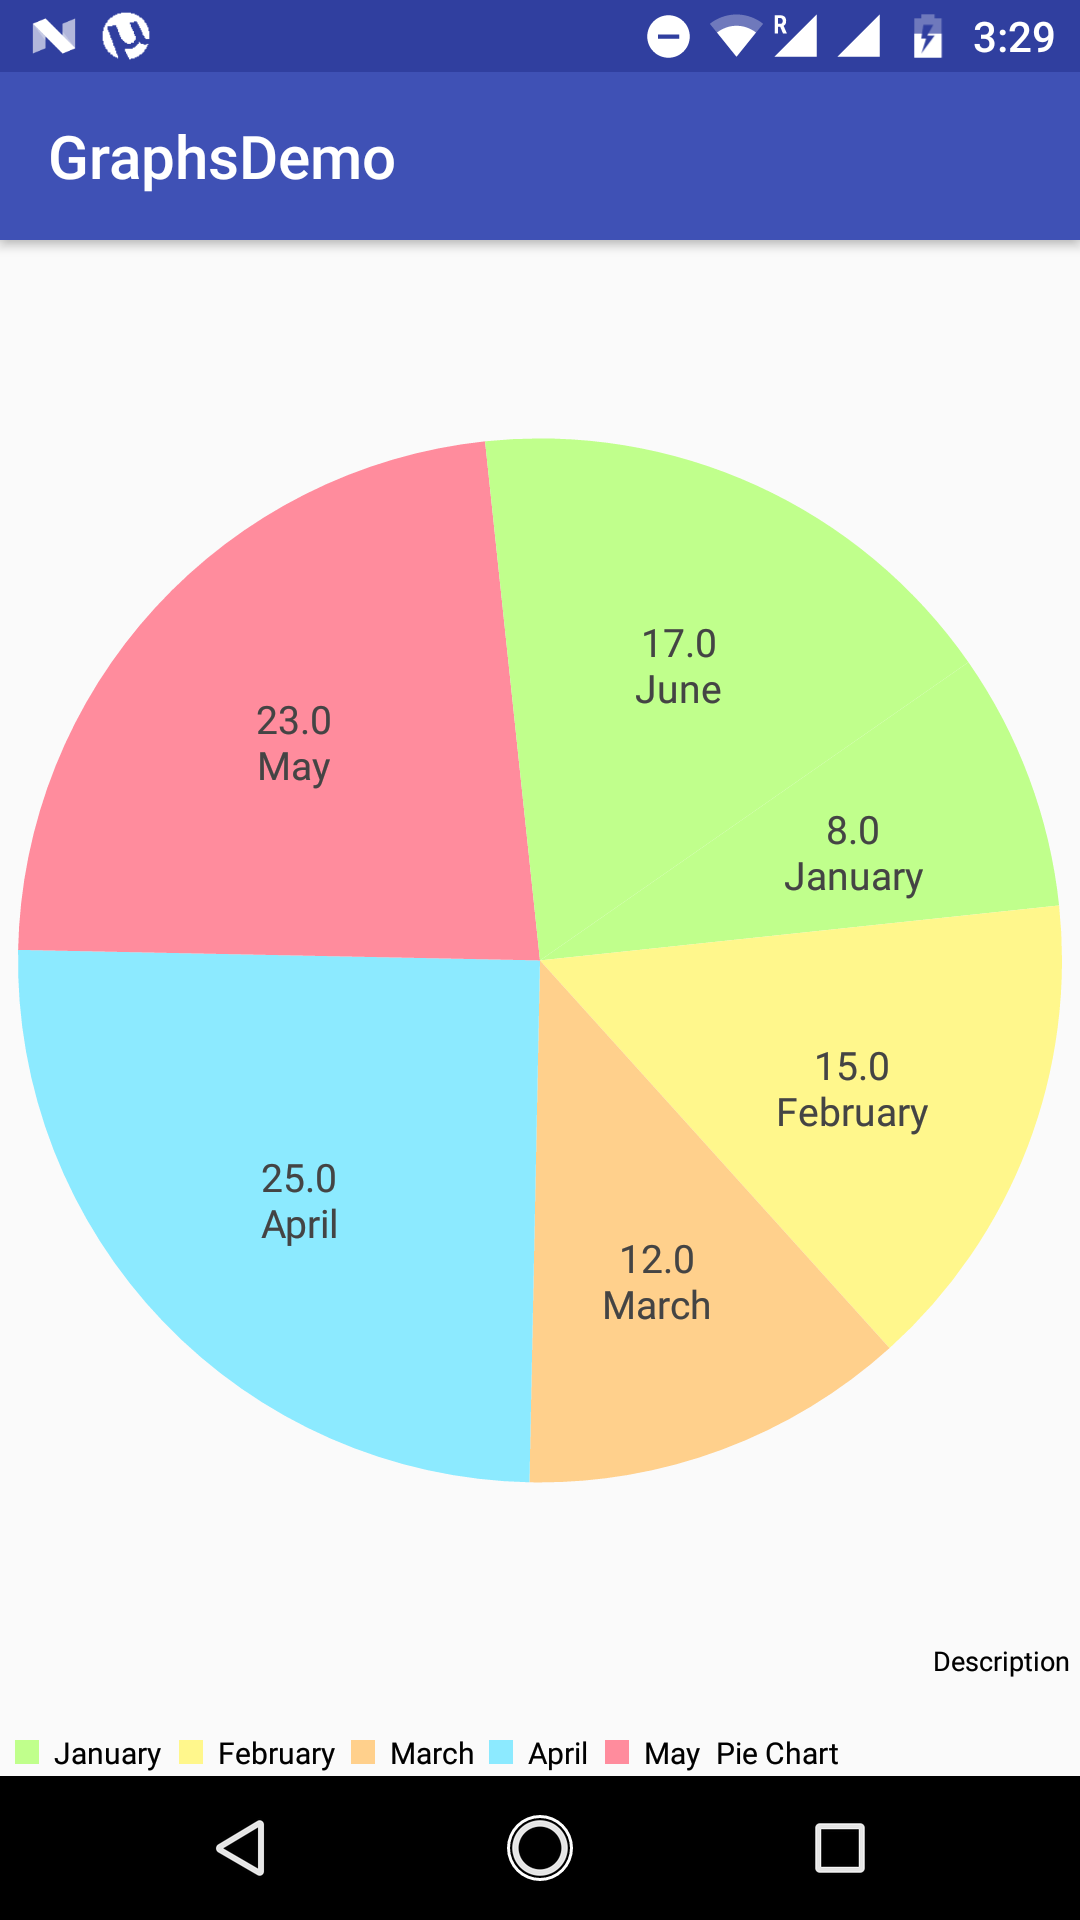
12. we have also the option of enabling or disabling the hole in the middle of a pie chart and to control the radius of the hole.
13. If we disable the hole by setting pie_Chart.setDrawHoleEnabled(false) method. We get the following visual.
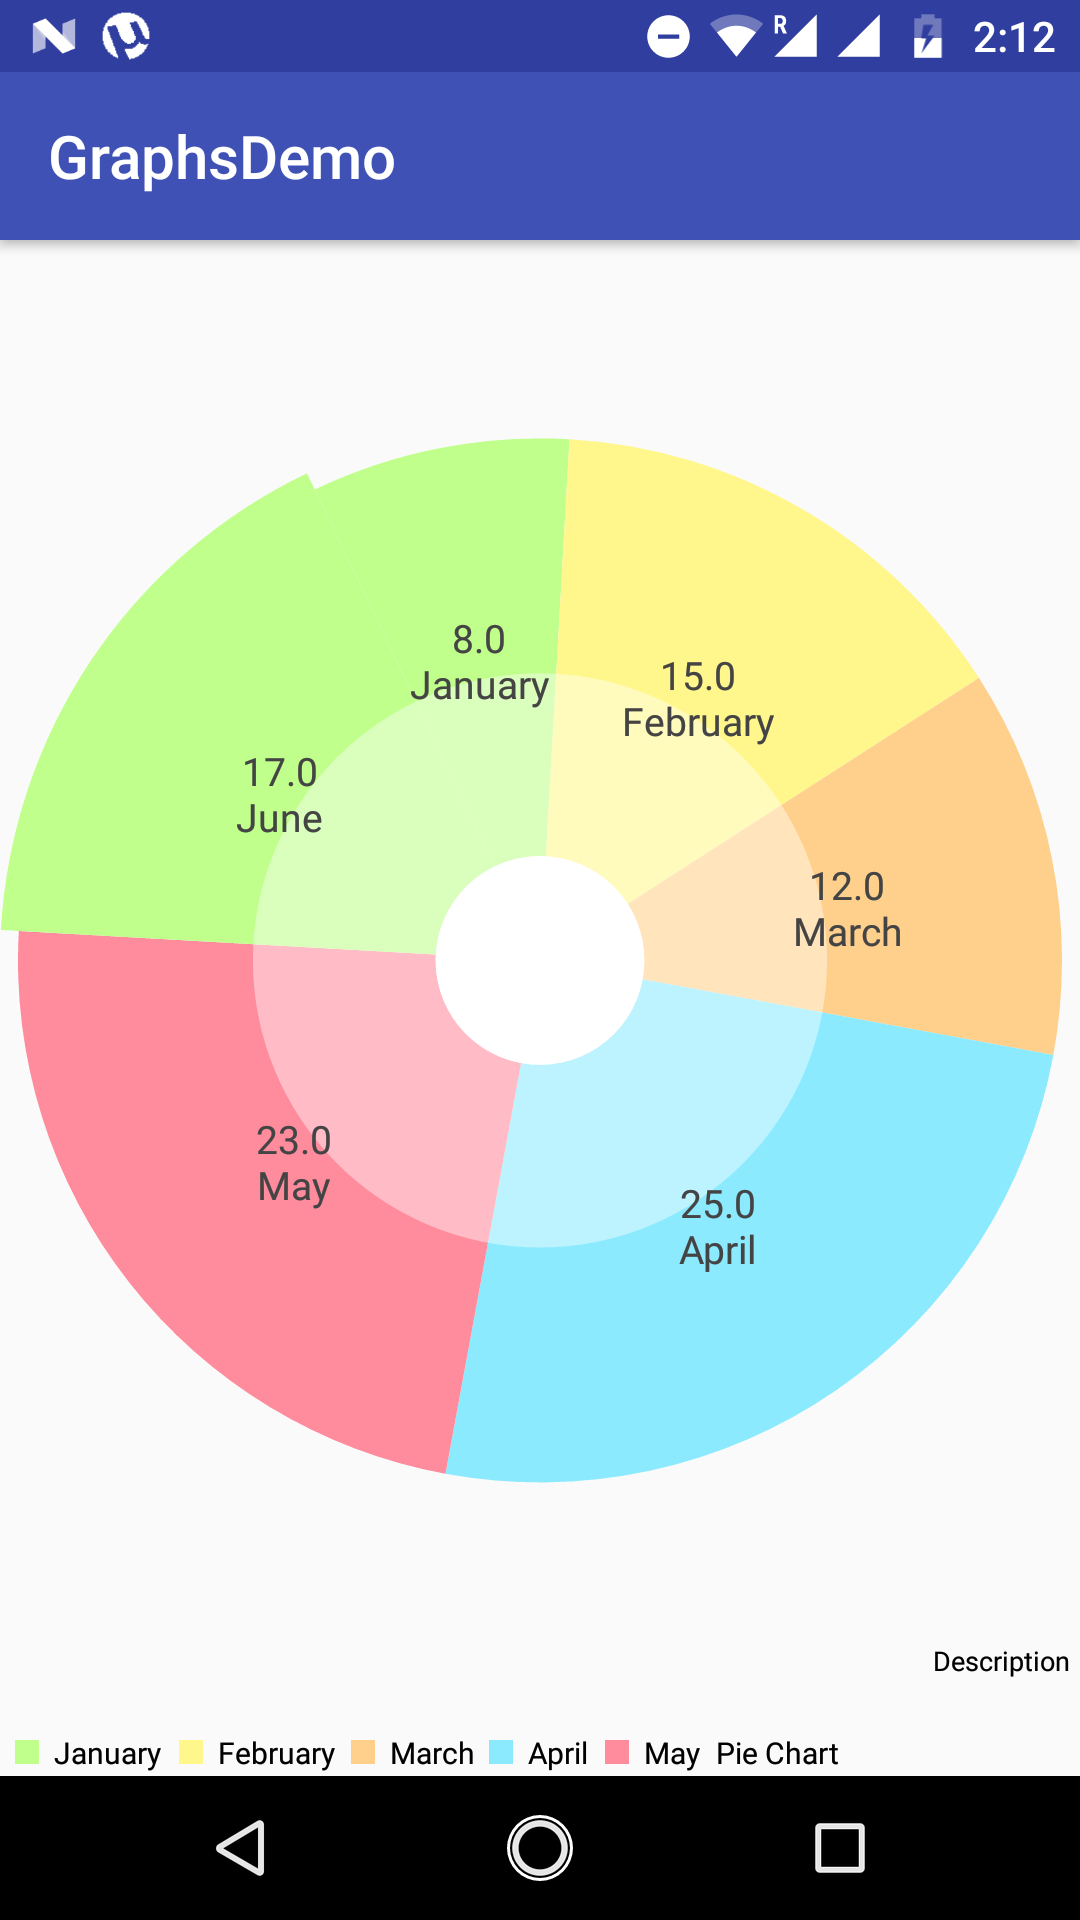
14. The following image is the pie graph with the hole is enabled in the center.
pie_Chart.setDrawHoleEnabled(true); pie_Chart.setHoleRadius(30f); pie_Chart.setTransparentCircleRadius(30f);
Animate the graph view
we can also animate the graph view by using the method animateXY() which will animate from both the axis of the chart or if we want to animate only one of the axis then use animateX() or animateY() method and specify the duration (in milliseconds) of the animation as a parameter.
pie_Chart.animateXY(1500, 1500); or pie_Chart.animateX(1000); or pie_Chart.animateY(1000);
Summing Up
Finally, we finished the task of creating distinctive types of graphs in Android Application. Hope, this blog will be helpful for you while creating graphs in your Android applications. If you have any suggestions or queries, please feel free to post your queries below in the comments section. Thanks!
A tech junkie and writer can describe me the best 😀. I love and live with technology running through my blood. After creating my first scraping program, I was sure that is my call, and I’ve dedicated 4 years of studying about it. I love to help others who want to learn more about any kind of web scraping. Feel free to get in touch in case you want to know too!
2 thoughts on “How to create Graphs in Android Application?”
ArrayList xaxisValues = new ArrayList();
xaxisValuess.add(“January”);
xaxisValues.add(“February”);
xaxisValues.add(“March”);
xaxisValues.add(“April”);
xaxisValues.add(“May”);
xaxisValues.add(“June”);
PieData data = new PieData(xaxisValues, dataSet); What is “dataSet” in this as I am unable to find this term…..also my app is crashing as I am unable to resolve this. Reply
How to make graph continuously for corresponding bluetooth values sent from arduino to android app? Reply
Leave a Comment Cancel reply
Join Our Newsletter
Get more about data in directly in your inbox!
Pst: We send exclusive discounts to our subscribers too!