- Saved searches
- Use saved searches to filter your results more quickly
- License
- cjeller/easy-PHP-mysql
- Name already in use
- Sign In Required
- Launching GitHub Desktop
- Launching GitHub Desktop
- Launching Xcode
- Launching Visual Studio Code
- Latest commit
- Git stats
- Files
- README.md
- About
- CODE & HOST
- UPDATES
- ADDITIONAL MODULES
- FEATURES
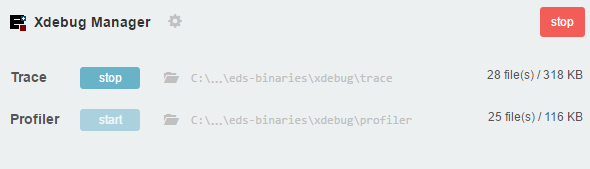
- Devserver
- Webserver
- OTHER TOOLS FOR DEVELOPERS
- Create CRUD Application in PHP using MySQL for Beginners
- Let’s first begin with our frontend
- Header And Footer File
- Now Let’s set up our database
- Creating the Database and User Table
- Now, Let’s Work on CRUD
- Creating the Database Connection File
- Creating the Create Page
- Creating the Read Page
- Creating the Update Page
- Creating the Delete Page
Saved searches
Use saved searches to filter your results more quickly
You signed in with another tab or window. Reload to refresh your session. You signed out in another tab or window. Reload to refresh your session. You switched accounts on another tab or window. Reload to refresh your session.
Easy object-oriented way of connecting and querying a mysql database from PHP
License
cjeller/easy-PHP-mysql
This commit does not belong to any branch on this repository, and may belong to a fork outside of the repository.
Name already in use
A tag already exists with the provided branch name. Many Git commands accept both tag and branch names, so creating this branch may cause unexpected behavior. Are you sure you want to create this branch?
Sign In Required
Please sign in to use Codespaces.
Launching GitHub Desktop
If nothing happens, download GitHub Desktop and try again.
Launching GitHub Desktop
If nothing happens, download GitHub Desktop and try again.
Launching Xcode
If nothing happens, download Xcode and try again.
Launching Visual Studio Code
Your codespace will open once ready.
There was a problem preparing your codespace, please try again.
Latest commit
Git stats
Files
Failed to load latest commit information.
README.md
Easy object-oriented way of connecting and querying a mysql database from PHP
//sample new connection $myconnection = new Database('localhost','root','root', 'database'); //sample get all users $allusers = $myconnection->select('users', null, null); OR $allusers = $myconnection->select('users', null); //sample get specific user and values $user = $myconnection->select('users', array('userid'), array('userid' => '2')); //sample escape $escapedValue = $myconnection->escape('Some value'); //sample insert $insert = $myconnection->insert('users', array('userid' => '1', 'pword' => 'password', 'activity' => 'jogging')); //sample update $update = $myconnection->update('users', array('userid' => '1', 'pword' => 'password', 'activity' => 'jogging'), array('finalkey' => 2)); OR $update = $myconnection->update('reports', array('reportYear' => '2016'));
I wrote this to simplify the MYSQL DB process. This creates a mysql connection object and simplifies the query process.
To install, simply include the database.php file in your project and use a php include in php files needing the database.
all parameters requesting an associative array should be formatted as follows:
array('key' => 'value', 'key2' => 'value2') constructor (host, username, password, database) escape (value to be escaped) select (table, associative array of select values or null for *, [optional] associative array of where conditions) insert (table, associative array of values) update (table, associative array of set values, [optional] associative array of where conditions) Copyright (c) 2016 CJ Eller
Permission is hereby granted, free of charge, to any person obtaining a copy of this software and associated documentation files (the «Software»), to deal in the Software without restriction, including without limitation the rights to use, copy, modify, merge, publish, distribute, sublicense, and/or sell copies of the Software, and to permit persons to whom the Software is furnished to do so, subject to the following conditions:
The above copyright notice and this permission notice shall be included in all copies or substantial portions of the Software.
THE SOFTWARE IS PROVIDED «AS IS», WITHOUT WARRANTY OF ANY KIND, EXPRESS OR IMPLIED, INCLUDING BUT NOT LIMITED TO THE WARRANTIES OF MERCHANTABILITY, FITNESS FOR A PARTICULAR PURPOSE AND NONINFRINGEMENT. IN NO EVENT SHALL THE AUTHORS OR COPYRIGHT HOLDERS BE LIABLE FOR ANY CLAIM, DAMAGES OR OTHER LIABILITY, WHETHER IN AN ACTION OF CONTRACT, TORT OR OTHERWISE, ARISING FROM, OUT OF OR IN CONNECTION WITH THE SOFTWARE OR THE USE OR OTHER DEALINGS IN THE SOFTWARE.
About
Easy object-oriented way of connecting and querying a mysql database from PHP
CODE & HOST

Devserver installs a complete, open source and ready-to-use development environment. Devserver is portable, modular, fully configurable and easy to update and cutomize (see modules and components) more.
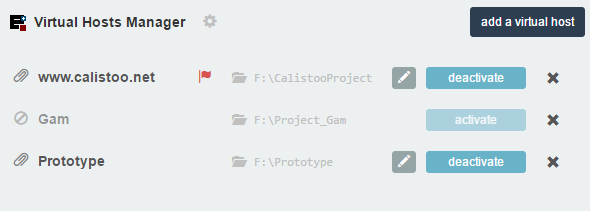
Webserver
Webserver turns your computer into a ready-to-use personal web hosting server. You can host whatever you want directly on your computer and share it on internet like any website. Your computer acts like a web hosting service and allows you to make your website / application / demo accessible via internet. The server is fully configurable, modular and easy to update and cutomize. more.
UPDATES
EasyPHP Devserver is updated regularly. However, between two major updates you can find intermediate updates in the Warehouse.
ADDITIONAL MODULES
Laravel
This module installs at once a new Laravel project.
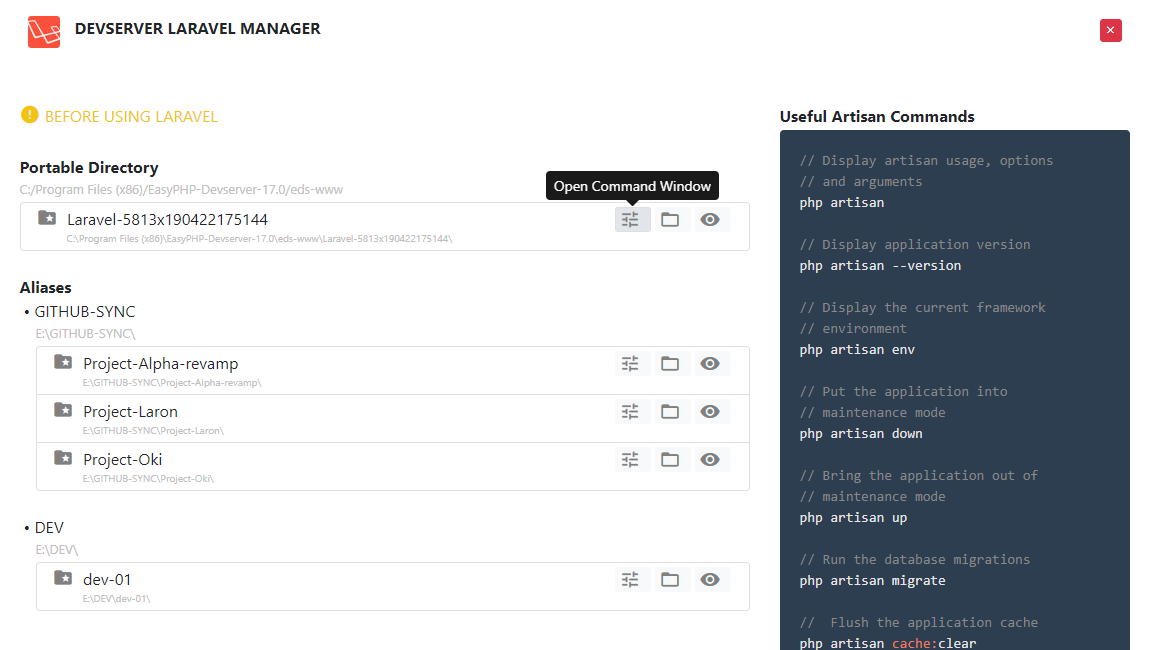
Laravel Manager
This module installs as well Laravel Manager. Laravel Manager lists automatically all Laravel projects present in your folders. With Laravel Manager you can manage all your Laravel projects from one page, open the «Command Window» of each project, browse the files, open your Laravel websites and check the «Useful Artisan Commands».
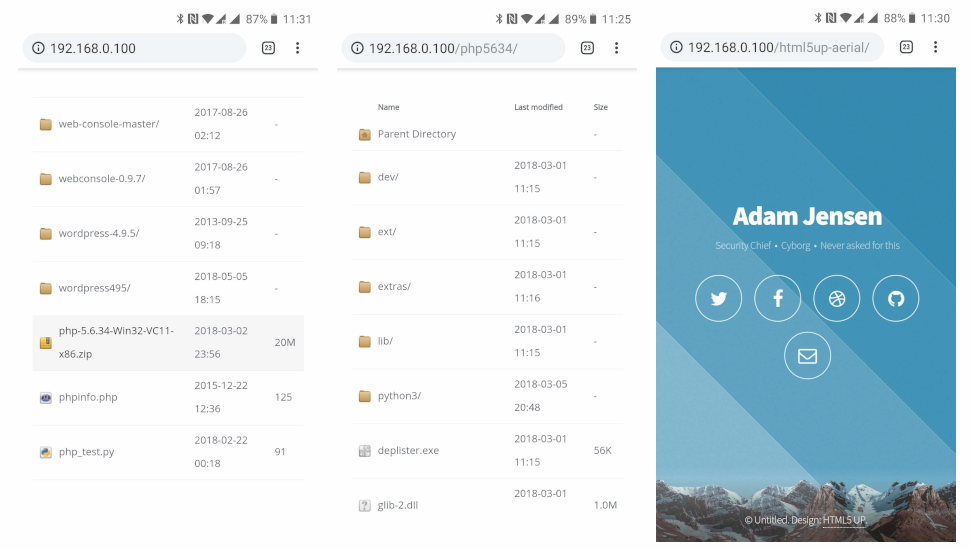
With the module «Mobile», you can test your code on your mobile phone / tablet and see if your website / application is mobile friendly.
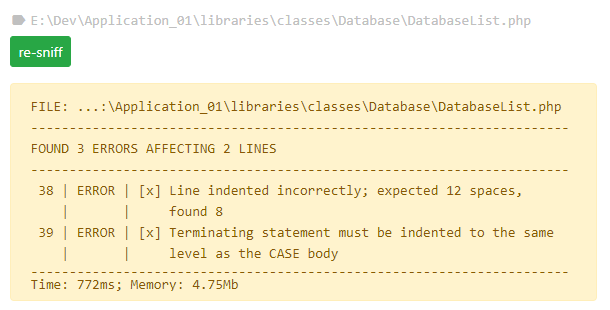
The Code Sniffer module is the PHP Code Sniffer tool integration. This tool helps you to have a code clean, consistent and easy to read and maintain in order to reduce bugs and prevent new bugs. Code Sniffer «sniffs» PHP, JavaScript and CSS files to detect violations of a defined coding standard (PEAR, PHPCS, PSR1, PSR2, Squiz and Zend).
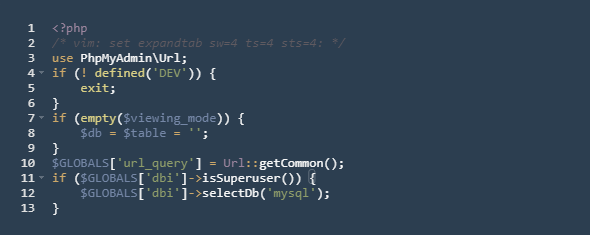
Create nice pictures of your source code. Codeshot is fully customizable : width, theme, language, font size.
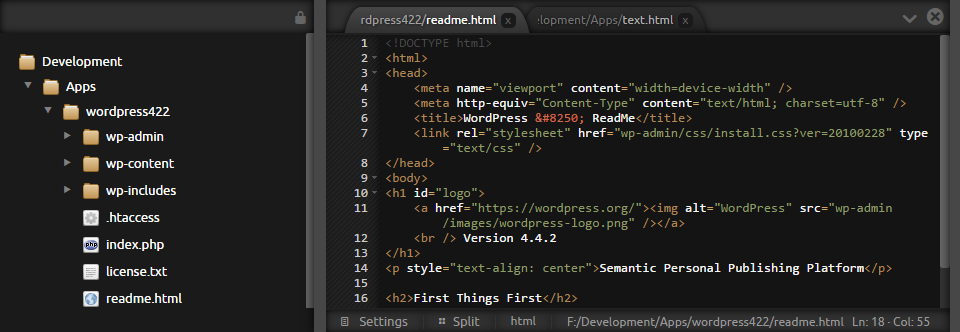
No need to use an external editor any more. You can create, edit, modify your code directly in your browser with Codiad.
FEATURES
Devserver
Devserver allows you to fit your needs and allows you to setup a local server with the same characteristics as your production server (if you have one). You can develop locally anywhere (at home, at work, on your laptop. ) thanks to the portability of the system.
- Ready-to-use! Download, install and code!
- Portable (usb key, memory stick, external hard drive. )
- Fully configurable (port, timezone, extensions. )
- For beginners, experts
- Start, stop, restart servers
- Direct access to files and folders
- Configuration files, error log, access log.
- Modular : add applications, versions.
- .
Webserver
Webserver is a personal web hosting service. You can host your websites, files, applications on your computer and make them accessible from internet. You can tune your servers as you like and then host your websites, share your applications or demo permanently or for a short period of time (useful for sharing with friends, developers or clients). Develop with Devserver and host / share with Webserver.
- Ready-to-use! Download, install and host!
- Manage servers services
- Easy IP, router and firewall configuration
- Fully configurable (port, timezone, extensions. )
- Configuration files, error log, access log.
- Modular : add applications, versions.
- .
OTHER TOOLS FOR DEVELOPERS
Create CRUD Application in PHP using MySQL for Beginners
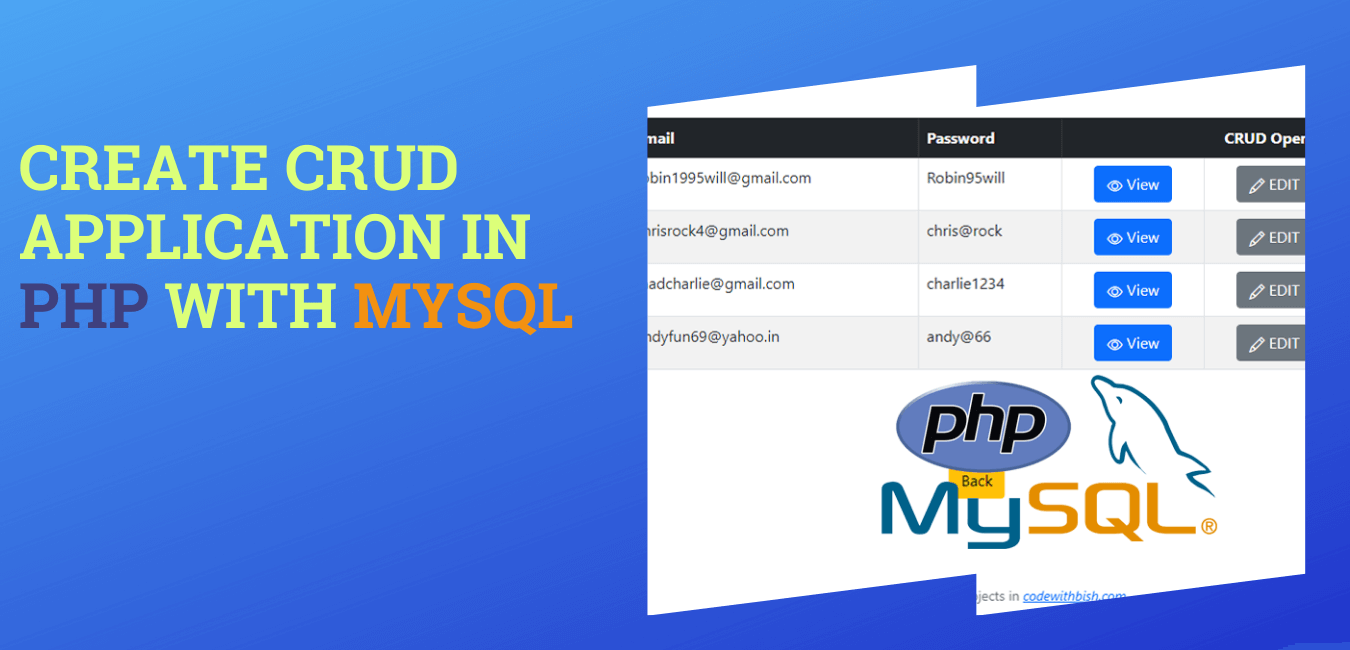
This article will help you learn how to create a simple and easy CRUD application in PHP using MySQL.
CRUD is an acronym for CREATE, READ, UPDATE, DELETE. We perform all these operations to manipulate the data in the database. Using PHP, we are going to create an application that performs all the CRUD operations.
To create and run our application, first, we need to set up our system with the following.
Once you have all that set up, we can start working on our application.
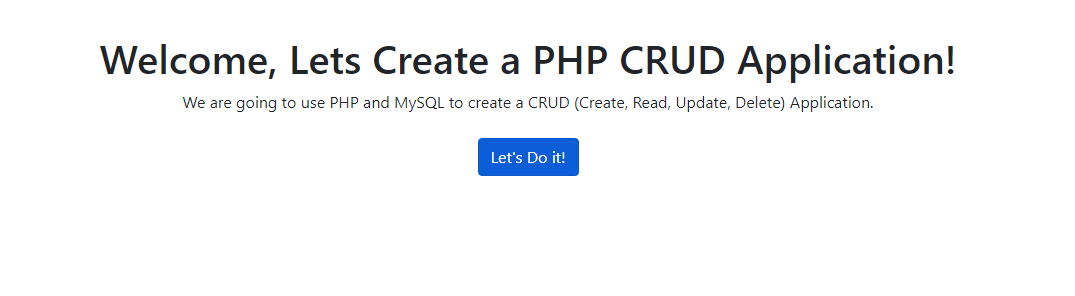
Let’s first begin with our frontend
We have created a landing page( index.php ) to make our application look a bit professional.
You can start with the homepage, displaying all our data records in a tabular format. All the data from our user’s table will have an action button on each record to perform the READ, UPDATE and DELETE operation. We will also add an “Add New User” button to CREATE a new user.
Create a folder named “includes”. Then create a file named home.php with the following code add it into the “includes” folder.
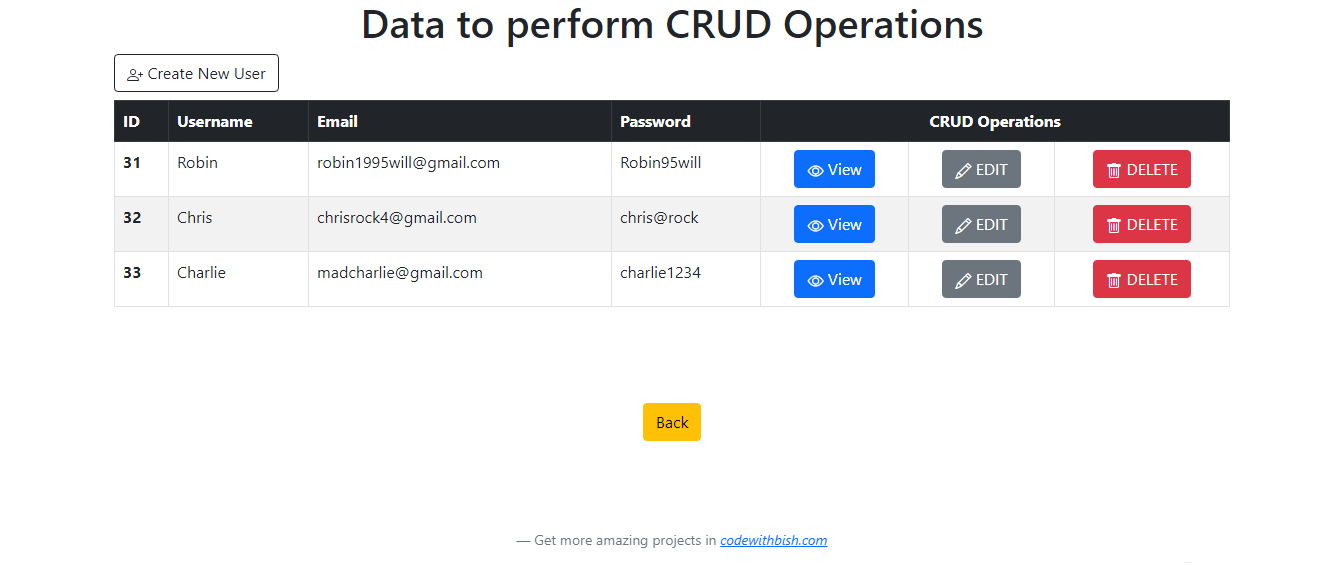
Data to perform CRUD Operations Create New User
ID Username Password "; echo " "; > ?>"; echo " "; echo " "; echo " "; echo " View "; echo "' btn-secondary'> EDIT "; echo "DELETE "; echo "BackHeader And Footer File
We are also going to create common header and footer pages to add those to other pages when required and avoid rewriting the same code repeatedly.
So, create a file header.php and add the following code[email protected]/dist/css/bootstrap.min.css» rel=»stylesheet» integrity=»sha384-eOJMYsd53ii+scO/bJGFsiCZc+5NDVN2yr8+0RDqr0Ql0h+rP48ckxlpbzKgwra6″ crossorigin=»anonymous»> [email protected]/font/bootstrap-icons.css»>
Create a file footer.php and add the following code
Now Let’s set up our database
If you know your way around XAMPP, create a database “php_crud” and create a user table with four columns (ID, username, email, and password). Else you can execute a SQL query to create the table.
Creating the Database and User Table
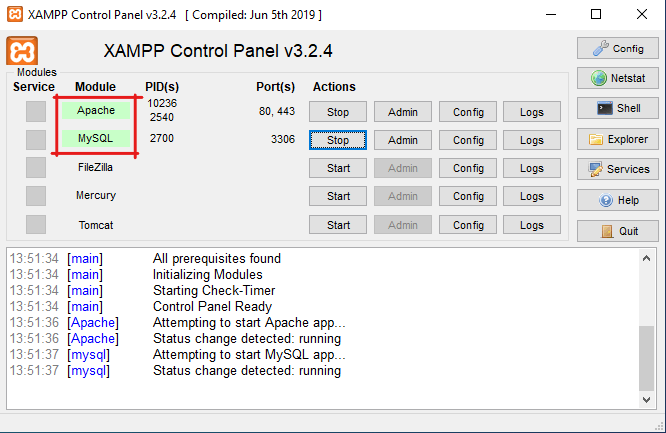
1. first, open the XAMPP server and start 2 services ( Apache and MySQL).
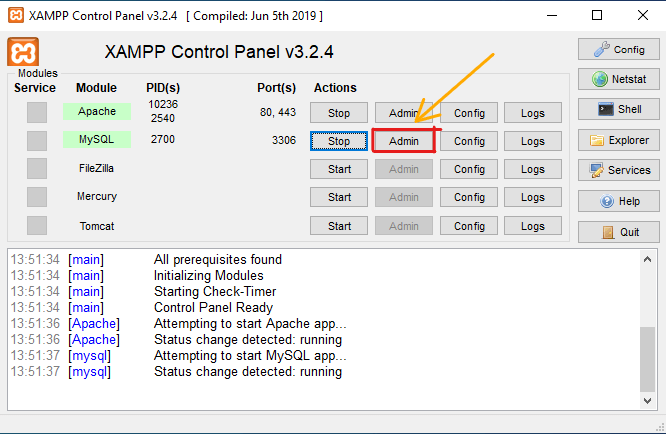
2. Then click on Admin, or you can type in the URL “localhost/phpmyadmin/”
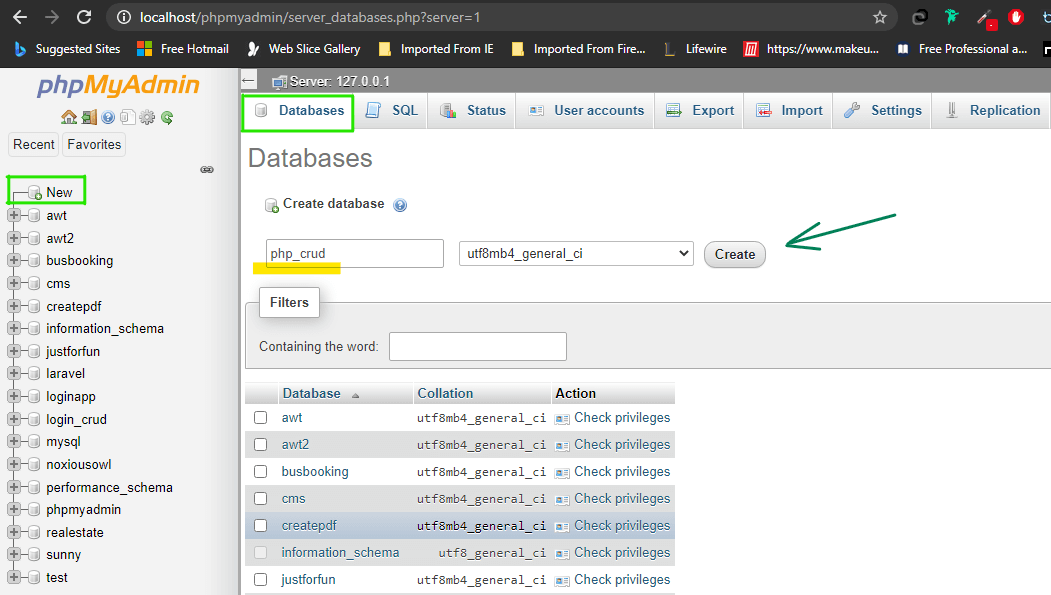
3. Click on either “new” or “Databases,” and enter your database name ( we are using ‘php_crud’ ) and click Create.
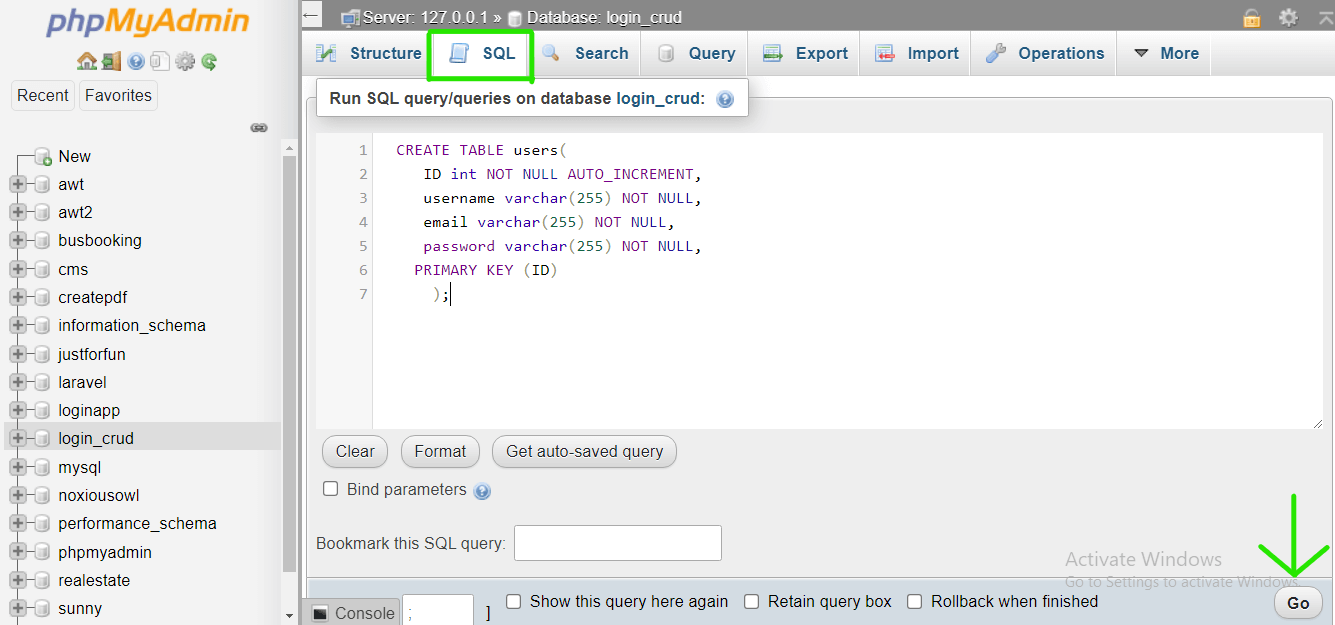
4. Now, click on “SQL,” enter the following code and click “Go.”
CREATE TABLE users( ID int NOT NULL AUTO_INCREMENT, username VARCHAR(255) NOT NULL, email VARCHAR(255) NOT NULL, password VARCHAR(255) NOT NULL, PRIMARY KEY (ID) );Now, Let’s Work on CRUD
Creating the Database Connection File
Now we are going to connect our MySQL database using a PHP script. Open your code editor, create a file db.php ( you can name it whatever you want ), and add the following code.
- define the server and database details like database name, server name, username, and password.
- “mysqli_connect” function attempts the connection to MySQL Database.
- In case the connection fails this “mysqli_connect_error()” function display’s an error message.
NOTE: If you have a different username, password, or database name, make sure you replace them with the correct credentials. For example, if you have created a different database name then replace php_crud with your database name.
Creating the Create Page
Let’s build the create function of our php CRUD application. Create a file create.php with the following code and add it into the “includes” folder. It will create a form for the user to insert details like name, email and save the input data into the users’ table.
','','')"; $add_user = mysqli_query($conn,$query); // displaying proper message for the user to see whether the query executed perfectly or not if (!$add_user) < echo "something went wrong ". mysqli_error($conn); >else < echo ""; > > ?>
BackCreating the Read Page
Now that we have some data in our table let’s build the read function of our php CRUD application. Create a read.php file with the following code and add it into the “includes” folder. It will retrieve and show the data that we have stored in our table based on the ID attribute of the user.
ID Username Password "; echo " "; echo " "; echo " "; echo " "; echo " "; > > ?>BackCreating the Update Page
Now let’s build the update function of our php CRUD application. Create a update.php file with the following code and add it into the “includes” folder.
It will retrieve the data that we have stored in our table based on the ID attribute of the user and show it in the form, from which we can update the data and save it back to the users’ table.
// SQL query to select all the data from the table where $query="SELECT * FROM users WHERE "; $view_users= mysqli_query($conn,$query); while($row = mysqli_fetch_assoc($view_users)) < $id = $row['id']; $user = $row['username']; $email = $row['email']; $pass = $row['password']; >//Processing form data when form is submitted if(isset($_POST['update'])) < $user = $_POST['user']; $email = $_POST['email']; $pass = $_POST['pass']; // SQL query to update the data in user table where the $query = "UPDATE users SET username = '' , email = '' , password = '' WHERE $update_user = mysqli_query($conn, $query); echo ""; > ?>
BackCreating the Delete Page
Finally, we can build the delete function of our php CRUD application. Create a delete.php file with the following code and add it into the “includes” folder.
It will delete the data that we have stored in our table based on the ID attribute of the user.
That’s it! You’re all set!
You now know how to create a PHP CRUD Application with MySQL.Note: We have used Procedural method to create the CRUD Application. But if you want this application in Object-Oriented, then download it from here.
We hope this article helps you understand how to create a CRUD application using PHP and MySQL. If you find it helpful, don’t forget to share this article with your friends.
If you find any mistake or something didn’t work out quite right, do let us know. Thank You for reading!