- Python Web Scraping Tutorial
- Requests Module
- Installation
- Making a Request
- Example: Python requests making GET request
- Python3
- Response object
- Example: Python requests Response Object
- Python3
- BeautifulSoup Library
- Features of Beautiful Soup
- Installation
- Inspecting Website
- Parsing the HTML
- Почему стоит научиться «парсить» сайты, или как написать свой первый парсер на Python
- И так, рассмотрим первый этап парсинга — Поиск данных.
- Второй этап парсинга — Извлечение информации.
- И последний этап парсинга — Сохранение данных.
- Парсинг на Python с Beautiful Soup
- Установка библиотек для парсинга
- Поиск сайта для скрапинга
Python Web Scraping Tutorial
Let’s suppose you want to get some information from a website? Let’s say an article from the geeksforgeeks website or some news article, what will you do? The first thing that may come in your mind is to copy and paste the information into your local media. But what if you want a large amount of data on a daily basis and as quickly as possible. In such situations, copy and paste will not work and that’s where you’ll need web scraping.
In this article, we will discuss how to perform web scraping using the requests library and beautifulsoup library in Python.
Requests Module
Requests library is used for making HTTP requests to a specific URL and returns the response. Python requests provide inbuilt functionalities for managing both the request and response.
Installation
Requests installation depends on the type of operating system, the basic command anywhere would be to open a command terminal and run,
Making a Request
Python requests module has several built-in methods to make HTTP requests to specified URI using GET, POST, PUT, PATCH, or HEAD requests. A HTTP request is meant to either retrieve data from a specified URI or to push data to a server. It works as a request-response protocol between a client and a server. Here we will be using the GET request.
GET method is used to retrieve information from the given server using a given URI. The GET method sends the encoded user information appended to the page request.
Example: Python requests making GET request
Python3

Response object
When one makes a request to a URI, it returns a response. This Response object in terms of python is returned by requests.method(), method being – get, post, put, etc. Response is a powerful object with lots of functions and attributes that assist in normalizing data or creating ideal portions of code. For example, response.status_code returns the status code from the headers itself, and one can check if the request was processed successfully or not.
Response objects can be used to imply lots of features, methods, and functionalities.
Example: Python requests Response Object
Python3
https://www.geeksforgeeks.org/python-programming-language/ 200
For more information, refer to our Python Requests Tutorial.
BeautifulSoup Library
BeautifulSoup is used extract information from the HTML and XML files. It provides a parse tree and the functions to navigate, search or modify this parse tree.
- Beautiful Soup is a Python library used to pull the data out of HTML and XML files for web scraping purposes. It produces a parse tree from page source code that can be utilized to drag data hierarchically and more legibly.
- It was first presented by Leonard Richardson, who is still donating to this project, and this project is also supported by Tide lift (a paid subscription tool for open-source supervision).
- Beautiful soup3 was officially released in May 2006, Latest version released by Beautiful Soup is 4.9.2, and it supports Python 3 and Python 2.4 as well.
Features of Beautiful Soup
Beautiful Soup is a Python library developed for quick reversal projects like screen-scraping. Three features make it powerful:
1. Beautiful Soup provides a few simple methods and Pythonic phrases for guiding, searching, and changing a parse tree: a toolkit for studying a document and removing what you need. It doesn’t take much code to document an application.
2. Beautiful Soup automatically converts incoming records to Unicode and outgoing forms to UTF-8. You don’t have to think about encodings unless the document doesn’t define an encoding, and Beautiful Soup can’t catch one. Then you just have to choose the original encoding.
3. Beautiful Soup sits on top of famous Python parsers like LXML and HTML, allowing you to try different parsing strategies or trade speed for flexibility.
Installation
To install Beautifulsoup on Windows, Linux, or any operating system, one would need pip package. To check how to install pip on your operating system, check out – PIP Installation – Windows || Linux. Now run the below command in the terminal.
pip install beautifulsoup4

Inspecting Website
Before getting out any information from the HTML of the page, we must understand the structure of the page. This is needed to be done in order to select the desired data from the entire page. We can do this by right-clicking on the page we want to scrape and select inspect element.

After clicking the inspect button the Developer Tools of the browser gets open. Now almost all the browsers come with the developers tools installed, and we will be using Chrome for this tutorial.

The developer’s tools allow seeing the site’s Document Object Model (DOM). If you don’t know about DOM then don’t worry just consider the text displayed as the HTML structure of the page.
Parsing the HTML
After getting the HTML of the page let’s see how to parse this raw HTML code into some useful information. First of all, we will create a BeautifulSoup object by specifying the parser we want to use.
Note: BeautifulSoup library is built on top of the HTML parsing libraries like html5lib, lxml, html.parser, etc. So BeautifulSoup object and specify the parser library can be created at the same time.
Почему стоит научиться «парсить» сайты, или как написать свой первый парсер на Python

Для начала давайте разберемся, что же действительно означает на первый взгляд непонятное слово — парсинг. Прежде всего это процесс сбора данных с последующей их обработкой и анализом. К этому способу прибегают, когда предстоит обработать большой массив информации, с которым сложно справиться вручную. Понятно, что программу, которая занимается парсингом, называют — парсер. С этим вроде бы разобрались.
Перейдем к этапам парсинга.
И так, рассмотрим первый этап парсинга — Поиск данных.
Так как нужно парсить что-то полезное и интересное давайте попробуем спарсить информацию с сайта work.ua.
Для начала работы, установим 3 библиотеки Python.
pip install beautifulsoup4
Без цифры 4 вы ставите старый BS3, который работает только под Python(2.х).
pip install requests
pip install pandas
Теперь с помощью этих трех библиотек Python, можно проанализировать нашу веб-страницу.
Второй этап парсинга — Извлечение информации.
Попробуем получить структуру html-кода нашего сайта.
Давайте подключим наши новые библиотеки.
import requests from bs4 import BeautifulSoup as bs import pandas as pd И сделаем наш первый get-запрос.
URL_TEMPLATE = "https://www.work.ua/ru/jobs-odesa/?page=2" r = requests.get(URL_TEMPLATE) print(r.status_code) Статус 200 состояния HTTP — означает, что мы получили положительный ответ от сервера. Прекрасно, теперь получим код странички.
Получилось очень много, правда? Давайте попробуем получить названия вакансий на этой страничке. Для этого посмотрим в каком элементе html-кода хранится эта информация.
У нас есть тег h2 с классом «add-bottom-sm», внутри которого содержится тег a. Отлично, теперь получим title элемента a.
soup = bs(r.text, "html.parser") vacancies_names = soup.find_all('h2', class_='add-bottom-sm') for name in vacancies_names: print(name.a['title']) Хорошо, мы получили названия вакансий. Давайте спарсим теперь каждую ссылку на вакансию и ее описание. Описание находится в теге p с классом overflow. Ссылка находится все в том же элементе a.
Some information about vacancy.
vacancies_info = soup.find_all('p', class_='overflow') for name in vacancies_names: print('https://www.work.ua'+name.a['href']) for info in vacancies_info: print(info.text) И последний этап парсинга — Сохранение данных.
Давайте соберем всю полученную информацию по страничке и запишем в удобный формат — csv.
import requests from bs4 import BeautifulSoup as bs import pandas as pd URL_TEMPLATE = "https://www.work.ua/ru/jobs-odesa/?page=2" FILE_NAME = "test.csv" def parse(url = URL_TEMPLATE): result_list = r = requests.get(url) soup = bs(r.text, "html.parser") vacancies_names = soup.find_all('h2', class_='add-bottom-sm') vacancies_info = soup.find_all('p', class_='overflow') for name in vacancies_names: result_list['href'].append('https://www.work.ua'+name.a['href']) result_list['title'].append(name.a['title']) for info in vacancies_info: result_list['about'].append(info.text) return result_list df = pd.DataFrame(data=parse()) df.to_csv(FILE_NAME) После запуска появится файл test.csv — с результатами поиска.
Парсинг на Python с Beautiful Soup
Парсинг — это распространенный способ получения данных из интернета для разного типа приложений. Практически бесконечное количество информации в сети объясняет факт существования разнообразных инструментов для ее сбора. В процессе скрапинга компьютер отправляет запрос, в ответ на который получает HTML-документ. После этого начинается этап парсинга. Здесь уже можно сосредоточиться только на тех данных, которые нужны. В этом материале используем такие библиотеки, как Beautiful Soup, Ixml и Requests. Разберем их.
Установка библиотек для парсинга
Чтобы двигаться дальше, сначала выполните эти команды в терминале. Также рекомендуется использовать виртуальную среду, чтобы система «оставалась чистой».
pip install lxml pip install requests pip install beautifulsoup4Поиск сайта для скрапинга
Для знакомства с процессом скрапинга можно воспользоваться сайтом https://quotes.toscrape.com/, который, похоже, был создан для этих целей.
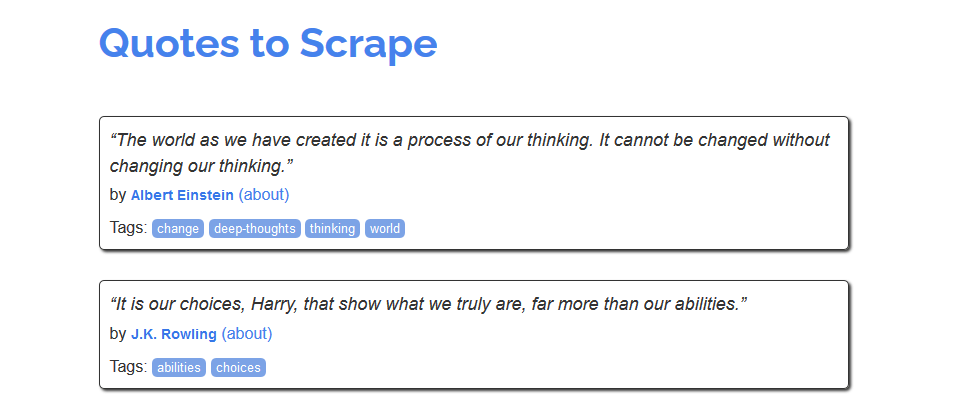
Из него можно было бы создать, например, хранилище имен авторов, тегов или самих цитат. Но как это сделать? Сперва нужно изучить исходный код страницы. Это те данные, которые возвращаются в ответ на запрос. В современных браузерах этот код можно посмотреть, кликнув правой кнопкой на странице и нажав «Просмотр кода страницы».
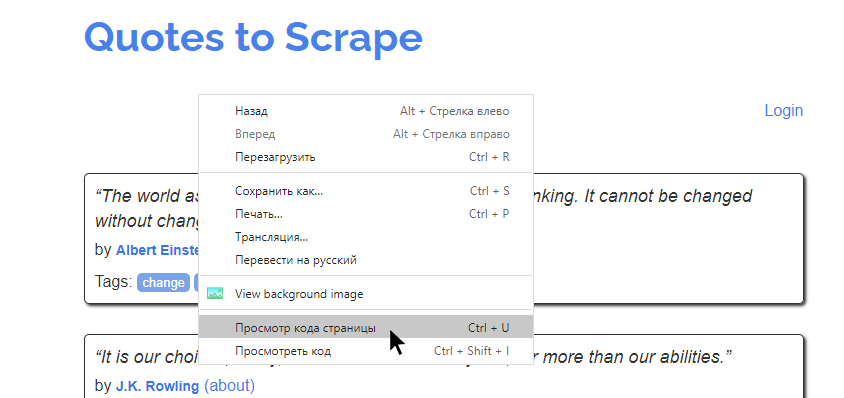
На экране будет выведена сырая HTML-разметка страница. Например, такая: