- OpenCV Create Image
- Use the zeros() Function of NumPy to Create Images in Python
- Related Article — OpenCV Image
- OpenCV Create and Show the Image Correctly
- Create a gray image
- Draw primitives
- Create a noisy image
- Read image from URL
- Show image
- Blue apple
- Create a grayscale image from RGB
- Show single channel image
- Convert single channel image to RGB (three channels)
OpenCV Create Image

This tutorial will discuss creating an image using the zeros() function of NumPy and showing it using the imshow() function of OpenCV.
Use the zeros() Function of NumPy to Create Images in Python
An image is composed of pixels that are placed in a matrix. Each pixel contains a color value as a BGR triplet.
For example, a 512×512 image is composed of 512 columns and 512 rows, and the total number of pixels present in the image is equal to the number of rows multiplied by the number of columns.
A BGR triplet value contains three values that range from 0 to 255 in an 8-bit image.
The first value corresponds to the intensity of the blue color. For example, a pixel of value (255,0,0) will have a dark blue color, and a value (50,0,0) will have a light blue color.
The second and third BRG triplet values correspond to green and red colors. We can set the value of these three colors to make any color.
In an 8-bit image, a single pixel can have 256 multiplied by 256 multiplied by 255 different colors. We can use the zeros() function of NumPy to create a black image in Python.
The zeros() function makes a matrix containing only zeros given the matrix’s number of rows and columns. For example, let’s create a black color image in Python.
import cv2 import numpy as np height = 512 width = 512 img = np.zeros((height,width,3), np.uint8) cv2.imshow('Binary',img) cv2.waitKey(0) 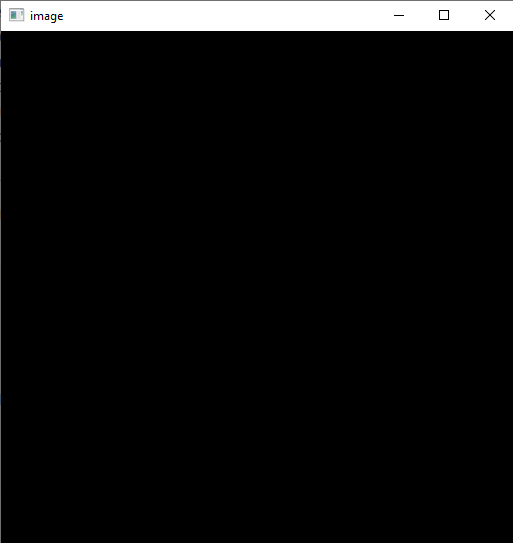
Each pixel in the above image will have the BGR triplet value of (0,0,0) , which is black. We can also change the image’s color by setting each pixel value to a BGR triplet value.
For example, let’s change the color of the above image to blue. See the code below.
import cv2 import numpy as np height = 512 width = 512 img = np.zeros((height,width,3), np.uint8) img[. ] = (255,0,0) cv2.imshow('image',img) cv2.waitKey(0) 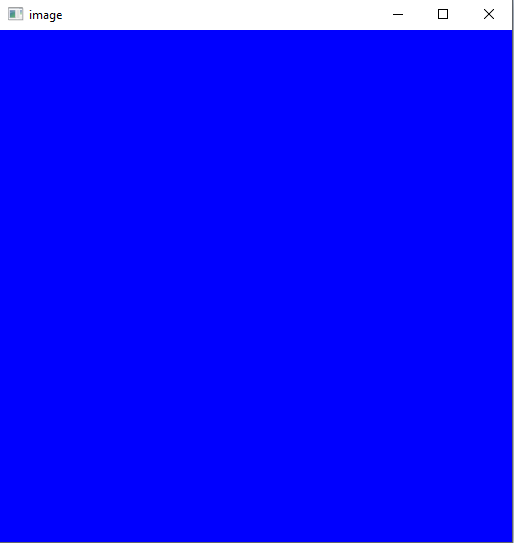
The colon symbol in the above code is used for all rows and columns. The first colon corresponds to the column, and the second colon corresponds to the rows present in the img matrix.
The colon also defines ranges like 0 to 100 as 0:100 . Instead of setting the color of all pixels, we can set the color of some pixels in the image.
For example, let’s set different colors to different portions of the above image. See the code below.
import cv2 import numpy as np height = 512 width = 512 img = np.zeros((height,width,3), np.uint8) img[. ] = (255,0,0) img[0:100,0:100] = (255,255,0) img[:,width//2:width] = (0,0,255) cv2.imshow('image',img) cv2.waitKey(0) 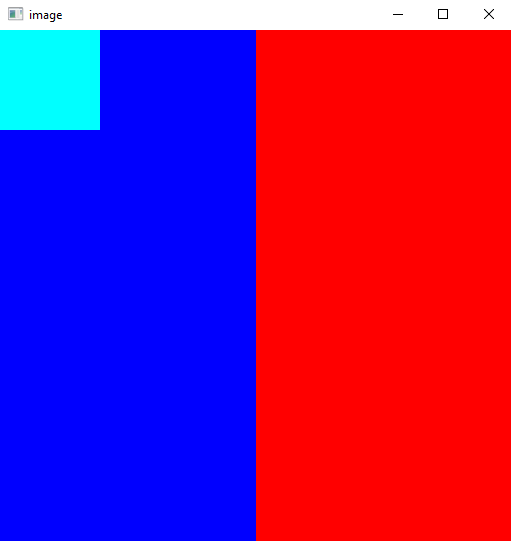
In the above code, we set the color of the first 100 columns and first 100 rows to cyan color and the color of the right side of the image to red color using the image width.
Hello! I am Ammar Ali, a programmer here to learn from experience, people, and docs, and create interesting and useful programming content. I mostly create content about Python, Matlab, and Microcontrollers like Arduino and PIC.
Related Article — OpenCV Image
OpenCV Create and Show the Image Correctly
Usually when we think of images we imagine three channel images.
Let’s create the image in Python using just matplotlib.pyplot and numpy packages. One great example would be to create a three channel gray image.
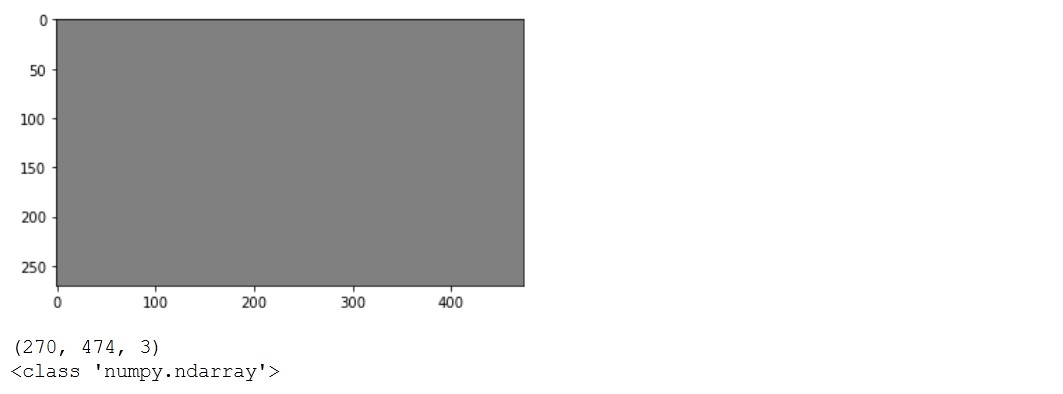
Create a gray image
#create gray image 270x474 with 3 channels %matplotlib inline import matplotlib.pyplot as plt import numpy as np img = np.empty([270,474, 3], dtype=np.uint8) img.fill(128) # gray plt.imshow(img) plt.show() print(img.shape) print(type(img)) In this example we created a 3 channel image and filled it in gray.
Draw primitives
Lines and circles are basic primitives we can add to the image. We use OpenCV library for adding primitives because it works directly on numpy images.
import numpy as np import cv2 img = np.zeros((270,474, 3), dtype = "uint8") green = (0, 255, 0) cv2.line(img, (0, 0), (474, 270), green) red = (255, 0, 0) R = 100 (centerX, centerY) = (img.shape[1] // 2, img.shape[0] // 2) cv2.circle(img, (centerX, centerY), R , red) plt.imshow(img) plt.show() 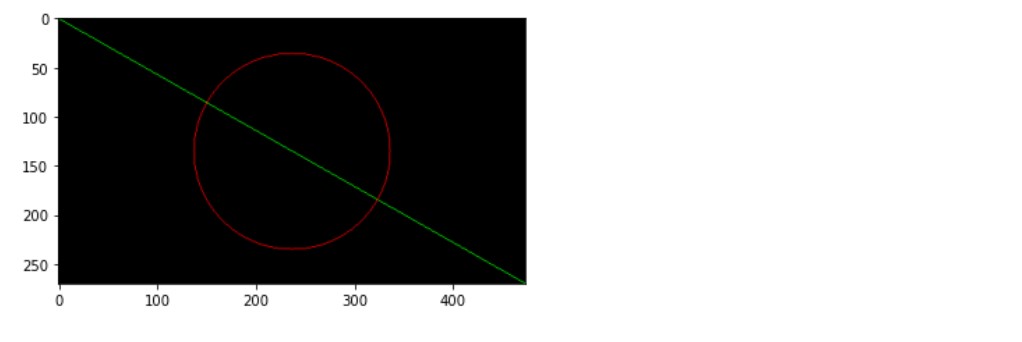
We used matplotlib.pyplot to show the image.
Create a noisy image
Again we will create the image just using matplotlib.pyplot and numpy .
import matplotlib.pyplot as plt import numpy as np img = np.random.rand(270,474,3) plt.imshow(img) 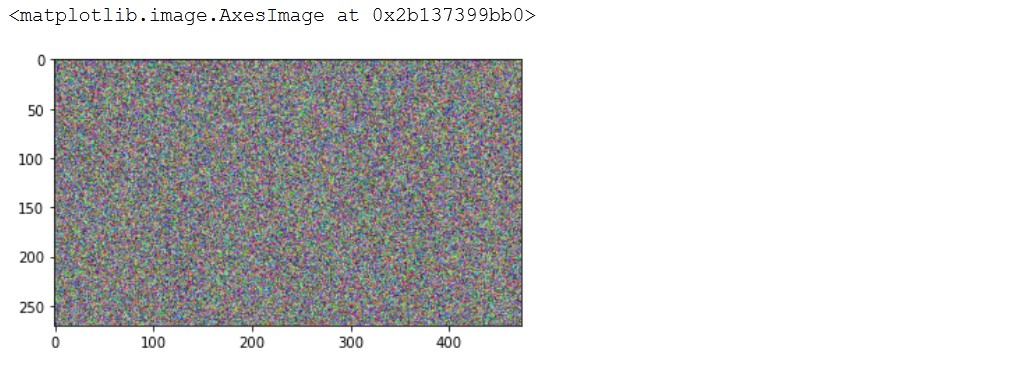
Here we are using the matplotlib.pyplot method imshow again.
Read image from URL
Next we will read the image from the URL and save it to the file system.
import requests url = 'https://external-content.duckduckgo.com/iu/?u=https%3A%2F%2Ftse1.mm.bing.net%2Fth%3Fid%3DOIP.MBtx9vFOK2x5CM9Jjx0M5AHaEO%26pid%3DApi&f=1' response = requests.get(url, allow_redirects=True) # nostream with open('apple.jpg', 'wb') as handle: handle.write(response.content) # saved as C:\Users\dj\apple.jpg print(handle) Show image
Now we will just read the apple.jpg image using cv2 Python library.
%matplotlib inline from matplotlib import pyplot as plt import cv2 img=cv2.imread(r"apple.jpg") print(img.shape) img=img[. -1] _ = plt.imshow(img) 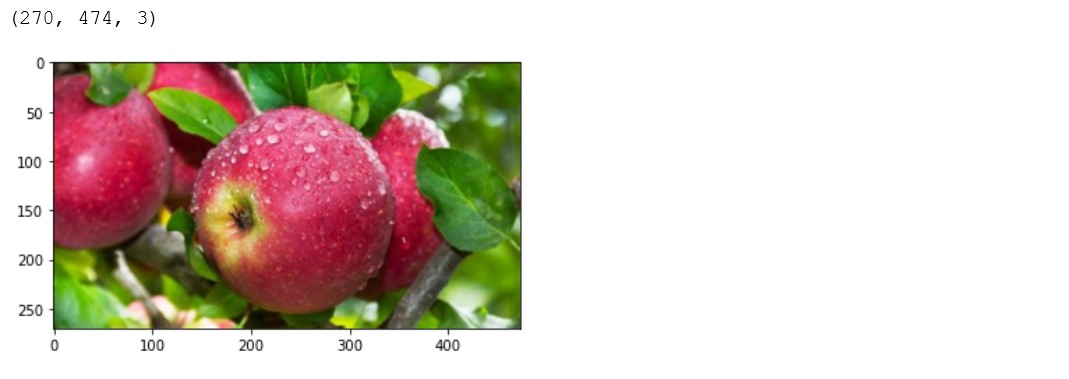
Blue apple
If we would not convert the image with img=img[. -1] we would get the blue apple.
%matplotlib inline from matplotlib import pyplot as plt import cv2 img=cv2.imread(r"apple.jpg") _ = plt.imshow(img) 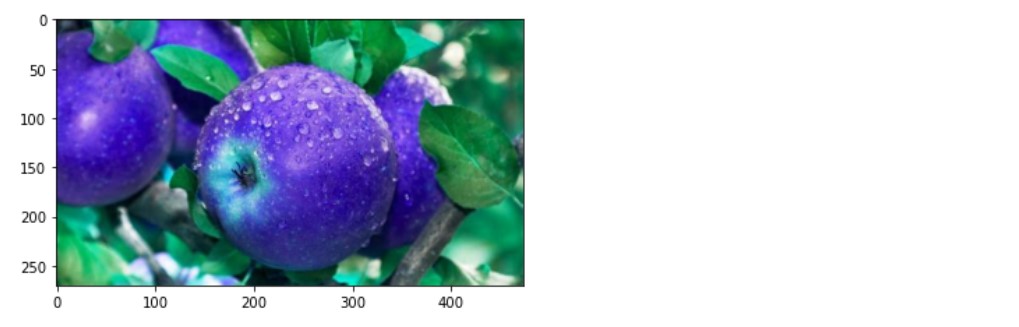
Create a grayscale image from RGB
We can just use OpenCV cvtColor method to create single channel image and then if we combine three of these using OpenCV merge method we will get the gray apple.
img = cv2.cvtColor(img, cv2.COLOR_BGR2GRAY) print(img.shape) img = cv2.merge([img,img,img]) _ = plt.imshow(img) 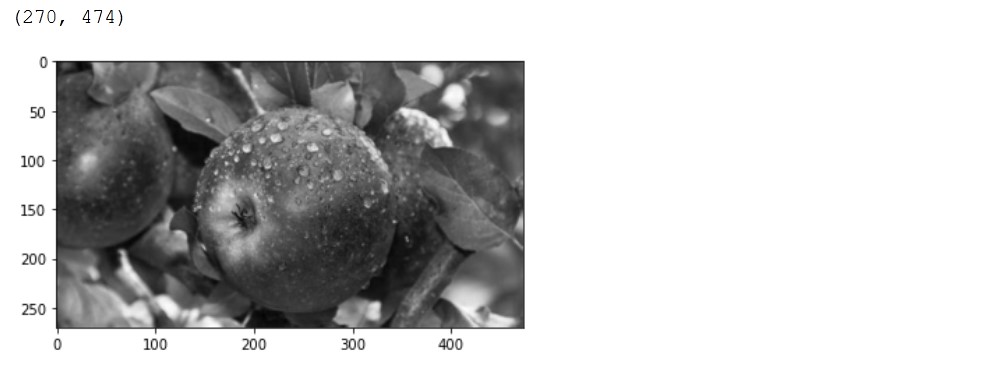
Check out this gist for more details.
Show single channel image
%matplotlib inline from matplotlib import pyplot as plt import cv2 img=cv2.imread(r"apple.jpg", cv2.IMREAD_GRAYSCALE) print(img.shape) _ = plt.imshow(img) 
But this does not look gray, because imshow method is using viridis cmap. Let’s use gray cmap.
_ = plt.imshow(img, cmap='gray') # default is viridis 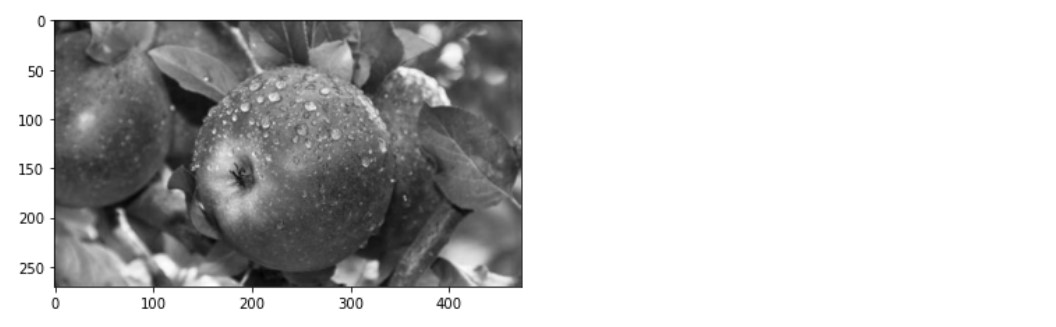
Convert single channel image to RGB (three channels)
%matplotlib inline from matplotlib import pyplot as plt import cv2 grayimg=cv2.imread(r"apple.jpg", cv2.IMREAD_GRAYSCALE) print(grayimg.shape) img = cv2.cvtColor(grayimg,cv2.COLOR_GRAY2RGB) print(img.shape) _ = plt.imshow(img) 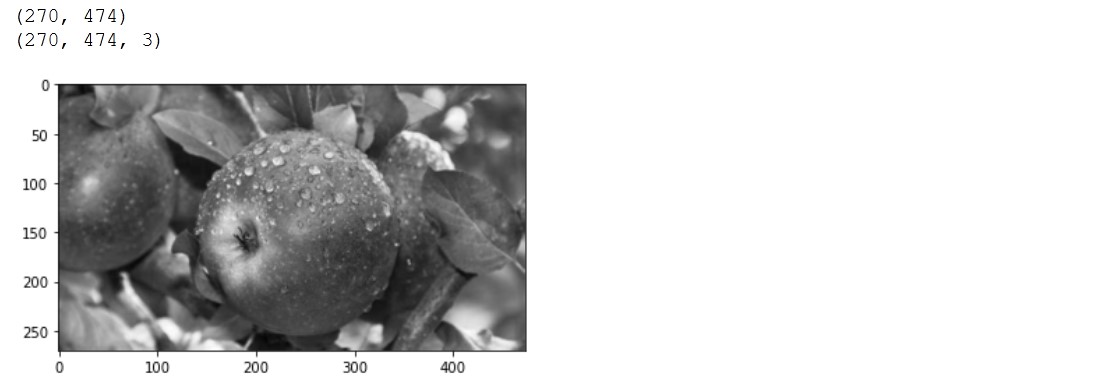
tags: image & category: python