- Saved searches
- Use saved searches to filter your results more quickly
- License
- Nikorasu/MatrixCode
- Name already in use
- Sign In Required
- Launching GitHub Desktop
- Launching GitHub Desktop
- Launching Xcode
- Launching Visual Studio Code
- Latest commit
- Git stats
- Files
- README.md
- Implementing the Matrix Code Rain effect in Python (3 ways)
- 1. Digital
- 2. The letter
- Picture 3.
- Create Matrix Effect In Python With Code
- Matrix Effect Python Code
- Matrix Effect in Python Explanation
- Summary
Saved searches
Use saved searches to filter your results more quickly
You signed in with another tab or window. Reload to refresh your session. You signed out in another tab or window. Reload to refresh your session. You switched accounts on another tab or window. Reload to refresh your session.
Matrix-style code-rain terminal animations!
License
Nikorasu/MatrixCode
This commit does not belong to any branch on this repository, and may belong to a fork outside of the repository.
Name already in use
A tag already exists with the provided branch name. Many Git commands accept both tag and branch names, so creating this branch may cause unexpected behavior. Are you sure you want to create this branch?
Sign In Required
Please sign in to use Codespaces.
Launching GitHub Desktop
If nothing happens, download GitHub Desktop and try again.
Launching GitHub Desktop
If nothing happens, download GitHub Desktop and try again.
Launching Xcode
If nothing happens, download Xcode and try again.
Launching Visual Studio Code
Your codespace will open once ready.
There was a problem preparing your codespace, please try again.
Latest commit
Git stats
Files
Failed to load latest commit information.
README.md
A Matrix-style Code-Rain animation
This is a Python terminal animation, designed to mimic the look of «the code» as seen in the movie «The Matrix». It doesn’t use the curses library, and should work on both Windows and Linux. If your terminal can’t display unicode characters, set KANA to False.
This was my original simple method, which merely prints random characters in columns, without storing them, then prints empty spaces a randomly set distance above the start, to erase as it animates down. It uses the terminal default colors for dark green, bright green, & white. Tho those can be customized, and I also added a few other configurable options to the top of the files.
More advanced version, has a nice fade-effect, supports custom colors, and even has a random color rainbow-mode. The color can be specified using HSV hue values (1-360), either by editing the COLOR setting on line 8, or from the terminal as an argument when running the code. Any integer from 1 to 360 is valid, 0 is reserved for the random color mode. Default is 120 for Green. Other common colors:
Orange = 30, Yellow = 60, Blue = 240, Purple = 270, Pink = 300, Red = 360
So in order to change the color to Blue, run using: python matrix2.py 240
Or to use the random color mode, run using: python matrix2.py 0
If you like my projects and want to help me keep making more, please consider donating on my Ko-fi page! Thanks!
This program is free software: you can redistribute it and/or modify it under the terms of the GNU General Public License as published by the Free Software Foundation. This program is distributed in the hope that it will be useful, but WITHOUT ANY WARRANTY; without even the implied warranty of MERCHANTABILITY or FITNESS FOR A PARTICULAR PURPOSE. See the GNU General Public License for more details. You should have received a copy of the GNU General Public License along with this program. If not, see: https://www.gnu.org/licenses/gpl-3.0.html Copyright (c) 2022 Nikolaus Stromberg — nikorasu85@gmail.com
Implementing the Matrix Code Rain effect in Python (3 ways)
Speaking of the movie «The Matrix», I believe that most of you have seen or heard of the movie, there is a scene in the movie number rain, if you have seen the movie, should be impressed by this classic scene, in this article we use Python to achieve this effect in the form of numbers, letters, and pictures.
1. Digital
First, let’s implement digital rain, we need to create a window to display content, window creation using PyGame library, code implementation is as follows:
FONT_PX = 15 pygame.init() winSur = pygame.display.set_mode((500.600)) font = pygame.font.SysFont('fangsong'.20) bg_suface = pygame.Surface((500.600), flags=pygame.SRCALPHA) pygame.Surface.convert(bg_suface) bg_suface.fill(pygame.Color(0.0.0.13)) winSur.fill((0.0.0)) # Numbers texts = [font.render(str(i), True, (0.255.0)) for i in range(10)] colums = int(500 / FONT_PX) drops = [0 for i in range(colums)] while True: for event in pygame.event.get(): if event.type == pygame.QUIT: exit() pygame.time.delay(33) winSur.blit(bg_suface, (0.0)) for i in range(len(drops)): text = random.choice(texts) winSur.blit(text, (i * FONT_PX, drops[i] * FONT_PX)) drops[i] += 1 if drops[i] * 10 600 or random.random() 0.95: drops[i] = 0 pygame.display.flip() Copy the codeThe implementation effect is as follows:
2. The letter
Then, we will realize the letter rain, the basic way is to realize the above digital rain number into letters, the code is as follows:
PANEL_width = 400 PANEL_highly = 500 FONT_PX = 15 pygame.init() Create a window winSur = pygame.display.set_mode((PANEL_width, PANEL_highly)) font = pygame.font.SysFont('123.ttf'.22) bg_suface = pygame.Surface((PANEL_width, PANEL_highly), flags=pygame.SRCALPHA) pygame.Surface.convert(bg_suface) bg_suface.fill(pygame.Color(0.0.0.28)) winSur.fill((0.0.0)) letter = ['q'.'w'.'e'.'r'.'t'.'y'.'u'.'i'.'o'.'p'.'a'.'s'.'d'.'f'.'g'.'h'.'j'.'k'.'l'.'z'.'x'.'c'.'v'.'b'.'n'.'m'] texts = [ font.render(str(letter[i]), True, (0.255.0)) for i in range(26)]You can put several columns of coordinates on the artboard and generate a list column = int(PANEL_width / FONT_PX) drops = [0 for i in range(column)] while True: Get the event from the queue for event in pygame.event.get(): if event.type == pygame.QUIT: exit() elif event.type == pygame.KEYDOWN: chang = pygame.key.get_pressed() if (chang[32]): exit() # pause the given number of milliseconds pygame.time.delay(30) # Re-edit the image winSur.blit(bg_suface, (0.0)) for i in range(len(drops)): text = random.choice(texts) # Reedit the image of each coordinate point winSur.blit(text, (i * FONT_PX, drops[i] * FONT_PX)) drops[i] += 1 if drops[i] * 10 PANEL_highly or random.random() 0.95: drops[i] = 0 pygame.display.flip() Copy the codeThe implementation effect is as follows:
Picture 3.
Finally, we use the image to achieve this effect, the image let’s use the raindrop, here we use tkinter to create the window, the code implementation is as follows:
# ordinate of initial raindrop INIT_HEIGHT = 10 # raindrop create def rainmake(canvas, imagefile) : rainlist = [] for i in range(5) :# Create a row of raindrops based on the picture rainlist.append(canvas.create_image(100 + 80 * i, INIT_HEIGHT, anchor=NE, image=imagefile)) return rainlist # Raindrops fall def raindown(tk, canvas, imagefile, sec) : # wait between threads time.sleep(sec) rainlist = rainmake(canvas, imagefile) # The ordinate value of each drop height = [INIT_HEIGHT] * 10 while True: # Wait a little before each move time.sleep(0.2) # 5 raindrops moving together for i in range(5) :# If the raindrop word reaches the bottom, do not continue to move if not height[i] == 0: Set the fall pace rnd = random.randint(5.50) canvas.move(rainlist[i], 0, rnd) height[i] = height[i] + rnd tk.update() for i,h in enumerate(height): if h 400: Delete the raindrop word when it reaches the bottom canvas.delete(rainlist[i]) tk.update() # Empty the height of the raindrop height[i] = 0 print(i,h,height) # all to the end, then out of the loop if height == [0] * 5: print('break:',threading.current_thread().name) break def lookloop(tk, canvas, thread) : aliveflg = False while True: # 5s test once time.sleep(5) for th in thread: if th.is_alive(): aliveflg = True else: aliveflg = False if aliveflg == False: break canvas.create_text(100 , 200, text='The rain has stopped. ', fill='red') canvas.pack() time.sleep(5) tk.destroy() Copy the codeThe implementation effect is as follows:
The source code is available in Python 200513.
Create Matrix Effect In Python With Code
Last updated June 6, 2023 by Jarvis Silva In this python tutorial I will show you how to create a matrix effect in python programming, the matrix effect is just a bunch of 0 and 1 numbers printing in the terminal, It is also called the matrix rain effect. If you are a beginner to python then don’t worry, I will show you step by step how to create the matrix rain effect in python and also provide you with the matrix rain code in python.
Matrix Effect Python Code
import os import time import random os.system('color 0a') nums = [1,0] tm = 0 while tm < 30: print(random.randrange(1,5)* " ", random.choice(nums),random.randrange(1,5)* " ", random.choice(nums),random.randrange(1,5)* " ", random.choice(nums),random.randrange(1,5)* " ", random.choice(nums),random.randrange(1,5)* " ", random.choice(nums),random.randrange(1,5)* " ", random.choice(nums),random.randrange(1,5)* " ", random.choice(nums),random.randrange(1,5)* " ", random.choice(nums),random.randrange(1,5)* " ", random.choice(nums),random.randrange(1,5)* " ", random.choice(nums),random.randrange(1,5)* " ", random.choice(nums),random.randrange(1,5)* " ", random.choice(nums),random.randrange(1,5)* " ", random.choice(nums),random.randrange(1,5)* " ", random.choice(nums),random.randrange(1,5)* " ", random.choice(nums),random.randrange(1,5)* " ", random.choice(nums),random.randrange(1,5)* " ", random.choice(nums),random.randrange(1,5)* " ", random.choice(nums),random.randrange(1,5)* " ", random.choice(nums),random.randrange(1,5)* " ", random.choice(nums),random.randrange(1,5)* " ", random.choice(nums),random.randrange(1,5)* " ", random.choice(nums),random.randrange(1,5)* " ", random.choice(nums),random.randrange(1,5)* " ", random.choice(nums),random.randrange(1,5)* " ", random.choice(nums),random.randrange(1,5)* " ", random.choice(nums),random.randrange(1,5)* " ", random.choice(nums),random.randrange(1,5)* " ", random.choice(nums),random.randrange(1,5)* " ", random.choice(nums),random.randrange(1,5)* " ", random.choice(nums),random.randrange(1,5)* " ", random.choice(nums),random.randrange(1,5)* " ", random.choice(nums),random.randrange(1,5)* " ", random.choice(nums),random.randrange(1,5)* " ", random.choice(nums),random.randrange(1,5)* " ", random.choice(nums),random.randrange(1,5)* " ", random.choice(nums),random.randrange(1,5)* " ", random.choice(nums),random.randrange(1,5)* " ", random.choice(nums),) tm = tm + 0.1 time.sleep(0.1) Above is the matrix effect python code. First create a new folder on your computer for this project, open it in a code editor of your choice, create a python file and copy and paste the above python code in your file. We have not used any external libraries for this project, so you don’t have to install anything. Now to run it you can use an online python compiler or run it on your computer. I will recommend you to run it on your computer because it does not show the color in the online python compiler. Don’t have python installed on your computer, you can refer to this guide to install python: Install and setup python on computer.
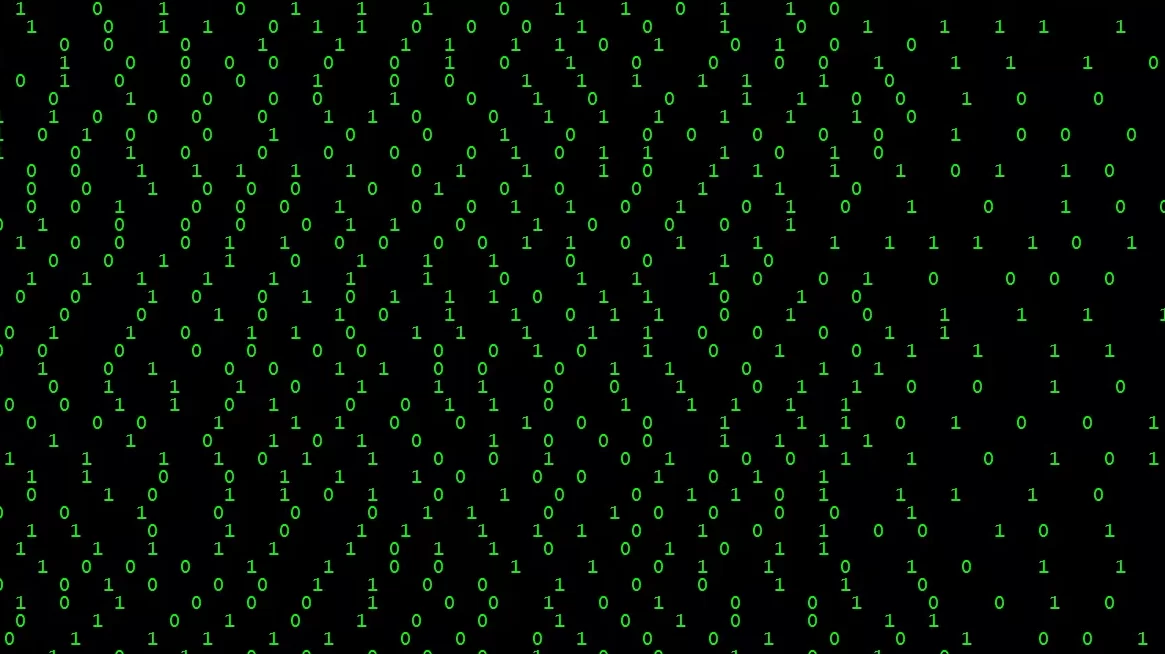
To run the program, open a command prompt or terminal at your project folder location and paste the above command to start the program. The program will start and you will see that the console text is green and it goes on printing 0 and 1 creating a matrix effect, below is an example output of this program. As you can see, we have successfully created the matrix effect in python programming. I hope you were able to run this program successfully.
Matrix Effect in Python Explanation
We have seen how to create a matrix effect using python in code. Now let’s see and understand how this python code work.
import os import time import random - os - It provides methods to interact with the operating system.
- time - You can use this to handle time related tasks.
- random - You can use this to generate random numbers.
Above are the only modules we need for this program, and now you know why we need them.
os.system('color 0a') nums = [1,0] Then we have these 2 lines of code. The first line is responsible to change the command prompt or terminal text to green.
Second line is a list with 1 and 0. These are the numbers which we want in the matrix effect. You can add any other number you want to add in the matrix effect.
Now we have a while loop which will run till tm variable is 30 inside the while loop. We print the matrix of 1 and 0 by using the below line.
print(random.randrange(1,5)* " ",random.choice(nums)) This line chooses a random number from the nums list and adds random space to it and prints it. You can first test it with just one statement; it will not cover the whole space in the terminal.
So I have printed it multiple times so it covers the whole area of the terminal, making it look like a matrix effect.
As you can see from the above code we increment the tm variable by 0.1, so the loop does not run infinitely, it will stop when it reaches 30.
Lastly, we use the time.sleep() function which pauses the program for 0.1 seconds which makes the matrix effect look more real.
Summary
This was the tutorial on how to create a matrix effect using python programming. I hope you found this tutorial helpful and useful. Do share it with your friends who might be interested in this python program.
Here are some more python guides you might find helpful:
I hope you found what you were looking for from this tutorial. If you want more python tutorials like this, then do join our Telegram channel for future updates.
Thanks for reading, have a nice day 🙂