- Super Simple Lightbox With CSS and jQuery
- The Lightbox Demo We’re Building
- Step 1: The Markup
- Step 2: The CSS
- Step 3: Notes on CSS in Internet Explorer
- Step 4: Lightbox HTML
- Step 5: Lightbox CSS Black Overlay
- Создаем эффект lightbox при помощи CSS3
- How to Create a Lightbox Using HTML, CSS, and JavaScript
- Our Images
- Just Show Me The Code!
- Step 1. The Markup
- Step 2. Style with CSS
- Step 3. JavaScript
- All The Code
- More Information:
- HTML
- CSS
- JavaScript
- Resources:
Super Simple Lightbox With CSS and jQuery
Rather than using a bloated plugin that has features you’ll never use, this tutorial shows you how to create a super simple lightbox for handling images. It’s perfect for image galleries, portfolios, and more!
The Lightbox Demo We’re Building
Step 1: The Markup
Open up your favorite text editor (I use Coda) and let’s start with our HTML markup.
Our super simple lightbox demo. Here are the image links:
href="img.jpg" class="lightbox_trigger"> href="img2.jpg" class="lightbox_trigger"> 
Note: We used the class lightbox_trigger on every link that has an image we want to show in our lightbox. This becomes useful when we want to target those elements in the script we will write.
Step 2: The CSS
Let’s apply some basic CSS styling to our page. For this basic example, we will place all our CSS in tags within the section.
text-align:center; /* used to center div in IE */

Now we have a simple but elegant page in which we can test out our lightbox window.
Step 3: Notes on CSS in Internet Explorer
We used margin: 0 auto; to center our #wrapper div horizontally on the page. This works great for all browsers except. drum roll. you guessed it, Internet Explorer. To fix this issue, we used text-align:center; on the body tag which centers child divs (in our case, the #wrapper div) horizontally on the page.
However, using text-align:center; on the body tag will center align all text in child divs as well. To fix this, we reset text-align:left; in the #wrapper div to restore all further child content to left alignment. Check out communitymx.com if you’re interested in learning more about this particular IE issue.
Step 4: Lightbox HTML
This is what our lightbox HTML markup will look like. However, do not insert it into the HTML markup. We will do that dynamically with jQuery. Understanding the lightbox HTML markup allows us to style it with CSS accordingly.
Note: There is no value for the image src because that will be dependent upon which link is clicked by the user. Hence, we will use javascript to insert the value dynamically later on.
Step 5: Lightbox CSS Black Overlay
Let’s go ahead and insert the CSS for our lightbox. By doing this now, our page elements will display properly later on when we dynamically insert our HTML.
First we have our #lightbox div which acts as the black overlay. We want this to fill the user’s entire viewport, no matter the screen resolution.
position:fixed; /* keeps the lightbox window in the current viewport */
Создаем эффект lightbox при помощи CSS3
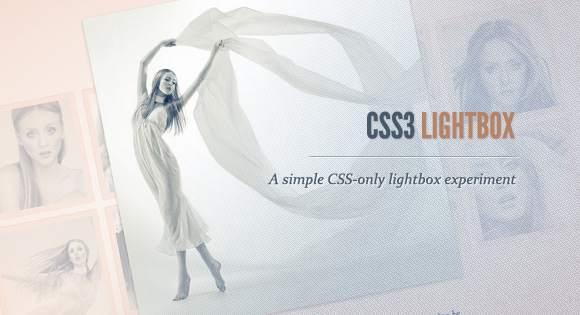
Сегодня мы хотим показать вам, как создать эффект lightbox, используя только CSS. Идея заключается в создании нескольких миниатюр, при клике по которым показывается соответствующее большое изображение. Используя CSS переходы и анимацию, мы можем сделать появление большого изображения различными симпатичными способами.
С помощью псевдо-класса :target, мы сможем показывать изображения и переходить по ним.
Красивые изображения, используемые в демо-примерах, от Joanna Kustra, они используются на условиях лицензии Attribution-NonCommercial 3.0 Unported Creative Commons License.
Обратите внимание, что эти примеры будут работать только в браузерах, которые поддерживают псевдо класс :target.
HTML-разметка
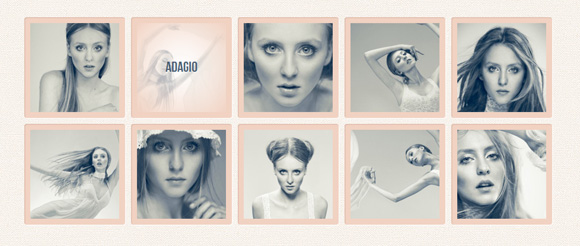
Сначала создадим набор миниатюр, каждая из которых имеет название, которое будет отображаться при наведении курсора. При нажатии на миниатюру, мы будем показывать большую версию изображения в блоке с классом lb-overlay, который изначально будет спрятан. Итак, мы будем использовать неупорядоченный список, где каждый элемент списка будет содержать миниатюру и блок с соответствующим большим изображением:
 Pointe
 pointe /point/
Dance performed on the tips of the toes
ПредыдущийСледующийx Закрыть
Якорь в миниатюрах, например, href=»#image-1″ будет указывать на элемент с id image-1, который представляет собой div классом lb-overlay. Для того, чтобы переходить по изображениям, мы добавим две ссылки, которые указывают на предыдущее и следующее (большое) изображение.
Для того, чтобы «закрыть» lightbox, мы будем просто кликать на ссылку с классом lb-close, которая указывает на элемент с ID page, который является, в нашем примере, тегом body.
Обратите внимание, что мы используем навигацию только в последнем демо-примере.
Теперь давайте обратимся к стилям.
CSS
Я буду опускать префиксы различных браузеров для некоторых новых свойств, чтобы не перегружать статью. Но их можно, конечно, найти в исходных файлах.
Ниже представлены стили нашего основного слоя, неупорядоченного списка и миниатюр:
.lb-album < width: 900px; margin: 0 auto; font-family: 'BebasNeueRegular', 'Arial Narrow', Arial, sans-serif; >.lb-album li < float: left; margin: 5px; position: relative; >.lb-album li > a, .lb-album li > a img < display: block; >.lb-album li > a
Название каждой миниатюры будут невидимым и мы будем добавлять переход для непрозрачности, которая станет равной 1, когда мы наведем курсор мыши на якорь миниатюры. Мы будем использовать гладкий радиальный градиент в качестве фона:
.lb-album li > a span < position: absolute; width: 150px; height: 150px; top: 10px; left: 10px; text-align: center; line-height: 150px; color: rgba(27,54,81,0.8); text-shadow: 0px 1px 1px rgba(255,255,255,0.6); font-size: 24px; opacity: 0; background: radial-gradient( center, ellipse cover, rgba(255,255,255,0.56) 0%, rgba(241,210,194,1) 100% ); transition: opacity 0.3s linear; >.lb-album li > a:hover span
Слоя наложения будет иметь такой же радиальный градиент, также мы установим свойство position равное fixed, с нулевой высотой и шириной:
Как только мы нажмем на миниатюру, мы раскроем на весь экран этот блок поверх остальных, но сначала давайте посмотрим на дочерние элементы.
Давайте зададим стили для основного названия и описания:
.lb-overlay > div < position: relative; color: rgba(27,54,81,0.8); width: 550px; height: 80px; margin: 40px auto 0px auto; text-shadow: 0px 1px 1px rgba(255,255,255,0.6); >.lb-overlay div h3, .lb-overlay div p < padding: 0px 20px; width: 200px; height: 60px; >.lb-overlay div h3 < font-size: 36px; float: left; text-align: right; border-right: 1px solid rgba(27,54,81,0.4); >.lb-overlay div h3 span, .lb-overlay div p < font-size: 16px; font-family: Constantia, Palatino, serif; font-style: italic; >.lb-overlay div h3 span < display: block; line-height: 6px; >.lb-overlay div p
Изображение будет иметь максимальную высоту 100%. Мы также добавим переход для создания полупрозрачности. Как только мы «откроем» большое изображение, прозрачность будет анимирована. Позже мы увидим, как мы можем использовать анимацию для изображения.
.lb-prev, .lb-next < text-indent: -9000px; position: absolute; top: -32px; width: 24px; height: 25px; left: 50%; opacity: 0.8; >.lb-prev:hover, .lb-next:hover < opacity: 1; >.lb-prev < margin-left: -30px; background: transparent url(../images/arrows.png) no-repeat top left; >.lb-next < margin-left: 6px; background: transparent url(../images/arrows.png) no-repeat top right; >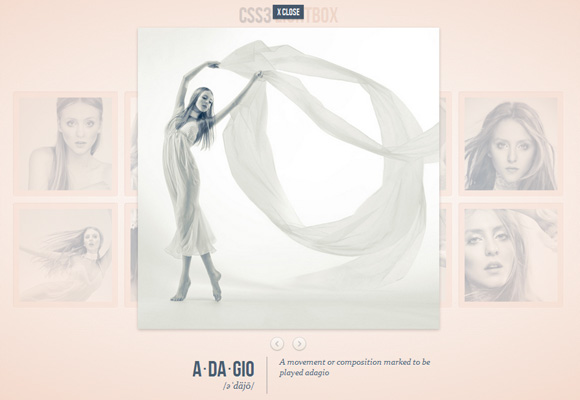
Когда мы нажимаем на якорь миниатюры, он будет указывать на соответствующее большое изображение, которое находится в блоке с классом lb-overlay. Таким образом, с целью нахождения этого элемента мы можем использовать псевдо-класс :target. Мы добавим padding для lb-overlay и «растянем» его, установив ширину и высоту auto (это на самом деле не обязательно) и установим right и bottom равные 0px. Помните, что мы уже установили top и left раньше.
.lb-overlay:target img, .lb-overlay:target a.lb-close
Давайте также посмотрим на два других варианта, которые мы используем в примере 1 и примере 2.
В первом примере мы сделали так, что изображение появляется с помощью анимации, изменяя его масштаб и увеличивает его значение непрозрачности:
.lb-overlay:target img < animation: fadeInScale 1.2s ease-in-out; >@keyframes fadeInScale < 0% < transform: scale(0.6); opacity: 0; >100% < transform: scale(1); opacity: 1; >> .lb-overlay:target img < animation: scaleDown 1.2s ease-in-out; >@-webkit-keyframes scaleDown < 0% < transform: scale(10,10); opacity: 0; >100% < transform: scale(1,1); opacity: 1; >> Демо-примеры
Как вы увидите, каждый браузер работает совершенно по-разному, когда речь идет о переходах/анимации. Регулируя длительность, временные функции и задержки, вы сможете сделать эффекты более гладкими, т.е. вы можете изменить время анимации для Firefox только изменив -moz-свойства.
Это все! Я надеюсь, вам понравились эти примеры! Mary Lou
How to Create a Lightbox Using HTML, CSS, and JavaScript

A lightbox is a combination of two components, a modal and a slide show. Here you will construct a simple lightbox using HTML , CSS and JavaScript .
The lightbox will be contained in the modal, which will be triggered by some JavaScript , from event handlers in the HTML markup. You will build styles which will provide state with CSS and behavior with JavaScript . You will also find a reference list of the methods you use and other useful tid-bits that are related to this tutorial, at the bottom.
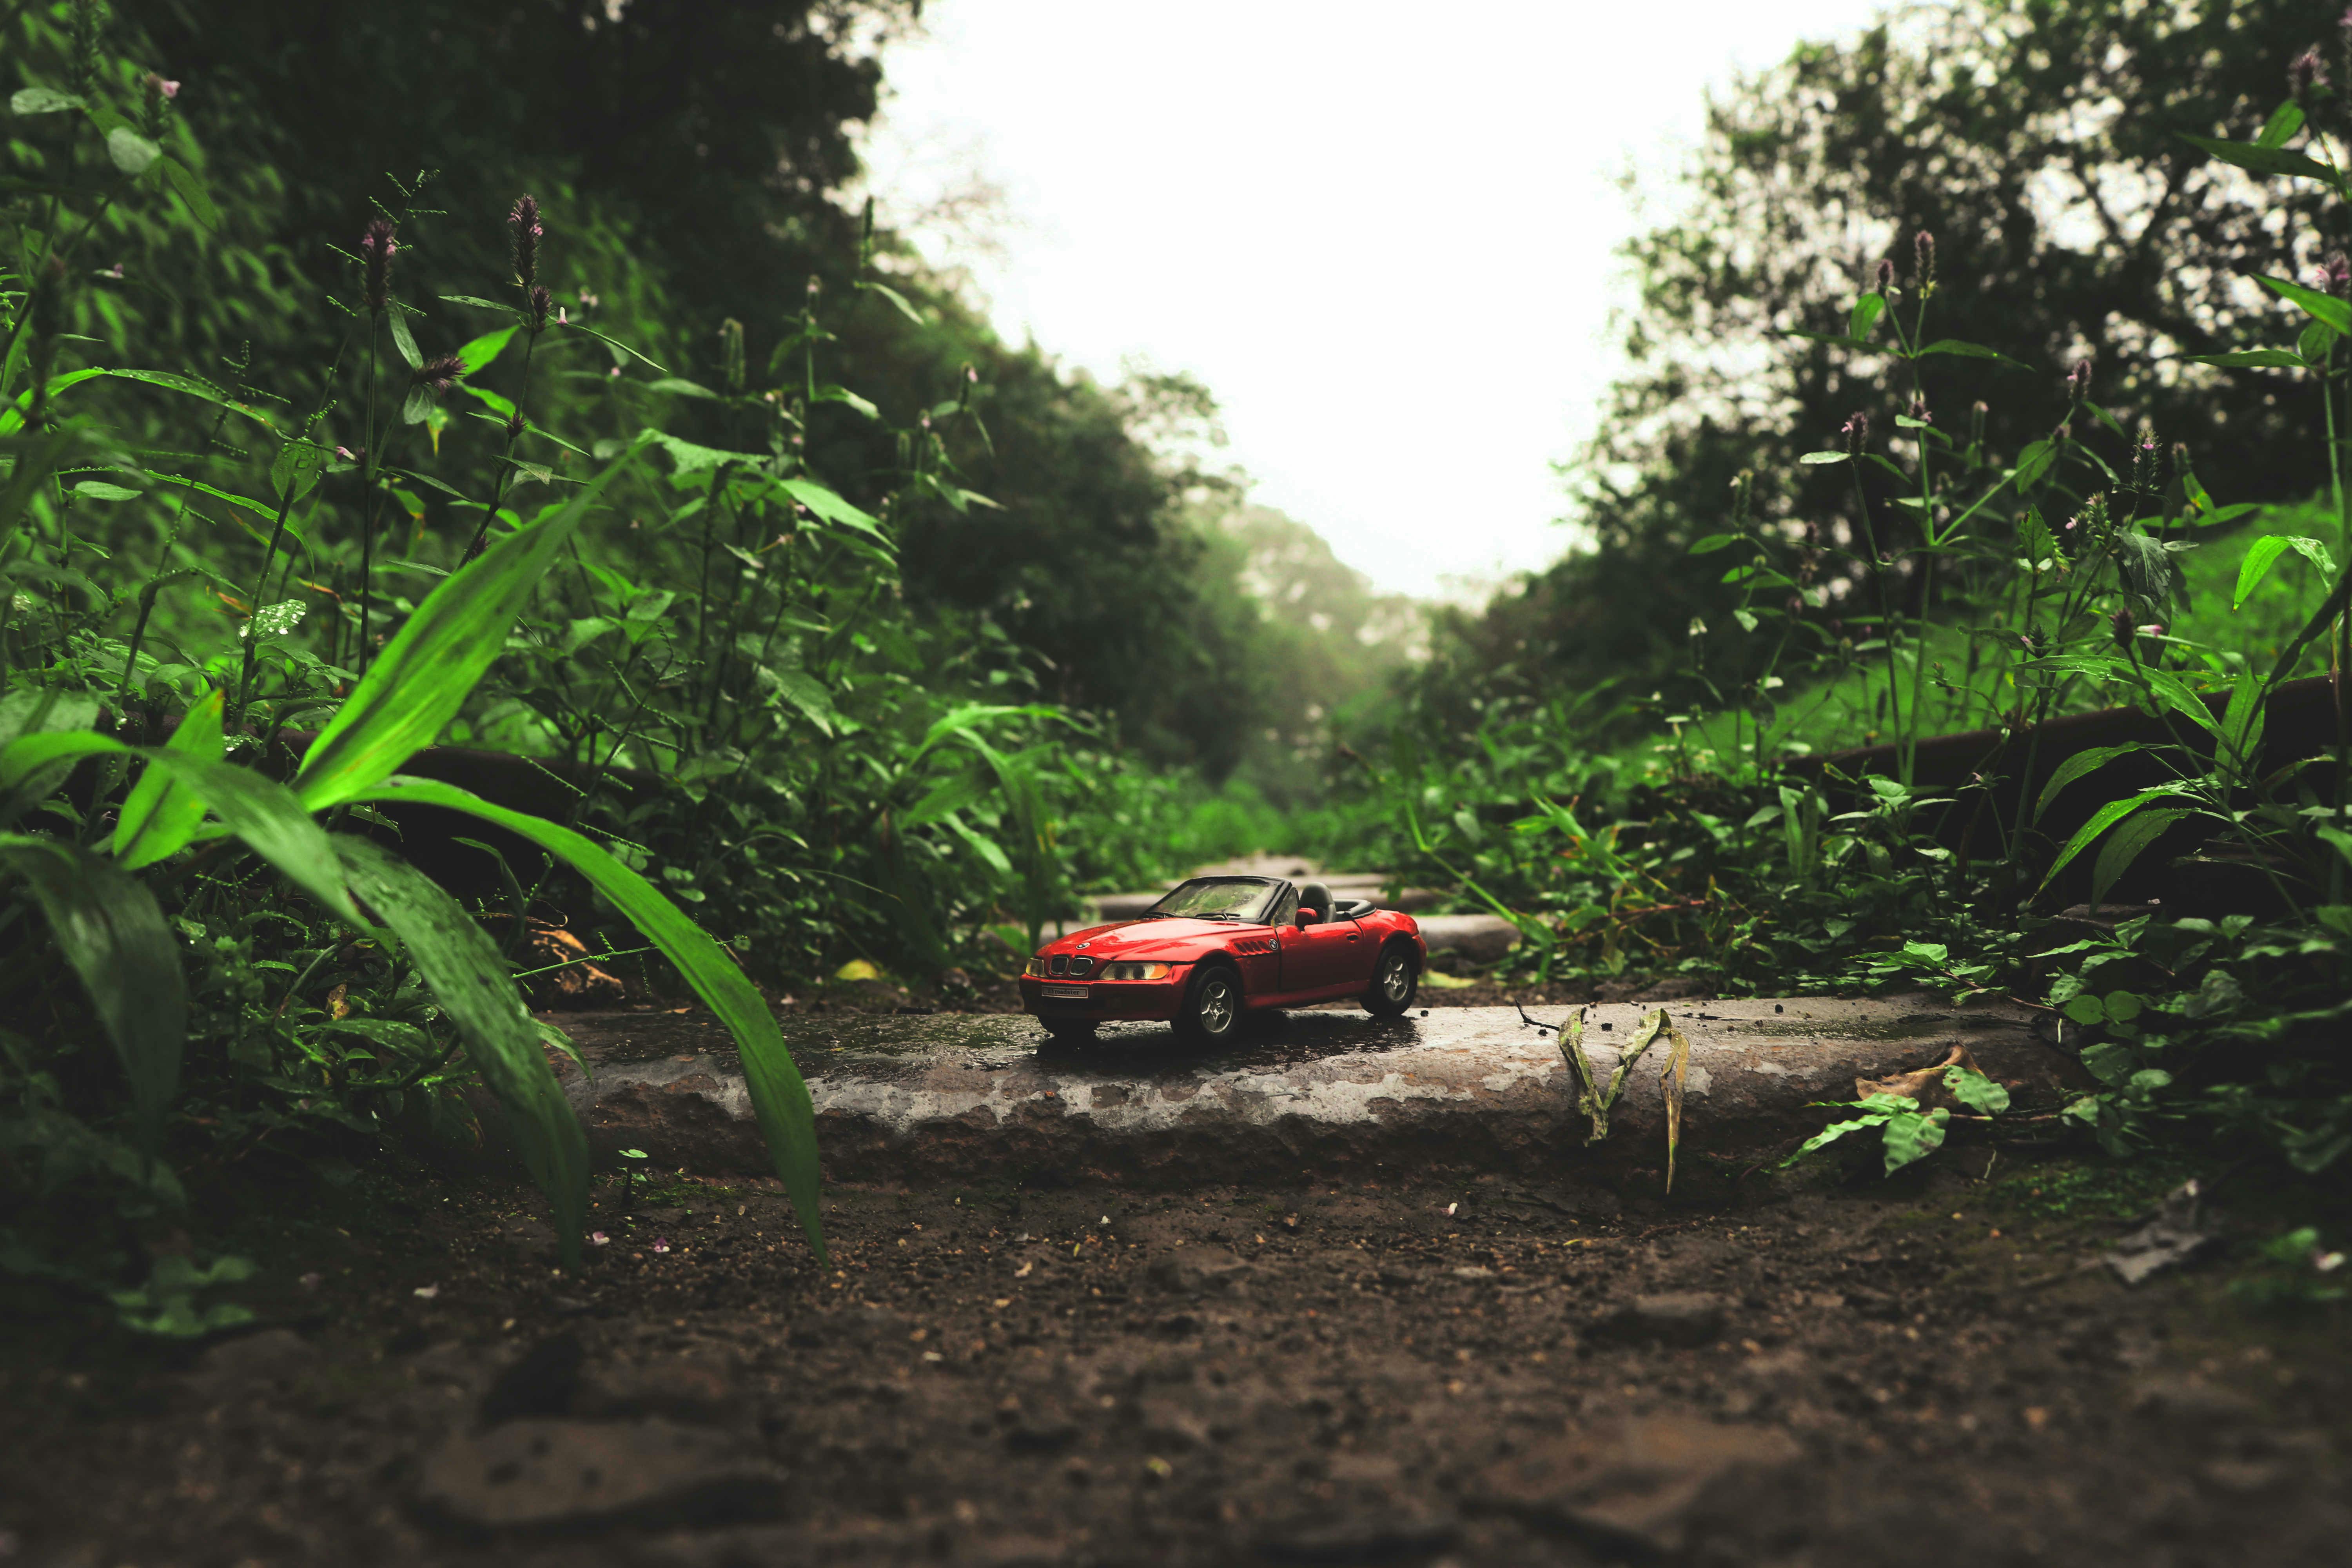
Our Images
The images we will be using are being supplied by Pexels, a free stock photo gallery that allows you to provide high quality images to their projects fast, free and usually with no attributions needed.
Just Show Me The Code!
A live example can be found here — CodePen/Lightbox and a full draft of the code is near the bottom.
Step 1. The Markup
The markup, or HTML , provides the structure for the lightbox.
× ❮ ❯ 

Step 2. Style with CSS
The CSS provides you with different states for your lightbox. Things like visibility, positioning, and hover effects.
Your style sheet should look like this:
/* Here you provide a best practice's "reset", read more about it at the bottom! :) */ html < box-sizing: border-box; >*, *:before, *:after < box-sizing: inherit; >body < margin: 0; >/* You define the style of our previews here, you are using flex to display the images "responsively". */ .preview < width: 100%; >.row < display: flex; flex-direction: row; justify-content: space-between; >.row > .col < padding: 0 8px; >.col < float: left; width: 25%; >/* Now you want to define what the lightbox will look like. Note that you have the display as none. You don't want it to show until the user clicks on one of the previews. You will change this display property with JavaScript below. */ .modal < display: none; position: fixed; z-index: 1; padding: 10px 62px 0px 62px; left: 0; top: 0; width: 100%; height: 100%; overflow: auto; background-color: black; >.modal-content < position: relative; display: flex; flex-direction: column; justify-content: center; margin: auto; padding: 0 0 0 0; width: 80%; max-width: 1200px; >/* Same with your slides, you set the display to none, because you want to choose which one is shown at a time. */ .slide < display: none; >.image-slide < width: 100%; >.modal-preview < width: 100%; >.dots < display: flex; flex-direction: row; justify-content: space-between; >/* You want the previews a little transparent to show that they are "inactive". You then add an .active or :hover class to animate the selections for your user when they interact with your controls and clickable content. */ img.preview, img.modal-preview < opacity: 0.6; >img.active, .preview:hover, .modal-preview:hover < opacity: 1; >img.hover-shadow < transition: 0.3s; >.hover-shadow:hover < box-shadow: 0 4px 8px 0 rgba(0, 0, 0, 0.2), 0 6px 20px 0 rgba(0, 0, 0, 0.19); >.close < color: white; position: absolute; top: 10px; right: 25px; font-size: 35px; font-weight: bold; >.close:hover, .close:focus < color: #999; text-decoration: none; cursor: pointer; >.previous, .next < cursor: pointer; position: absolute; top: 50%; width: auto; padding: 16px; margin-top: -50px; color: white; font-weight: bold; font-size: 20px; transition: 0.6s ease; border-radius: 0 3px 3px 0; user-select: none; -webkit-user-select: none; >.next < right: 0; border-radius: 3px 0 0 3px; >.previous:hover, .next:hover
Step 3. JavaScript
Now to business! Your JavaScript should look like this:
// Initialize here and run showSlide() to give your lightbox a default state. let slideIndex = 1; showSlide(slideIndex); // You are providing the functionality for your clickable content, which is // your previews, dots, controls and the close button. function openLightbox() < document.getElementById('Lightbox').style.display = 'block'; >function closeLightbox() < document.getElementById('Lightbox').style.display = 'none'; >; // Note that you are assigning new values here to our slidIndex. function changeSlide(n) < showSlide(slideIndex += n); >; function toSlide(n) < showSlide(slideIndex = n); >; // This is your logic for the light box. It will decide which slide to show // and which dot is active. function showSlide(n) < const slides = document.getElementsByClassName('slide'); let modalPreviews = document.getElementsByClassName('modal-preview'); if (n >slides.length) < slideIndex = 1; >; if (n < 1) < slideIndex = slides.length; >; for (let i = 0; i < slides.length; i++) < slides[i].style.display = "none"; >; for (let i = 0; i < modalPreviews.length; i++) < modalPreviews[i].className = modalPreviews[i].className.replace(' active', ''); >; slides[slideIndex - 1].style.display = 'block'; modalPreviews[slideIndex - 1].className += ' active'; >;And thats it! Now put all the code together. You should now have a functional lightbox.
All The Code
html < box-sizing: border-box; >*, *:before, *:after < box-sizing: inherit; >body < margin: 0; >.preview < width: 100%; >.row < display: flex; flex-direction: row; justify-content: space-between; >.row > .col < padding: 0 8px; >.col < float: left; width: 25%; >.modal < display: none; position: fixed; z-index: 1; padding: 10px 62px 0px 62px; left: 0; top: 0; width: 100%; height: 100%; overflow: auto; background-color: black; >.modal-content < position: relative; display: flex; flex-direction: column; justify-content: center; margin: auto; padding: 0 0 0 0; width: 80%; max-width: 1200px; >.slide < display: none; >.image-slide < width: 100%; >.modal-preview < width: 100%; >.dots < display: flex; flex-direction: row; justify-content: space-between; >img.preview, img.modal-preview < opacity: 0.6; >img.active, .preview:hover, .modal-preview:hover < opacity: 1; >img.hover-shadow < transition: 0.3s; >.hover-shadow:hover < box-shadow: 0 4px 8px 0 rgba(0, 0, 0, 0.2), 0 6px 20px 0 rgba(0, 0, 0, 0.19); >.close < color: white; position: absolute; top: 10px; right: 25px; font-size: 35px; font-weight: bold; >.close:hover, .close:focus < color: #999; text-decoration: none; cursor: pointer; >.previous, .next < cursor: pointer; position: absolute; top: 50%; width: auto; padding: 16px; margin-top: -50px; color: white; font-weight: bold; font-size: 20px; transition: 0.6s ease; border-radius: 0 3px 3px 0; user-select: none; -webkit-user-select: none; >.next < right: 0; border-radius: 3px 0 0 3px; >.previous:hover, .next:hover × ❮ ❯ More Information:
HTML
Event Handlers — HTML properties that listen for user events.
Entity — A string that represents a reserved charactor in HTML.
CSS
box-sizing: — A CSS3 property that controls the way the browser renders content based on height and width.
Flex-box — A new technology that helps with positioning HTML content in a responsive mannor.
:hover — A pseudo-selector that gets triggered when a user hovers over an element when this class is assigned to it.
JavaScript
getElementById() — A document method that returns a reference to an HTML element.
getElementsByClassName() — A document method that returns an array of references to the html that have matching classes.
+= — an assignment operator which will add numbers or concatenate strings.
Resources:
Live Example — A CodePen that demos the above code.
Interactive Flex-Box — An interactive CodePen that shows flex-box behavior.
Pexels — A free stock photo gallery.
MDN — A great place for information about web stuff.
W3School — Lightbox — This code was inspired from here. Thanks W3Schools!