- 28 CSS Slideshows
- Table Of Contents
- Related Articles
- Vertical Slideshows
- Author
- Links
- Made with
- About a code
- Doggie Screensaver
- Author
- Links
- Made with
- About a code
- CSS Slideshow
- Author
- Links
- Made with
- About the code
- Slideshow Vanilla JS
- Author
- Links
- Made with
- About the code
- Untitled Slider
- Author
- Links
- Made with
- About the code
- Parallax Slideshow
- Split Slick Slideshow
- Slideshow Presentation
- Dual Slideshow
- A Pure CSS3 Slideshow
- Horizontal Slideshows
- Author
- Links
- Made with
- About the code
- CSS-only Slideshow
- Author
- Links
- Made with
- About the code
- Rotating Background Image Slideshow
- Author
- Links
- Made with
- About the code
- Slideshow with HTML/CSS
- Author
- Links
- Made with
- About the code
- Spooky Scary Clip Text
- Author
- Links
- Made with
- About the code
- Slideshow Concept
- Author
- Links
- Made with
- About the code
- Silhouette Zoom Slideshow
- Author
- Links
- Made with
- About the code
- Geometrical Birds — Slideshow
- Author
- Links
- Made with
- About the code
- Bubble Slideshow Component
- Author
- Links
- Made with
- About the code
- Slideshow Parallax
- Split-Screen Slideshow
- Only CSS Slideshow Effect
- Slick Slideshow With Blur Effect
- CSS Fadeshow
- Author
- Создаем анимированное слайдшоу на CSS
- Возможное решение
- How TO — Slideshow
- Slideshow / Carousel
- Create A Slideshow
- Example
- Example
- Example
- Automatic Slideshow
- Example
- Multiple Slideshows
- Example
28 CSS Slideshows
Collection of free HTML and CSS slideshow code: simple, responsive, animated, horizontal, vertical, etc. Update of March 2019 collection. 4 new example.
Table Of Contents
Related Articles
Vertical Slideshows
Author
Links
Made with
About a code
Doggie Screensaver
Pretty hacky attempt at recreating the floating screensaver for the photo gallery.
Compatible browsers: Chrome, Edge, Firefox, Opera, Safari
Author
Links
Made with
About a code
CSS Slideshow
Compatible browsers: Chrome, Edge, Firefox, Opera, Safari

Author
Links
Made with
About the code
Slideshow Vanilla JS
Custom slideshow with staggered transitions. Built in vanilla JS.

Author
Links
Made with
About the code
Untitled Slider
A small experiment which quickly turned into something more.

Author
Links
Made with
About the code
Parallax Slideshow
HTML, CSS and JS slideshow with parallax effect.

Split Slick Slideshow
Vertical slideshow in split screen.
Made by Fabio Ottaviani
March 29, 2017

Slideshow Presentation
Navigate using the up and down arrow keys.
Made by Keith Driessen
March 9, 2016

Dual Slideshow
Just playing around with a dual pane slideshow concept.
Made by Jacob Davidson
April 17, 2015

A Pure CSS3 Slideshow
The transition treats each part of the photo as a blind, closes them all together, and when they are open again, a new photo is revealed underneath.
Made by Stathis
October 3, 2013
Horizontal Slideshows
Author
Links
Made with
About the code
CSS-only Slideshow
An idea for a page header slideshow.
Compatible browsers: Chrome, Edge, Firefox, Opera, Safari
Author
Links
Made with
About the code
Rotating Background Image Slideshow
Compatible browsers: Chrome, Edge, Firefox, Opera, Safari
Author
Links
Made with
About the code
Slideshow with HTML/CSS
Slideshow made with HTML/CSS. Any javascript code is used.
Compatible browsers: Chrome, Edge, Firefox, Opera, Safari
Author
Links
Made with
About the code
Spooky Scary Clip Text
Spooky CSS only image slideshow with text clipping.
Compatible browsers: Chrome, Firefox, Opera, Safari
Author
Links
Made with
About the code
Slideshow Concept
A pure CSS and HTML slideshow concept. To add or remove slides: 1. add a new slide template in the HTML; 2. update the $slide-count SCSS variable; 3. tab colours: update the $c-slides SCSS variable 4. slide popout images: update the $b-slides SCSS variable. Use the tabs below to change slide.
Compatible browsers: Chrome, Edge, Firefox, Opera, Safari

Author
Links
Made with
About the code
Silhouette Zoom Slideshow
Slide show where the person in the current frame is used to zoom into the next frame.

Author
Links
Made with
About the code
Geometrical Birds — Slideshow
83 triangles morphing and changing color into different birds.

Author
Links
Made with
About the code
Bubble Slideshow Component
This is a Vue component that uses clip-path for an interesting slideshow transition effect.

Author
Links
Made with
About the code
Slideshow Parallax
Slideshow Parallax with TweenMax.js

Split-Screen Slideshow
HTML, CSS and JavaScript split-screen slideshow.
Made by Sean Free
January 9, 2017

Only CSS Slideshow Effect
Ken Burns slideshow effect CSS only.
Made by Dima
December 12, 2016

Slick Slideshow With Blur Effect
Slideshow with blur effect in HTML, CSS and JavaScript.
Made by Fabio Ottaviani
November 11, 2016

CSS Fadeshow
This is an extended version of pure CSS slideshow gallery http://codepen.io/alexerlandsson/pen/RaZdox which comes with more and easier customisation and previous/next buttons.
Made by Alexander Erlandsson
October 24, 2016
Author
Создаем анимированное слайдшоу на CSS
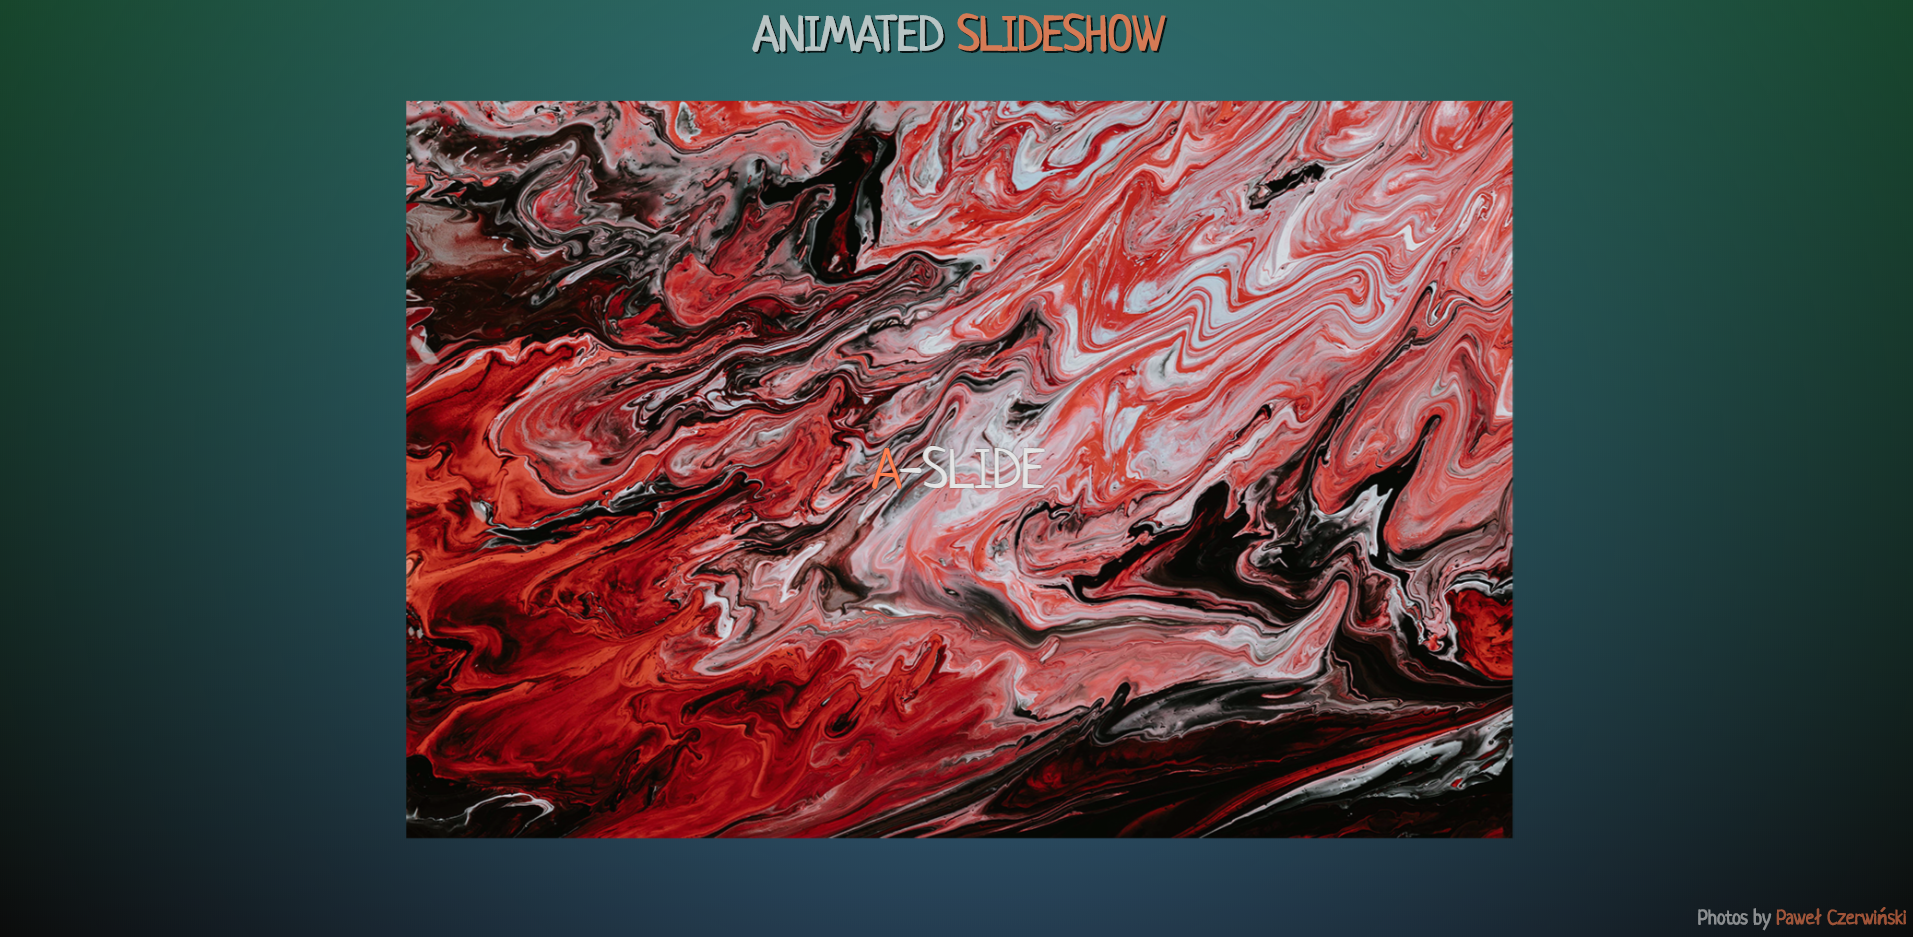
Сделать анимированное слайдшоу средствами CSS. Слайдшоу можно использовать, например, в торжественных случаях для вывода фото на экран через проектор. Посредством зацикливания выводимые фото могут служить фоном для торжественной речи.
Возможное решение
Для слайдшоу возьмем странные «макрофото» Paweł Czerwiński (они прикольные).
Итак, поехали.
Наша разметка будет выглядеть так:

a-slide
b-slide
c-slide
d-slide
e-slide
f-slide


Фото обернуты в класс «slideshow», который используется для выравнивания элементов по горизонтали и вертикали.
.slideshow имеет следующие стили:
У нас имеется 6 фото. Каждому фото присвоен класс «i_номер фото». Под каждым фото — подпись с классом «p_номер фото».
Img имеет следующие стили:
Время анимации зависит от количества фото и времени показа каждой фотографии. В данном случае: 6 фотографий по 6 секунд каждая.
@keyframes slideshow < from < opacity: 0; filter: grayscale(100%); >5% < opacity: 1; filter: grayscale(50%); >10% < opacity: 1; filter: grayscale(0); transform: scale(1.1); >15% < opacity: 1; filter: blur(0); >20% < opacity: 0; filter: blur(2px); transform: scale(0.9); >25% < opacity: 0; >> Мы используем лишь 25% анимации, но в шесть шагов. 25% — это четвертая часть, поэтому фотографии будут немного накладываться друг на друга. Поскольку мы реализуем эффект «fade in-fade out», т.е. работаем с прозрачностью, это как раз то, что нам нужно.
С помощью «filter: grayscale» мы насыщаем цветом выводимую (обесцвеченную) фотографию, с помощью «transform: scale» мы масштабируем фото немного вперед при выводе и немного назад при замещении, с помощью «filter: blur» мы размываем замещаемую фотографию.
Далее работаем с отдельными фото:
.slideshow .i_1 < animation-delay: 6s; transform: translateX(-100px) rotate(-3deg); >.slideshow .i_2 < animation-delay: 12s; transform: translateX(100px) rotate(3deg); >.slideshow .i_3 < animation-delay: 18s; transform: translateY(-100px) rotate(3deg); >.slideshow .i_4 < animation-delay: 24s; transform: translateY(100px) rotate(-3deg); >.slideshow .i_5 < animation-delay: 30s; transform: rotate(-6deg); >.slideshow .i_6
Устанавливаем каждой фотографии задержку анимации (6 секунд первой и +6 секунд каждой последующей). Для разнообразия смещаем и поворачиваем каждое фото с помощью «transform: translate rotate» (значения подбирались опытным путем).
С фото закончили. Теперь займемся подписями.
Время анимации подписей соответствует времени анимации фото.
Анимация подписей выглядит намного проще:
Отдельную подпись выводим также с помощью задержки анимации:
.slideshow .p_1 < animation-delay: 7s; >.slideshow .p_2 < animation-delay: 13s; >.slideshow .p_3 < animation-delay: 19s; >.slideshow .p_4 < animation-delay: 25s; >.slideshow .p_5 < animation-delay: 31s; >.slideshow .p_6
Обратите внимание, что задержка анимации подписей на 1 секунду больше соответствующих значений фото. Это сделано для того, чтобы выводить подписи после появления и трансформации конкретной фотографии.
Вот и все. По-моему, получилось просто, но интересно.
Результат можно посмотреть здесь.
How TO — Slideshow
Learn how to create a responsive slideshow with CSS and JavaScript.
Slideshow / Carousel
A slideshow is used to cycle through elements:


Create A Slideshow
Step 1) Add HTML:
Example


Step 2) Add CSS:
Style the next and previous buttons, the caption text and the dots:
Example
/* Slideshow container */
.slideshow-container max-width: 1000px;
position: relative;
margin: auto;
>
/* Hide the images by default */
.mySlides display: none;
>
/* Next & previous buttons */
.prev, .next cursor: pointer;
position: absolute;
top: 50%;
width: auto;
margin-top: -22px;
padding: 16px;
color: white;
font-weight: bold;
font-size: 18px;
transition: 0.6s ease;
border-radius: 0 3px 3px 0;
user-select: none;
>
/* Position the «next button» to the right */
.next right: 0;
border-radius: 3px 0 0 3px;
>
/* On hover, add a black background color with a little bit see-through */
.prev:hover, .next:hover background-color: rgba(0,0,0,0.8);
>
/* Caption text */
.text color: #f2f2f2;
font-size: 15px;
padding: 8px 12px;
position: absolute;
bottom: 8px;
width: 100%;
text-align: center;
>
/* Number text (1/3 etc) */
.numbertext color: #f2f2f2;
font-size: 12px;
padding: 8px 12px;
position: absolute;
top: 0;
>
/* The dots/bullets/indicators */
.dot cursor: pointer;
height: 15px;
width: 15px;
margin: 0 2px;
background-color: #bbb;
border-radius: 50%;
display: inline-block;
transition: background-color 0.6s ease;
>
.active, .dot:hover background-color: #717171;
>
/* Fading animation */
.fade animation-name: fade;
animation-duration: 1.5s;
>
Step 3) Add JavaScript:
Example
let slideIndex = 1;
showSlides(slideIndex);
// Next/previous controls
function plusSlides(n) showSlides(slideIndex += n);
>
// Thumbnail image controls
function currentSlide(n) showSlides(slideIndex = n);
>
function showSlides(n) let i;
let slides = document.getElementsByClassName(«mySlides»);
let dots = document.getElementsByClassName(«dot»);
if (n > slides.length)
if (n < 1)
for (i = 0; i < slides.length; i++) slides[i].style.display = "none";
>
for (i = 0; i < dots.length; i++) dots[i].className = dots[i].className.replace(" active", "");
>
slides[slideIndex-1].style.display = «block»;
dots[slideIndex-1].className += » active»;
>
Automatic Slideshow
To display an automatic slideshow, use the following code:
Example
let slideIndex = 0;
showSlides();
function showSlides() let i;
let slides = document.getElementsByClassName(«mySlides»);
for (i = 0; i < slides.length; i++) slides[i].style.display = "none";
>
slideIndex++;
if (slideIndex > slides.length)
slides[slideIndex-1].style.display = «block»;
setTimeout(showSlides, 2000); // Change image every 2 seconds
>
Multiple Slideshows
Example
let slideIndex = [1,1];
/* Class the members of each slideshow group with different CSS classes */
let slideId = [«mySlides1», «mySlides2»]
showSlides(1, 0);
showSlides(1, 1);
function plusSlides(n, no) showSlides(slideIndex[no] += n, no);
>
function showSlides(n, no) let i;
let x = document.getElementsByClassName(slideId[no]);
if (n > x.length)
if (n < 1)
for (i = 0; i < x.length; i++) x[i].style.display = "none";
>
x[slideIndex[no]-1].style.display = «block»;
>