How to add a custom right-click menu to a webpage?
I want to add a custom right-click menu to my web application. Can this be done without using any pre-built libraries? If so, how to display a simple custom right-click menu which does not use a 3rd party JavaScript library? I’m aiming for something like what Google Docs does. It lets users right-click and show the users their own menu. NOTE: I want to learn how to make my own versus using something somebody made already since most of the time, those 3rd party libraries are bloated with features whereas I only want features that I need so I want it to be completely hand-made by me.
This is definitely not a duplicate. As the question require answers without 3rd party libraries, and the other one is likely to use Jquery (I wanted to write a context Google’s drive like context menu inside a userscript).
just today I found two more good examples (I think) about this: DEMO 1 // DEMO 2 (this demo need jquery UI) I hope help to anybody, bb.
Just want to point out that the HTML5 context menu is only supported in some versions of Firefox and as far as I can tell nothing else supports it. Chrome as of Version 61 does not support it.
For people using React — native-menu replicates all of the existing functionality (copy, open in new tab, search on google etc.) whilst looking native (applies different styles depending on the browser). demo
21 Answers 21
Answering your question — use contextmenu event, like below:
if (document.addEventListener) < document.addEventListener('contextmenu', function(e) < alert("You've tried to open context menu"); //here you draw your own menu e.preventDefault(); >, false); > else < document.attachEvent('oncontextmenu', function() < alert("You've tried to open context menu"); window.event.returnValue = false; >); >But you should ask yourself, do you really want to overwrite default right-click behavior — it depends on application that you’re developing.
Tested on Opera 11.01, Firefox 3.6.13, Chrome 9, Safari 5 (all 4 via addEventListener) and IE 8 (attachEvent).
@Shashwat You know place, where user has clicked, and you don’t have original menu. Create a container in that place and display your menu there.
@shanehoban When you look into code, you will see this line e.preventDefault(); . This is why regular menu isn’t shown. What you can do is to create some conditional logic which checks, if key is pressed while right clicking and then NOT calling e.preventDefault() — you will get regular browser menu then.
«But you should ask yourself, do you really want to overwrite default right-click behavior» — There is an important difference between this solution and the implementation in the answer below by @MohamedIqzas (stackoverflow.com/a/16481062/264097). In the answer below the default context menu is suppressed only for a certain HTML element, not for the whole document. This makes it much less intrusive.
Was very useful for me. For the sake of people like me, expecting the drawing of menu, I put here the code I used to make the right-click menu:
$(document).ready(function() < if ($("#test").addEventListener) < $("#test").addEventListener('contextmenu', function(e) < alert("You've tried to open context menu"); //here you draw your own menu e.preventDefault(); >, false); > else < //document.getElementById("test").attachEvent('oncontextmenu', function() < //$(".test").bind('contextmenu', function() < $('body').on('contextmenu', 'a.test', function() < //alert("contextmenu"+event); document.getElementById("rmenu").className = "show"; document.getElementById("rmenu").style.top = mouseY(event) + 'px'; document.getElementById("rmenu").style.left = mouseX(event) + 'px'; window.event.returnValue = false; >); > >); // this is from another SO post. $(document).bind("click", function(event) < document.getElementById("rmenu").className = "hide"; >); function mouseX(evt) < if (evt.pageX) < return evt.pageX; >else if (evt.clientX) < return evt.clientX + (document.documentElement.scrollLeft ? document.documentElement.scrollLeft : document.body.scrollLeft); >else < return null; >> function mouseY(evt) < if (evt.pageY) < return evt.pageY; >else if (evt.clientY) < return evt.clientY + (document.documentElement.scrollTop ? document.documentElement.scrollTop : document.body.scrollTop); >else < return null; >>.show < z-index: 1000; position: absolute; background-color: #C0C0C0; border: 1px solid blue; padding: 2px; display: block; margin: 0; list-style-type: none; list-style: none; >.hide < display: none; >.show li < list-style: none; >.show a < border: 0 !important; text-decoration: none; >.show a:hover
@Schism Suffixed mouseY(event) and mouseX(event) with px to make it work as expected: http://jsfiddle.net/a6w7n64o/.
@Adelphia — Anything not native and not created by yourself is third party. jQuery really isn’t all that bloated with extra stuff. Not to the degree that it would slow anything down. It’s very useful and the same jQuery used in this answer could easily be converted to standard JavaScript commands. It may not be 100% inline with the request in the original question, but it’s definitely 95% inline with it.
@TheDukeOfMarshallשלם I wasn’t asking anyone to write the code for me, just to explain how to do it. The selected answer did that perfectly.
In firefox 39 the default contextmenu still shows up over the top of the custom menu. Also the custom menu dismisses instantly after displaying.
@Matt I had the same problem with Firefox 58. This post describes a solution, which works for me: stackoverflow.com/a/40545465/2922675 You disable event-propagation for document and register your context-menu-handler on the window object. Here is an adjusted fiddle: jsfiddle.net/jjgkLe3g/1
A combination of some nice CSS and some non-standard html tags with no external libraries can give a nice result (JSFiddle)
Note: the menu tag does not exist, I’m making it up (you can use anything)
#ctxMenu < display:none; z-index:100; >menu < position:absolute; display:block; left:0px; top:0px; height:20px; width:20px; padding:0; margin:0; border:1px solid; background-color:white; font-weight:normal; white-space:nowrap; >menu:hover < background-color:#eef; font-weight:bold; >menu:hover > menu < display:block; >menu > menu < display:none; position:relative; top:-20px; left:100%; width:55px; >menu[title]:before < content:attr(title); >menu:not([title]):before
The JavaScript is just for this example, I personally remove it for persistent menus on windows
var notepad = document.getElementById("notepad"); notepad.addEventListener("contextmenu",function(event)< event.preventDefault(); var ctxMenu = document.getElementById("ctxMenu"); ctxMenu.style.display = "block"; ctxMenu.style.left = (event.pageX - 10)+"px"; ctxMenu.style.top = (event.pageY - 10)+"px"; >,false); notepad.addEventListener("click",function(event)< var ctxMenu = document.getElementById("ctxMenu"); ctxMenu.style.display = ""; ctxMenu.style.left = ""; ctxMenu.style.top = ""; >,false); Also note, you can potentially modify menu > menu to menu > menu for a menu that expands from right to left. You would need to add a margin or something somewhere though
You might want to add return false; at the end of the function that handles the «contextmenu» event to support more browsers(-versions).
@PhilippeCarphin you can use what ever tags you want. Anchor tags probably make better sense. Also, the menu[title]:before is the magic that injects the title into the tag, so you dont have to use this and can fill out the content in the tags as you see fit
According to the answers here and on other ‘flows, I’ve made a version that looks like the one of Google Chrome, with css3 transition. JS Fiddle
Lets start easy, since we have the js above on this page, we can worry about the css and layout. The layout that we will be using is an element with a element or a font awesome icon ( ) and a to show the keyboard shortcuts. So this is the structure:
We will put these in a div and show that div on the right-click. Let’s style them like in Google Chrome, shall we?
Now we will add the code from the accepted answer, and get the X and Y value of the cursor. To do this, we will use e.clientX and e.clientY . We are using client, so the menu div has to be fixed.
var i = document.getElementById("menu").style; if (document.addEventListener) < document.addEventListener('contextmenu', function(e) < var posX = e.clientX; var posY = e.client[. ] And that is it! Just add the css transisions to fade in and out, and done!
var i = document.getElementById("menu").style; if (document.addEventListener) < document.addEventListener('contextmenu', function(e) < var posX = e.clientX; var posY = e.clientY; menu(posX, posY); e.preventDefault(); >, false); document.addEventListener('click', function(e) < i.opacity = "0"; setTimeout(function() < i.visibility = "hidden"; >, 501); >, false); > else < document.attachEvent('oncontextmenu', function(e) < var posX = e.clientX; var posY = e.clientY; menu(posX, posY); e.preventDefault(); >); document.attachEvent('onclick', function(e) < i.opacity = "0"; setTimeout(function() < i.visibility = "hidden"; >, 501); >); > function menu(x, y) body < background: white; font-family: sans-serif; color: #5e5e5e; >#menu < visibility: hidden; opacity: 0; position: fixed; background: #fff; color: #555; font-family: sans-serif; font-size: 11px; -webkit-transition: opacity .5s ease-in-out; -moz-transition: opacity .5s ease-in-out; -ms-transition: opacity .5s ease-in-out; -o-transition: opacity .5s ease-in-out; transition: opacity .5s ease-in-out; -webkit-box-shadow: 2px 2px 2px 0px rgba(143, 144, 145, 1); -moz-box-shadow: 2px 2px 2px 0px rgba(143, 144, 145, 1); box-shadow: 2px 2px 2px 0px rgba(143, 144, 145, 1); padding: 0px; border: 1px solid #C6C6C6; >#menu a < display: block; color: #555; text-decoration: none; padding: 6px 8px 6px 30px; width: 250px; position: relative; >#menu a img, #menu a i.fa < height: 20px; font-size: 17px; width: 20px; position: absolute; left: 5px; top: 2px; >#menu a span < color: #BCB1B3; float: right; >#menu a:hover < color: #fff; background: #3879D9; >#menu hr
CSS3 and JAVASCRIPT custom menu.
Stephan Stanisic | Lisence free Right-click anywhere on this page to open the custom menu. Styled like the Google Chrome contextmenu. And yes, you can use font-awesome
Lisence
"THE PIZZA-WARE LICENSE" (Revision 42):
You can do whatever you want with this stuff. If we meet some day, and you think this stuff is worth it, you can buy me a Pizza in return.
https://github.com/KLVN/UrbanDictionary_API#license
(The white body background is just because I hate the light blue editor background on the result on jsfiddle)  AdBlock Plus Ctrl + ?! SNTX Ctrl + ?!
Fort Awesome Ctrl + ?! Font Awesome Ctrl + ?!  AdBlock Plus
  SNTX
SNTX Обработка нажатия правой кнопки мыши (oncontextmenu)
Что происходит при нажатии правой кнопки мыши в окне браузера? Появится контекстное меню, внешний вид и набор функций которого будет зависеть от типа браузера и того места, куда вы кликнули.
А что, если мы захотели заблокировать браузерное контекстное меню и показать собственное? Возможно? Да. К сожалению не кроссбраузерно, но код приведенный ниже будет работать в Gecko, Safari и IE. Opera таких возможностей по умолчанию не предоставляет.
Для начала прорисуем три DIV-а, в 2-х из которых покажем собственное контекстное меню, а в третьем оставим дефолтное браузерное.
Как видите, отлов нажатия правой кнопки происходит с помощью события oncontextmenu. Для написания кода функции menu необходимы следующие составляющие:
– Функция для добавления обработчиков событий. Используется для скрытия собственного контекстного меню при кликах в других частях документа.
– Функция для определения координат указателя мыши. Используется для определения положения, в котором мы покажем контекстное меню.
Блокировать всплывание стандартного браузерного меню можно элементарно возвращая false.
// Функция для определения координат указателя мыши
function defPosition ( event ) {
var x = y = 0 ;
if ( document. attachEvent != null ) { // Internet Explorer & Opera
x = window. event . clientX + ( document. documentElement . scrollLeft ? document. documentElement . scrollLeft : document. body . scrollLeft ) ;
y = window. event . clientY + ( document. documentElement . scrollTop ? document. documentElement . scrollTop : document. body . scrollTop ) ;
} else if ( !document. attachEvent && document. addEventListener ) { // Gecko
x = event. clientX + window. scrollX ;
y = event. clientY + window. scrollY ;
} else {
// Do nothing
}
return { x:x, y:y } ;
}
// Закрываем контекстное при клике левой или правой кнопкой по документу
// Функция для добавления обработчиков событий
function addHandler ( object, event, handler, useCapture ) {
if ( object. addEventListener ) {
object. addEventListener ( event, handler, useCapture ? useCapture : false ) ;
} else if ( object. attachEvent ) {
object. attachEvent ( 'on' + event, handler ) ;
} else alert ( "Add handler is not supported" ) ;
}
addHandler ( document, "contextmenu" , function ( ) {
document. getElementById ( "contextMenuId" ) . style . display = "none" ;
} ) ;
addHandler ( document, "click" , function ( ) {
document. getElementById ( "contextMenuId" ) . style . display = "none" ;
} ) ;
Пример:
Замечание:
Выражение "правая кнопка мыши" в данной статье не стоит понимать в буквальном смысле, т.к. пользователь может настроить свою мышь так, что функции правой будет выполнять левая кнопка 😉 На работе скриптов это естественно никак не отразится.
Делаем новое контекстное меню на странице
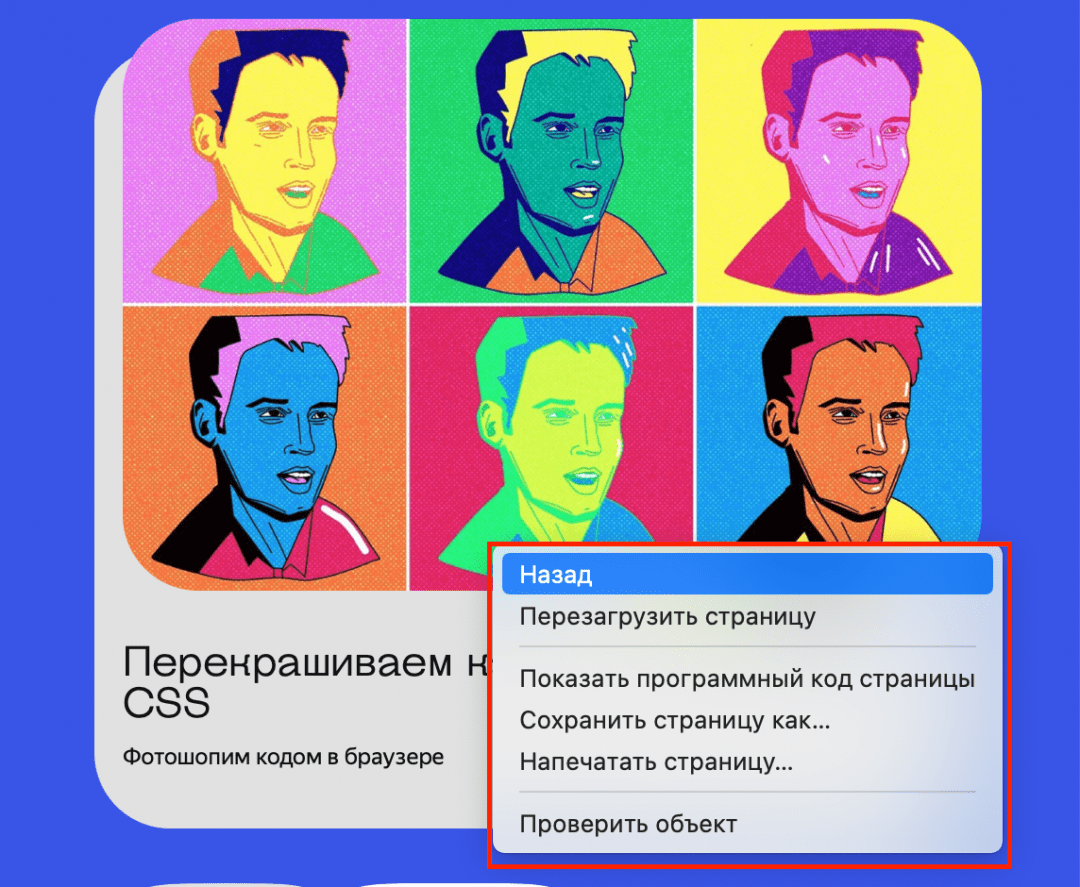
Если мы нажмём на правую кнопку мыши на любой странице, то увидим контекстное меню браузера:
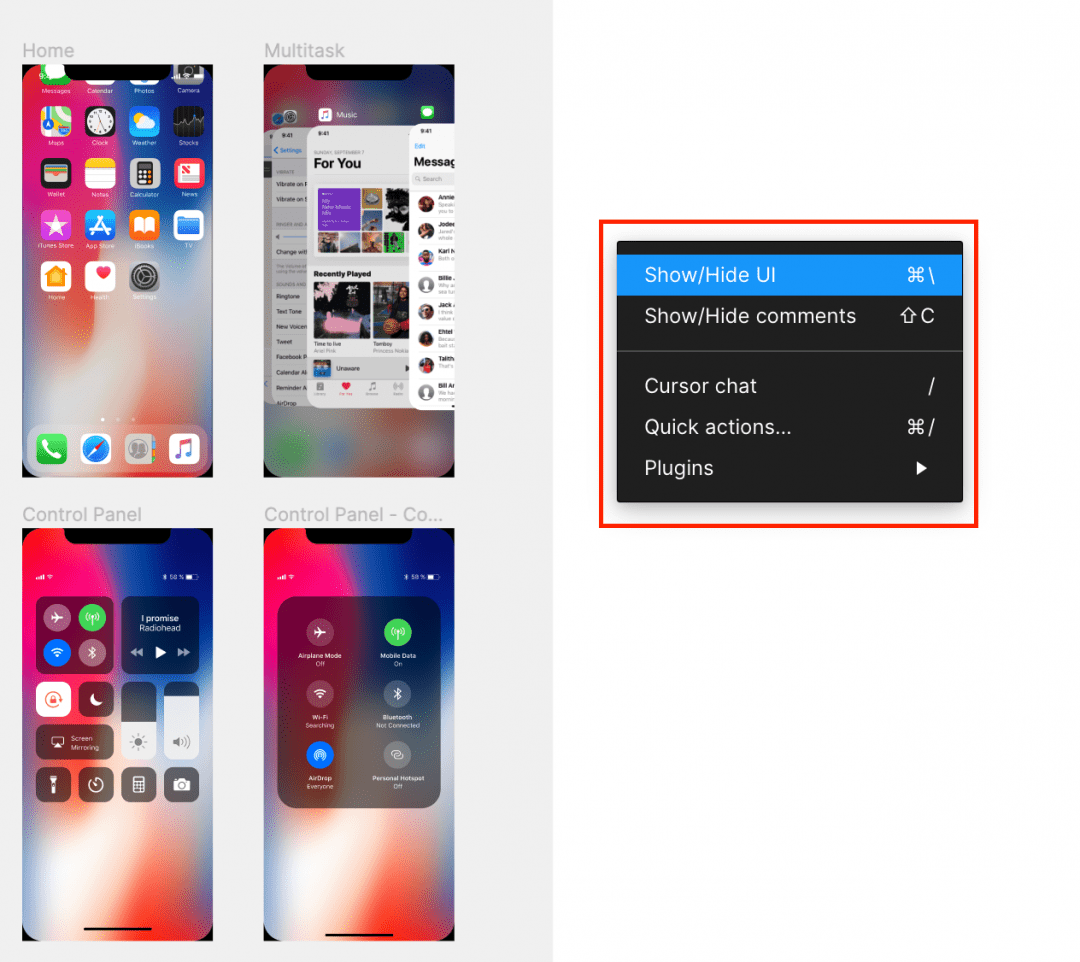
Но в некоторых онлайн-сервисах, например в Фигме, появляется не стандартное контекстное меню, а другое, связанное с работой сервиса.
Сегодня расскажем, как сделать такое меню у себя на странице и что для этого потребуется.
Готовим страницу
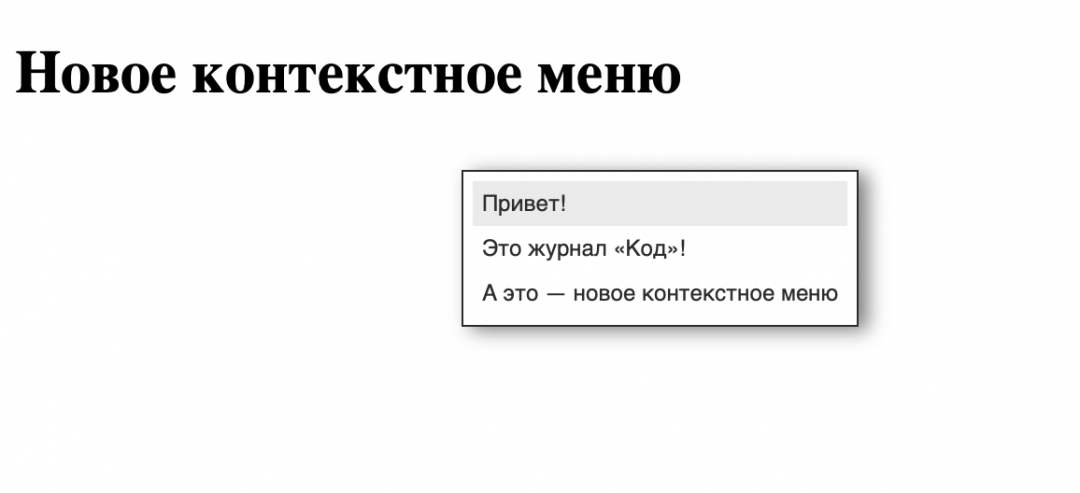
Так как единственное, что нам нужно, — это контекстное меню, то на странице разместим один заголовок, и всё. Можно даже его не добавлять, но тогда будет непонятно, загрузилась страница или нет.
Новое контекстное меню
Подключаем библиотеку и отключаем стандартное контекстное меню
Чтобы всё сработало, подключим jQuery — через него мы будем работать с новым меню:
Добавляем тег на страницу, и первое, что нам нужно, — отключить стандартное контекстное меню:
// запрещаем вызов стандартного меню
document.oncontextmenu = function() ;
Теперь по нажатии на правую кнопку мыши мы не увидим ничего, а значит, новое меню нам нужно нарисовать самим.
Рисуем меню
Логика нового меню будет такая:
- Ждём, пока страница полностью загрузится.
- Как только нажата правая кнопка мыши — создаём новый блок на странице.
- В этом блоке простым списком добавляем наши пункты меню.
- Делаем этот блок видимым.
- Если нажата любая другая кнопка мыши — убираем этот блок.
Хитрость здесь будет в том, что мы будем в конце убирать контекстное меню не моментально, а с задержкой в 10 миллисекунд. Если делать без задержки, то меню просто не будет работать — в момент нажатия на любой пункт скрипт сразу скроет меню и обработать нажатие уже не получится. Чтобы скрипт успевал среагировать на выбор любого пункта, сделаем паузу в 10 миллисекунд — глазу незаметно, а скрипт успеет сработать.
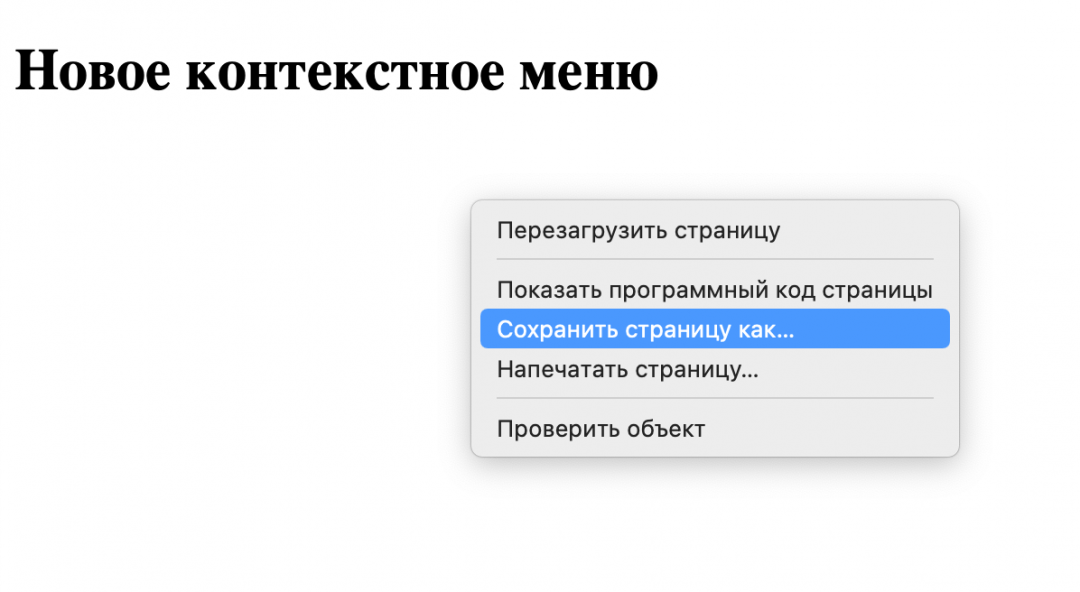
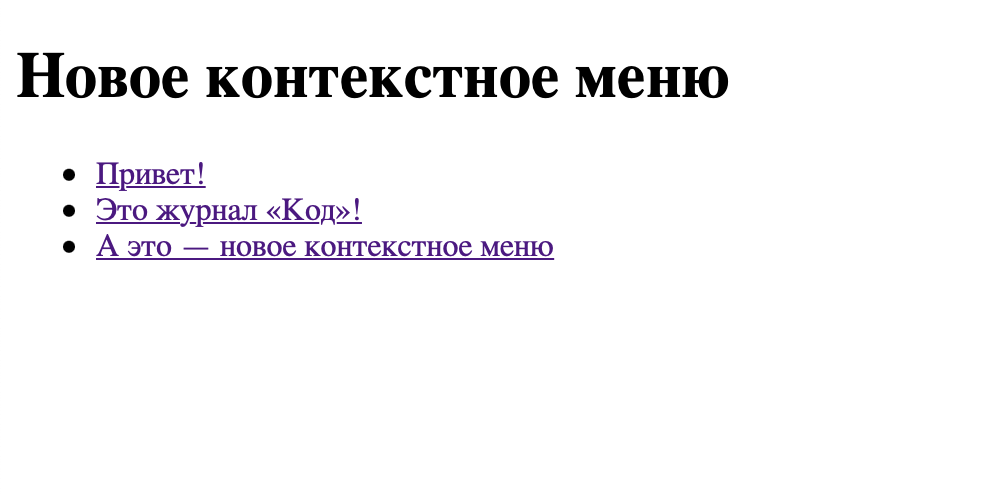
Теперь при нажатии правой кнопкой мыши на странице появляется такой список. Он работает, но совсем не похож внешне на контекстное меню. Всё дело в том, что мы не сделали стили, которые отвечают за его внешний вид. Давайте это исправим.
Оформляем стили
Чтобы контекстное меню было похоже на привычное меню, сделаем вокруг него рамку, поменяем шрифт и установим абсолютное позиционирование — оно нужно для того, чтобы меню появлялось точно в месте клика. Чтобы было ещё красивее, добавим тень под меню, чтобы оно появлялось как бы поверх страницы:
/* внешний вид меню */ .context-menu < /* настройки шрифта */ font-family: sans-serif; /* устанавливаем абсолютное позиционирование */ position: absolute; /* не показываем меню с самого начала */ display: none; /* цвет фона и настройки рамки вокруг меню */ background-color: #fff; border: 1px solid #333; padding: 5px; /* Добавим тени */ -moz-box-shadow: 5px 2px 10px rgba(0,0,0,0.5); -webkit-box-shadow: 5px 2px 10px rgba(0,0,0,0.5); box-shadow: 5px 2px 10px rgba(0,0,0,0.5); >Осталось оформить элементы меню — белый фон, отступы и изменение фона элемента при наведении курсора:
/* общий стиль для списка */ .context-menu ul < list-style: none; margin: 0; padding: 0; >/* стиль отдельных элементов */ .context-menu ul li < margin: 0; padding: 0; background-color: #fff; display: block; >/* стиль ссылок в меню */ .context-menu ul li a < color: #333; text-decoration: none; font-size: 12px; display: block; padding: 5px; >/* меняем фон в пункте меню при наведении мыши */ .context-menu ul li a:hover
Что дальше
Теперь, когда вы знаете, как сделать такое меню, можно сделать следующий шаг, например:
- добавить иконки, чтобы пользоваться меню стало удобнее;
- повесить на каждый пункт вызов какой-нибудь полезной функции;
- показывать разные меню в зависимости от элемента, на котором кликнули мышкой;
- красиво оформить меню (как в «Фигме», например).
В будущих статьях сделаем это. Подписывайтесь, чтобы быть в курсе.