Передача данных в CSS
28 марта 2023 г.
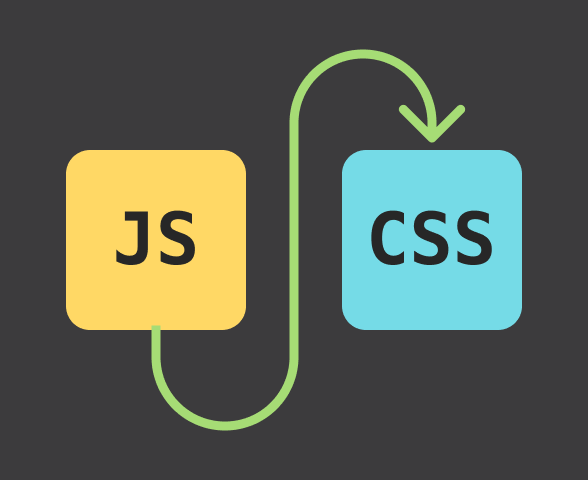
При разработке интерфейсов часто возникает необходимость динамически менять стили HTML-элементов в зависимости от текущего состояния приложения. Существует довольно много способов передать данные из Javascript в CSS и в этой статье я предлагаю их рассмотреть.
Инлайн-стили
Самый простой способ стилизовать элемент — указать CSS-свойства прямо в HTML:
p style="color: #272727;">Lorem ipsum dolor sit.p>Этот древнейший споособ стилизации максимально прост в использовании, но имеет ряд существенных недостатков:
- Смешивается структура страницы и её оформление (мы же не пишем Javascript прямо в HTML);
- Нет возможности использовать каскад, медиа-выражения и некоторые другие инструменты, доступные в CSS;
- Нет возможности переиспользовать стили для одинаковых элементов.
В JSX последний пункт можно решить с помощью создания переменной:
const paragraphStyles = color: "#272727" >; const MyComponent = () => ( div> p style=paragraphStyles>>Lorem ipsum dolor sit ametp> p style=paragraphStyles>>Lorem ipsum dolor sit ametp> div> );Похожий подход применяется в React Native , но там каскада нет и возможности CSS довольно сильно ограничены, а в бразуере — родной среде для CSS — подобных ограничений нет и было бы неразумно отказываться от такой богатой функциональности.
CSS-классы
Проблема выше решается путём выноса стилей из HTML:
style> .my-paragraph color: #272727; > style> div> p class="my-paragraph">Lorem ipsum dolor sit ametp> p class="my-paragraph">Lorem ipsum dolor sit ametp> div>Придумывая название класса, мы создаём некую абстракцию, которую зачастую наделяем смыслом. Вероятно этот класс будет представлять собой некий компонент, но у компонентов в привычном нам понимании бывают свойства, которые можно менять при необходиости. И это не CSS свойства — мы создали абстракцию в виде класса над стилями, не будем спешить её ломать, смешивая её с конкретными стилевыми параметрами.
CSS in JS
Раз речь зашла о компонентах, попробуем вернуться к React и посмотреть, как подобная задача решается там.
В общем-то очень остроумно проблему решают CSS-in-JS фреймворки: чтобы не передавать данные из JS в CSS, мы перенесли CSS в JS:
import styled from "styled-components"; const Paragraph = styled.p` color: #272727; `; const MyComponent = () => ( div> Paragraph>Lorem ipsum dolor sit ametParagraph> Paragraph>Lorem ipsum dolor sit ametParagraph> div> );Если нам понадобится передать данные из JS в CSS, мы можем сделать это так же, как и с любым другим React-компонентом:
import styled, css > from "styled-components"; interface ParagraphProps type?: "regular" | "important"; > const paragraphTypeStyles = regular: css` color: #272727; `, important: css` background-color: #ff6287; font-weight: bold; `, >; const Paragraph = styled.pParagraphProps>` $( type = "regular" >) => paragraphTypeStyles[type]> `; const MyComponent = () => ( div> Paragraph>Lorem ipsum dolor sit ametParagraph> Paragraph type="important">Lorem ipsum dolor sit ametParagraph> div> );Мы передаём некий дискретный набор данных в компонент и для каждой новой их комбинации styled-components будет создавать уникальный класс и вставлять его в DOM. Но что, если параметр не дискретный и меняется часто?
import useEffect, useState > from "react"; import styled from "styled-components"; interface BallProps position: [x: number, y: number]; > const Ball = styled.divBallProps>` width: 32px; height: 32px; border-radius: 16px; background-color: #ff6287; transform: $( position >) => `translate($position[0]>px, $position[1]>px)`>; `; const MyComponent = () => const [position, setPosition] = useState([0, 0]); useEffect(() => let rafId; /** Меняем позицию 60 раз в секунду */ const update = (time: number) => setPosition([Math.sin(time * 30), Math.cos(time * 30)]); rafId = window.requestAnimationFrame(update); >; rafId = window.requestAnimationFrame(update); return () => window.cancelAnimationFrame(rawId); >; >, []); return Ball position=position> />; >;Спустя некоторое время styled-components вежливо намекнёт, что так делать не стоит, прямо в консоли браузера:
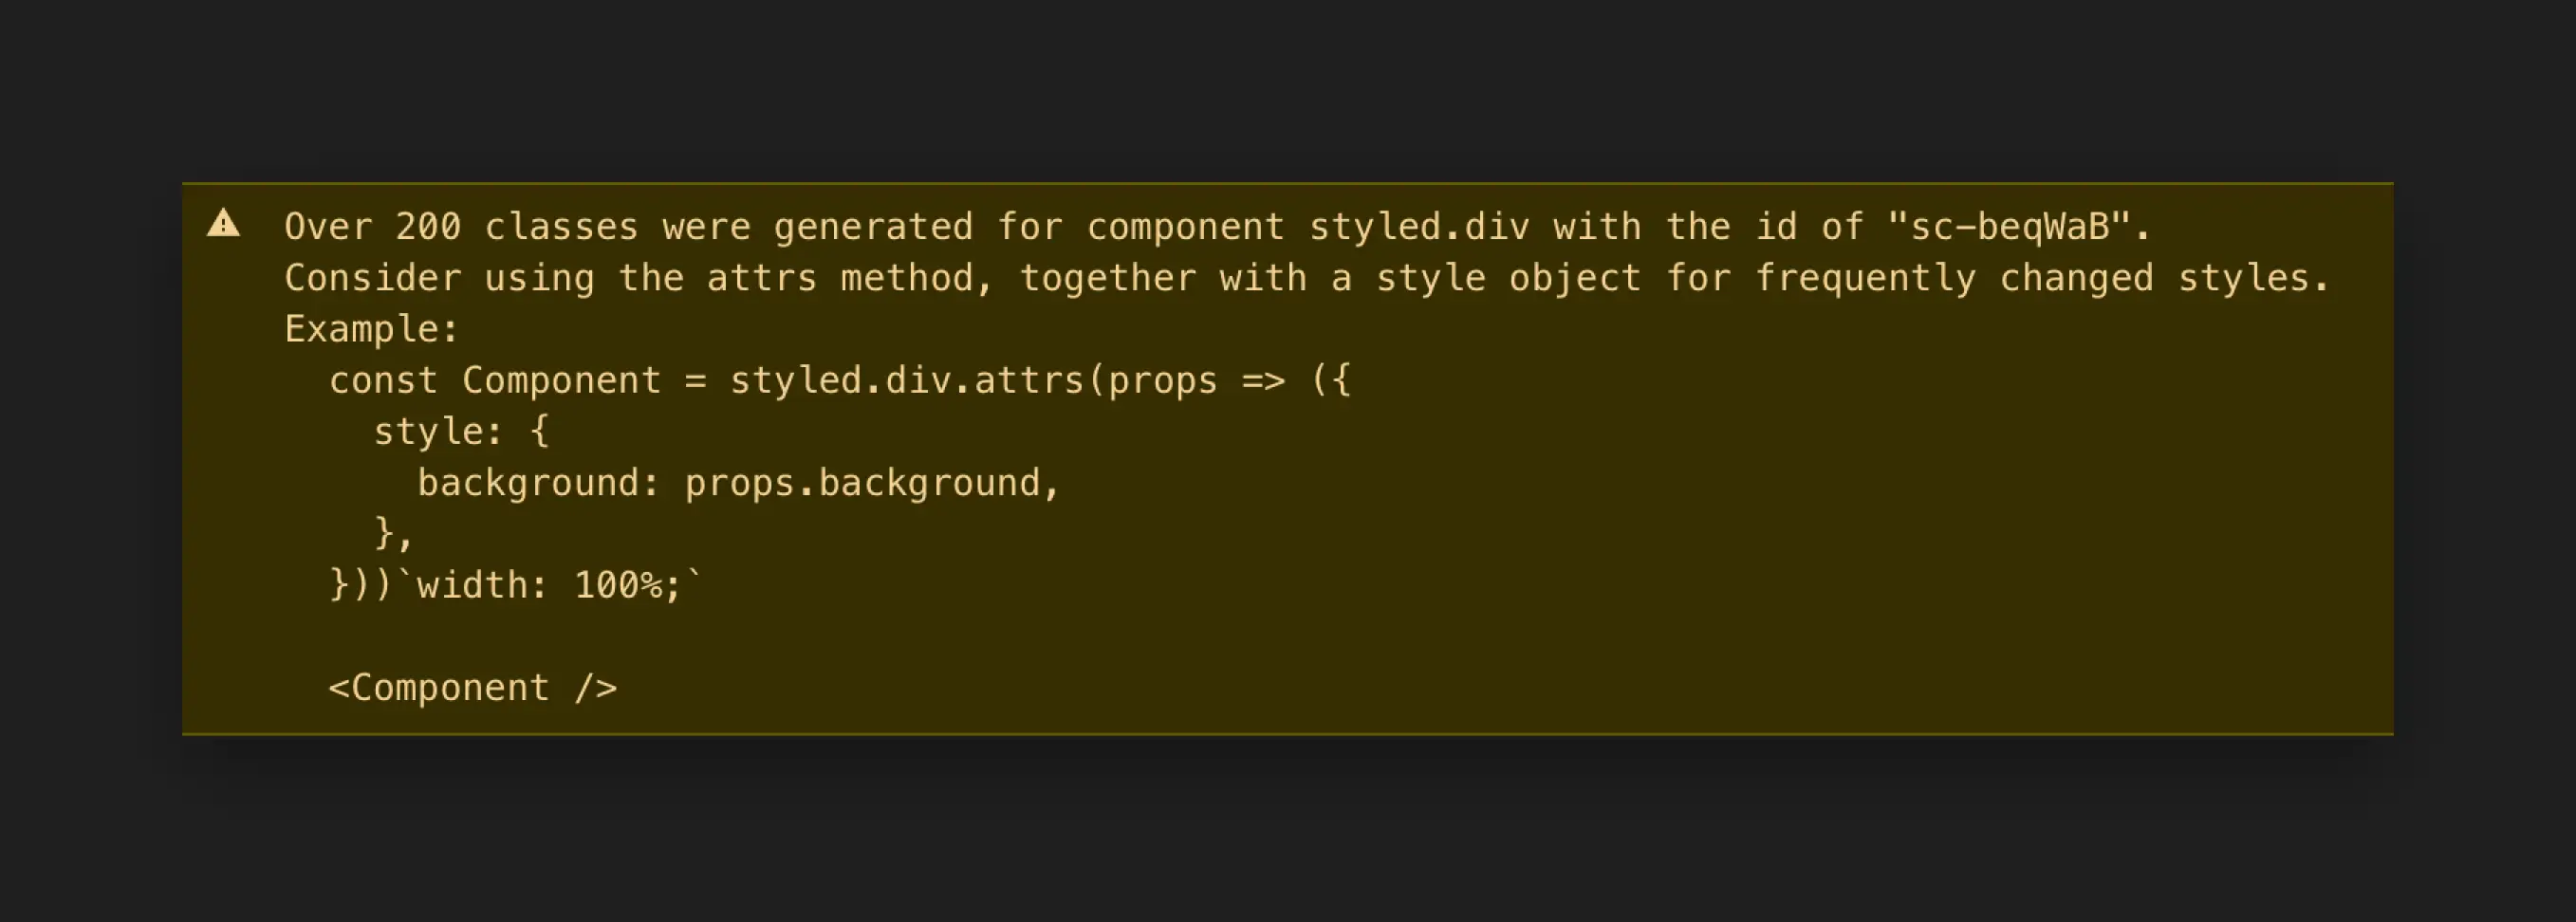
Для этого случая нам предлагают использовать инлайновые стили, но по прежнему они спрятаны за абстракцией в виде пропсы position , за счёт чего стили отделены от логики:
import useEffect, useState > from "react"; import styled from "styled-components"; interface BallProps position: [x: number, y: number]; > const Ball = styled.divBallProps>.attrs(( position >: BallProps) => ( style: transform: `translate($position[0]>px, $position[1]>px)` > >))` width: 32px; height: 32px; border-radius: 16px; background-color: #ff6287; `; const MyComponent = () => const [position, setPosition] = useState([0, 0]); // . return Ball position=position> />; >;Но что если СSS-in-JS решение не подходит?
Решаем задачу нативно
Методология БЭМ предлагает модификаторы , которые могут быть:
input class="input input_invalid" /> style> .input__invalid border-color: red; > style>p class="paragraph paragraph_type_important">Lorem ipsump>Аналогично можно использовать data-атрибуты:
input class="input" data-invalid="true" /> style> .input[data-invalid="true"] border-color: red; > style>Во многих случаях, кстати, data-атрибуты можно заменить на aria-атрибуты и таким образом убить сразу двух зайцев: стили и доступность:
input class="input" aria-invalid="true" /> style> .input[aria-invalid="true"] border-color: red; > style>Перечисленные выше решения опять же позволяют создавать конечные наборы значений. Вот бы был способ передать Javascript-переменную в CSS.
Что? Такой способ уже есть?
CSS Custom Properties
С их помощью можно в том числе организовать API между бизнес-логикой и визуалом:
div class="ball" style="--position-x: 35px; --position-y: 54px;">div> style> .ball width: 32px; height: 32px; border-radius: 16px; background-color: #ff6287; transform: translate(var(--position-x), var(--position-y)); > style>const MyComponent = () => const [position, setPosition] = useState([0, 0]); // . return ( div className="ball" style= "--position-x": position[0], "--position-y": position[1], >> /> ); >;И самая главная мощь тут заключается в том, что CSS-переменные действуют каскадно!
То есть мы можем разработать компонент, состоящий из нескольких вложенных друг в друга HTML-элементов, установить значение СSS-переменной на корневом элементе и использовать его в потомках:
div id="cube-demo" class="viewport" style="--scroll-top: 0"> div class="cube"> div class="cube-edge cube-edge_front">div> div class="cube-edge cube-edge_left">div> div class="cube-edge cube-edge_back">div> div class="cube-edge cube-edge_right">div> div class="cube-edge cube-edge_top">div> div> div> style> .cube transform: rotateY( calc(var(--scroll-top) * 1deg) /* Не забудем о единицах измерения */ ); > style> script> document.addEventListener("scroll", ( event >) => document .getElementById("cube-demo") .style.setAttribute("--scroll-top", event.target.scrollTop.toString()); >); script>⚡️ Putting Javascript in Your CSS
Putting CSS in Javascript is pretty much the norm these days — but what if we could do the opposite? Recently, I’ve been reading quite a bit about Houdini, which gives developers the ability to directly interact with the CSS Object Model. One of the coolest things about it, is that it lets us put Javascript in our CSS. In the example below, I’ve created a background effect where the Javascript is inside the CSS. Every time you refresh, the background is randomized. Check the CSS tab below to see Javascript inside the CSS. You can even use CSS variables directly in your Javascript code, letting you use standard colors and other settings you configured in your stylesheet.
Support for Paint Worklets

As of now, these features only work in Google Chrome and Edge, and a few other browsers — so make sure you are using one of them when trying out the demo below.
Demo
Whenever you change the class of an element, the Javascript inside the CSS re-renders, meaning simply adding classes to an element can recreate complicated effects using different colors, as shown above! When you click on one of the options like Red/Blue — the only thing that changes is the class name of the div.
What is Houdini?
Houdini is a broad term for a mixture of different technologies that allow us to mix Javascript and CSS. Ultimately, Houdini conceptually lets us interact with CSS, and create CSS rules that the browser can understand. One of the most recognizable features of Houdini is the paint worklet. Paint worklets are a way to create images for your CSS using techniques familiar to you if you’ve used HTML canvas before. We can register custom CSS Paint Worklets by putting our worklet into a file and using the following line:
CSS.paintWorklet.addModule('paint-worklet.js'); We can then use these paint worklets directly in our CSS using the paint() function. Before we get to that, let’s look at how we can create our paint-worklet.js file.
How to Create a Paint Worklet File in Javascript
- ctx — acts as a canvas context, with all the normal canvas functions.
- geom — contains information on the CSS element being painted upon, such as width and height.
- properties — contains additional information on CSS properties which we can register separately.
Below, we will create our class, called BackgroundCanvas . The code I’ve written below then paints random circles on the canvas, which are of random size and vary in terms of how blurred they are.
Within this function are various configurable options, such as count, blur, and radius, which lets us adjust how the effect will be rendered.
class BackgroundCanvas rand(min, max) return Math.random() * ( max - min ) + min; > paint(ctx, geom, properties) // Colors for background gradient let backgroundColors = [ '#000', '#000' ]; // Colors for the circle colours let colors = [ '#202bc5', '#cc3d44' ]; // Number of circles to render let count = 200; // The range of blur and radius values let blur = [ 10, 100 ]; // Min, Max blur let radius = [ 1, 40 ]; // Min, max radius // Clear out the entire canvas ctx.clearRect( 0, 0, geom.width, geom.height ); // And use a blend mode to make the effect look cooler ctx.globalCompositeOperation = 'lighter'; // Apply the background gradient let grd = ctx.createLinearGradient(0, geom.height, geom.width, 0); grd.addColorStop(0, backgroundColors[0]); grd.addColorStop(1, backgroundColors[1]); ctx.fillStyle = grd; // Fill the rectangle with the gradient ctx.fillRect(0, 0, geom.width, geom.height); // Then draw a circle for each value of count while(count--) // Determine a random x, y, blur, and radius let thisRadius = this.rand( radius[0], radius[1] ); let thisBlur = this.rand( blur[0], blur[1] ); let x = this.rand( -100, geom.width + 100 ); let y = this.rand( -100, geom.height + 100 ); // Draw the circle, using the color, blur, and radius we defined ctx.beginPath(); ctx.filter = `blur($thisBlur>px)`; let grd = ctx.createLinearGradient(x - thisRadius / 2, y - thisRadius / 2, x + thisRadius, y + thisRadius); grd.addColorStop(0, colors[0]); grd.addColorStop(1, colors[1]); ctx.fillStyle = grd; ctx.arc( x, y, thisRadius, 0, Math.PI * 2 ); ctx.closePath(); ctx.fill(); > > > // Register the class 'BackgroundClass' as being called 'BackgroundCanvas' registerPaint('BackgroundCanvas', BackgroundCanvas); To register this paint module, add the following Javascript to your HTML document:
CSS.paintWorklet.addModule('paint-worklet.js');