- HTML Lists & Images – An Easy Guide To HTLM For Beginners
- Unordered Lists
- Ordered Lists
- Ordered List Attributes
- Note:
- HTML Images
- If you don’t provide the source of the image (src) the browser won’t know where to locate the image file.
- File paths
- How to Add Images to a List Using HTML Programming
- Images Inside an Unordered List
- Images Inside an Ordered List
- Expert Q&A
- You Might Also Like
- HTML beginner tutorial 2: lists, links & images
- HTML lists
- Unordered list:
- Ordered list:
- Nested list:
- HTML links
- Targets:
- Linking images:
- HTML images
HTML Lists & Images – An Easy Guide To HTLM For Beginners
HTML lists & images are the most frequently used elements when writing HTML code.
Lists add structure to your content, allowing you to organize and present information in the most engaging way. Images make for a visually appealing user experience. Both HTML lists and images help format your web page.
This post will go over the basics you need to know for both HTML lists & images. We start by understanding two kinds of HTML lists – not too exciting – and move on to how you can insert images to your web page (the fun part).
Unordered Lists
So-called “unordered” because it renders a bulleted list instead of a numbered one. The list item marker (bullet) can be styled with CSS.
Unordered lists are created with the unordered list tag and its child element the list item tag .
Unordered lists are the most common type of lists when writing HTML – I can’t remember ever using its opposite, the ordered list, in practice.
Ordered Lists
Ordered lists are created with the tags. They can be numeric or alphanumeric with a default ascending order which you can change (see below).
Similar to unordered lists, ordered lists require the use of the list item child tags for each item you want to be on the list.
Ordered List Attributes
start="#">with # being the number you want your list to start at- Want an ordered list that is not numerical but in letters or roman numerals? Then set the type attribute.
type="A or a || I or I"> note: (||) is known as a logical "or" operator ~ we figured writing three "or"s wasn't doing anyone any favorsNote:
- The letters or roman numerals can be uppercase or lowercase.
- The default type is “1” for numeric lists.
- You can reverse and change the starting point of the different types of ordered lists using the two attributes mentioned above.
HTML Images
The image tag is a self-closing tag and it allows you to insert an image into your code.
In the example below feel free to use any image you want – we found Spongebob in google images.
The src specifies the source of the image and can be a link instead of a file path on your computer – you don’t have to download an image to use it. For the example above we copied the image address by right-clicking on the image.
Please note the image address isn’t the same thing as link address.
However, using the image address is not reliable because if anything changes on the website you are pulling the image from, then your code will break. So if the image was taken down, deleted, or the site was updated or not working – all things that are out of your control – then there will be no image on your end.
The src attribute isn’t optional – the width and height attributes totally are. You can set the latter two using your style attribute inline or using an external style sheet.
If you don’t provide the source of the image (src) the browser won’t know where to locate the image file.
The alt attribute, which is optional, sets the alternative text for the image. The purpose is to provide a short description of the displayed image for when the image fails to load. It also helps visually impaired users as it’s read by screen readers.
For more helpful attributes of the image tag browse here.
File paths
If your image source is a URL, then you just need to paste the URL as we did with our Spongebob image.
But if your image is located in a certain folder on your computer, then you need to reference the file path correctly or the image won’t render.
File paths can be somewhat nuanced, especially in the beginning. Here’s a brief breakdown to get you started:
| Src | Located… |
|---|---|
| picture.jpg | Same directory as the current file |
| images/picture.jpg | Images directory in the current folder as the current file |
| /images/picture.jpg | Images directory at the root of the current file |
| ../picture.jpg | In directory one level up from the current directory |
In the example above with THT’s header, the image is located on the desktop which also happens to be the location of our HTML file. Therefore the two are in the same location, same directory – the desktop. We can then use the first file path from the table.
Think of a directory as a folder. It designates a specific location on your computer where your files are located.
Hint: In VS Code, when you have the right file path you’ll notice autocomplete giving you a dropdown menu of options as you type. That’s one way to know your location is correct.
And that just about wraps up HTML lists & images. Hopefully, you had fun playing with images and are ready for more?
How to Add Images to a List Using HTML Programming
wikiHow is a “wiki,” similar to Wikipedia, which means that many of our articles are co-written by multiple authors. To create this article, volunteer authors worked to edit and improve it over time.
This article has been viewed 26,897 times.
Lists are oftentimes used for text; however, it is also possible to add images to a list. To learn how to add photos to a list in HTML programming, follow the steps below.
Images Inside an Unordered List
- The ul element is what groups list elements together in an unordered fashion. To create the ul element, add the following into the HTML text editor:
- The image tags require information about the desired image in order to display it. Copy the file path for the desired image and then paste the path into the src=»» like in the image.
- It is possible to have multiple images in each list item. In order to do so, add the text like in the image.
Images Inside an Ordered List
- The ol element is what groups list elements together numerically. To create the ol element, add the following into the HTML text editor:
- The image tags require information about the desired image in order to display it. Copy the file path for the desired image and then paste the path into the src=»» like in the image.
- It is possible to have multiple images in each list item. In order to do so, add the text from the image into the editor.
Expert Q&A
Add information about the picture into alt=»». This will allow users who do not see the images information that they would otherwise not be able to obtain.
You Might Also Like
How to Find Deleted Texts on Your Husband’s Phone
How to Clear Twitter Cache on Android, iPhone & iPad
4 Easy Ways to Transfer Photos from iPhone to Android
8 Easy Ways to Pin and Unpin a Text Message
How to Undo in Pages on Mac, iOS, and iCloud
How to Build a Hackintosh With macOS on PC
How To Keep Your Cell Phone Safe From Hackers
HTML beginner tutorial 2: lists, links & images
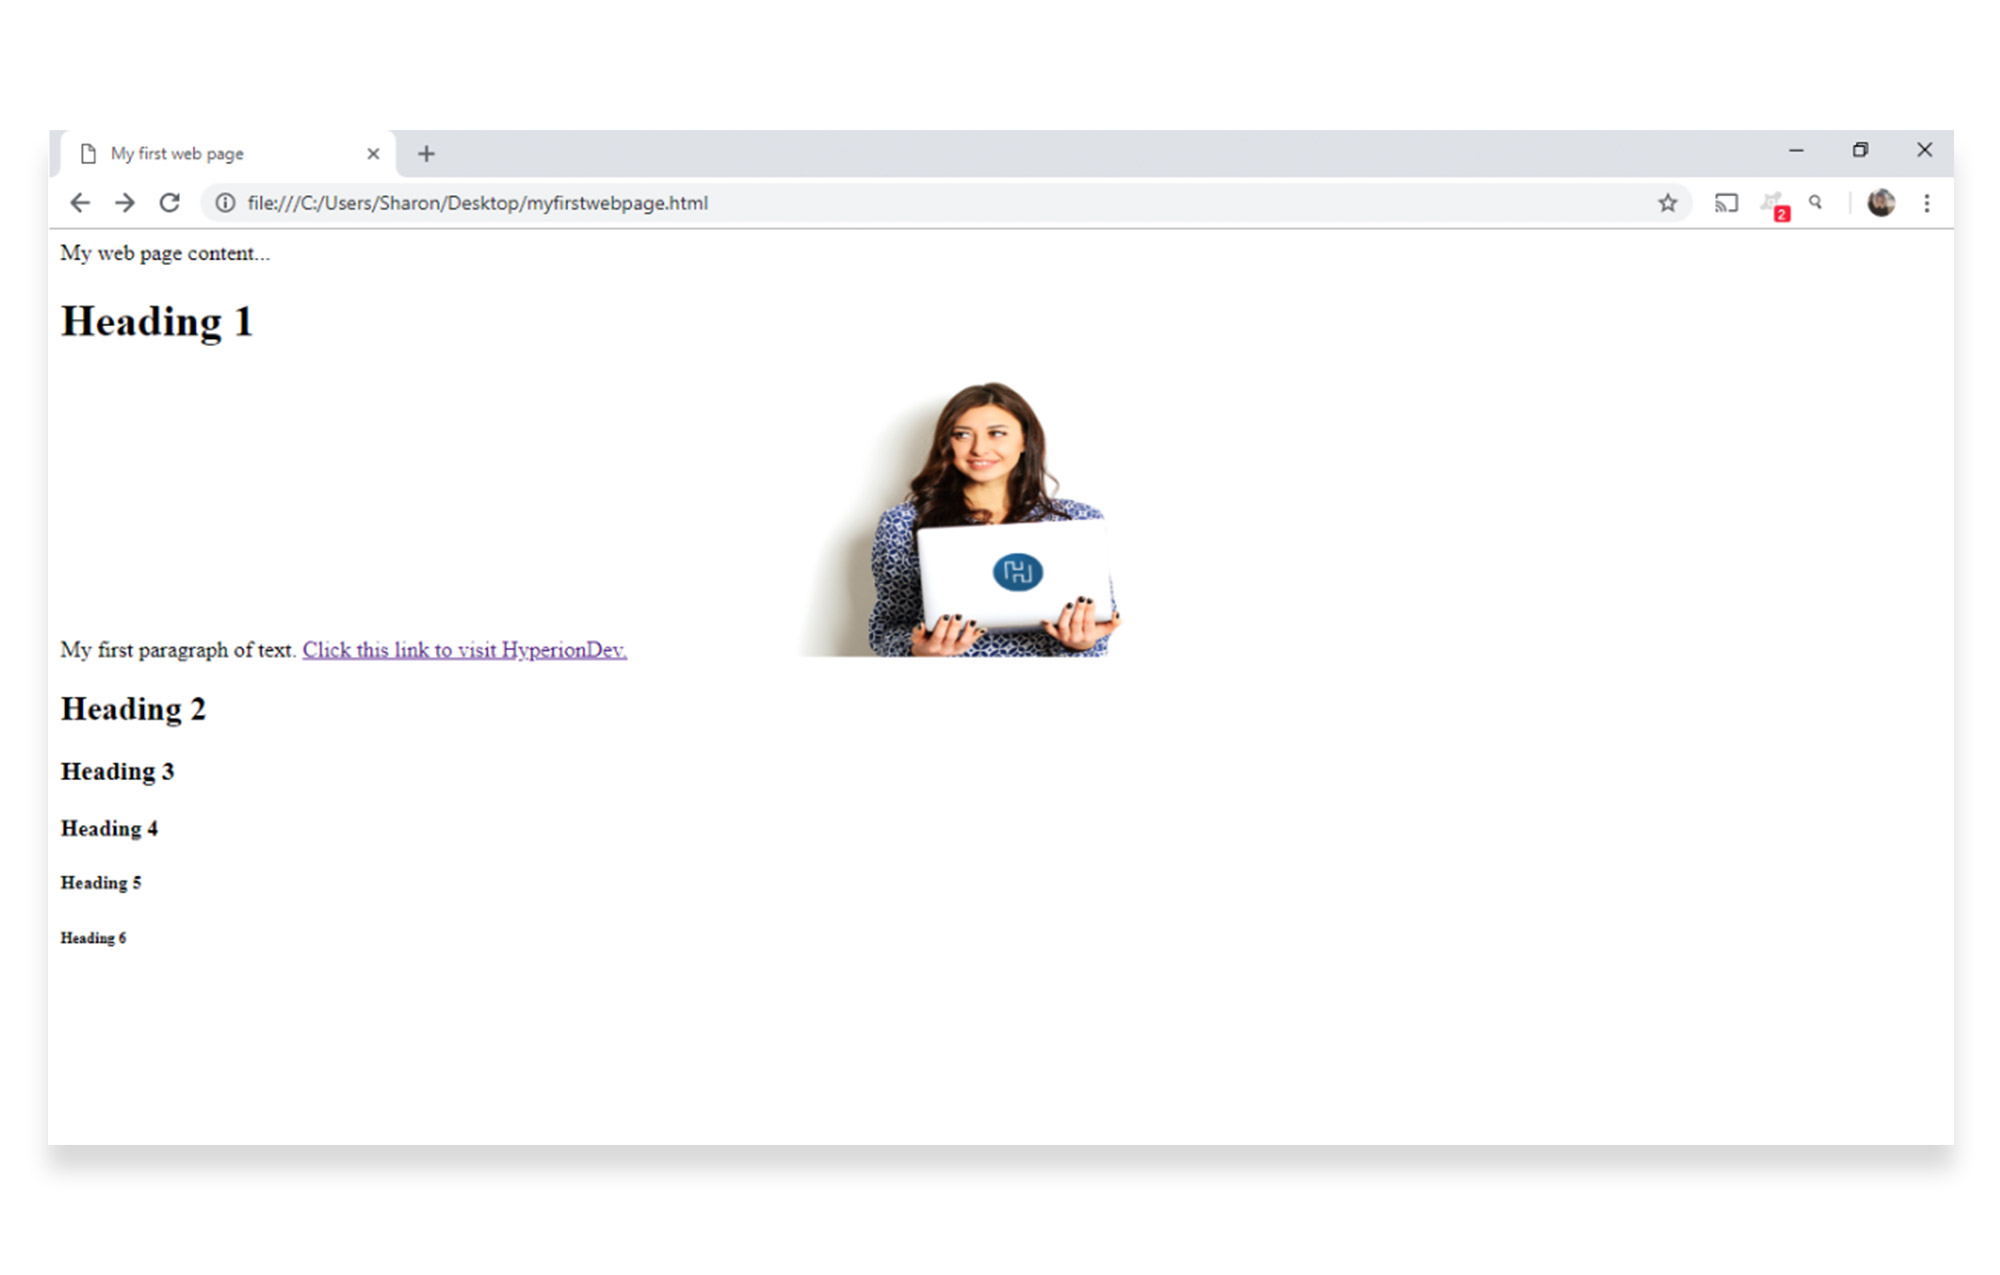
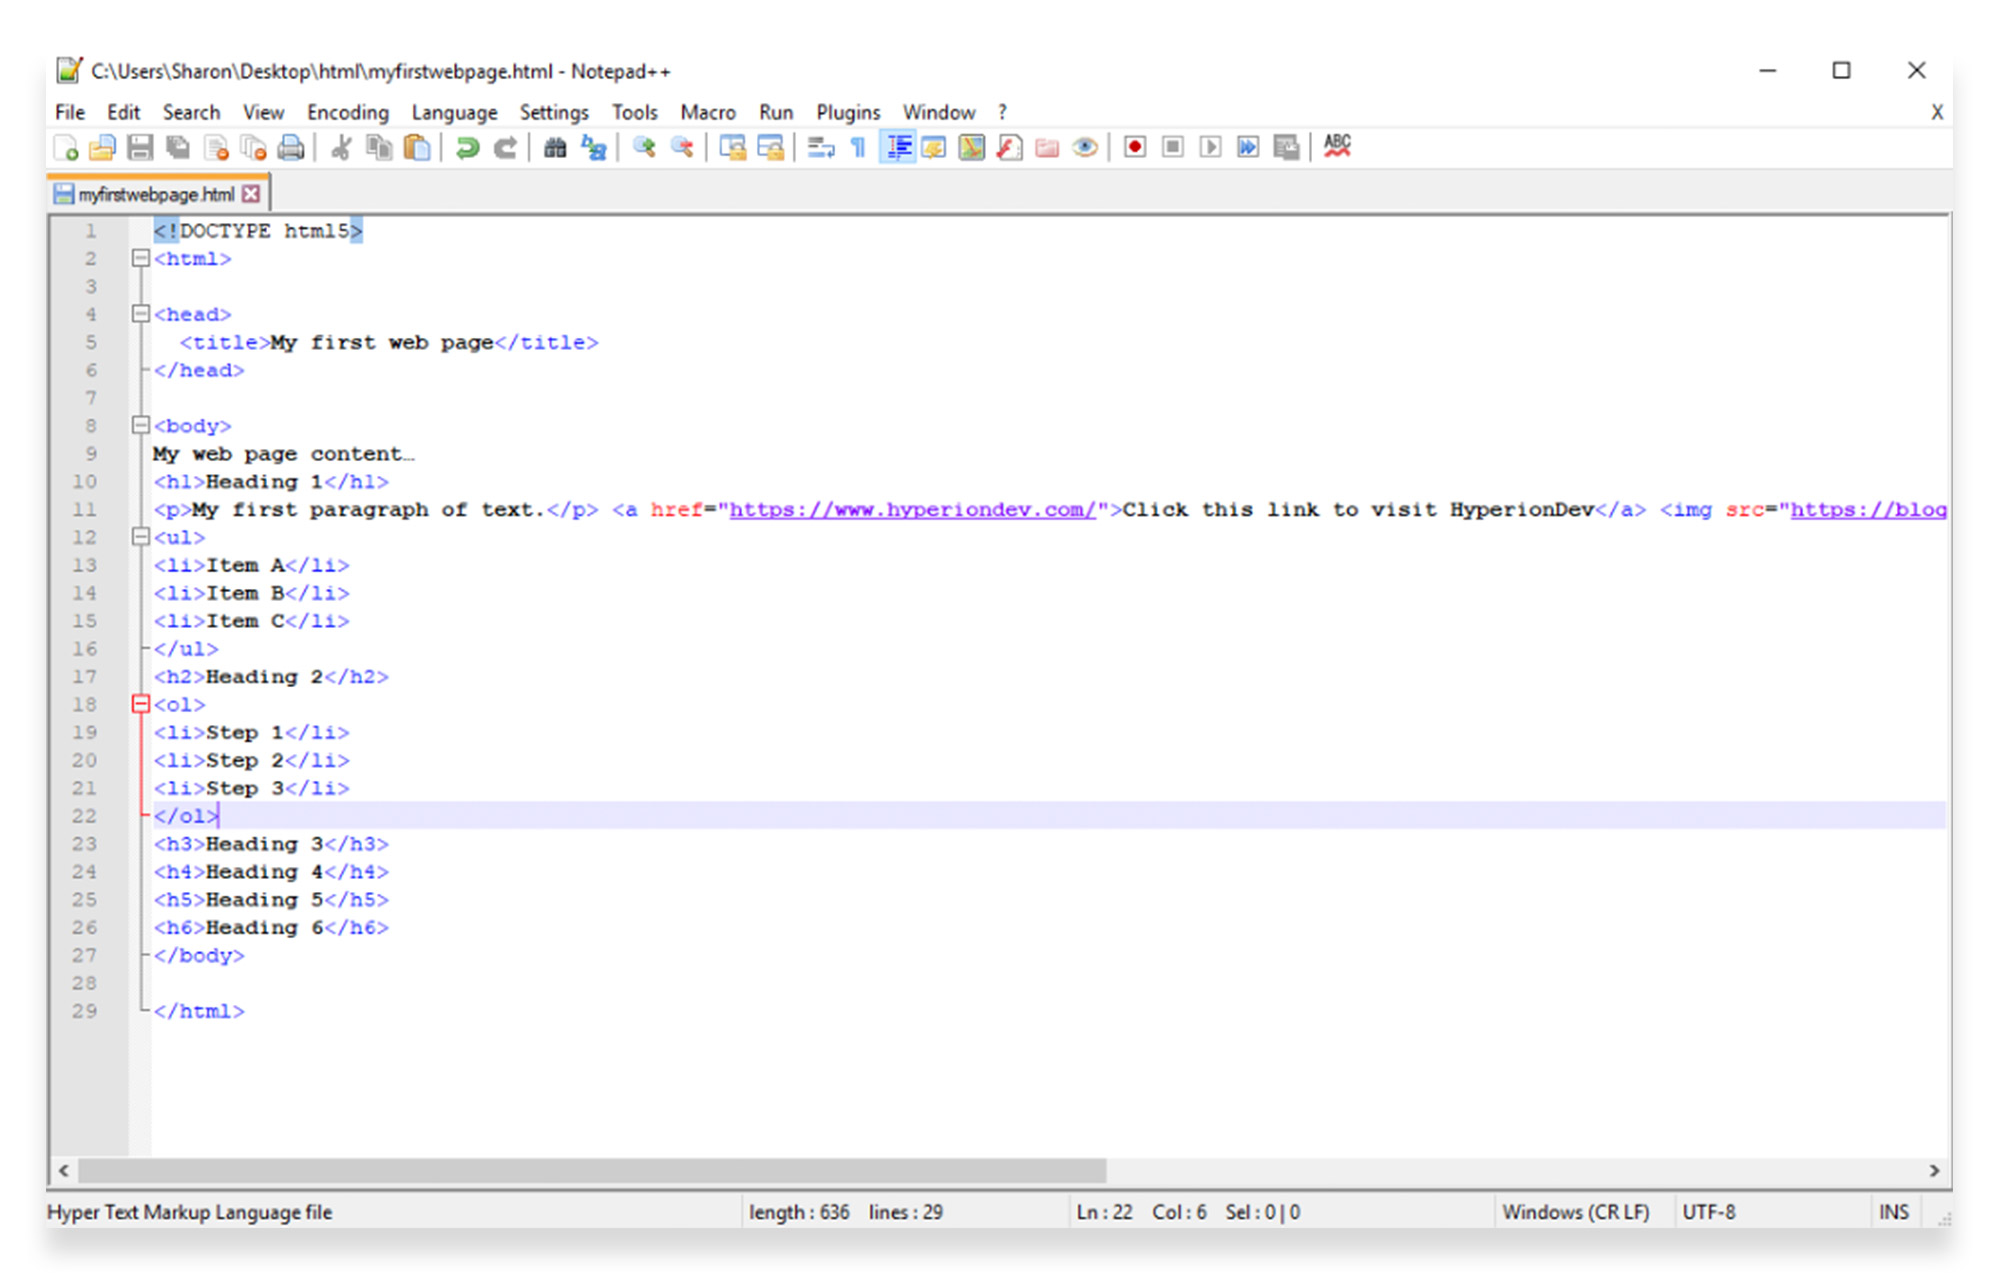
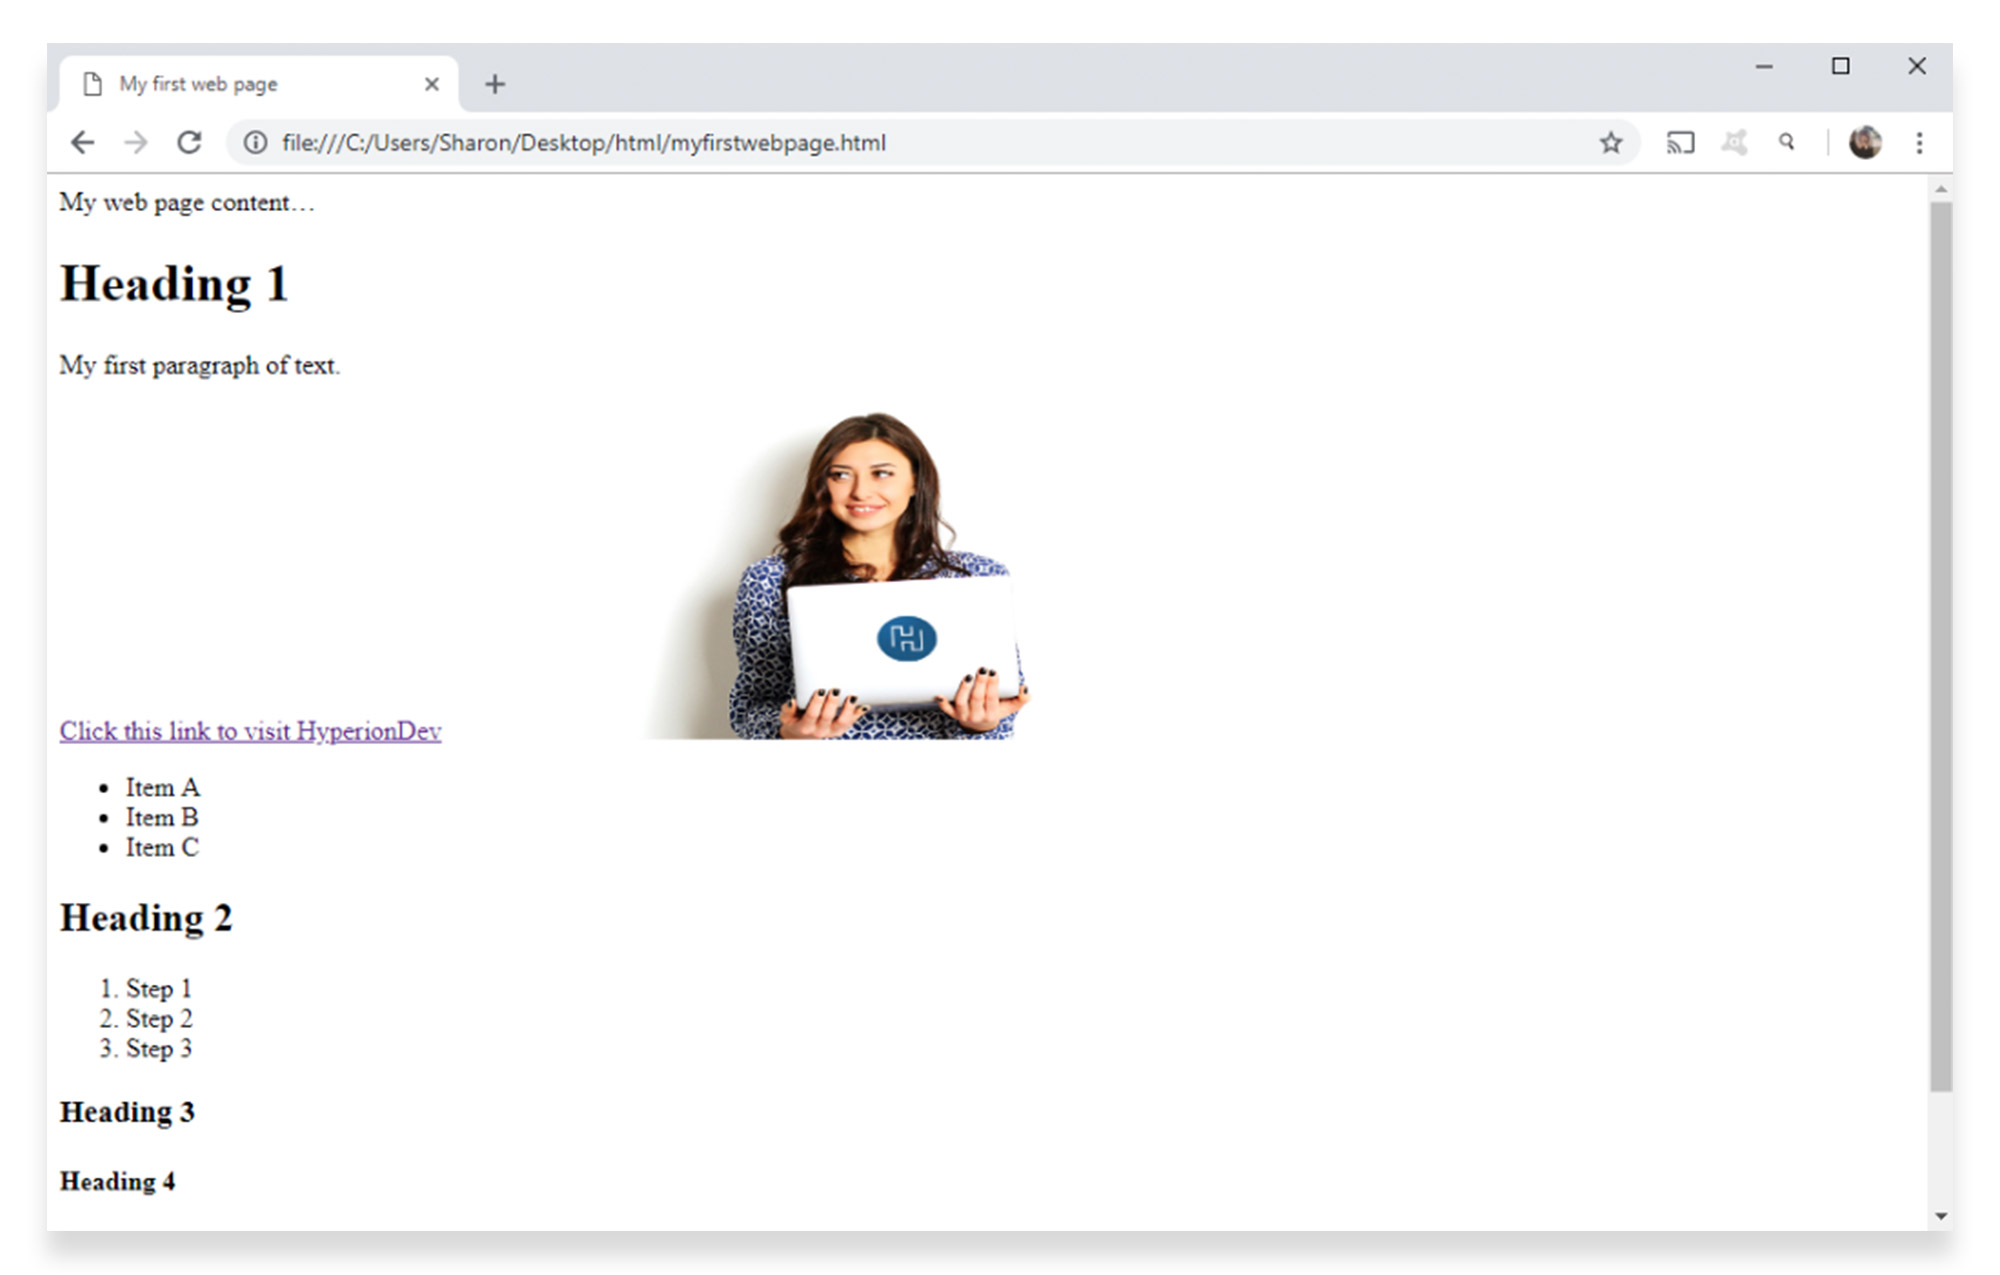
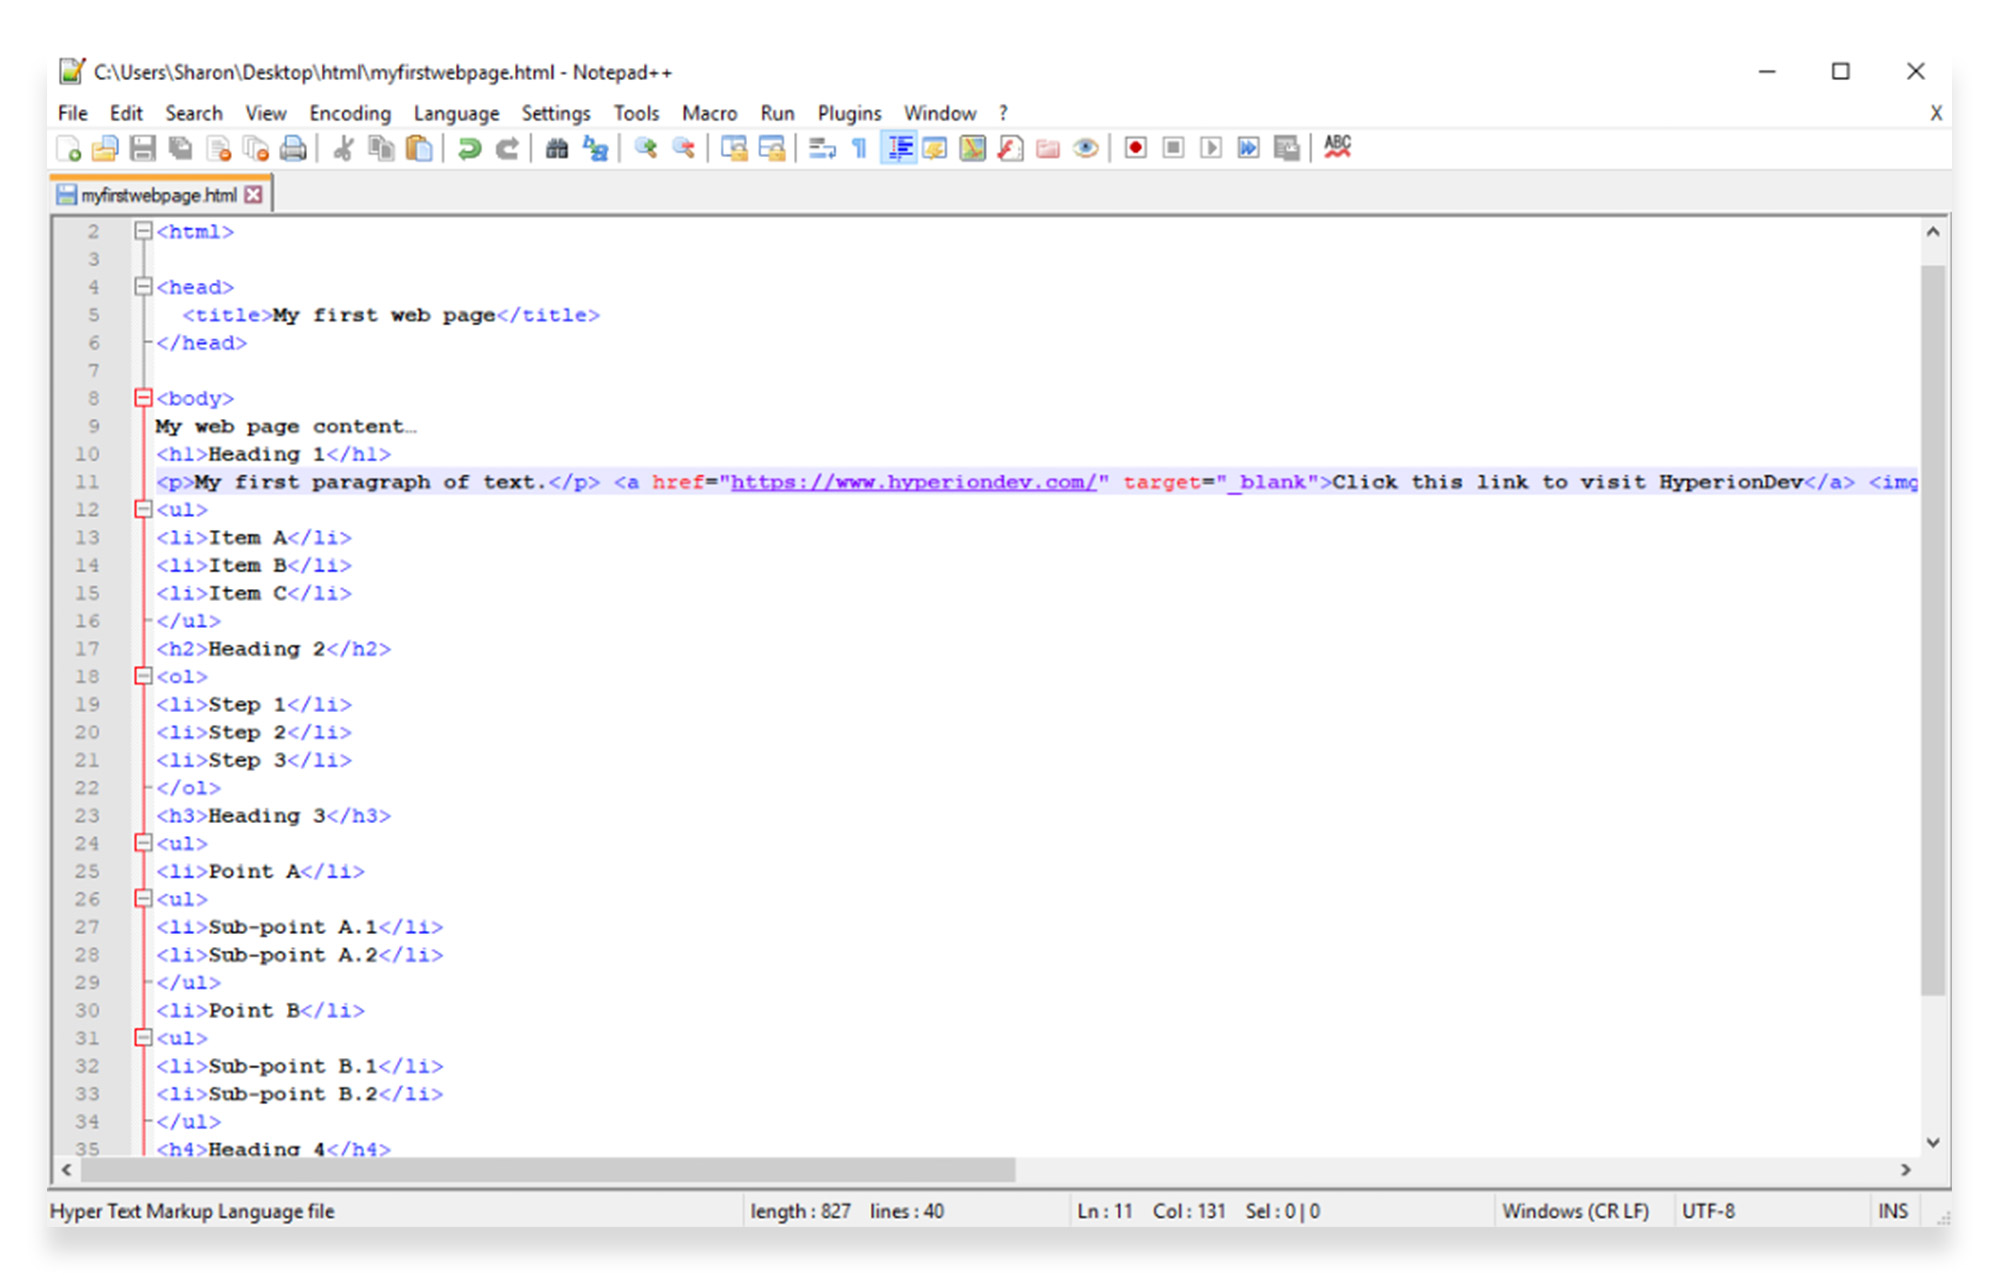
Welcome to part 2 of a 4-part series by HyperionDev showcasing an HTML tutorial for beginners. We hope you enjoy this upcoming tutorial, focusing on lists, links and images. By the end of our first HTML tutorial, your document in Notepad++ should be displaying as follows:
In this next tutorial, you’ll be adding to the code to create lists, links and images in HTML.
HTML lists
Lists are very common in web pages. They’re used in online articles, navigation menus, and product features on e-commerce websites.
There are a few different types of lists you can use, depending on the content you want to display.
Unordered list:
An unordered list is a simple HTML list that you can use when the order of the items you’re listing isn’t important, and rearranging the order wouldn’t cause confusion or change the hierarchy of the list.
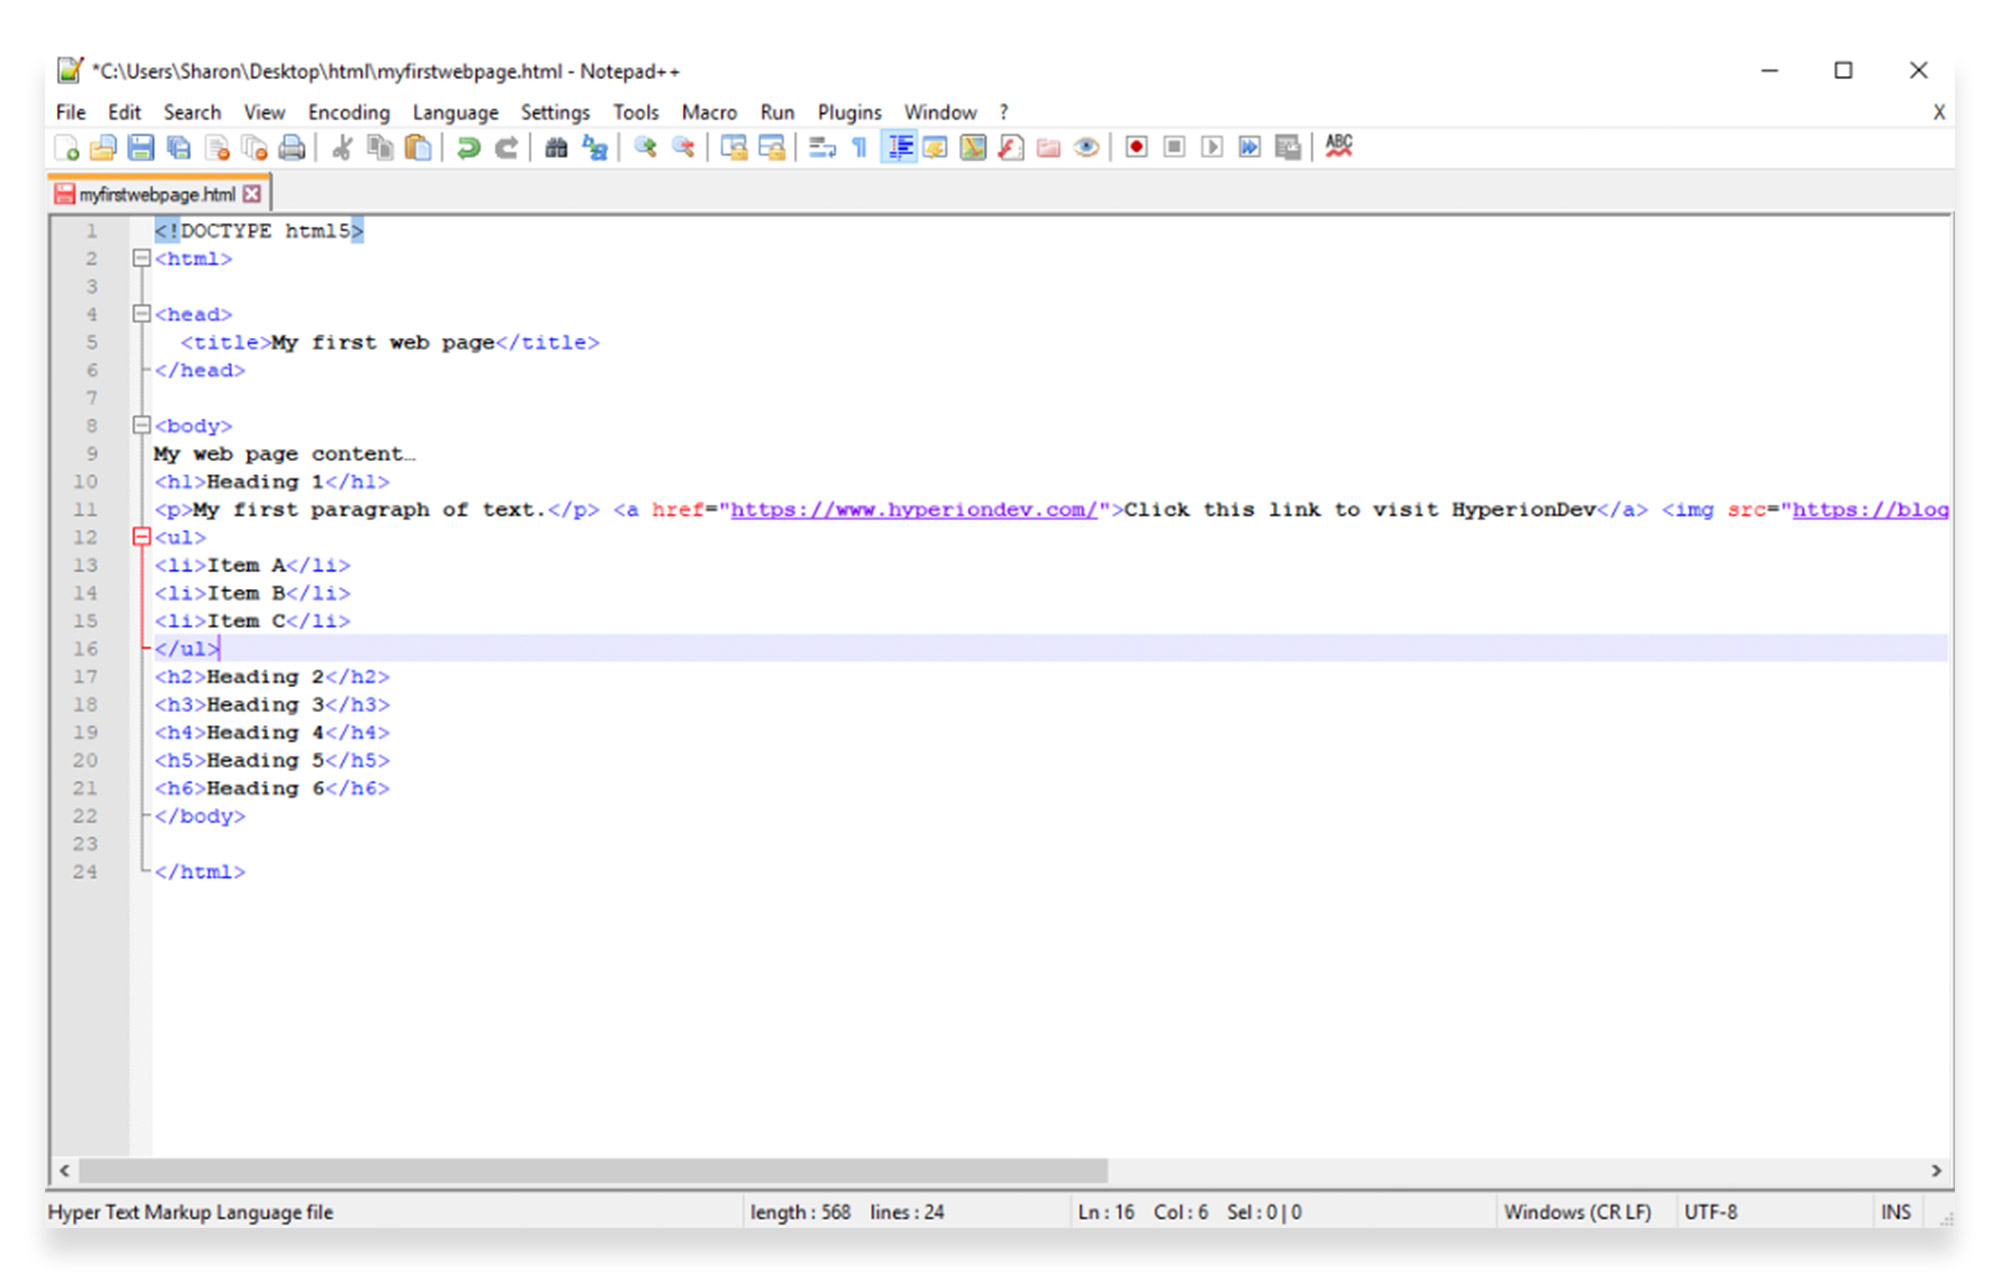
Add an unordered list to your document, by inserting the following code underneath the “My first paragraph” code.
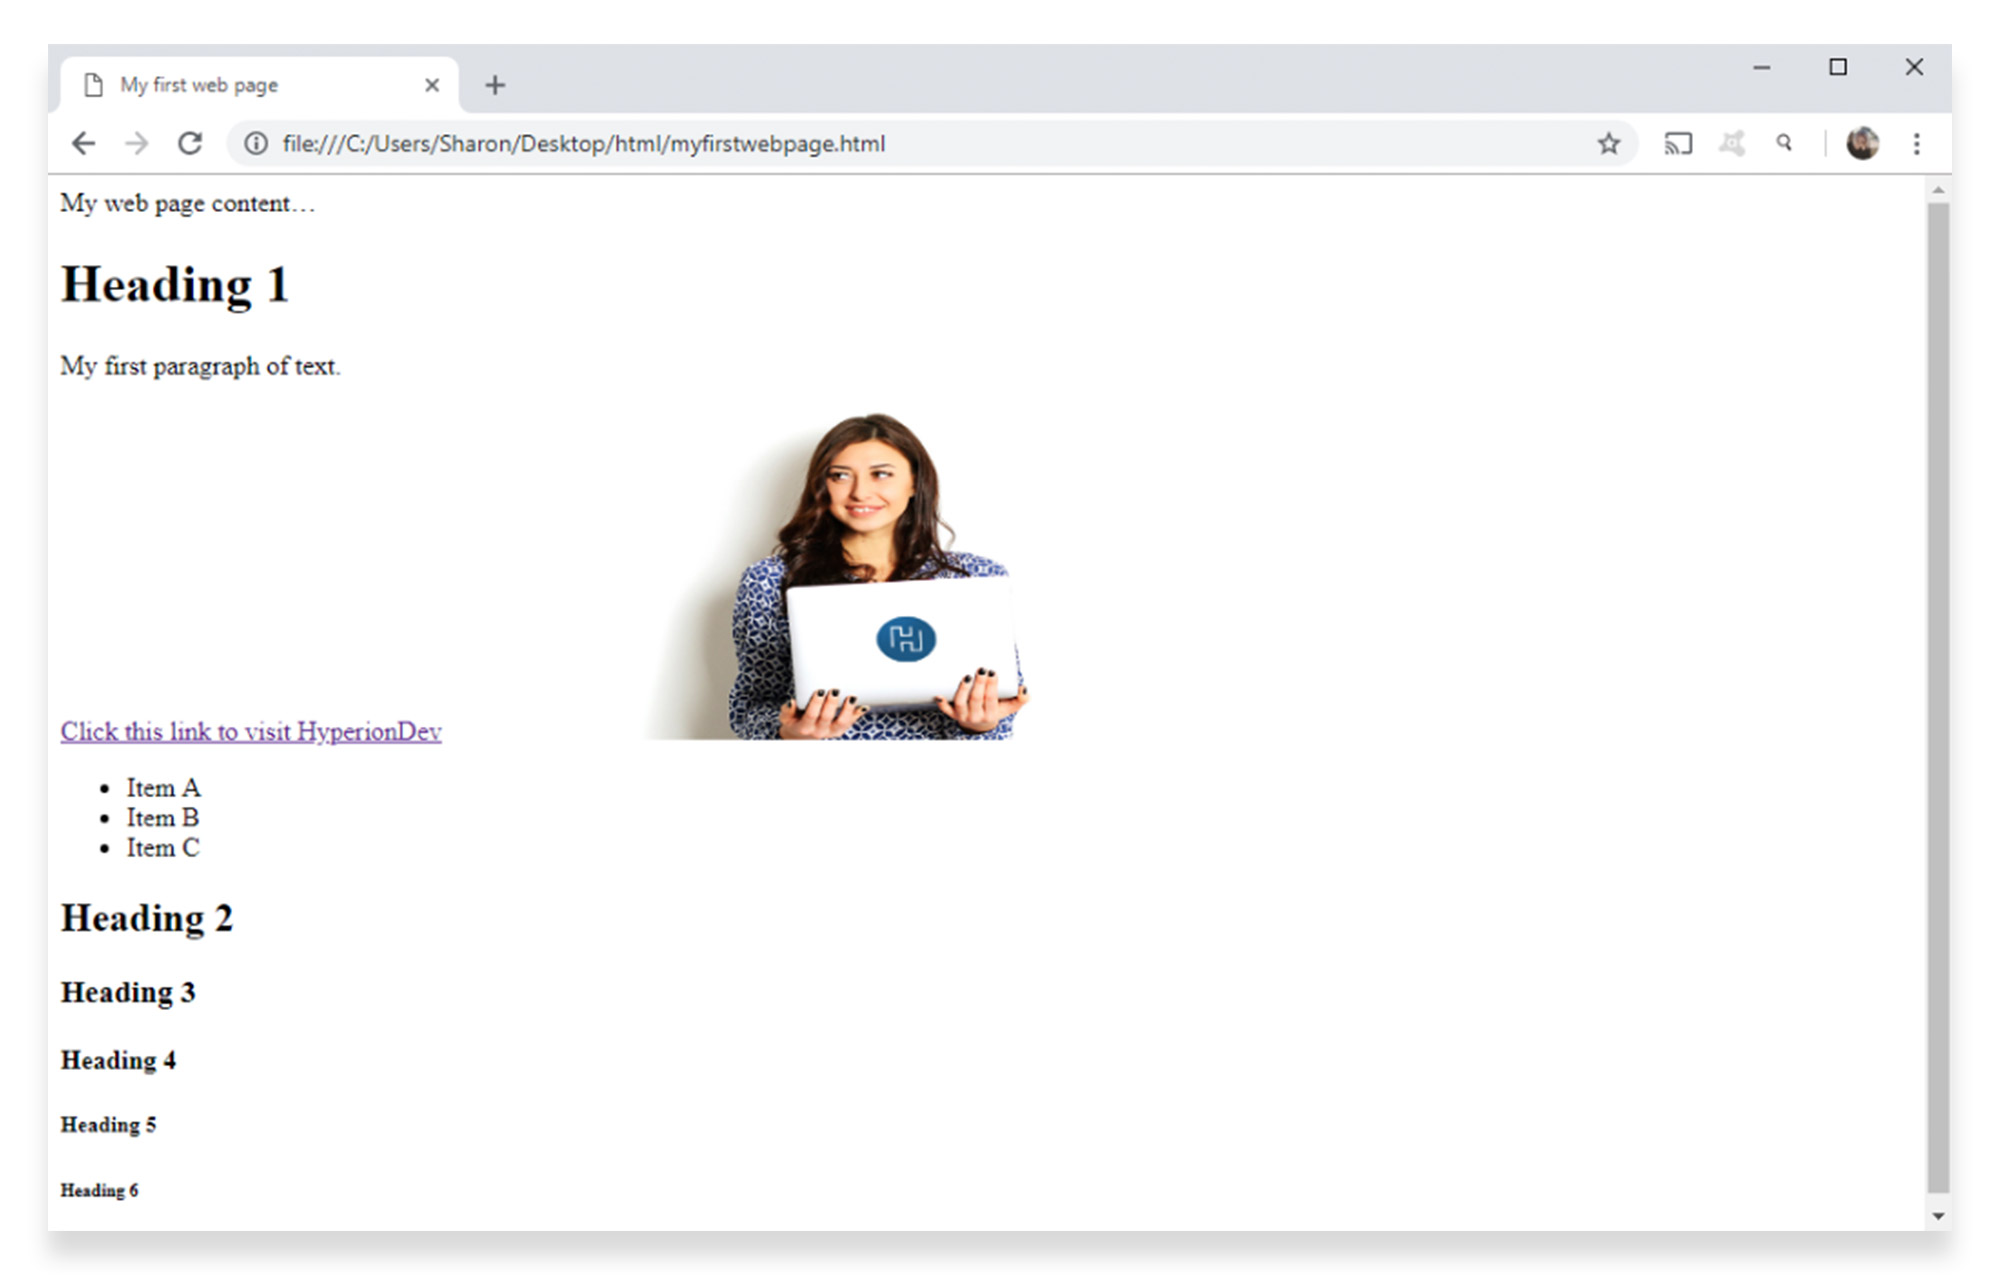
When you save and refresh, the list will appear as follows:
Ordered list:
Add an ordered list to your document, by inserting the following code underneath the “Heading 2” code.
When you save your document and refresh your browser, you’ll see the list appear as follows:
Nested list:
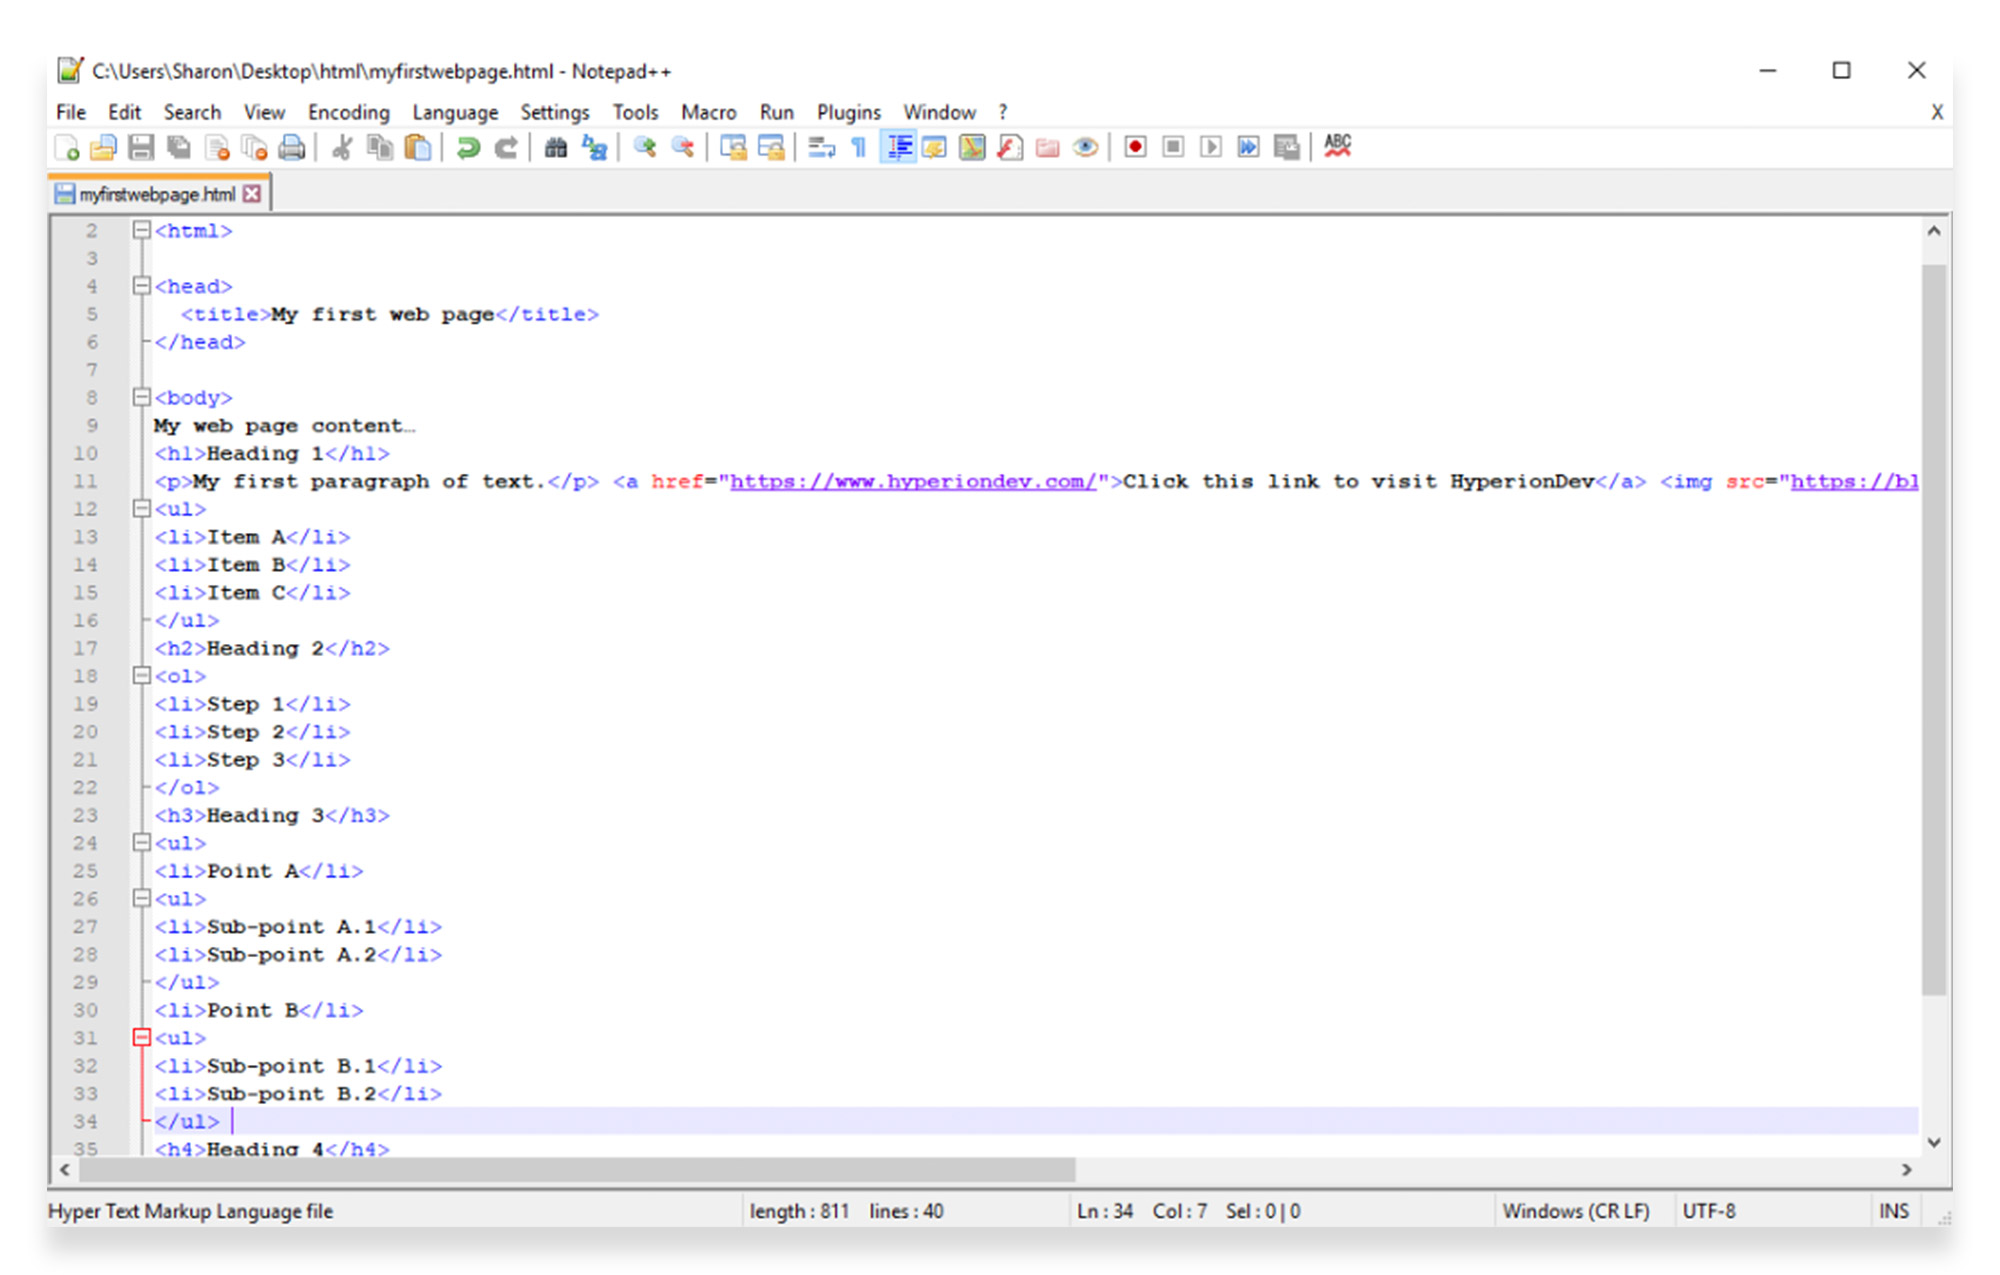
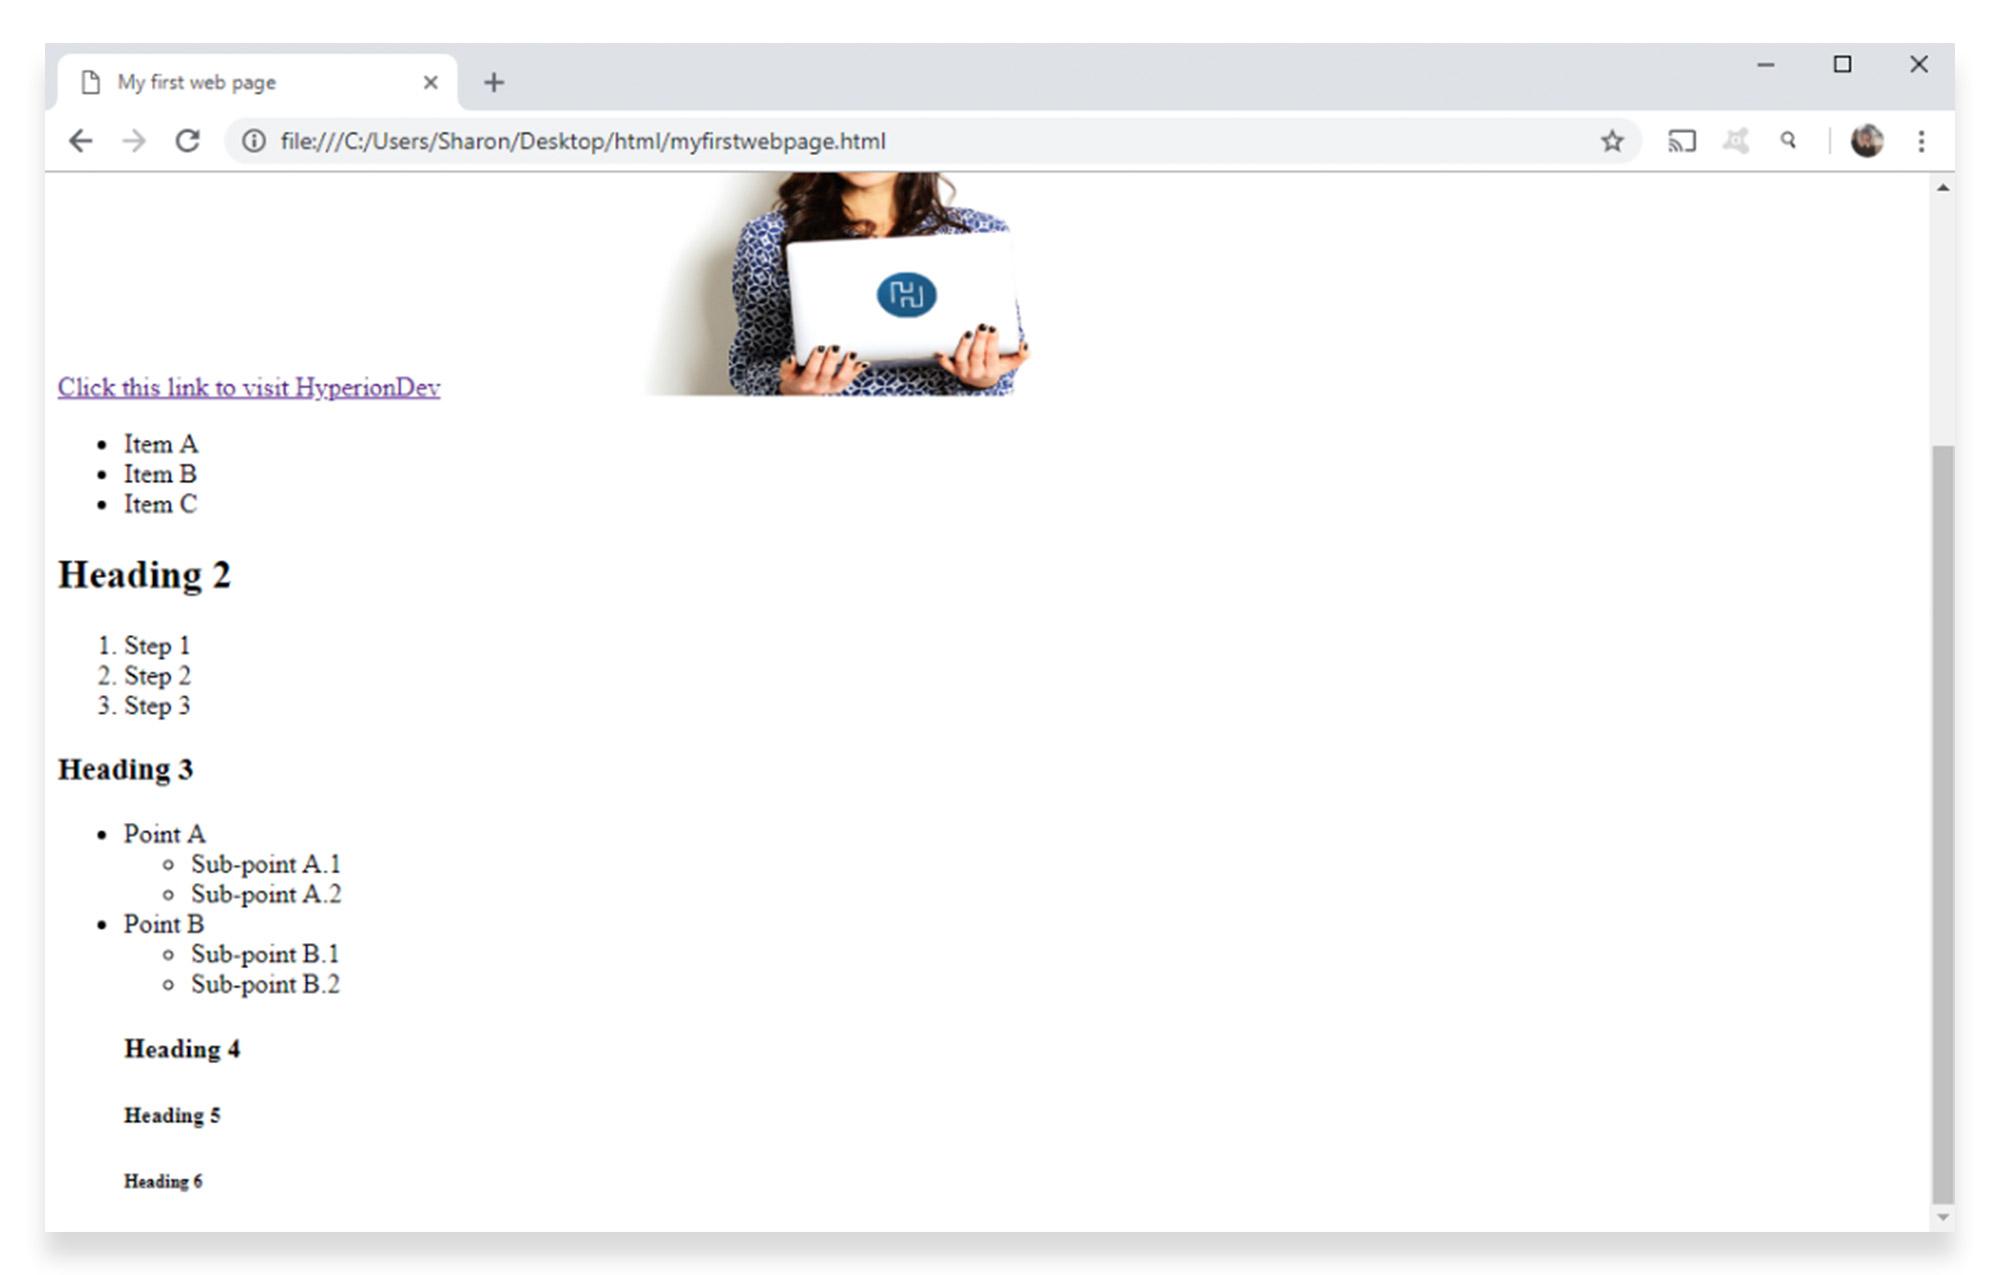
A nested list is a little more complex, because it’s essentially a “list within a list” with a variety of different indentations and bullet point types used to denote points and sub-points.
Add a nested list by typing this code into your document, under Heading 3.
Your updated web page will appear as follows:
A real-world example of this would be something like a gym or exercise studio listing their daily schedule. The points would be the days of the week, and the sub-points would be the classes taking place each day.
If you want to see this real-world example on your web page, you can edit the text as follows:
- Monday Schedule:
- 9am — Hatha Yoga
- 1pm — Spinning
- 10am — Water Aerobics
- 2pm — Pilates
When building a real website, you would be able to add as many points and sub-points as you need, depending on the site content.
Remember that HTML isn’t presentational, and in order to add styling to your lists (e.g. defining the font used for the list), you will need to use Cascading Style Sheets (CSS).
HTML links
HTML links are hyperlinks which allow the user to click and navigate to another page or document. When a piece of text is hyperlinked, a mouse cursor will turn into a hand icon to show the user that it is clickable.
In our first HTML beginner tutorial, we covered how to insert a simple HTML link using the and tags and the href attribute, as follows:
HTML also allows you to define the behaviour of your links in a bit more detail, such as creating targets and linking images.
Targets:
You can use a target attribute to specify where to open the link. You can do this by adding a target attribute to your link code and applying one of the following values:
- _self opens the link in the same window or tab as it was clicked
- _blank opens the link in a new window or tab.
- _parent opens the link in the parent frame
- _top opens the link in the body of the window
- framename opens the link in a named frame
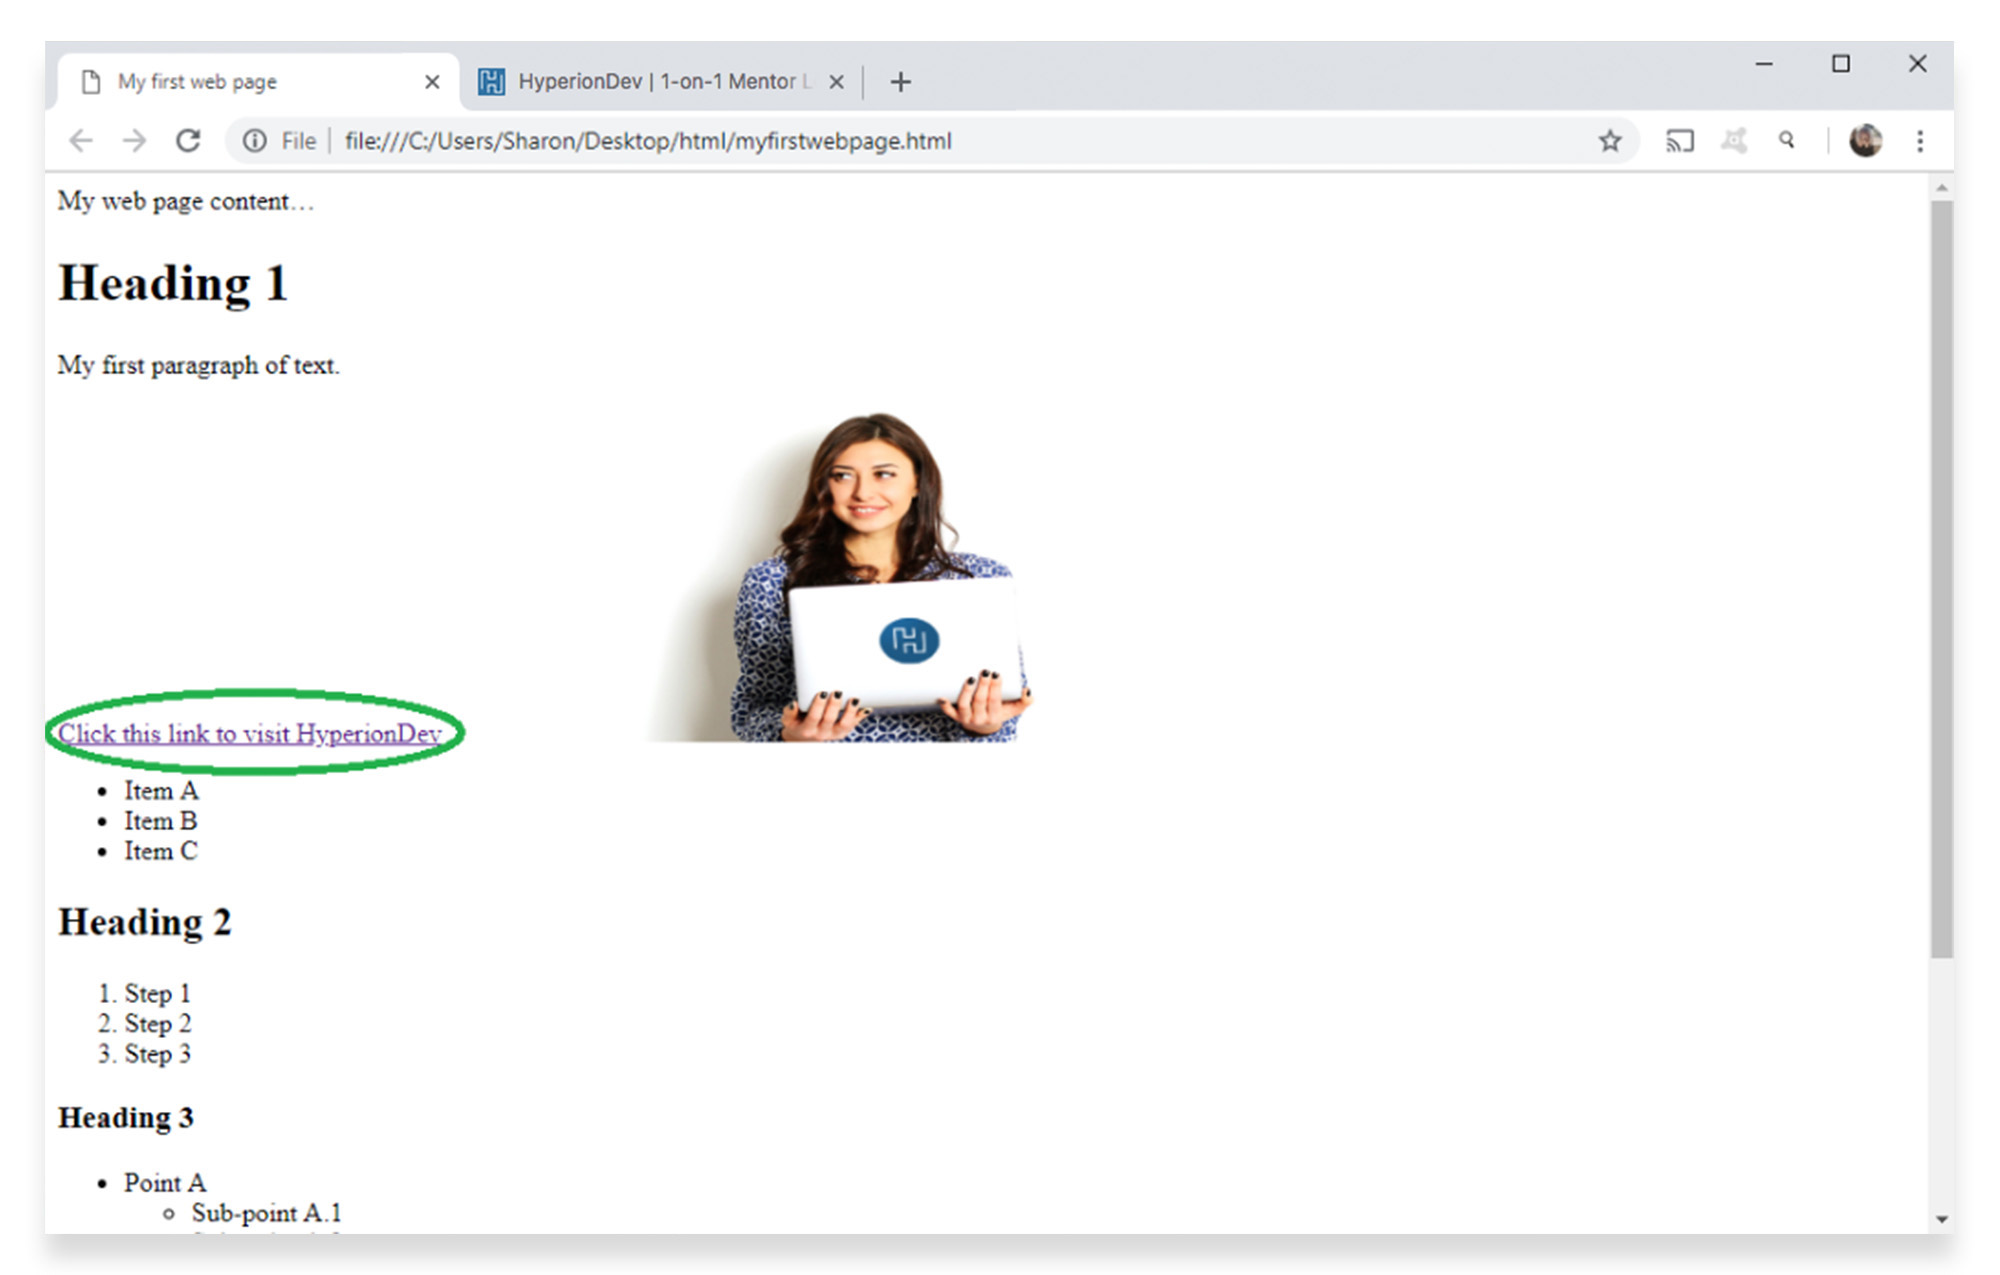
Go back to the link in your document, and edit it as follows:
This example will open your link in a new browser window or tab. This is useful, because it allows the user to open the link without clicking away from the original web page or site.
When you refresh your page and click the link, the content will open in a new tab.
By default, an unvisited link will be underlined and appear as blue text. A visited link will be underlined in purple text, and an active link will be underlined in red text. To change these default colours, you would need to use CSS to style them further.
Linking images:
Images can be hyperlinked as well as text.
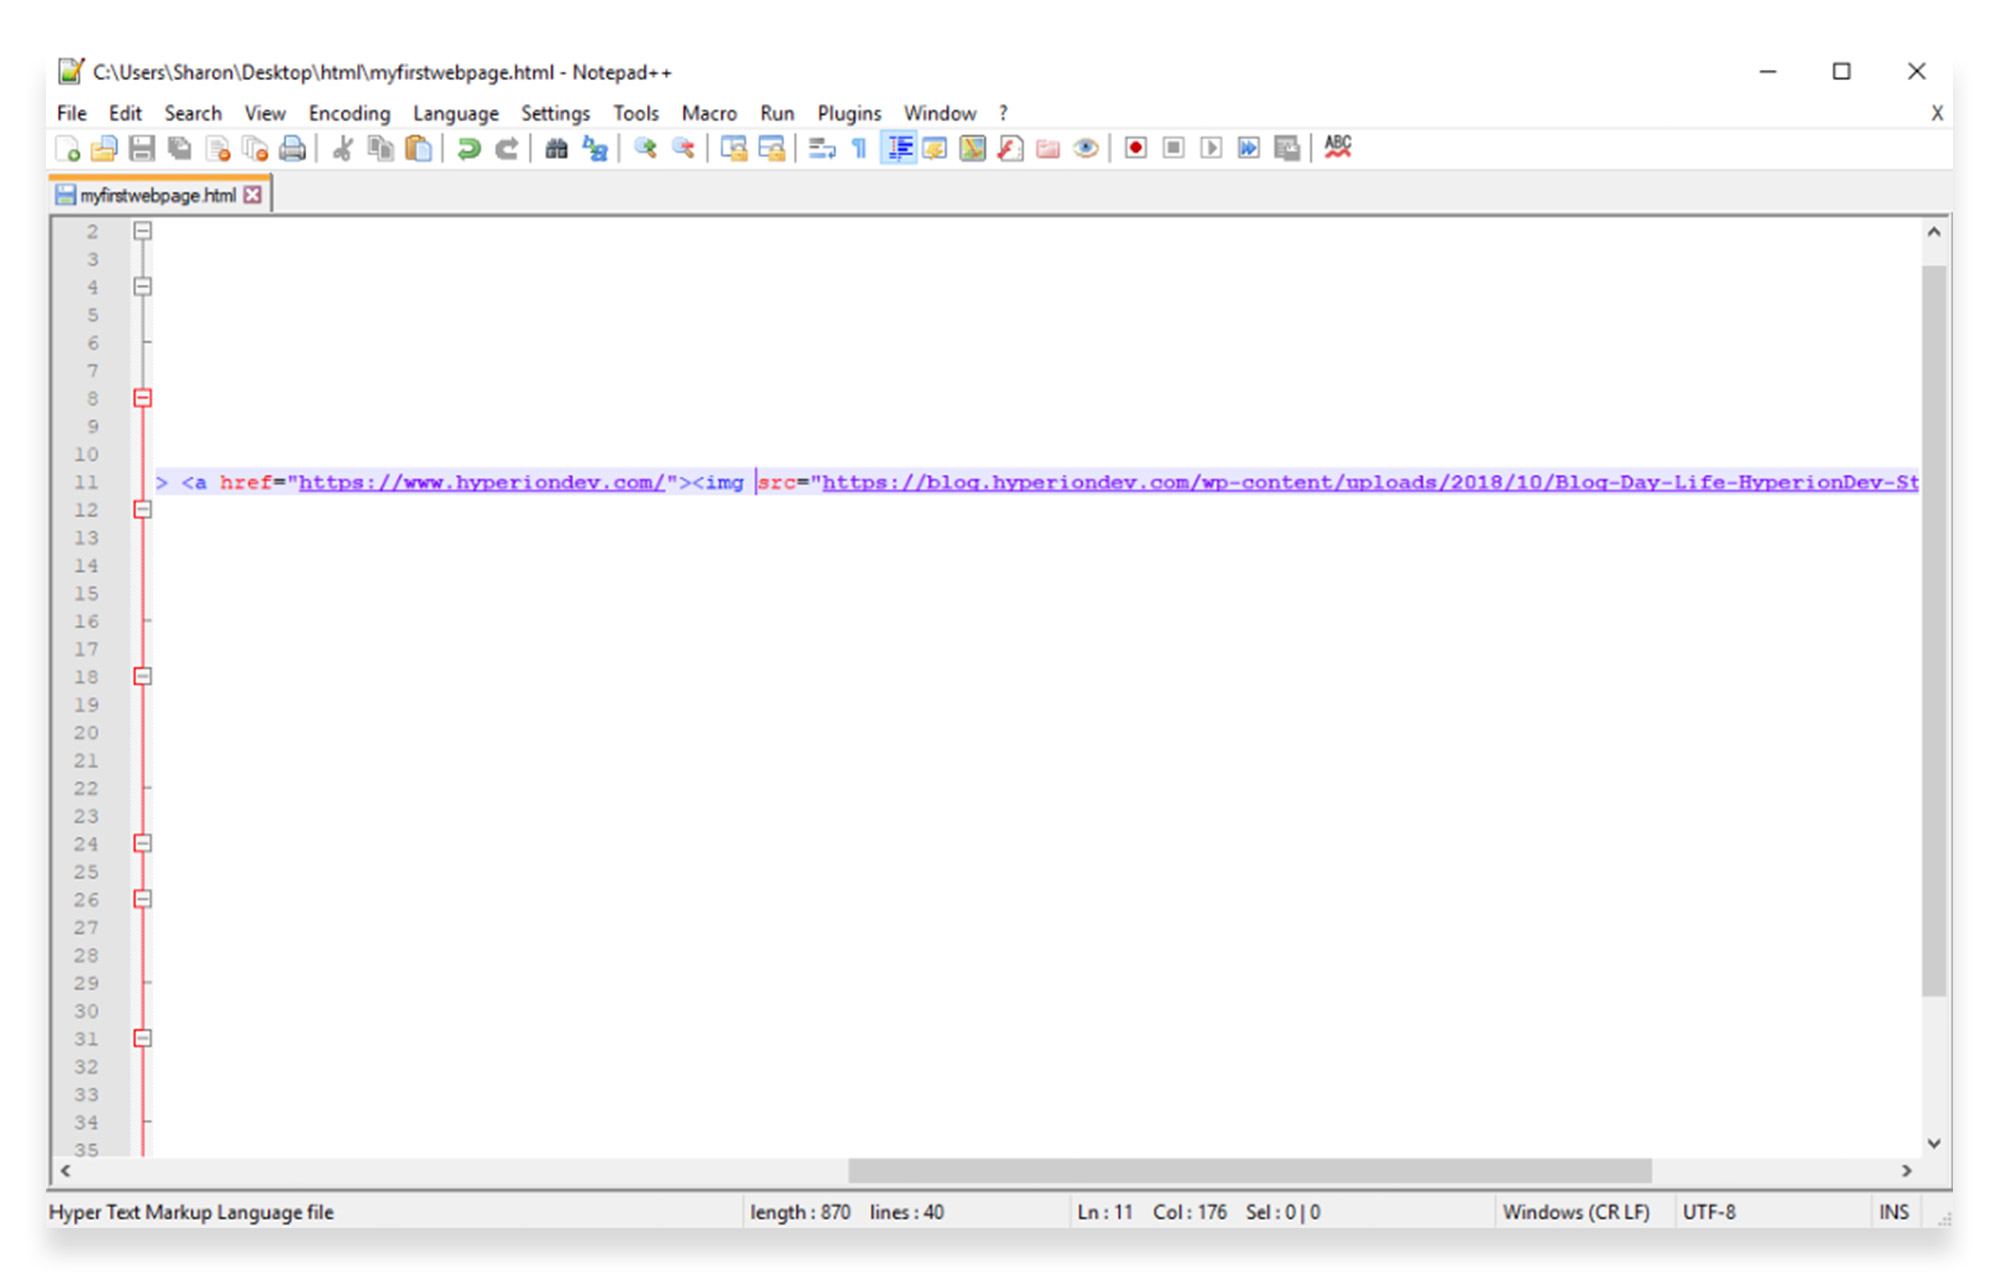
Go back to your image in your document, and add your tags and href attribute, as you would for a text link.
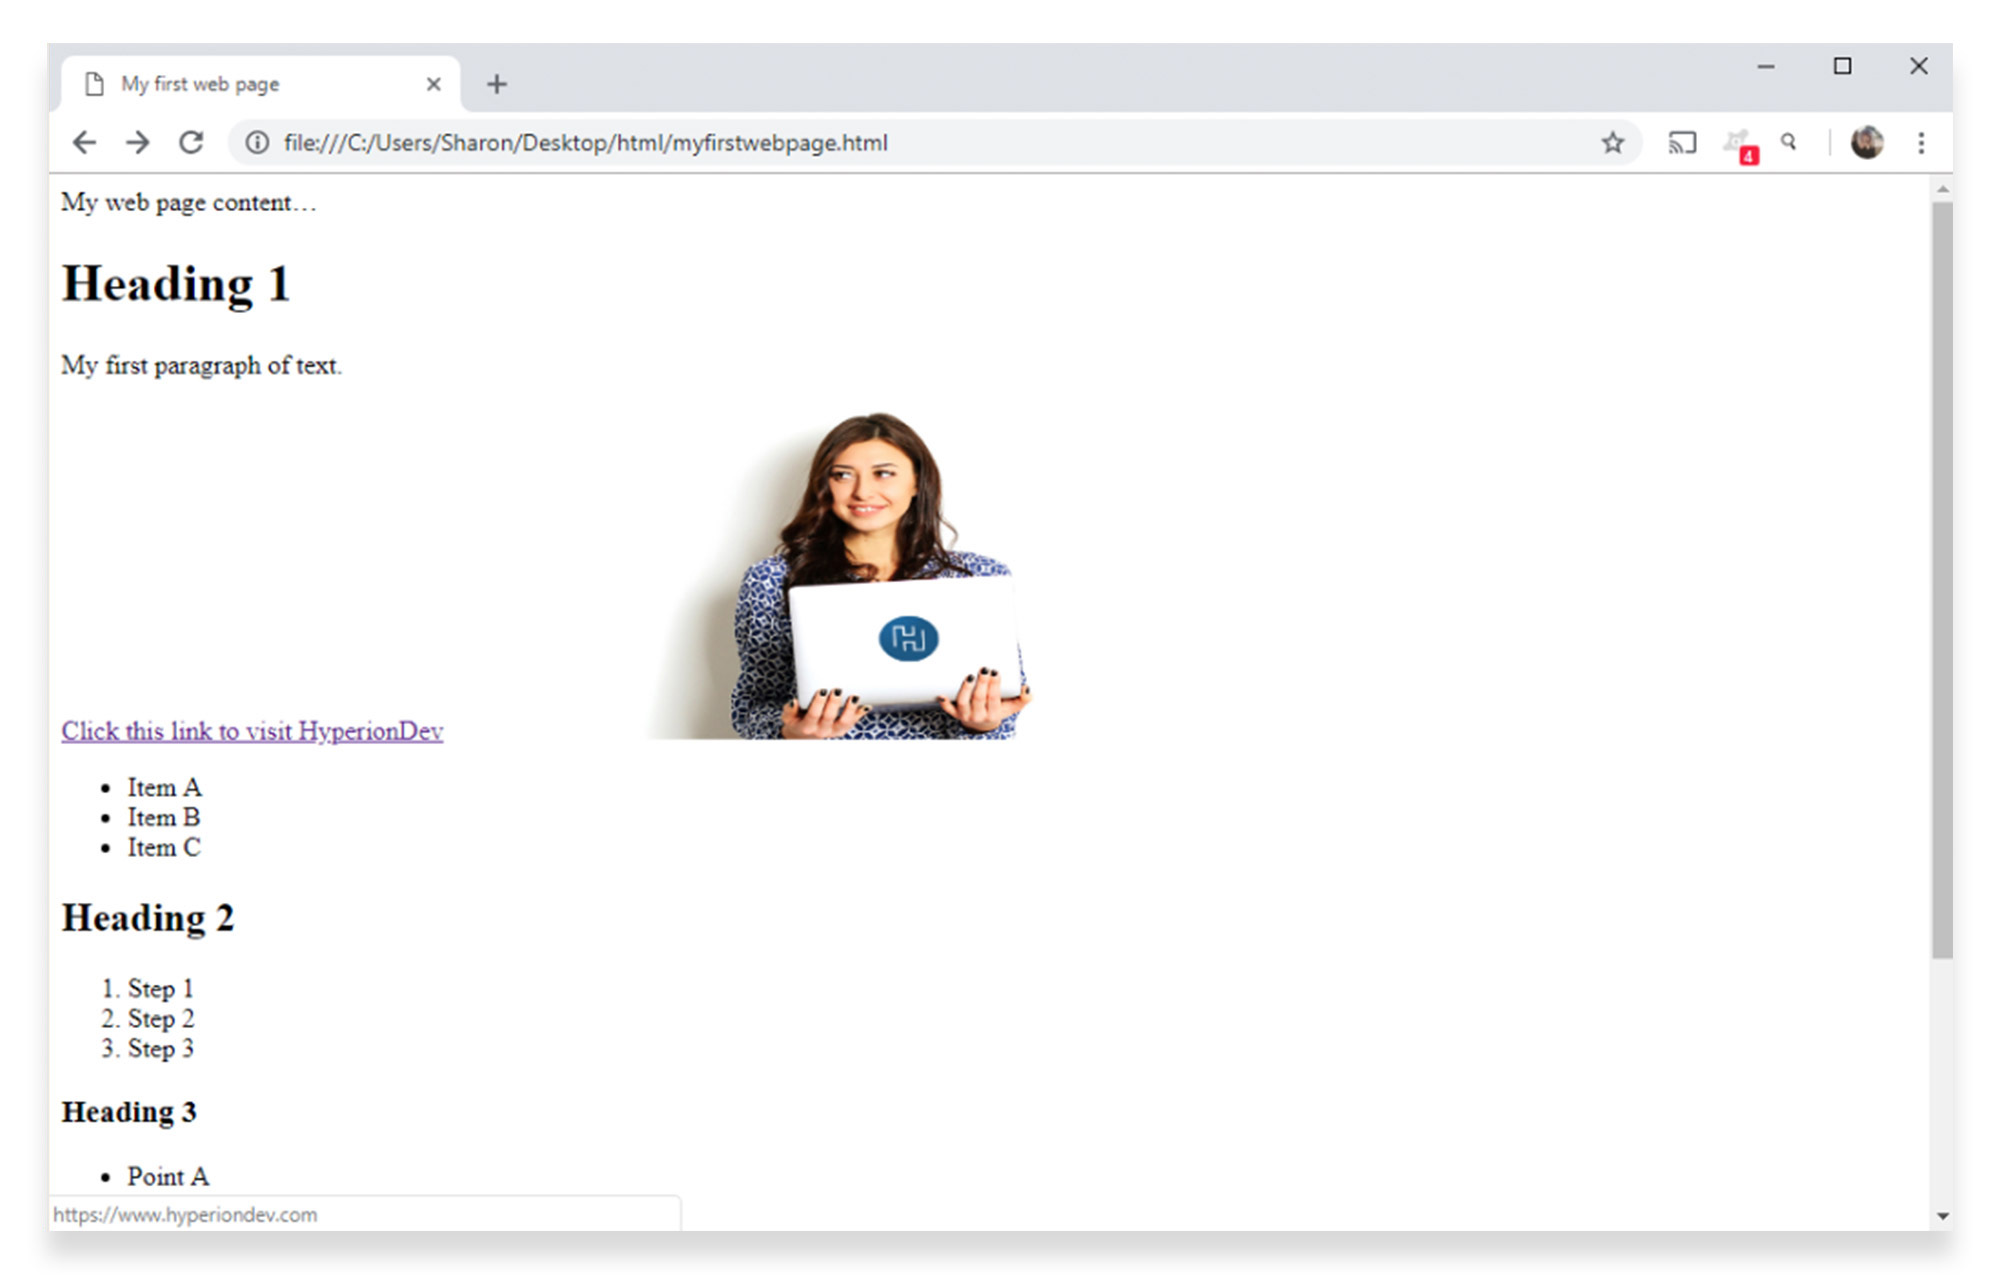
When you refresh your page, the image will look the same, but your mouse cursor will change to a hand when you hover over it – showing that the image is now clickable.
Clicking the image will open your link in the same browser tab. You can change this to open in a new tab, by using a target attribute as you would for a text link.
HTML images
In the first tutorial, you learned how to add an image to your HTML page, using the
tag.
The tag contains attributes only, and does not have a closing tag. The src attribute, which you’ve already learned how to use, specifies the location (web address or URL) of the image.
The alt attribute provides alternate text for an image, in case the user isn’t able to view the image itself. This could be caused by a slow Internet connection or an error in the src attribute.
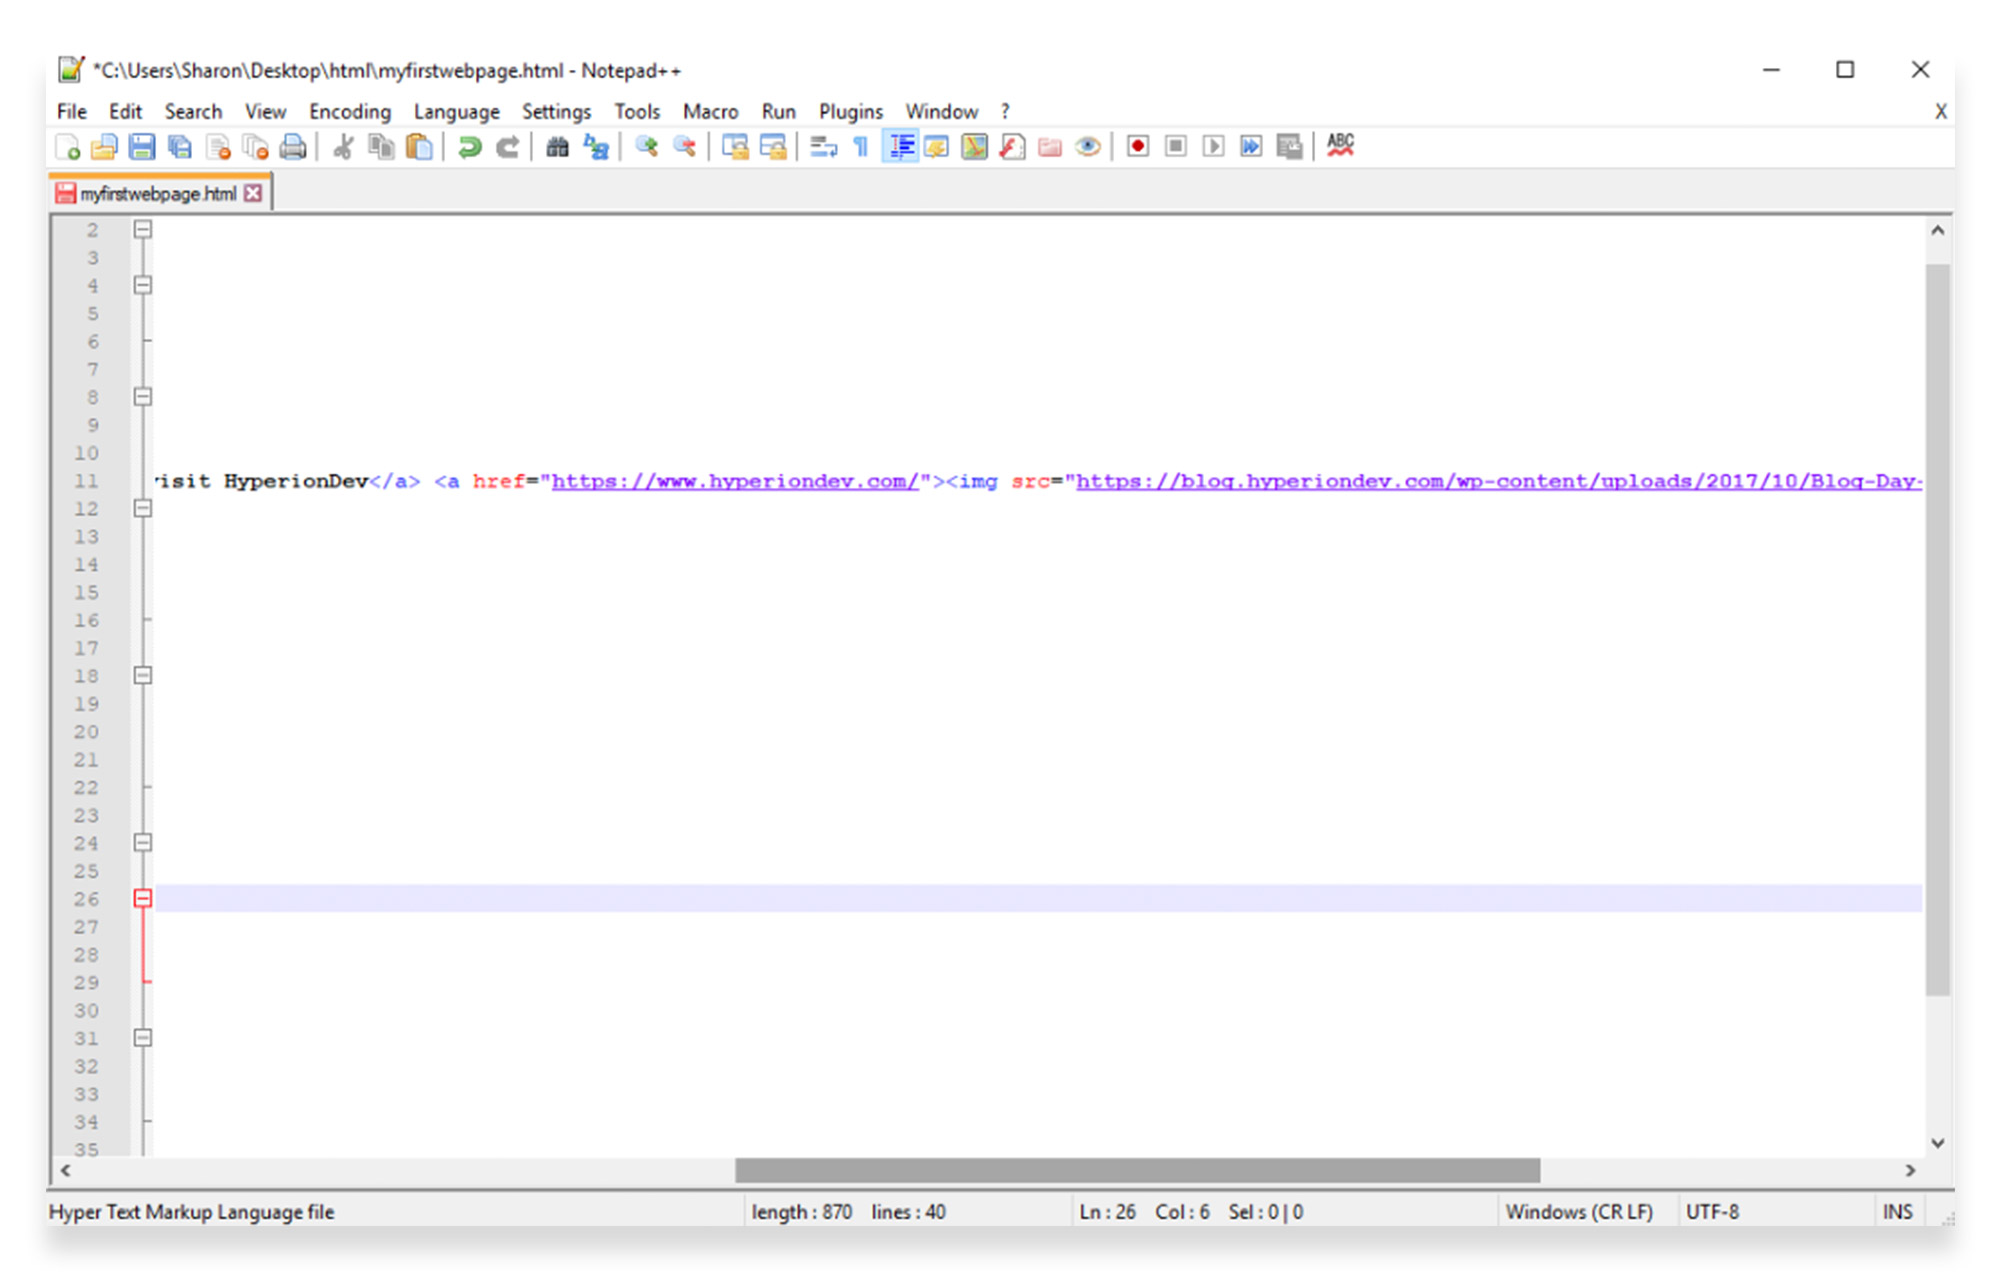
Let’s say for example the url you were using was incorrect. Go back to the image in your document, and change it to a purposely incorrect url, as follows:
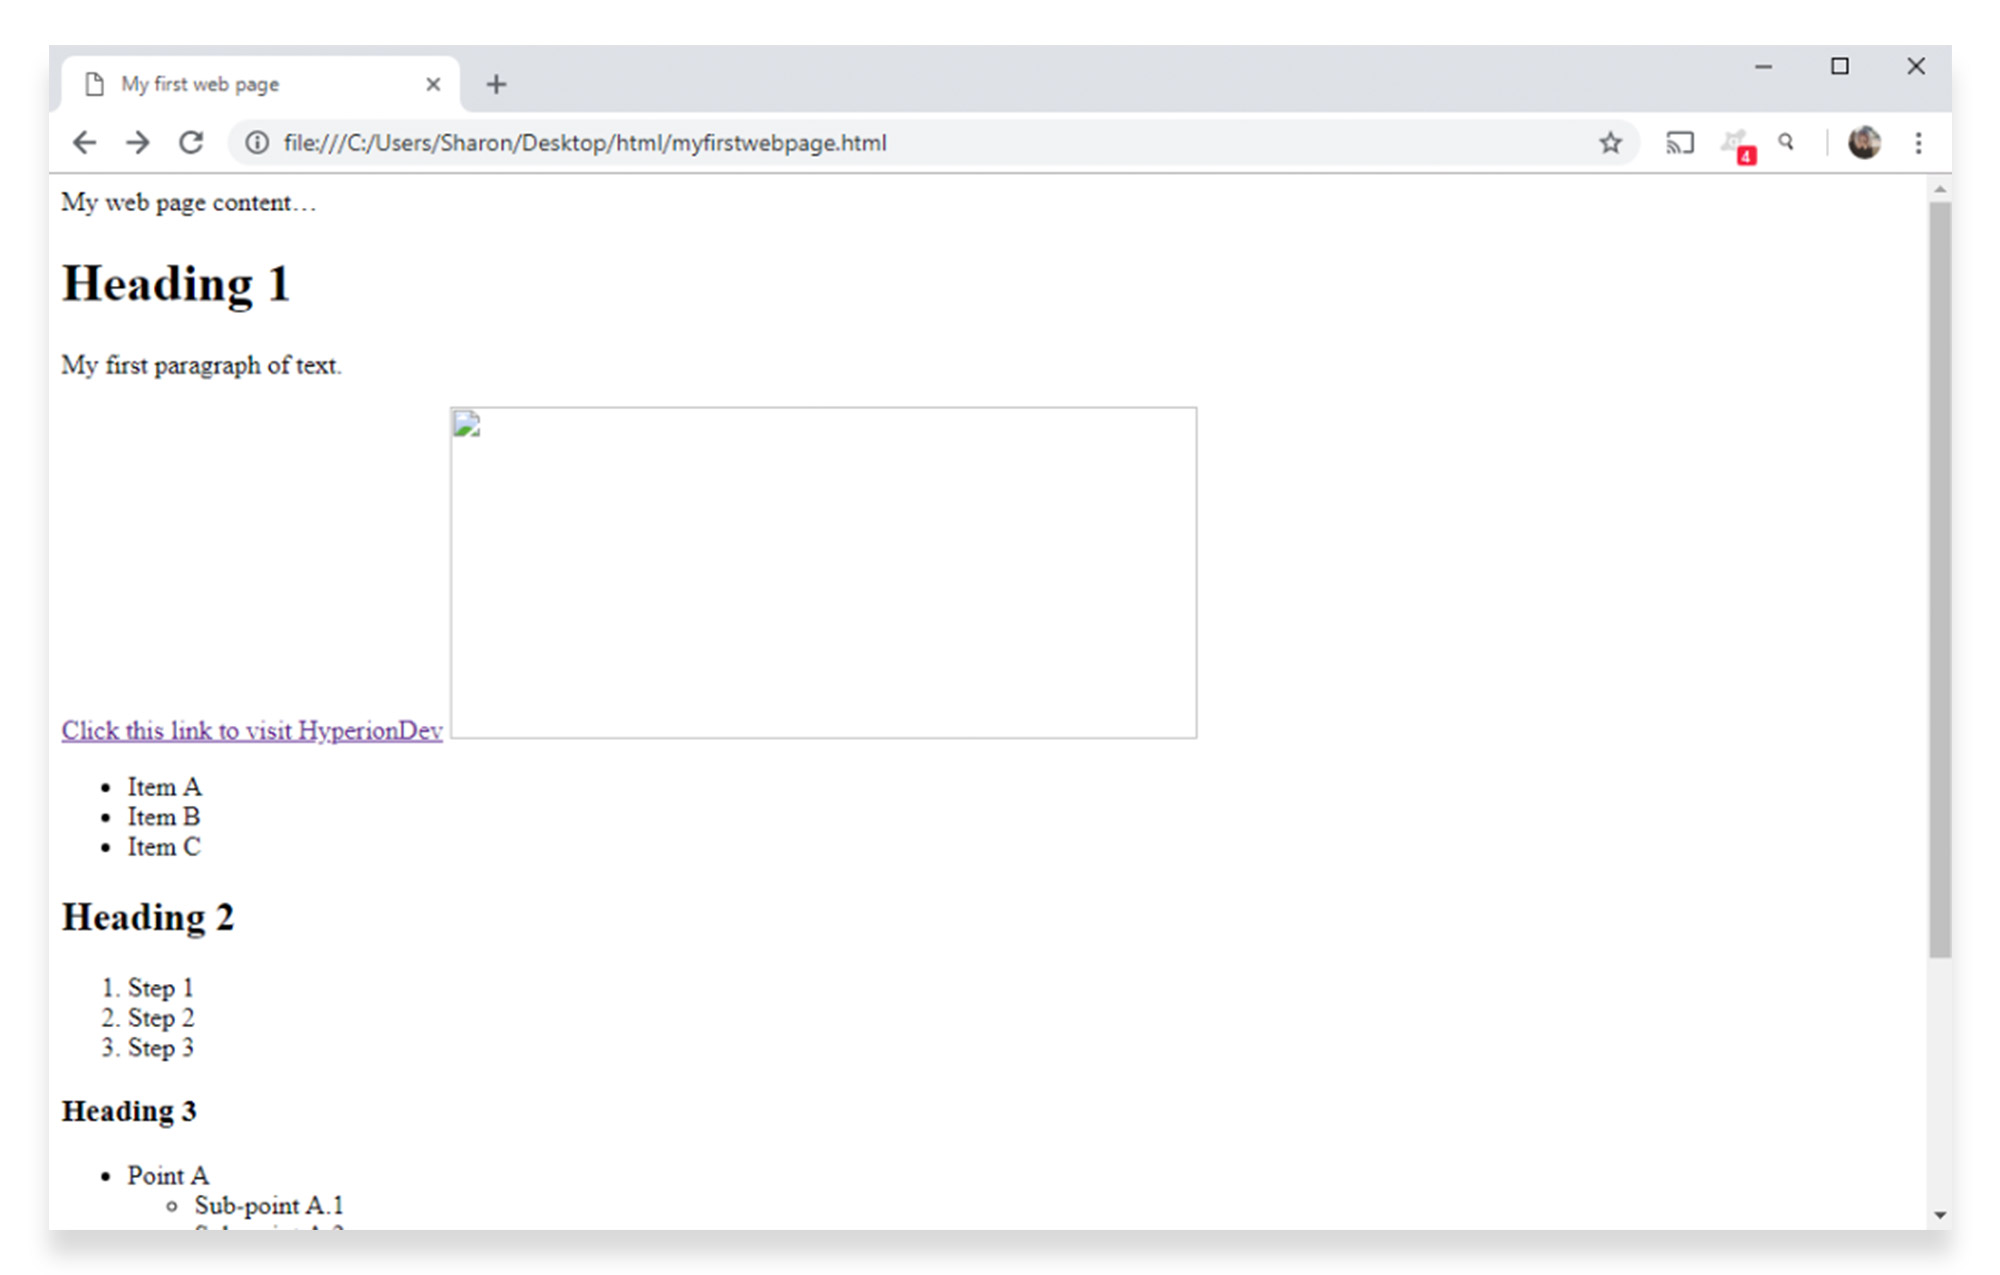
When you refresh the page, you’ll see a broken image with no description of what ought to be displaying there.
Putting alt attributes in place for your images ensures that your users (and search engines) can see what’s meant to be there, even if there is a problem with loading the image.
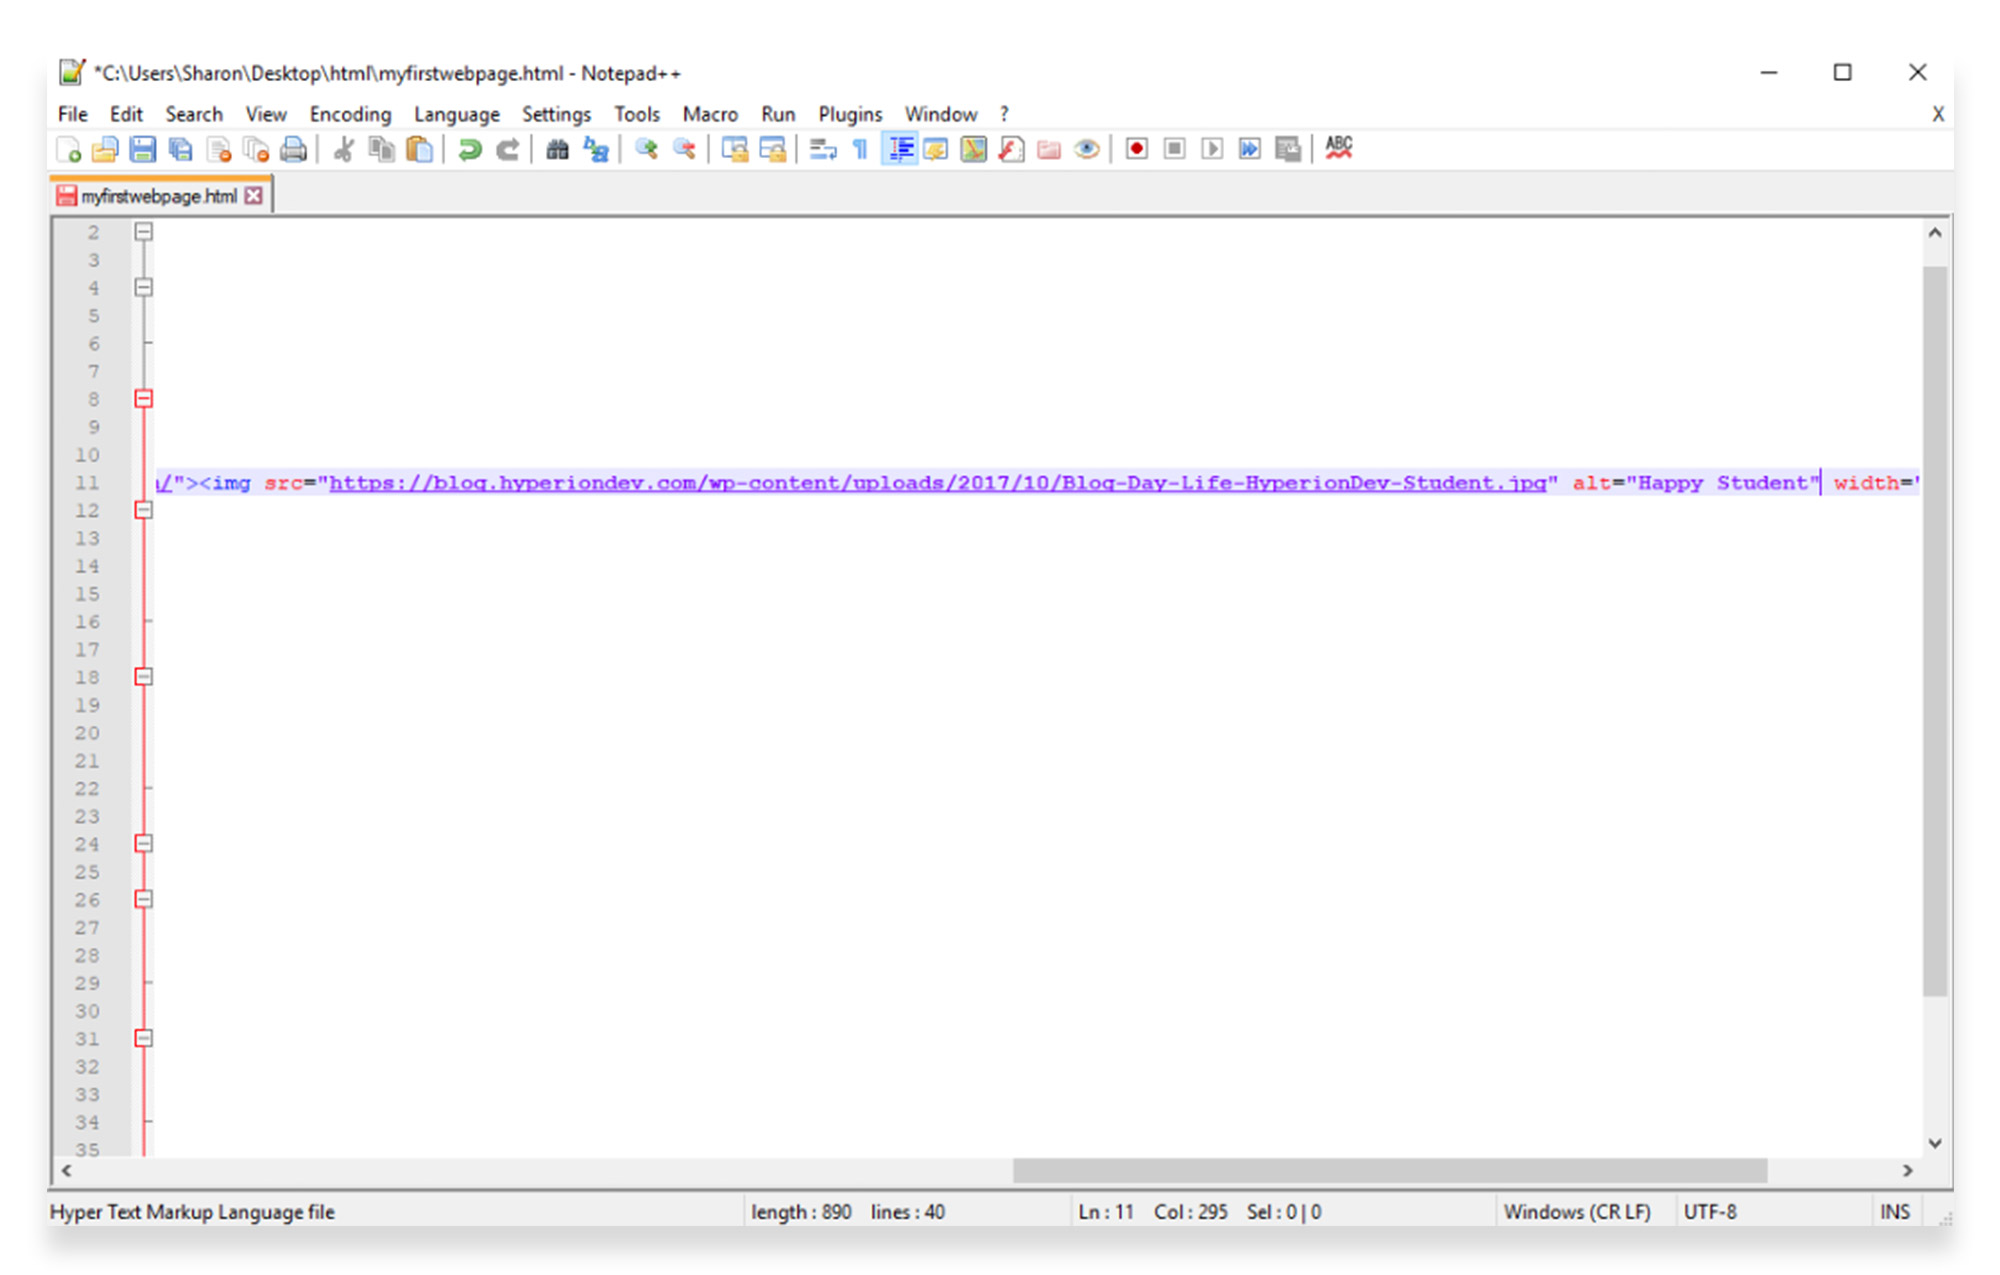
Add an alt attribute to your image using the following text:
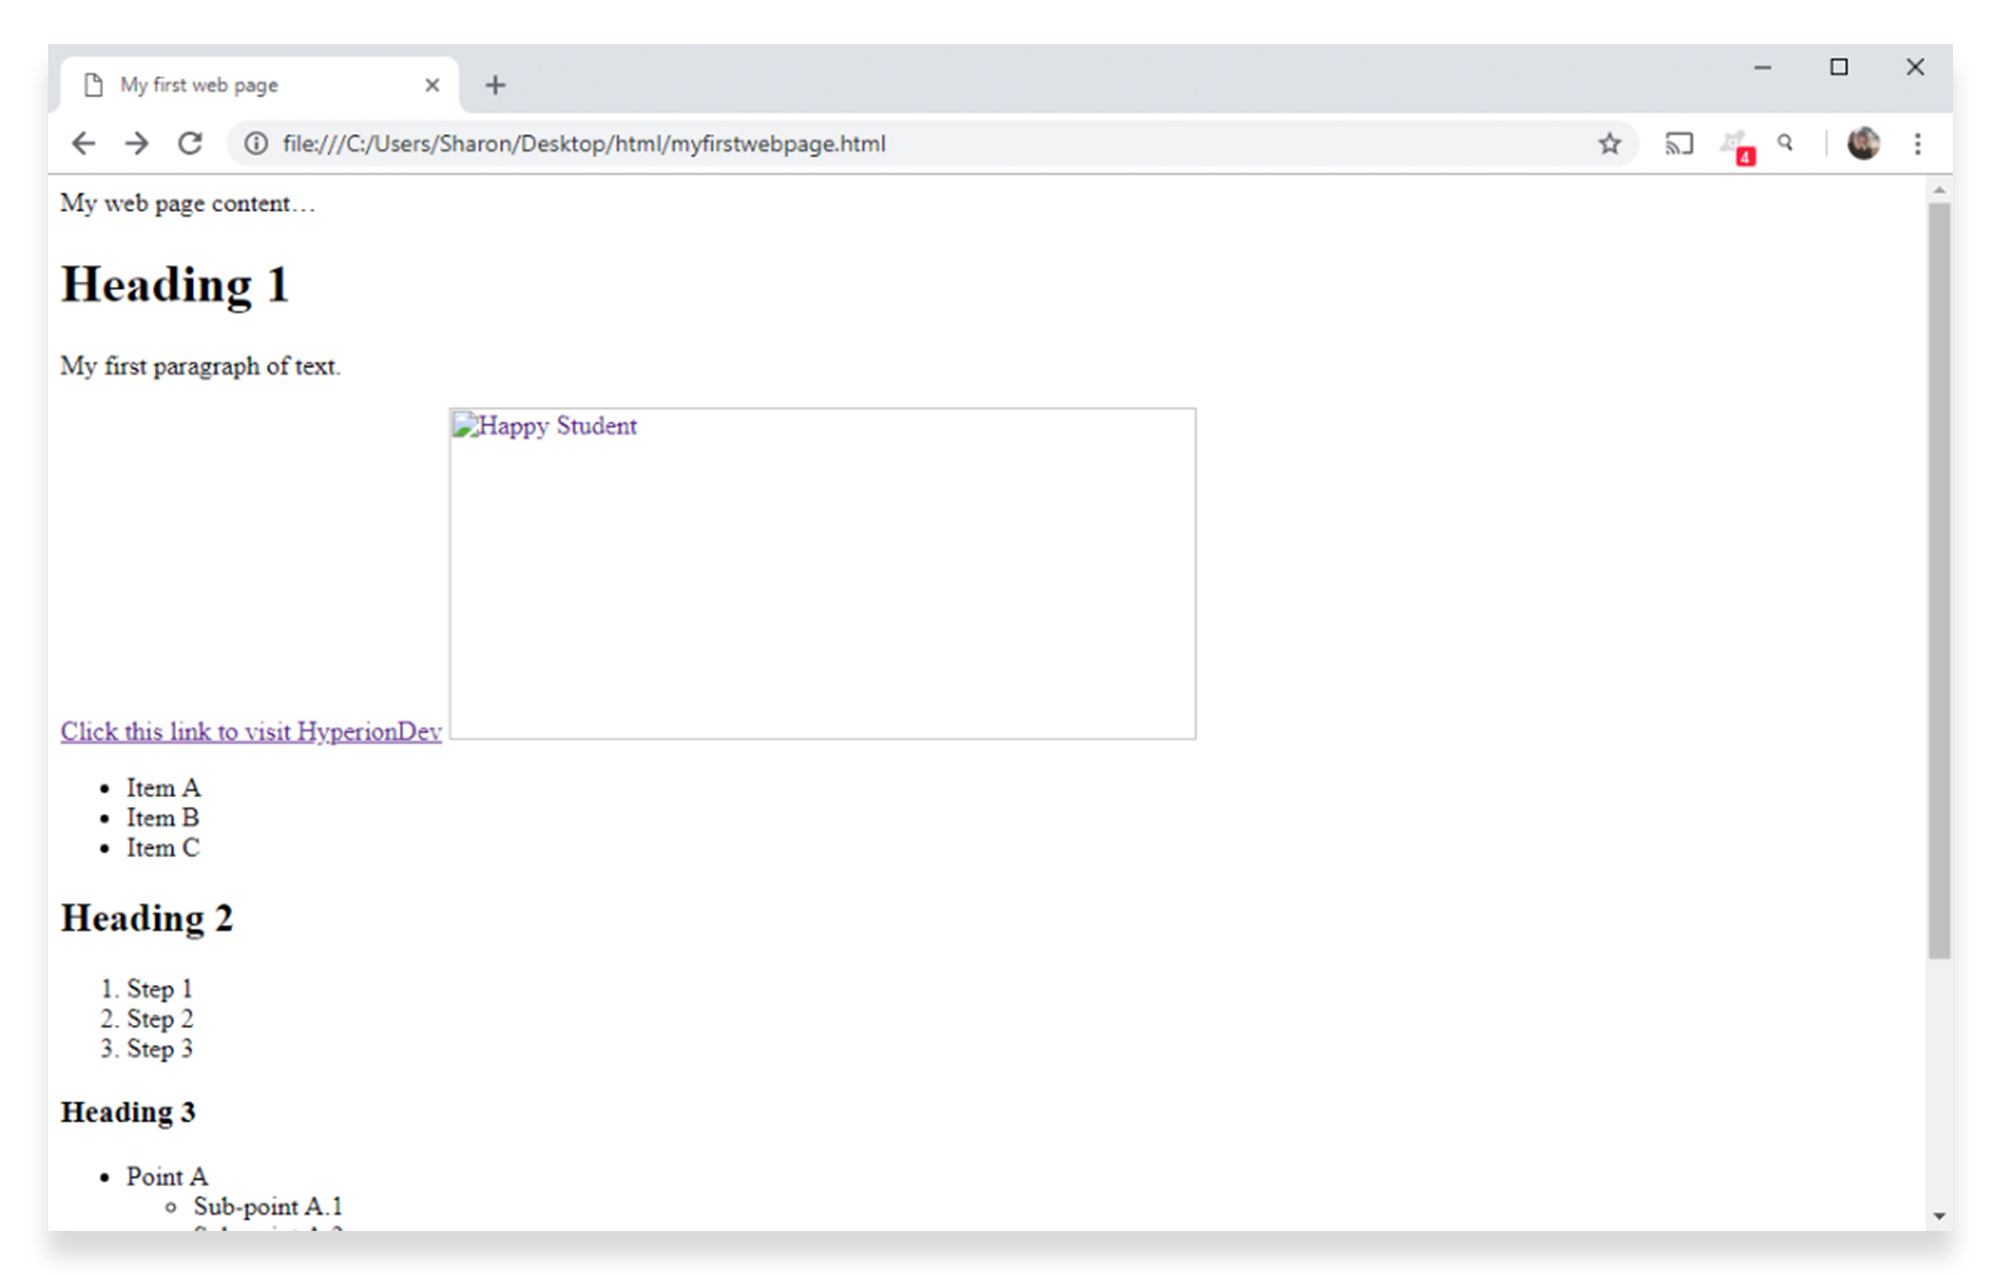
When you reload the page, the alt attribute value will display where the image should be:
Note: Be sure to fix your image url before continuing. Ideally, the images should display, and alt attributes should be in place as a back-up.
Part 3 of our HTML tutorial will show you how to set up tables and forms.
This tutorial will give you a simple introduction to the popular web language, but if you want to learn more about HTML code in-depth, why not sign up for a mentor-led full stack web development course ?


