HTML
The defines a file-select field and a «Browse» button for file uploads.
To define a file-select field that allows multiple files to be selected, add the multiple attribute.
- Browser Support
- Syntax
- COLOR PICKER
- Report Error
- Thank You For Helping Us!
- How to Upload Files with HTML
- How to Access Files
- How to Include a Request Body
- How to Set the Content-Type
- Recap
- How to create a file upload form
- Mertcan Yücel
- Mertcan Yücel
- How to create a file upload form in HTML
- 1- Create a Getform account
- 2- Create a new form on Getform
- 3- Create your HTML for your file upload form
- 4- Paste the endpoint URL that you obtained in step 2 to the action field of your HTML form tag.
- 5- Send a new form submission with file attachment
- 6- Upload multiple files to your form
- 7.Bonus: Setup a HTML5 multiple file upload
- Subscribe to Getform.io | The modern way to build the form backend!
Browser Support
The numbers in the table specify the first browser version that fully supports the element.
| Attribute | |||||
|---|---|---|---|---|---|
| type=»file» | 1.0 | Yes | 1.0 | 1.0 | 1.0 |
Syntax

COLOR PICKER


Report Error
If you want to report an error, or if you want to make a suggestion, do not hesitate to send us an e-mail:
Thank You For Helping Us!
Your message has been sent to W3Schools.
Top Tutorials
Top References
Top Examples
Get Certified
W3Schools is optimized for learning and training. Examples might be simplified to improve reading and learning. Tutorials, references, and examples are constantly reviewed to avoid errors, but we cannot warrant full correctness of all content. While using W3Schools, you agree to have read and accepted our terms of use, cookie and privacy policy.
How to Upload Files with HTML

Austin Gil

When building applications with HTML, you may eventually come to a point where you need to allow users to upload files. Surprisingly, it’s not quite as straightforward as you might assume.
In this post, we’ll look at all things you need to support file uploads in HTML.
How to Access Files
The very first step is accessing a file to upload. Unfortunately, or rather, fortunately, browsers can’t access our file systems. If they did, it would be a major security concern.
There is work being done on the File System Access API, but it’s experimental and will be limited access, so let’s just pretend it doesn’t exist.
Accessing a file requires user interaction, which means we need something in the UI for the user to interact with. Conveniently, there is the input element with a file type attribute.
On its own, a file input isn’t very useful. It allows a user to select a file from their device, but that’s about it.
To actually send the file to a server, we need to make an HTTP request, which means we need a . We’ll put the file input inside along with a to submit the form.
The input will also need a to make it accessible for assistive technology, an id attribute to associate it with the label, and a name attribute in order to include its data along with the HTTP request.
How to Include a Request Body
If we watch the network tab as we submit the form, we can see that it generates a GET request, and the payload is sent as a query string that looks like this: “ ?name=filename.txt ”. It’s essentially a key-value pair, with the key being the input name and the value being the name of the file.
Not quite what we’re going for here.
We can’t actually send a file using a GET request because you can’t put a file in the query string parameters. We need to put the file in the body of the request.
To do that, we need to send a POST request, which we can do by changing the form’s method attribute to «post» .
Now, if we explore that request, we can see that we are making a post request. We can also see that the request has a payload containing the form’s data. Unfortunately, the data is still just a key-value pair with the input name and the filename.
How to Set the Content-Type
We’re still not actually sending the file, and the reason has to do with the request “ Content-Type ”.
By default, when a form is submitted, the request is sent with a Content-Type of application/x-www-form-urlencoded . And unfortunately, we can’t send the binary file information as URL encoded data.
In order to send the file contents as binary data, we have to change the Content-Type of the request to multipart/form-data . And in order to do that, we can set the form’s enctype attribute.
Now, if we submit the form one more time, we can see the request uses the POST method and has the Content-Type set to multipart/form-data . In Chromium browsers, you’ll no longer see the request payload, but you can see it in the Firefox DevTools under the request Params tab.
Recap
With all that in place, we can upload files using HTML. To re-iterate, sending files with HTML requires three things:
- Create an input with the type of file to access the file system.
- Use a form with method=»post» to include a body on the request.
- Set the request’s Content-Type to multipart/form-data using the enctype attribute.
Thank you so much for reading. If you liked this article, and want to support me, the best ways to do so are to share it, sign up for my newsletter, and follow me on Twitter.
Austin Gil
For over ten years I helped organizations build fast, secure, accessible websites. Now I help others do the same through high-quality content, open-source projects, and presentations.
If you read this far, tweet to the author to show them you care. Tweet a thanks
Learn to code for free. freeCodeCamp’s open source curriculum has helped more than 40,000 people get jobs as developers. Get started
freeCodeCamp is a donor-supported tax-exempt 501(c)(3) charity organization (United States Federal Tax Identification Number: 82-0779546)
Our mission: to help people learn to code for free. We accomplish this by creating thousands of videos, articles, and interactive coding lessons — all freely available to the public. We also have thousands of freeCodeCamp study groups around the world.
Donations to freeCodeCamp go toward our education initiatives, and help pay for servers, services, and staff.
How to create a file upload form
In this blog post, we will walk you through on how to set up a single and multiple file upload support to your HTML forms by using Getform.
Mertcan Yücel
Mertcan Yücel

While handling your forms, adding a file upload capability is one of the most useful use-cases that you might need. Your requirement is simple; you have created your HTML form and want to accept file attachments with the information submitted to your form. For example, it could be a job application form that you want to collect applicant resumes along with their photos or just a simple contact form where you accept any file attachment based on your need.
Most of the form builders such as Google Forms don’t have an easy setup for form uploads. But with Getform, it’s really easy to handle file uploads on your HTML forms. In this post, we will walk you through on how to set up a single and multiple file upload support to your HTML forms.
How to create a file upload form in HTML
Let’s start setting up our file upload form.
1- Create a Getform account
If you haven’t created one already, sign up for Getform. It is so easy to get started and free to register. You don’t need to provide any credit card info to create an account.
2- Create a new form on Getform
After you log in to your Getform account, click to “+” button on your dashboard to create a new form then name it as e.g. “File Upload Form” as follows:
With that form created, our unique form endpoint is now ready to be inserted to our HTML.
3- Create your HTML for your file upload form
You can use the boilerplate code provided on Getform to create your HTML form with file upload capability. It is a basic contact form with name, email, message and a file field. Here is HTML Form Upload Example:
Extra parts we are adding to our form are «enctype=»multipart/form-data» and » than the usual form created on Getform. These additions will ensure the files are submitted along with the submissions sent to your forms.
4- Paste the endpoint URL that you obtained in step 2 to the action field of your HTML form tag.
Change the action part of your tag in your Hugo template, to use the form endpoint URL you copied in step 2.
The part of the endpoint URL will appear for your form is highlighted in bold. After we add our unique endpoint and with a little bit of styling, here is how our form looks like:
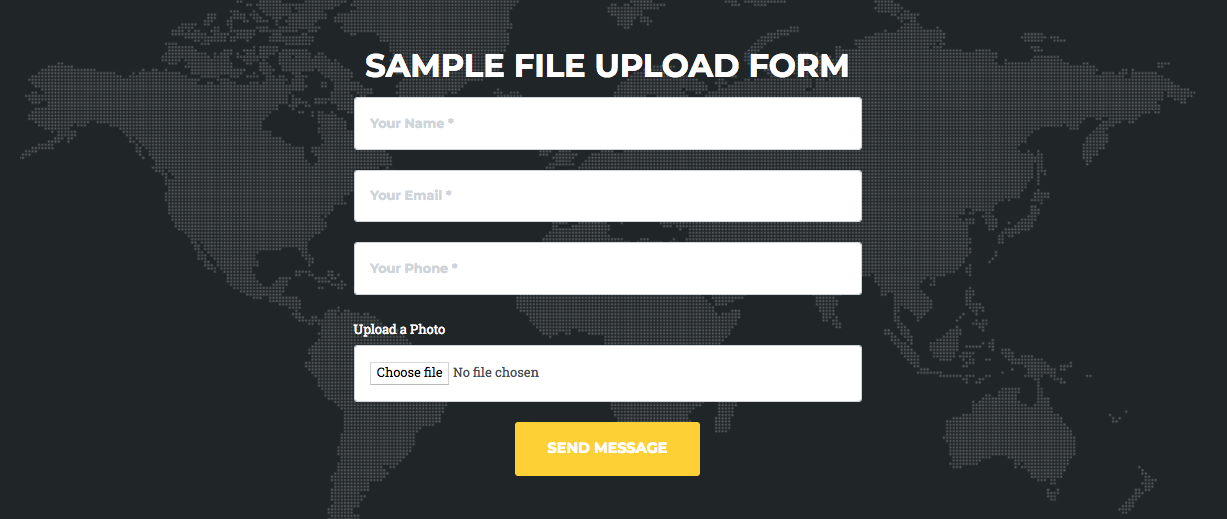
5- Send a new form submission with file attachment
Let’s fill out the form fields, upload a photo and send a new submission to our form:
That’s it! The photo we have added has been correctly submitted with our submission.
6- Upload multiple files to your form
What if you need to send more than one file with your submission? You can add more than one input type=»file» to your HTML to accept multiple file uploads to your form. Here is the HTML syntax to do that:
Important: While using more than input field for your files, don’t forget to give a different name to each file input field
7.Bonus: Setup a HTML5 multiple file upload
In addition to what we have shown in the 6th step, there is another way to upload multiple files to your forms with a single input. multiple (another usage is multiple=»multiple») keyword that has been introduced with HTML5 helps us to upload more than one file from the single field. Here is the HTML syntax to do that:
Please note that on Getform, you can accept up to 25MB and up to 5 files per submission.
We hope you enjoyed this post! Let us know if you need further assistance. We are always here to help.
If you have any further queries, reach us out at info@getform.io.
Mertcan from Getform
Easy form endpoints for your forms.
Subscribe to Getform.io | The modern way to build the form backend!
Get the latest posts delivered right to your inbox