- Webslesson
- PHP, MySql, Jquery, AngularJS, Ajax, Codeigniter, Laravel Tutorial
- Monday, 28 January 2019
- Uploading Image in CKEDITOR with PHP
- See Also
- 1 — Integrate CKEDITOR
- Create HTML code file for integrate CKEDITOR
- 3 — Make PHP script for upload Image
- Server-side Image Upload in TinyMCE Editor using PHP
- HTML Code
- JavaScript Code
- PHP Upload Handler (upload.php)
- Image Upload Dialog in TinyMCE
- Conclusion
- TinyMCE Rich text editor with server side Image upload using PHP
- PHP Image Upload using TinyMCE Editor
Webslesson
PHP, MySql, Jquery, AngularJS, Ajax, Codeigniter, Laravel Tutorial
Monday, 28 January 2019
Uploading Image in CKEDITOR with PHP
If you have build any content management system or any other system in which you have use CKEDITOR HTML editor. So, Now you want to upload Image from CKEDITOR using PHP script. For this here we have make this post, in which we have step by step describe how to make custom image upload in CKEDITOR from your PHP application. We all know CKEDITOR is a widely used HTML editor in any web based application, and it is very easy to use, and it is very easy to integrate in our application.
Suppose you have used CKEDITOR in your web application, then by default for add image into your content, you have to just add upload image path into image dialog box and you can adjust property of image. But you cannot direct upload image from your local computer into text editor. For upload image or file in CKEDITOR, there are two way you can upload image in CKEDITOR, first you have to use any plugin for upload image in CKEDITOR or you have to make custom image upload in CKEDITOR.
Here we have discuss, how to make custom image upload in CKEDITOR using PHP script. For make custom image upload in CKEDITOR, you have to follow following steps.
1 — Integrate CKEDITOR
2 — Create HTML code file for integrate CKEDITOR
3 — Make PHP script for upload Image
See Also

1 — Integrate CKEDITOR
If you want to use CKEDITOR into your PHP web application, then first you have to download CKEDITOR from it’s official site or even you can directly use cdn for CKEDITOR for it’s official site also.
Create HTML code file for integrate CKEDITOR
Suppose you have done download CKEDITOR or use cdn of CKEDITOR in your application, For this here we have make index.php file. In this file we have make simple html code of textarea field. Below you can check how to integrate CKEDITOR in textarea html field and after integrate CKEDITOR it will convert into textarea field. In this HTML code we have use cdn of CKEDITOR for integrate into our application.
In this code textarea field class=ckeditor is used as selector for integrate CKEDITOR on this textarea field. For enable upload tab, you can see in javascript code, in which we have use filebrowserUploadUrl option. This option will enable upload tab in CKEDITOR image dialog box. In this option we can define PHP script file name, this PHP script will upload selected image into folder. That means this option will send request this file for upload image. This complete source code you can find below.
How to Upload Image using ckeditor in PHP
How to Upload Image using ckeditor in PHP
3 — Make PHP script for upload Image
Once you have done integrate CKEDITOR into HTML code, and enable upload tab in image dialog box. Now you have to make PHP script for upload selected image from local computer to upload folder and send uploaded image request back to CKEDITOR image dialog box. For this source code you can find below.
window.parent.CKEDITOR.tools.callFunction($function_number, '$url', '$message');"; > > ?> This is complete step by step process for how to integrate CKEDITOR in PHP application, how to enable upload tab in CKEDITOR image dialog box and how to upload image in CKEDITOR using PHP script.
Server-side Image Upload in TinyMCE Editor using PHP
Image upload is a common feature in the WYSIWYG HTML editor. If you’re using TinyMCE editor in the textarea, the image can be easily inserted into the editor. TinyMCE HTML editor provides an easy option to upload and insert images in the editor as BLOB data type. But it takes time to render BLOB images on the browser. So, server-side upload is always a better option to insert images in a TinyMCE editor.
TinyMCE editor supports local file picking and image uploading. But, to make these features functional you are required to do some settings in the TinyMCE configuration options. Also, the server-side upload handler is required to upload image file to the server. In this tutorial, we will show you how to allow the user to upload images in TinyMCE editor using PHP.
In this example, we will go through the image upload handling process in the TinyMCE editor with PHP. Also, demonstrates the integration of the upload image feature in TinyMCE using images_upload_handler callback and PHP upload handler script. With this feature, the user can upload images from the computer and insert them into the TinyMCE editor. Also, a friendly user interface (UI) will be provided to simplify the image upload by dropping it from the computer.
HTML Code
Define a textarea element ( myTextarea ) to add TinyMCE HTML Editor on the webpage.
textarea id="myTextarea"> textarea>
JavaScript Code
First, include the JS library of the TinyMCE plugin.
script src="tinymce/tinymce.min.js"> script>
Define image upload handler callback using JavaScript.
- The selected file is posted to the server-side script ( upload.php ) to process upload functionality.
- This upload handler function provides 2 events, blobInfo and progress.
- On success, the uploaded file path is retrieved from the JSON object ( json.location ).
const image_upload_handler_callback = (blobInfo, progress) => new Promise((resolve, reject) => < const xhr = new XMLHttpRequest(); xhr.withCredentials = false; xhr.open('POST', 'upload.php'); xhr.upload.onprogress = (e) => < progress(e.loaded / e.total * 100); >; xhr.onload = () => < if (xhr.status === 403) < reject(< message: 'HTTP Error: ' + xhr.status, remove: true >); return; > if (xhr.status < 200 || xhr.status >= 300) < reject('HTTP Error: ' + xhr.status); return; > const json = JSON.parse(xhr.responseText); if (!json || typeof json.location != 'string') < reject('Invalid JSON: ' + xhr.responseText); return; > resolve(json.location); >; xhr.onerror = () => < reject('Image upload failed due to a XHR Transport error. Code: ' + xhr.status); >; const formData = new FormData(); formData.append('file', blobInfo.blob(), blobInfo.filename()); xhr.send(formData); >);
Initialize TinyMCE and attach editor to the textarea element specified in the selector option. The following configuration options enable the local file picker and image upload feature in the TinyMCE editor.
- Enable the image plugin and add the image upload button to the editor toolbar.
- Set the server-side upload handler script URL ( upload.php ) in the images_upload_url option. Once this config is defined, an Upload tab will appear in the Image Dialog.
- Set the image upload handler callback in the images_upload_handler option.
tinymce.init(< selector: '#myTextarea', plugins: 'image', toolbar: 'undo redo | styles | bold italic | alignleft aligncenter alignright alignjustify | outdent indent | image', // without images_upload_url set, Upload tab won't show up images_upload_url: 'upload.php', // override default upload handler to simulate successful upload images_upload_handler: image_upload_handler_callback >);
PHP Upload Handler (upload.php)
This upload.php file handles the server-side image upload functionality using PHP.
- Specify the origins that are allowed to post HTTP requests to this handler script and upload images to the server.
- Validate the origin of the HTTP request and accept only allowed origins.
- Check whether the file was uploaded via HTTP POST using PHP is_uploaded_file() function.
- Sanitize input file name using preg_match() function in PHP.
- Verify the extension of the file using pathinfo() function in PHP.
- Upload file to the server using move_uploaded_file() function in PHP.
- Respond to the successful upload with JSON. Use a location key to specify the path to the saved image resource.
// Only these origins are allowed to upload images
$accepted_origins = array("http://localhost", "https://www.codexworld.com", "http://192.168.1.1", "http://example.com");

// Set the upload folder
$imageFolder = "uploads/";

if (isset($_SERVER['HTTP_ORIGIN'])) <
// same-origin requests won't set an origin. If the origin is set, it must be valid.
if (in_array($_SERVER['HTTP_ORIGIN'], $accepted_origins)) <
header('Access-Control-Allow-Origin: ' . $_SERVER['HTTP_ORIGIN']);
> else <
header("HTTP/1.1 403 Origin Denied");
return;
>
>

// Don't attempt to process the upload on an OPTIONS request
if ($_SERVER['REQUEST_METHOD'] == 'OPTIONS') <
header("Access-Control-Allow-Methods: POST, OPTIONS");
return;
>

reset ($_FILES);
$temp = current($_FILES);
if (is_uploaded_file($temp['tmp_name'])) <
/*
If your script needs to receive cookies, set images_upload_credentials : true in
the configuration and enable the following two headers.
*/
// header('Access-Control-Allow-Credentials: true');
// header('P3P: CP="There is no P3P policy."');

// Sanitize input
if (preg_match("/([^\w\s\d\-_~,;:\[\]\(\).])|([\.])/", $temp['name'])) <
header("HTTP/1.1 400 Invalid file name.");
return;
>

// Verify extension
if (!in_array(strtolower(pathinfo($temp['name'], PATHINFO_EXTENSION)), array("gif", "jpg", "jpeg", "png"))) <
header("HTTP/1.1 400 Invalid extension.");
return;
>

// Accept upload if there was no origin, or if it is an accepted origin
$filetowrite = $imageFolder . $temp['name'];
if(move_uploaded_file($temp['tmp_name'], $filetowrite)) <
// Determine the base URL
$protocol = isset($_SERVER['HTTPS']) && $_SERVER['HTTPS'] == 'on' ? "https://" : "http://";
$baseurl = $protocol . $_SERVER["HTTP_HOST"] . rtrim(dirname($_SERVER['REQUEST_URI']), "/") . "/";

// Respond to the successful upload with JSON.
// Use a location key to specify the path to the saved image resource.
// < location : '/your/uploaded/image/file'>
echo json_encode(array('location' => $baseurl . $filetowrite));
>else <
header("HTTP/1.1 400 Upload failed.");
return;
>
> else <
// Notify editor that the upload failed
header("HTTP/1.1 500 Server Error");
>

?>
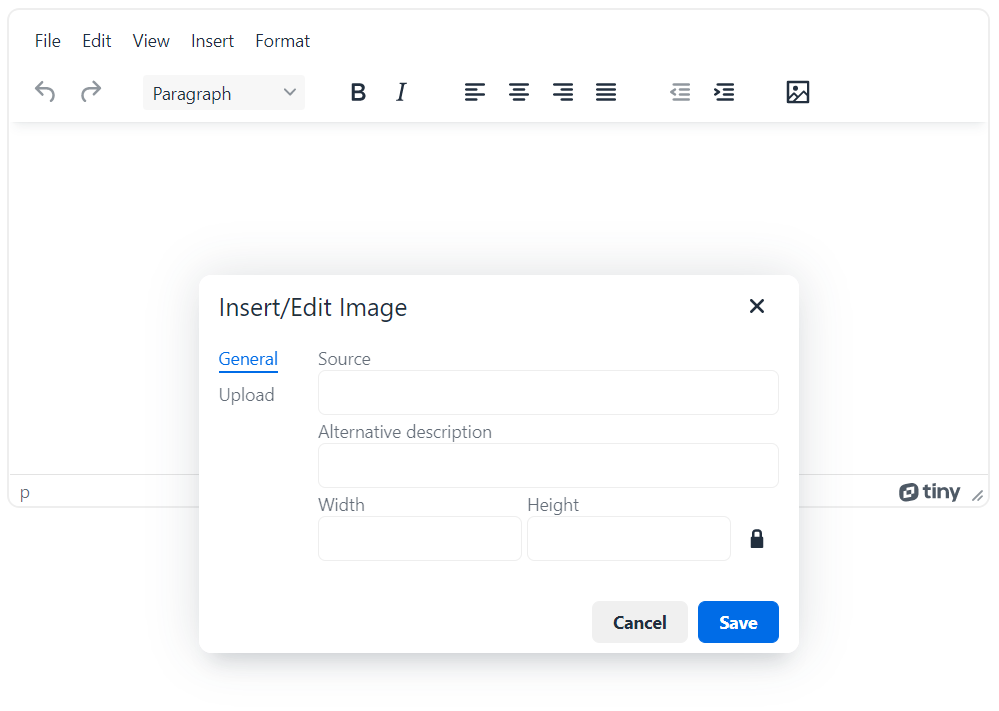
Image Upload Dialog in TinyMCE
The image icon in the editor’s toolbar opens a dialog box for the image upload. In the Upload tab, you can select an image from the computer or drag and drop the image directly. The image will be uploaded to the server and HTML will be inserted into the editor.
Conclusion
This example uses the latest version of the TinyMCE plugin (v6). You can add a responsive Rich Text Editor to the website and integrate the image upload feature in TinyMCE 6 using PHP. Not only the image upload but also you can set the description and change the width/height of the image before inserting it in the TinyMCE editor.
Are you want to get implementation help, or modify or enhance the functionality of this script? Click Here to Submit Service Request
If you have any questions about this script, submit it to our QA community — Ask Question
TinyMCE Rich text editor with server side Image upload using PHP

I used different rich text editors but the main problem is image upload.. Every time i try to upload an image it goes with a blob format or nothing.
If it’s converted as a blob my database will fill with image code. what actually i want is to convert that as an image tag with URL. and I am finally found a way here I am sharing it with you all.
first, let’s go to https://www.tiny.cloud/ and grab your API key and it’s free. you have to add your domains to tiny’s site to verify.
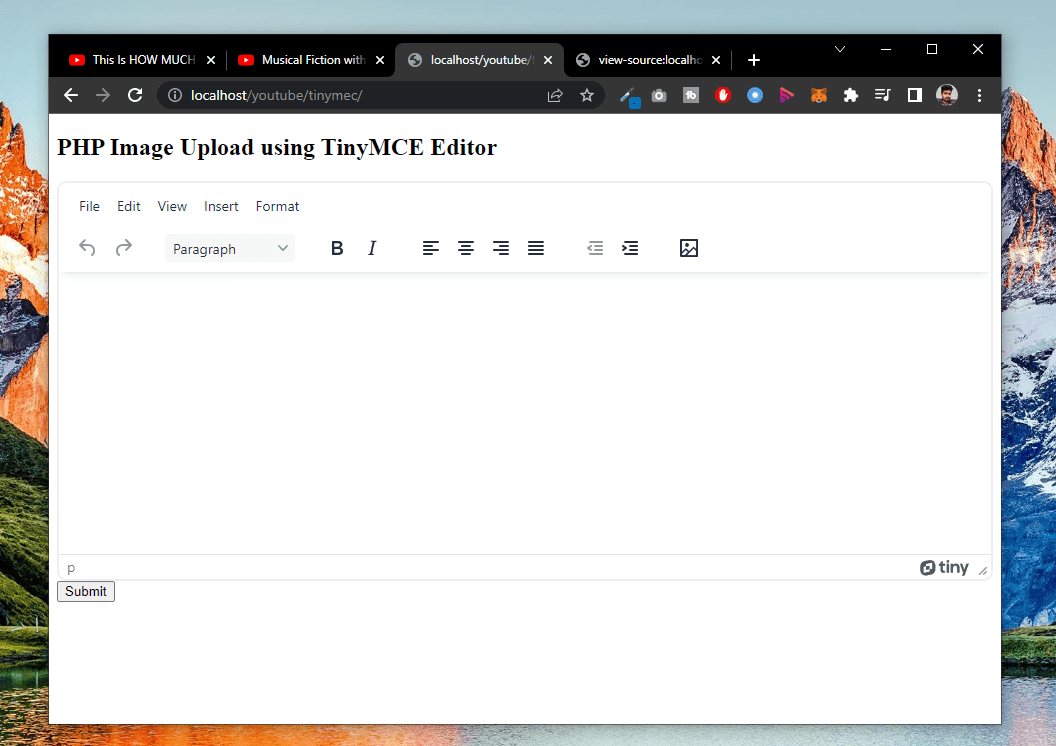
Then, create a front end file for display the editor
PHP Image Upload using TinyMCE Editor
Which will something look like this
we have to add our PHP code to save the images into a folder called uploads.
so create a file called upload.php
and add this code into that
else < header("HTTP/1.1 403 Origin Denied"); return; >> // Don't attempt to process the upload on an OPTIONS request if ($_SERVER['REQUEST_METHOD'] == 'OPTIONS') < header("Access-Control-Allow-Methods: POST, OPTIONS"); return; >reset ($_FILES); $temp = current($_FILES); if (is_uploaded_file($temp['tmp_name']))< // Sanitize input if (preg_match("/([^\w\s\d\-_~,;:\[\]\(\).])|([\.])/", $temp['name'])) < header("HTTP/1.1 400 Invalid file name."); return; >// Verify extension if (!in_array(strtolower(pathinfo($temp['name'], PATHINFO_EXTENSION)), array("gif", "jpg", "jpeg", "png"))) < header("HTTP/1.1 400 Invalid extension."); return; >// Accept upload if there was no origin, or if it is an accepted origin $filetowrite = $imageFolder . $temp['name']; if(move_uploaded_file($temp['tmp_name'], $filetowrite)) < // Determine the base URL $protocol = isset($_SERVER['HTTPS']) && $_SERVER['HTTPS'] == 'on' ? "https://" : "http://"; $baseurl = $protocol . $_SERVER["HTTP_HOST"] . rtrim(dirname($_SERVER['REQUEST_URI']), "/") . "/"; // < location : '/your/uploaded/image/file'>echo json_encode(array('location' => $baseurl . $filetowrite)); >else < header("HTTP/1.1 400 Upload failed."); return; >> else < // Notify editor that the upload failed header("HTTP/1.1 500 Server Error"); >?> Woohooo.. thats all my boys .. its ready .
I will attach the source code with this .. so you can simply download and use it.
Download Source Code :