- Truncate text with CSS – The Possible Ways
- white-space:
- There are several different values which you can use like:
- text-overflow:
- Solution # 1: Truncate text for single line
- Below is a complete example of solution:
- Solution # 2: Truncate text for multiple lines.
- Below is a quick example:
- HTML Font Size – How to Change Text Size with an HTML Tag
- Hello World! // Using internal/external CSS selector
- How to Change Text Size With Inline CSS
- How to Change Text Size With Internal or External CSS
- Wrapping Up
- HTML Font Size – How to Change Text Size with an HTML Tag
- Hello World! // Using internal/external CSS selector
- How to Change Text Size With Inline CSS
- How to Change Text Size With Internal or External CSS
- Wrapping Up
Truncate text with CSS – The Possible Ways
There are a lot of methods in every language to truncate text. But, recently, I faced a challenge on front-end in CSS, where I needed to truncate text for multiple lines. There were some situations where I was not allowed to use the JS function. So, I had to fix that through CSS. Quick Note: If you are new here: Our YouTube channel can help you to learn modern Web Development by building Real World projects fast & easy way:
Coder Champ — Subscribe Now Before diving into the exact solution, I want you to understand the properties below. I have made them easy for you, so you can quickly grab concepts.
white-space:
Consider this property as the box text handler. In simple words, when you put the text in any element, the text adjustment in that specific space depends upon the width of it. If the width of the box is 40px, and you added text into it. The text will wrap it up, according to the available white space. By default, the white-space of the box is set to normal. So, every single text which will hit the limit of 400px will wrap and shift to the next line automatically.
There are several different values which you can use like:
white-space: pre;
white-space: pre-wrap;
white-space: pre-line;
white-space: break-spaces;
white-space: nowrap;
text-overflow:
What do you want to do with the hidden text? The value which worked for me when I wanted to display three dots at the end of my truncated text was ellipsis. text-overflow: ellipsis; Note, this property will not work unless your box where you are putting text doesn’t have white-space and overflow: hidden; properties.
Solution # 1: Truncate text for single line
Sometimes, we want our text to be on a straight line. We can achieve it by setting a white-space property to the value nowrap. This solution works for single-line truncation. Force text to be on a single line:
white-space: nowrap; Now, our text should be on the same line and should overflow from the box if it’s long enough and wrapped before. Here is the next thing we need to tackle. We need to hide the text which is over-flowing and then add the ellipsis (three dots at the end). I will use the following properties altogether:
white-space: nowrap;
overflow: hidden;
text-overflow: ellipsis;
Below is a complete example of solution:
Solution # 2: Truncate text for multiple lines.
Let’s be quick and dive into the second solution, which is on multi-line. The process is straightforward; all you need is to set the height on the box or element, but here is the tricky part. We will need to count the number of lines we desire and then multiply it with line-height to get the maximum height. There are several other properties, which are necessary for this solution. You can check that into the code pen. max-height: calc(line-height * number of lines you desire);
Below is a quick example:
Do you know about this trick of CSS Multiple Box-shadows?
HTML Font Size – How to Change Text Size with an HTML Tag

Joel Olawanle
When you add text to your HTML file with an HTML tag, you won’t always want the text to remain the default size. You’ll want to be able to adjust how the text displays in the browser.
In this article, you will learn how to change the text size with an HTML tag.
Before you proceed, it is essential to know that there is only one way we can do this: through CSS’s font-size property. We can use the font-size property through inline, internal, or external styling.
In the past, we could adjust text size within our HTML tag without using CSS. But that was before HTML5. Then we added text using the tag, which can take in an attribute of size as seen below:
This size attribute can take in value from 1-7 in which the text size increases from 1 to 7. But like I said, this has long been depreciated, and most people don’t even know it existed.
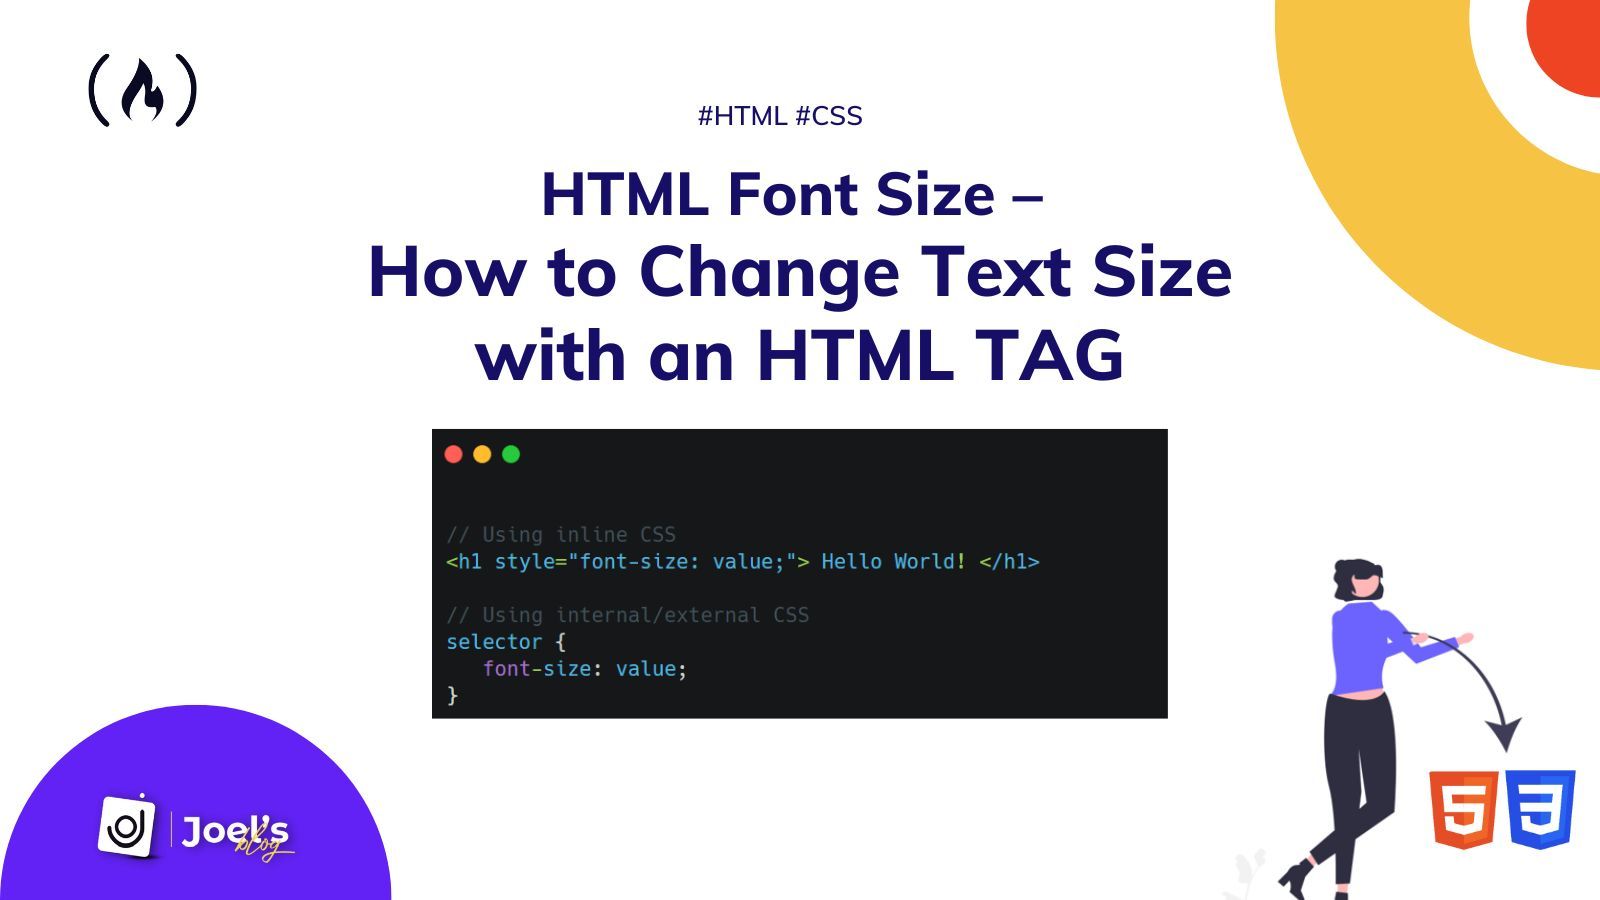
In case you are in a rush to see how you can change the size of your text, then here it is:
// Using inline CSSHello World! // Using internal/external CSS selector
Suppose you are not in a rush. Let’s briefly dive right in.
How to Change Text Size With Inline CSS
Inline CSS allows you to apply styles to specific HTML elements. This means we are putting CSS into an HTML tag directly. We use the style attribute, which now holds all our styling.
We use the font-size property alongside our value to change the text size using inline CSS. This value can use any of your preferred CSS units such as em, px, rem, and so on.
Hello World!
Any text whose font we want to change
A perfect syntax would be:
How to Change Text Size With Internal or External CSS
The approach you use to change text size in internal and external CSS styling is similar, since you use a selector. The general syntax for this is:
The selector can either be our HTML tag or maybe a class or an ID. For example:
// HTMLAny text whose font we want to change
// CSS p
// HTMLAny text whose font we want to change
// CSS .my-paragraph
Wrapping Up
In this article, you learned how to change the font/text size of an HTML element using CSS. You also saw how developers did it before the introduction of HTML5.
Also, keep in mind that it’s always better to style your HTML elements using internal or external styling, as it offers a lot of flexibility compared to inline styling.
For example, you can make use of one CSS class for all your p tags rather than having to add inline styles to all your p tag elements.
Using inline styles is not considered best practice because it results in a lot of repetition – you cannot reuse the styles elsewhere. To learn more, you can read my article on Inline Style in HTML.
I hope this tutorial gives you the knowledge to change the size of your HTML text so you can make it look better.
HTML Font Size – How to Change Text Size with an HTML Tag
Joel Olawanle
When you add text to your HTML file with an HTML tag, you won’t always want the text to remain the default size. You’ll want to be able to adjust how the text displays in the browser.
In this article, you will learn how to change the text size with an HTML tag.
Before you proceed, it is essential to know that there is only one way we can do this: through CSS’s font-size property. We can use the font-size property through inline, internal, or external styling.
In the past, we could adjust text size within our HTML tag without using CSS. But that was before HTML5. Then we added text using the tag, which can take in an attribute of size as seen below:
This size attribute can take in value from 1-7 in which the text size increases from 1 to 7. But like I said, this has long been depreciated, and most people don’t even know it existed.
In case you are in a rush to see how you can change the size of your text, then here it is:
// Using inline CSSHello World! // Using internal/external CSS selector
Suppose you are not in a rush. Let’s briefly dive right in.
How to Change Text Size With Inline CSS
Inline CSS allows you to apply styles to specific HTML elements. This means we are putting CSS into an HTML tag directly. We use the style attribute, which now holds all our styling.
We use the font-size property alongside our value to change the text size using inline CSS. This value can use any of your preferred CSS units such as em, px, rem, and so on.
Hello World!
Any text whose font we want to change
A perfect syntax would be:
How to Change Text Size With Internal or External CSS
The approach you use to change text size in internal and external CSS styling is similar, since you use a selector. The general syntax for this is:
The selector can either be our HTML tag or maybe a class or an ID. For example:
// HTMLAny text whose font we want to change
// CSS p
// HTMLAny text whose font we want to change
// CSS .my-paragraph
Wrapping Up
In this article, you learned how to change the font/text size of an HTML element using CSS. You also saw how developers did it before the introduction of HTML5.
Also, keep in mind that it’s always better to style your HTML elements using internal or external styling, as it offers a lot of flexibility compared to inline styling.
For example, you can make use of one CSS class for all your p tags rather than having to add inline styles to all your p tag elements.
Using inline styles is not considered best practice because it results in a lot of repetition – you cannot reuse the styles elsewhere. To learn more, you can read my article on Inline Style in HTML.
I hope this tutorial gives you the knowledge to change the size of your HTML text so you can make it look better.