- How to Debug your HTML and solve errors?
- Introduction to HTML
- Why is Debugging HTML important?
- Some Common HTML Errors
- Syntax errors
- Outlining elements
- Turning off styles
- Display type
- Cross-browser Compatibility issues
- Debugging HTML Errors with BrowserStack Live
- How to Find & Fix HTML Errors From Website
- Working with HTML
- How to Find HTML Errors on Website
- Thanks to Validators
- You may also like:
How to Debug your HTML and solve errors?
The most common problem for web developers while developing a web page is getting random errors like some functions not working, interface issues or the lack of cross-browser compatibility . After hours of coding, getting these errors can be frustrating. So developers must debug HTML and properly resolve the errors to focus on web development.
This guide covers how to debug your HTML and a quick way to find & fix errors.
Introduction to HTML
HTML is the core language of web development and is the most popular. It is used by 97.4% of all websites available on the internet. Today, billions of people are actively visiting websites and making purchases along with a user-friendly customer experience. So it becomes essential for developers to keep the website user-friendly, adhere to responsive design , and be error-free.
HTML has kept evolving over the years and added new features and elements, including better structure, in-built compatibility, storage capability, and many more features that make the HTML-based website more powerful and preferred.
Why is Debugging HTML important?
Whenever HTML comes with new features and elements, developers also need to update their knowledge. Now, it is very common to get errors while writing the HTML codes for a web page. It may get unexpected errors like functions not working, interface issues, or not supporting cross-browser compatibility . Debugging plays an important role for developers to prevent all these errors from the HTML code.
By debugging the HTML codes, developers can identify the errors and resolve them to build an HTML website error-free according to World Wide Web Consortium (W3C) formal guidelines and structure. That’s why developers always prefer to debug their HTML codes to save their efforts & eliminate bugs/errors before they may cause any significant issues.
Some Common HTML Errors
Syntax errors
One of the most common errors developers face in HTML is syntax errors. A developer can make mistakes while writing hundreds of lines of HTML codes that can cause issues like functions not working, programs not working, or showing different results. Usually, these are common syntax errors because of small typos or closed tags left by the developer. So it’s important to check the HTML codes in a validation tool to find such bugs or errors and resolve them faster.
Outlining elements
Outlining elements is a complex & time-consuming process for developers that sometimes cause errors in HTML codes. Developers must resolve the issue to make the website interface mobile-friendly and interactive. Instead of writing CSS, many Chrome extensions are available to outline the elements that save developers both time & effort.
Turning off styles
For developers, it’s difficult to find a particular element style error by CSS. These errors are not easily recognized among hundreds of lines of HTML codes and can cause an issue later. So it’s essential to identify whether a CSS is applied on the element or is overridden by the default CSS.
In such a case, developers can use the in-built browser developer console to showcase the properties of CSS applied on each selected element. It helps developers to find whether CSS is applied on the element or overridden with another.
Display type
Every unique element in a web page has its display type, whether flex, block, inline-block, or many more. For developers, it’s hard to identify any element display type until their HTML codes follow the W3C guidelines.
To prevent errors and identify each display type, developers should write HTML codes according to formal W3C guidelines & standards.
Cross-browser Compatibility issues
Device-browser fragmentation is a hard-hitting issue in the testing ecosystem!
In today’s world, where billions of people are using smartphones and tablets, the demand for mobile-friendly websites is increasing. Sometimes HTML websites can face cross-browser compatibility issues where a website does not perform similarly on each device and this is an essential error that needs to be resolved.
Making your HTML5 code cross-browser compatible is also key to overcoming browser inconsistencies and ensuring a seamless experience across the different versions of various browsers.
Whether you’re testing HTML code in browser or finding HTML elements , BrowserStack is a one-stop testing platform for debugging and compatibility testing on 3000+ real devices and browsers. Let’s follow it up with the steps for debugging and more.
Debugging HTML Errors with BrowserStack Live
With the help of BrowserStack Live , testers can test their website functionalities in different conditions & browsers (like Chrome, Safari, Firefox, and Microsoft Edge) to debug HTML code, detect bugs and get detailed bug/error reports.
You can find bugs/errors on your website in just 4 simple steps
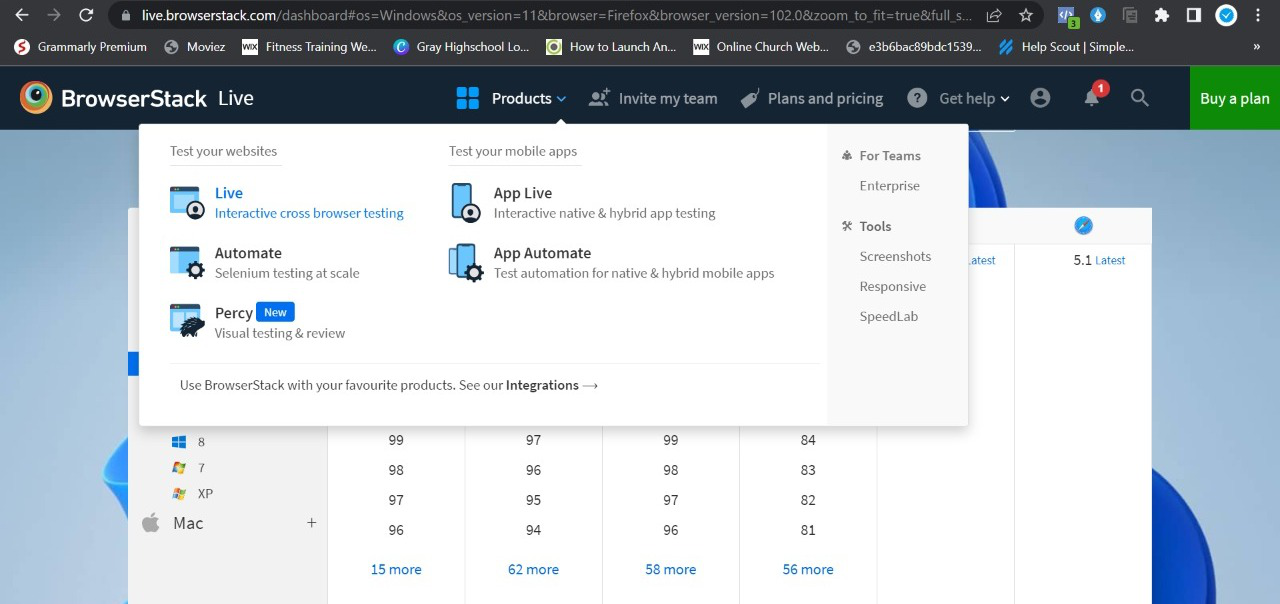
Step 1- Sign in to your BrowserStack account and go to Products – Live.
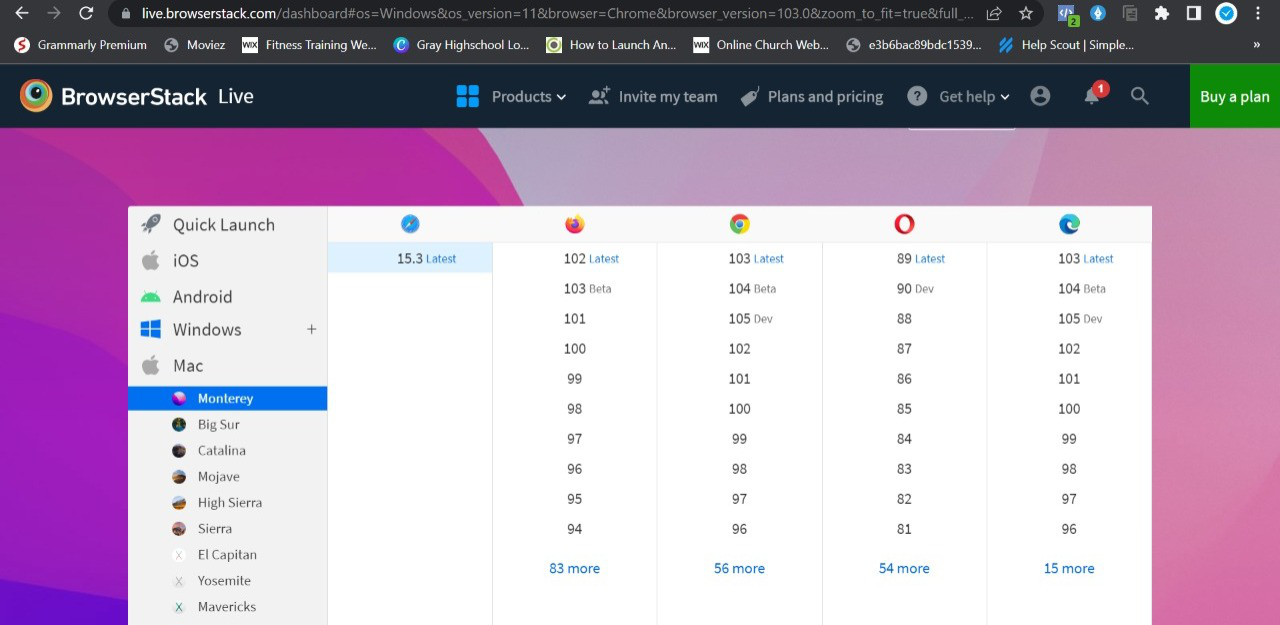
Step 2 – Select the OS & Browser from the list of available operating systems and browsers
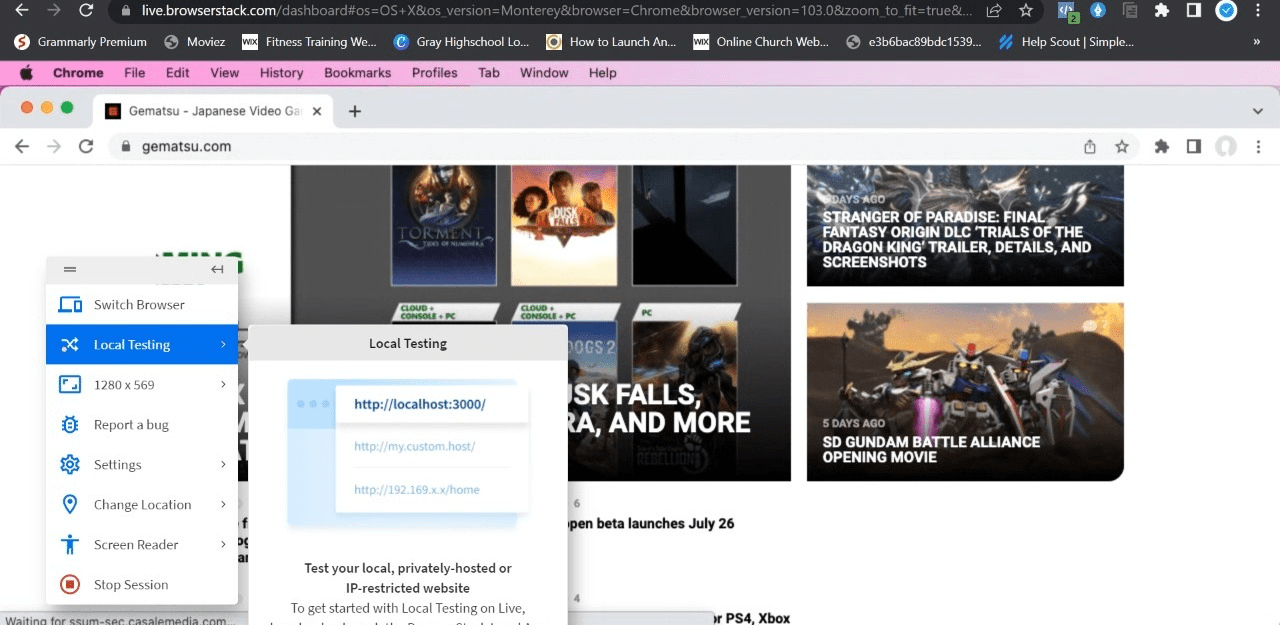
Step 3 – Insert your website URL and start testing its functions.
Step 4 – Get your detailed test report
By following these step-by-step processes, testers can easily identify – how to fix HTML errors on any website.
There are a lot more testing and debugging covered within the BrowserStack infrastructure, including
- Geolocation Testing : It’s mainly used to understand the website performance for different geographical locations as per your business requirements in different regions.
- Detailed bug reporting : While conducting cross-browser compatibility testing, get a detailed report of errors/bugs found on the website.
- Responsive testing : It’s used to identify the website screen resolution support on different devices.
- Local testing : Local testing is a type of testing where testers test the website as an end user’s environment.
- Network throttling : This type of testing identify the website performance on different network bandwidths
To sum up, QA testers and developers are advised to debug their HTML to identify and fix HTML errors. However, do note that you can get faster results without compromising on the accuracy and solve any HTML errors before users do by testing software in real user conditions .
How to Find & Fix HTML Errors From Website
HTML is a “must” language when it comes to Website development. Your website/page layout and structure are created using HTML. Using HTML, you can present your content in a way you have prepared our web page layout.

HTML5 is the most recent version where you can handle certain behavior without relying on JavaScript. This version of HTML has a wide range of elements and attributes that can be used for modern website development.
Working with HTML
Let us understand how we work with creating layouts using HTML5. The basic steps to create an HTML File for your website.
- Create a folder structure in your local drive. (Drive C: or D:)
- Create the folder . For Example: transpire.in
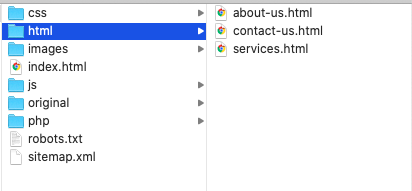
- Under this folder create the below folders.
- css
- html
- images
- js
- Create the below files in .
- robots.txt
- sitemap.xml
- index.html
- Create index.html as the homepage of your website.
- Open notepad. Save the file as index.html.
- The first thing you will do is a declaration of DOCTYPE.
- – This tag states the version of HTML you are using in your Website. This is a must to start your HTML layout.
- – This tag contains all your meta information with your context of the website, page title, and css file(s) that are used on this page.
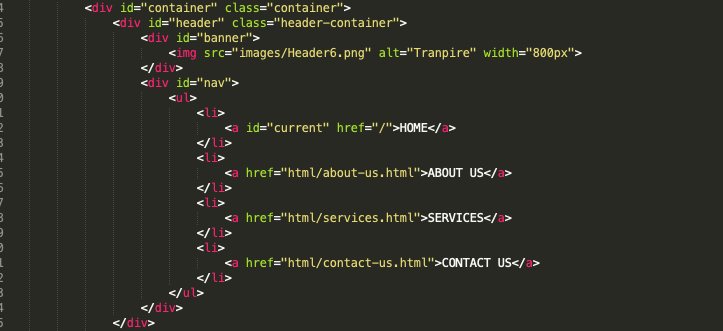
- – This tag contains the block that you have specified in your css. For example – If your website has a top menu bar, its placement and dimensions are defined in the css file. For 2 columnar structures of the content, a separate dimension and position is defined for another block. Each block is a div with a specific name given and that will be used in an HTML file.
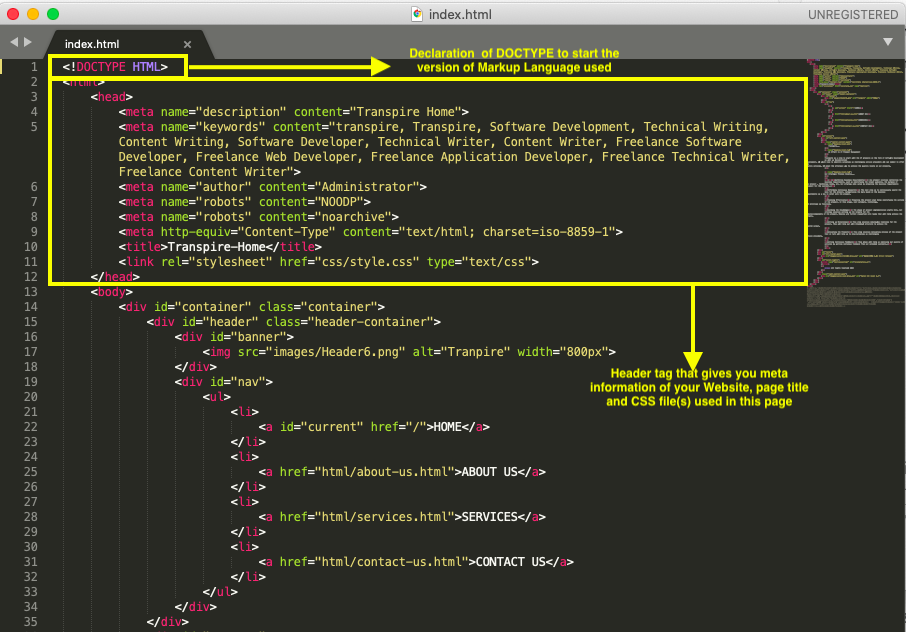
- In the example above, “banner” is the header that contains an image.
- The = “nav” is the menu bar where you will Home, About Us, Services, and Contact Us pages available. Each page is hyperlinked with an HTML file extension.
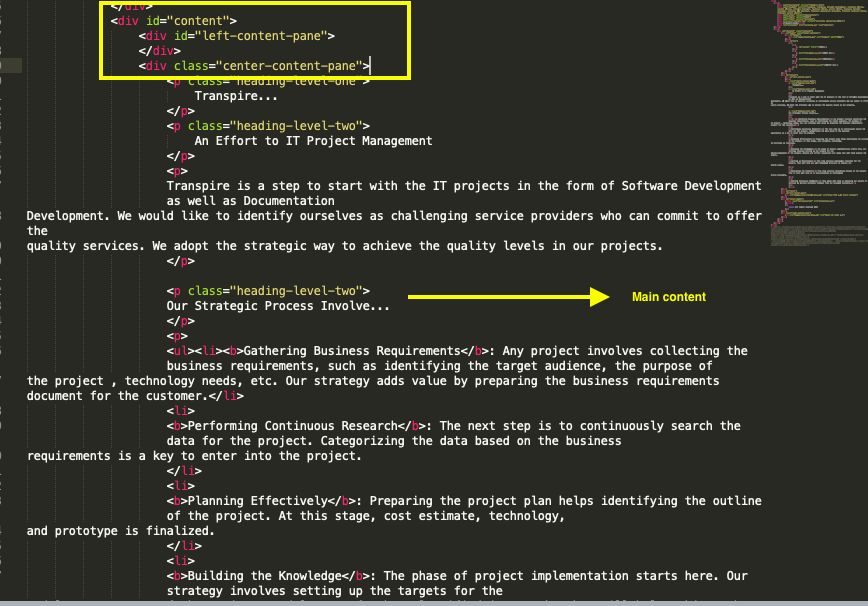
- The = “Content” is the main block which is again divided into 2 blocks.
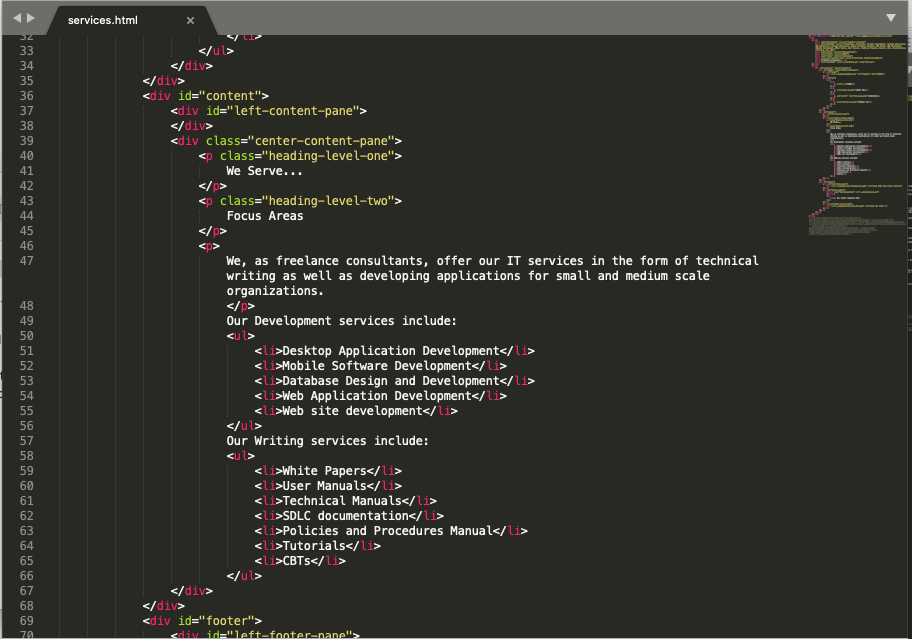
- The =”left-content-pane” is the left column of the website and “center-content-pane” is the center block of the website. Reference screenshot below.
- The last bottom part is a footer that is divided into 3 parts – Left, middle and right sides. The Left and right sides contain images and the middle block contains the text “All rights reserved”.

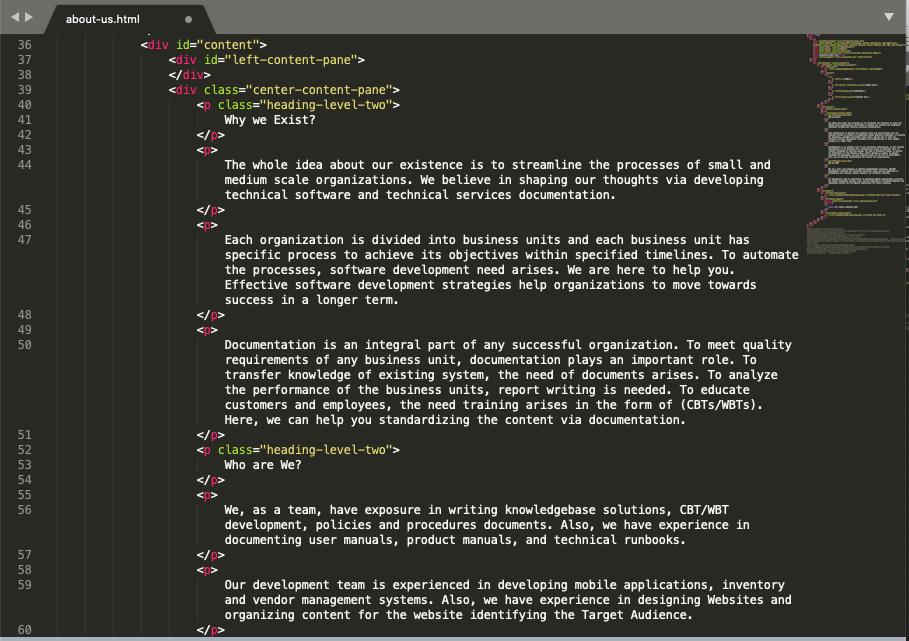
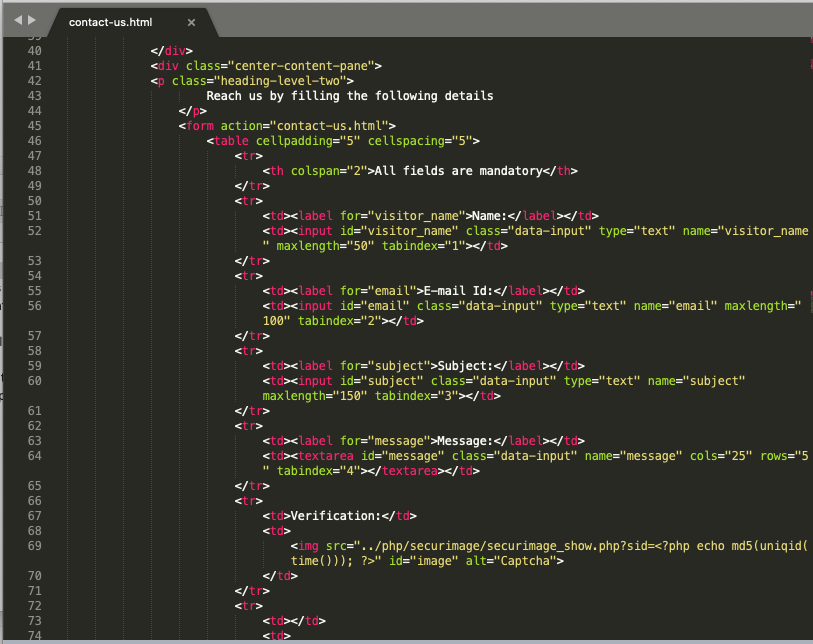
- This is how an index.html is created. Now, in the same way, about-us.html, services.html, and contact-us.html are created.
- These files are located in the html folder we created.
The next part of website creation is robots.txt and sitemap.xml files that are stored in the root folder.
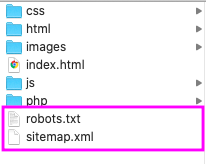
The robots.txt file contains Internet protocol standards while creating a website. You need to specify parameters such as user-agent, URLs, and Google-specific details if you are going to use Google’s robots.txt file.
The sitemap.xml is used for Search Engine Optimization (SEO) purposes. To improve indexing, the sitemap.xml file is used. It contains all your web pages, images, videos, and news links for indexing. Crawling your website is achieved through sitemaps.
Once your website is ready, you can deploy the same on your Internet server. Once it is live on production, you can check the validations as a part of testing your website.
The testing process involves 2-steps:
How to Find HTML Errors on Website

- You can do testing of your website in three ways:
- Validate by URI
- Validate by File Upload
- Validate by Direct Input
- We will use the 1st option – Validate by URI.
- Enter the website name in the Address box. For example www.transpire.com
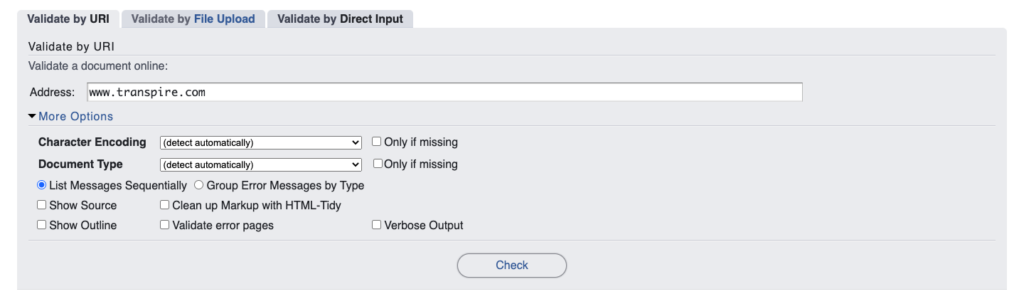
- Click the Check button. You will see a list of errors and warnings on the site.
- You can set More Options to group the error message by type, show source, and validation options.
- The errors are displayed below. You will see a list of warnings and errors.
- Let us understand the errors first. Warnings can be ignored.
- To ignore warnings, click Hide all warnings from the Message filtering section below.
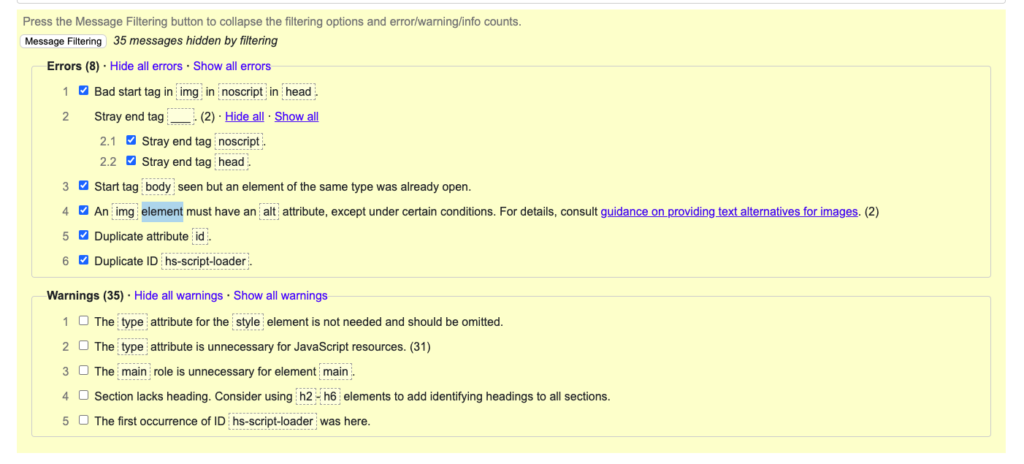
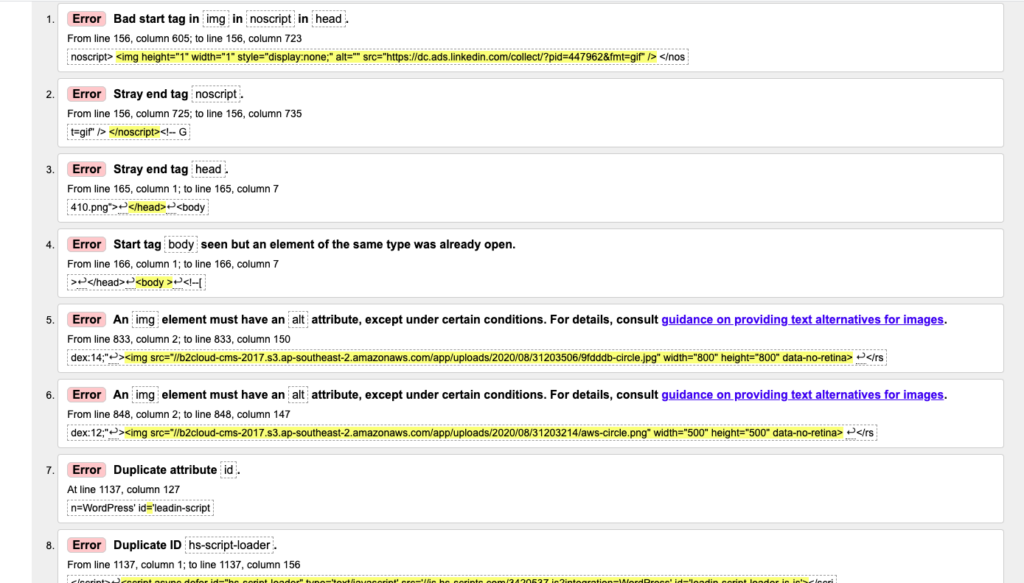

- Interpretation of these errors – Images of the website is only visible to you but not visible to the public.
- Resolution / Fix – add the attribute in the image tag as shown in the green below.


- Click the Check button. The above 2 errors will not be displayed. They are fixed.
- Error 7 and Error 8

- Interpretation of these errors – You have defined 2 tags with the same div ID. ‘
- Resolution / Fix – You can rename one of them and the error will be resolved.
- Error 1

- Interpretation of the error – the
tag should never be there in the , though you have specified it under .
- Resolution / Fix – You need to move the
tag to the tag.
- Error 2, Error 3 and Error 4
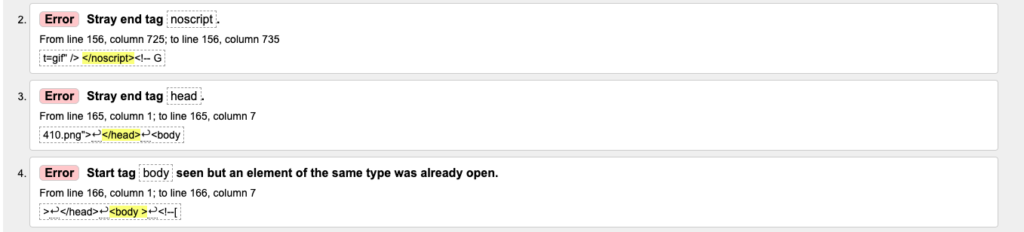
- Interpretation of the error 2 – the
tag is inside the tag.
- Resolution / Fix – Insert
tag inside the tag and then, insert the
tag.
- The structure will be like this –
- Interpretation of the error 3 – the
tag is inside the tag.
- Resolution / Fix of error 3 – move the
tag inside the tag.
- Interpretation of the error 4 – Between your tag and the start of , any extra tag is inserted.
- Resolution / Fix of error 4 – Remove the extra tag between the tag and the tag.
- Run the check again. The validator will give only warnings and all the errors will be resolved.
You can also use the validator before you are deploying your website onto production. Just copy and paste your HTML code in the third option, Validate by Direct Input. Click that tab.
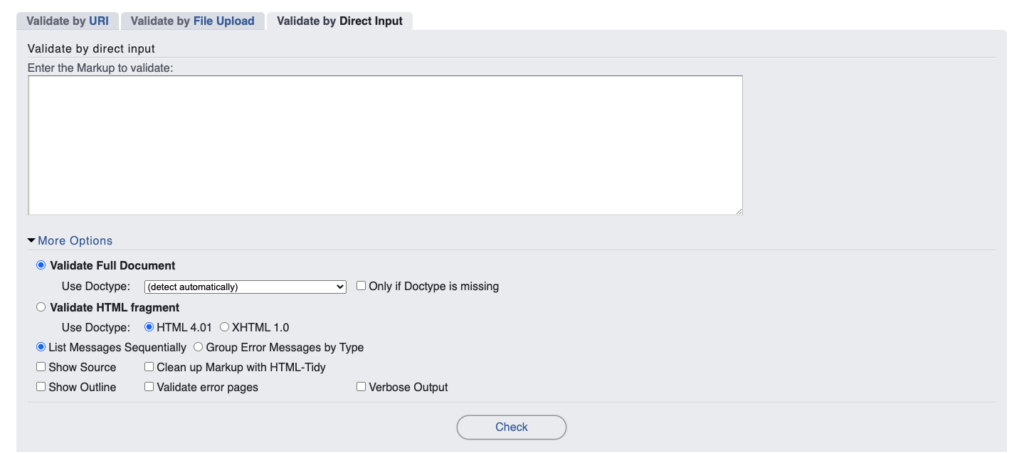
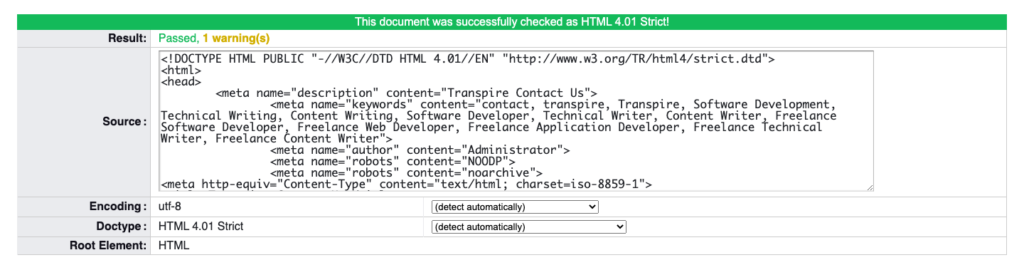
Copy your HTML file content and paste it into the Enter the Markup to validate the text area. Click the Check button. You will see the result with the “Passed” status and you are ready to launch your website.
Thanks to Validators
Website development is now a quick and faster process. Thanks to the tools and technology that have made it easier and faster. Not only development, error findings, and fixing processes have also become convenient. You get to know the errors before moving the website to production and fix them with a lot of help from the Internet. You fix HTML errors and it is ready to roll out!