- How to fix exe4j_java_home, no jvm could be found on your system error?
- Method 1: Set JAVA_HOME environment variable
- Method 2: Update the PATH environment variable
- Method 3: Re-install Java
- Method 4: Check for multiple Java installations
- Step 1: Check your Java version
- Step 2: Check for multiple Java installations
- Step 3: Set the correct Java path
- Step 4: Test the Java installation
- Step 5: Run the Java application
- How to Fix No JVM Could be Found Error on Windows 10
- 1. Install a compatible version of DbVisualiser
- 2. Fixing the Java environment variable
- 3. Reinstall current Java environment
How to fix exe4j_java_home, no jvm could be found on your system error?
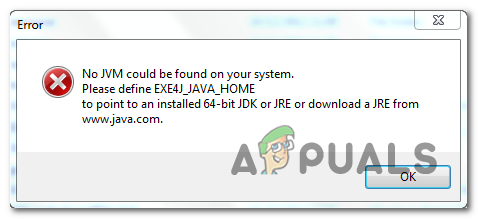
The «EXE4J_JAVA_HOME, No JVM could be found on your system» error occurs when an executable JAR file attempts to run on a computer that does not have the required version of Java installed. The error is generated by the exe4j tool, which is used to create executable JAR files that can be run as standalone applications on Windows and MacOS. The error message indicates that the exe4j tool was unable to locate the Java Virtual Machine (JVM) required to run the executable JAR file, and as a result, the application will not start.
Method 1: Set JAVA_HOME environment variable
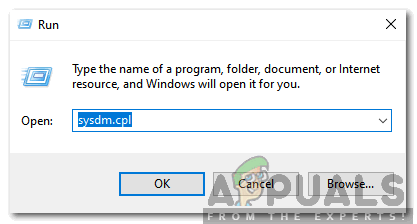
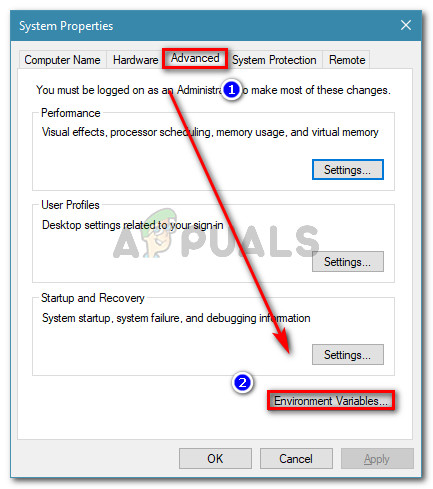
- Open the System Properties window by pressing Windows key + Pause/Break or right-clicking on This PC and selecting Properties .
- Click on Advanced system settings on the left-hand side of the window.
- Click on the Environment Variables button at the bottom of the window.
- Under System Variables , click on New .
- Enter JAVA_HOME in the Variable name field.
- Enter the path to your Java installation in the Variable value field. For example, C:\Program Files\Java\jdk1.8.0_251 .
- Click OK to close the New System Variable window.
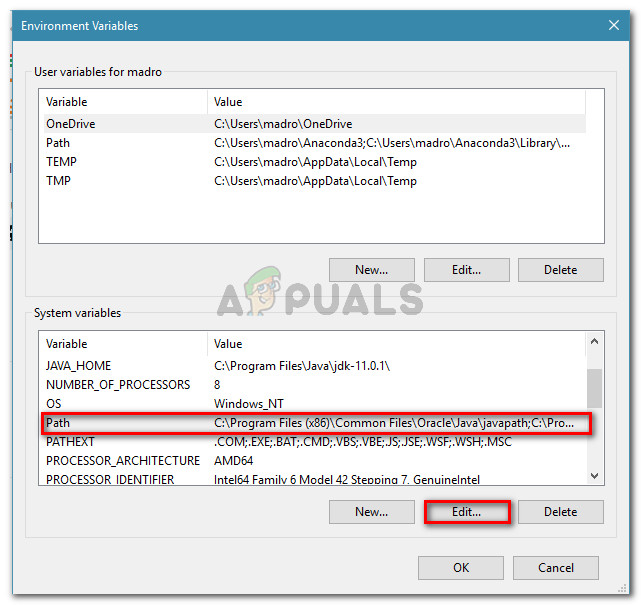
- Under System Variables , find the Path variable and click on Edit .
- Click on New and enter %JAVA_HOME%\bin .
- Click OK to close all windows.
// Java code example public class HelloWorld public static void main(String[] args) System.out.println("Hello, World!"); > > dependency> groupId>com.examplegroupId> artifactId>example-libraryartifactId> version>1.0.0version> dependency>// JavaScript code example console.log("Hello, World!"); DOCTYPE html> html> head> title>Hello, World!title> head> body> h1>Hello, World!h1> body> html>/* CSS code example */ body background-color: #fff; color: #000; >Method 2: Update the PATH environment variable
To fix the «EXE4J_JAVA_HOME, No JVM could be found on your system error» by updating the PATH environment variable, follow these steps:
- Open the Control Panel and navigate to System and Security > System > Advanced system settings.
- Click on the Environment Variables button.
- Under System Variables, scroll down and find the Path variable. Click on the Edit button.
- In the Edit Environment Variable window, click on the New button and add the path to your Java installation directory. For example, C:\Program Files\Java\jdk1.8.0_221\bin.
- Click OK to close all windows.
- Open a new command prompt window and type java -version to verify that Java is now recognized by the system.
Here is an example of how to update the PATH environment variable in Java:
String javaHome = System.getProperty("java.home"); String path = System.getenv("PATH"); String newPath = javaHome + "\\bin;" + path; System.setProperty("PATH", newPath);In this example, we get the current Java home directory using the System.getProperty() method. Then, we get the current PATH environment variable using the System.getenv() method. We concatenate the Java home directory with the bin subdirectory and the current PATH variable, separated by a semicolon. Finally, we set the new PATH variable using the System.setProperty() method.
This should fix the «EXE4J_JAVA_HOME, No JVM could be found on your system error» by adding the Java installation directory to the PATH environment variable.
Method 3: Re-install Java
If you encounter the «EXE4J_JAVA_HOME, No JVM could be found on your system error» when running a Java application, it means that the Java Virtual Machine (JVM) is missing or cannot be found on your system. One way to fix this is to re-install Java. Here are the steps to do it:
- Download the latest version of Java from the official website: https://www.java.com/en/download/
- Run the installer and follow the on-screen instructions to install Java on your system.
- Once the installation is complete, open a command prompt or terminal window and type the following command to check the version of Java installed:
- Open the Control Panel and go to System and Security > System > Advanced system settings.
- Click the Environment Variables button.
- Under System Variables, scroll down and find the PATH variable.
- Click Edit and add the path to the bin directory of the Java installation, for example: C:\Program Files\Java\jdk1.8.0_271\bin .
- Click OK to save the changes.
That’s it! You should now be able to run your Java application without encountering the «EXE4J_JAVA_HOME, No JVM could be found on your system error» again.
Method 4: Check for multiple Java installations
If you encounter the EXE4J_JAVA_HOME error when running a Java application, it means that the Java Virtual Machine (JVM) required by the application cannot be found on your system. This error can occur when you have multiple Java installations on your computer and the application is unable to locate the correct one.
Here’s how you can fix the EXE4J_JAVA_HOME error by checking for multiple Java installations:
Step 1: Check your Java version
Open a command prompt and type the following command:
This will display the version of Java that is currently installed on your system. Make a note of the version number.
Step 2: Check for multiple Java installations
Type the following command in the command prompt:
This will display the locations of all the Java installations on your system. If you have multiple installations, make a note of the paths.
Step 3: Set the correct Java path
Open the Control Panel and click on System. Click on Advanced system settings and then click on Environment Variables.
Under System Variables, scroll down and find the Path variable. Click on Edit and add the path to the correct Java installation at the beginning of the variable value. For example, if the correct Java installation is located at C:\Program Files\Java\jdk1.8.0_211\bin , add this path to the beginning of the Path variable value:
C:\Program Files\Java\jdk1.8.0_211\bin;%OTHER_PATHS%Make sure to replace %OTHER_PATHS% with the rest of the paths that were displayed in Step 2.
Step 4: Test the Java installation
Open a new command prompt window and type the following command:
This should display the version of the correct Java installation that you just set in the Path variable.
Step 5: Run the Java application
Try running the Java application again. The EXE4J_JAVA_HOME error should now be resolved.
How to Fix No JVM Could be Found Error on Windows 10
The ‘No JVM could be found on your system (Exe4j_Java_Home)’ error typically appears when users try to install DbVisualizer, when launching an exe4j executable or when trying to launch Minecraft (or a different game or application that uses the Java environment).
In most cases, this issue will occur due to an incompatible Java version. Most commonly, affected users end up installing the wrong bit-version of Java, which forces the application to throw this error. However, in some cases, the ‘No JVM could be found on your system (Exe4j_Java_Home)’ error appears due to an incorrect Java environment variable.
But in case you’re encountering the issue in relation to an Openfire server, it’s most likely due to a bug that was since resolved with Java releases newer than Java 8 Update 161.
Note: Here’s how to fix the ‘Javac is not recognized error’.
1. Install a compatible version of DbVisualiser
As a lot of affected users have reported, this issue most likely occurs due to an incompatible Java installation. Most affected users have managed to resolve the issue after realizing that they were trying to deploy a 32-version of DbVisualiser with a 64-bit java installation (or the other way around).
If this scenario is applicable, you can fix the issue swiftly simply by installing the missing bit-version of the Java installation. Here’s a quick guide on doing this:
Note: The guide below should be applicable regardless of the Windows version that you’re using.
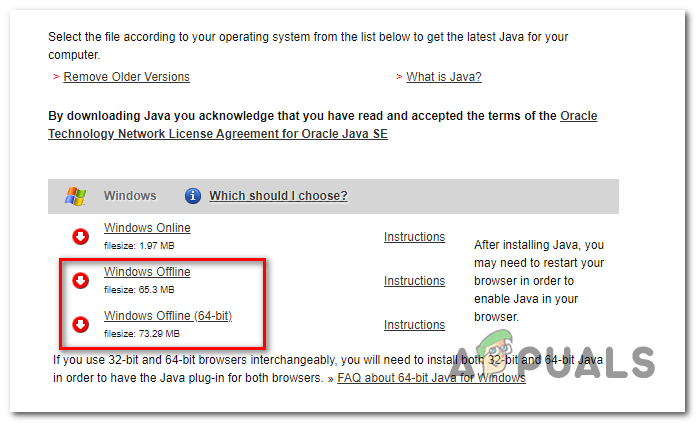
- Visit this link (here) and scroll down to the Windows section. Once you get there, click on the bit version that you are missing to begin the download. Depending on your DbVisualiser bit version, download Windows Offline or Windows Offline (64-bit).
 Note: Windows Offline is the 32-bit version from the 3 available options.
 - Once the download is complete, double-click on the installation executable, then follow the on-screen prompts to complete the installation.
- After the installation is complete, close the installation wizard and restart your computer.
- At the next startup, repeat the action that was previously causing the error and see if the issue is now resolved.
 Note: Windows Offline is the 32-bit version from the 3 available options.
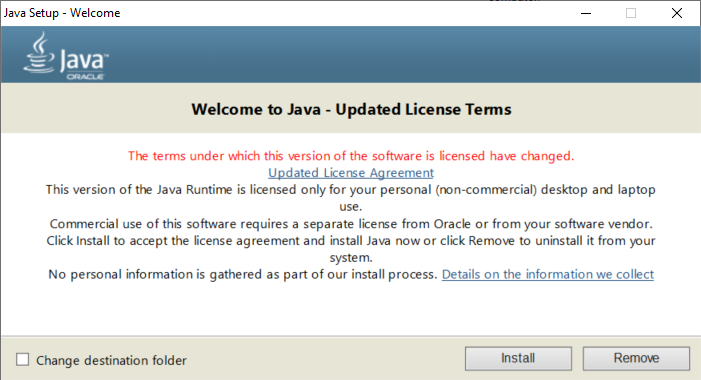
In case this procedure was not applicable or it didn’t resolve the issue, move down to the next potential fix below.
2. Fixing the Java environment variable
As it turns out, the ‘No JVM could be found on your system (Exe4j_Java_Home)’ error can also occur due to an incorrect Java environment variable. This might happen for a variety of reasons, but the fix is always the same.
In order to resolve the issue, you will need to fetch the location of your Java installation and ensure that the Java Environment variable points to the correct location. Several affected users have confirmed that this operation finally allowed them to fix the problem.
Here’s a quick guide on fixing your Java environment variable:
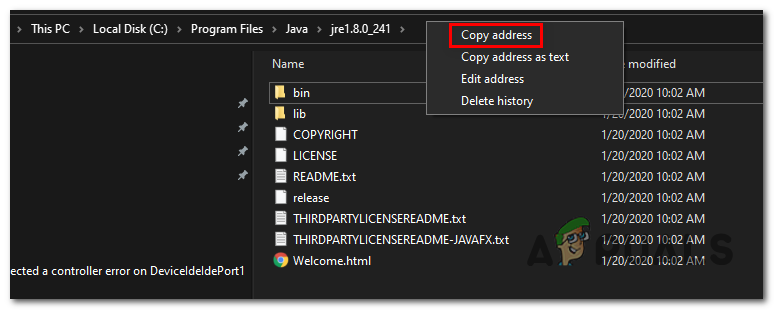
- Open File Explorer and navigate to the installation path of your Java Environment. Unless you installed it in a custom location, you will find it in the following locations:
C:\Program Files\Java\*Java version* - 64-bit version C:\Program Files (x86)\Java\*Java version* - 32-bit version
In case the same issue is still occurring, move down to the final potential fix below.
3. Reinstall current Java environment
If you’re encountering this issue in relation to an Openfire server, it’s very likely that you’re encountering this problem due to a bug that was since resolved with the latest Java releases. Fortunately, Oracle has managed to fix this issue with builds newer than Java 8 Update 161.
If this scenario is applicable, you can fix the issue by uninstalling the entire Java environment + auxiliaries and installing the latest version again. This method has been confirmed to be successful for a lot of affected users that were struggling with the ‘No JVM could be found on your system (Exe4j_Java_Home)’.
Here’s a quick guide with what you need to do to reinstall the current Java environment:
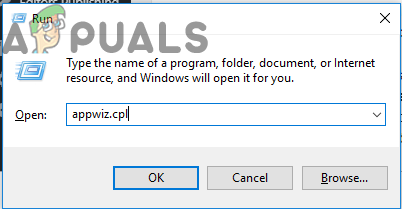
- Press Windows key + R to open up a Run dialog box. Next, type ‘appwiz.cpl’ and press Enter to open up the Programs and Features screen.
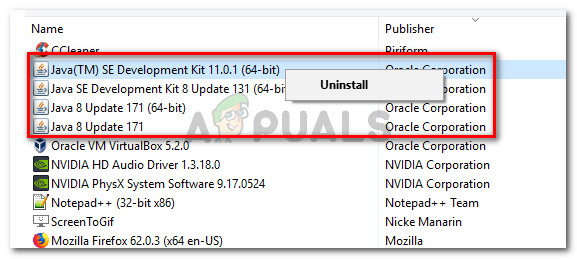
- Once you’re inside the Programs and Features screen, scroll down through the list of installed applications and locate your Java installation version. When you see it, right-click on it and choose Uninstall from the newly appeared context menu.

- Once the main Java installation is uninstalled, repeat the same procedure with every auxiliary installation (Java updates, NodeJs, etc.).
Note: If you want to group all of them together to make sure you don’t leave anything behind, click on the Publisher column at the top. - After every Java installation has been uninstalled, restart your computer.
- Once the next startup sequence is complete, visit this link here and download the latest version of JRE. After you manage to install it, proceed with the uninstallation of the rest of the associated components that you previously uninstalled.
- Do a final restart and see if the issue is resolved at the next system startup.