- NodeJS Setup With Express, HTML, CSS, JS & EJS
- Create a project folder
- Setup Server – Package.json file
- Install Dependencies
- Install Nodemon
- Project Structure
- Run it
- Static Files
- Setting up our View’s & EJS
- Rendering Pages
- Example of EJS page
- Final
- Author
- Render HTML file in Node.js and Express.js framework
- Step 1: Install Express
- Step 2: Using sendFile() function
- Step 3: Render HTML in Express
- Directory Structure:
- Step 4: Render Dynamic HTML using templating engine
- Further reading
- Conclusion
- Reference
NodeJS Setup With Express, HTML, CSS, JS & EJS
In this article, we will have a look at how to set up a NodeJS Server, we will cover Express, how to add CSS, JS and Images to your project and finally, we will look at how to use EJS. If you wish, you can also check out the video that I made.
Create a project folder
Name your project folder. This is where your project is going to live and all packages will be installed. Talking about packages, let’s go to step to and create our server setup.
Setup Server – Package.json file
This file is usually in the project root and it’s called package.json. It holds various metadata relevant to the project and it’s used to give information to npm that allows identifying the project as well as handle dependencies.
Go to the root of the folder, open PowerShell or the Terminal if you are using a mac and type the following command.
As long as you have nodejs installed, this should guide you through the setup of your project. Once you finish with the installation, open your package.json file and just double check to see if everything is looking good.
Now let’s install some dependencies.
Install Dependencies
The dependencies we need to install to get started are Express and EJS.
Express is a web application framework for Node.js that is designed for building web applications and API’s.
EJS is a simple templating language that lets you generate HTML markup with plain JavaScript. PUG is another good alternative that you can use.
So let’s install express and ejs together by running the following command:
Install Nodemon
Nodemon is a tool that helps develop node.js based applications by automatically restarting the node application when file changes in the directory are detected.
To install nodemon simply do:
npm install nodemon --save-dev
Project Structure
Now let’s create the following folders and files, leaving node_modules, readme.md, package-lock and package-json as that should have been automatically generated by now.
📂 node_modules 📂 public 📂 css 📜 main.css 📂 img 🖼 cat.jpg 📂 js 📜 script.js 📂 views 🌍 about.ejs 🌍 index.ejs 📜 README.md 🌍 app.js 📜 package-lock.json 📜 package-json
Run it
Before we run the project to see if everything is working as intended, we need to add some more metadata in our package.json file.
Open your package.json file and add the following under scripts
Your full json file should look something like this:
< "name": "Learning NodeJS", "version": "1.0.0", "description": "NodeJS Tutorial", "main": "index.js", "scripts": < "test": "echo \"Error: no test specified\" && exit 1", "start": "nodemon app.js" >, "author": "", "license": "ISC", "dependencies": < "ejs": "^3.1.3", "express": "^4.17.1" >, "devDependencies": < "nodemon": "^2.0.4" >>
Save the file and now you should be able to run your project by simply doing:
We are getting close, but there are a few more things that we need to do before we are able to see our project. First, we need to add ‘express’ and select port number that NodeJs can listen on. Let’s do that.
In your app.js folder add the following code below and then run the project with “npm start”:
// Imports const express = require('express') const app = express() const port = 5000 // Listen on Port 5000 app.listen(port, () => console.info(`App listening on port $`)) Run your app, and see what happens. In PowerShell or Terminal (for Mac) you should see a message:
App listening on port 5000 – unless the port is already taken, then you can change it to 3000 or something like that.
Static Files
This will allow us to easily access our statics files such as css, js and images from our root folder of the project. Let’s have a look at how we can do that:
// Static Files app.use(express.static('public')); // Example for other olders // app.use('/css', express.static(__dirname + 'public/css')) Setting up our View’s & EJS
This does two things. It will help us set up our views folder, where our html files will live and also we need to set the view engine which in our case is the EJS.
// Set View's app.set('views', './views'); app.set('view engine', 'ejs'); Rendering Pages
In this example, I will give you two options. One rendering the index.ejs file and one that simply grabs the about.html file.
// Navigation app.get('', (req, res) => < res.render('index', < text: 'Hey' >) >) app.get('/about', (req, res) => < res.sendFile(__dirname + '/views/about.html') >) Your final code for app.js should look something like this:
// Imports const express = require('express') const app = express() const port = 5000 // Static Files app.use(express.static('public')); // Specific folder example // app.use('/css', express.static(__dirname + 'public/css')) // app.use('/js', express.static(__dirname + 'public/js')) // app.use('/img', express.static(__dirname + 'public/images')) // Set View's app.set('views', './views'); app.set('view engine', 'ejs'); // Navigation app.get('', (req, res) => < res.render('index', < text: 'Hey' >) >) app.get('/about', (req, res) => < res.sendFile(__dirname + '/views/about.html') >) app.listen(port, () => console.info(`App listening on port $`)) Example of EJS page
For our index.html let’s see how we can add our stylesheet and also some EJS code.
Index baby

Final
Run the project by doing npm start and then open “localhost:5000” in your browser. If you want to visit the about page you should add a slash after the URL just like this “localhost:5000/about”
Credit: Cat image Photo by Ramiz Dedaković on Unsplash
More Resources:
Author
Hi! I’m Raddy. I am a web developer, often making YouTube Videos, Blog Posts and side projects. Enquiries: hello@raddy.co.uk

You can include your js file in your HTML, in the head and start using it just like the styles (main.css)
Hey Raddy, I have watched you on your YouTube channel. That is nice. I have a problem whenever I show my static html page the css linked with it seems not to be css. When I open console and look the source i found there my css files; are converted into html.
Please help me.
Hey Mohd, Would you be able to send a screenshot so I can get a better understanding of what is going on.
You need to make sure that the about.ejs and index.ejs end with EJS. I messed it up on the article (it’s now updated). The other thing that you can do is to double-check the path to the CSS.
You can also download the code from GitHub and see if you have missed something. It could be a silly typo mistake.
Did you add the “background-repeat” property to your CSS? Could add your background image to your body and do something like this:
body background-image: url(«gorilla.gif»);
background-repeat: repeat;
>
Hi Raddy, I want build version. like: index.html
about.html “scripts”: “test”: “echo \”Error: no test specified\” && exit 1″,
“start”: “nodemon app.js”
“build”: “anythig”
>,
Hey Gurpal, I am not sure if I understand your comment. Could you expand on it please and I will try to help
I’ve actually never heard of it. They do have an installation guide here if this helps: https://docs.nodebb.org/installing/os/
Hi! Great article by the way! I would like to know if it is possible to connect multiple front-end pages (those that use only HTML+CSS+JS) to Node.js server, for instance:
– main website page (main.html)
– about page (about.html)
– log in / sign up page (form.html)
(plus CSS and JS files for all those pages)? I tried to split those files into three folders – main (main.html, main.css and main.js), about (about.html, about.css and about.js), form (form.html, form.css, form.js) and connect them to index.js file on my Node.js server, but it only displayed files in the first folder, while ignoring the others. I want to make it possible to navigate between pages in browser using “/“ (as in your article). How could I do that?
Hey Nick, I am glad that you like the article! You can do that in two steps. First define a static folder where you can easily access the HTML, CSS, JS. To keep it organised call it ‘views’.
Inside your views, you will have your main, about & login folders. In app.js set the public folder of views
app.use(express.static(‘views’)); Now create your routes so you can visit by doing / for homepage and /about.
app.get(«/», (req, res) => res.sendFile(__dirname + «/views/main/main.html»);
>); app.get(«/about», (req, res) => res.sendFile(__dirname + «/views/about/about.html»);
>);
Then for your HTML, you can link your CSS / JS like this (it won’t let me post HTML) soo:
In your HTML head tag: href=»/main/main.css»
Note that you no longer have to specify ‘views’. Just put the folder where you want to grab the JS / CSS.
The main problem that you will have is that you won’t be able to pass data to the HTML. This is why is best to use a templating engine like EJS, Handlebars or Pug. There are many options…
Your other option is to separate your Front end from your back end. You can use NodeJs as an API and then fetch the data using JS in your HTML.
Hey Raddy, Article is Awesome!
Its very helpful for me, really appreciate you.
Keep sharing you experience for NodeJS Development & Solutions, Thanks You
Render HTML file in Node.js and Express.js framework

ExpressJS is a popular NodeJS web framework. ExpressJS allows you to develop a custom web server according to your project requirement. The Express project can be extended by installing various node modules. However, you don’t need to install multiple packages to handle HTML files and render them in the response.
This tutorial will teach you how to render HTML files in a custom NodeJS and ExpressJS Server. You don’t need to install extra modules to render an HTML file in Express. Just install express and you are good to go.
Step 1: Install Express
Create a new folder and initialize a new Node project using the following command.
Great. let’s move forward and learn about the function we will use to render HTML files in Express.
Step 2: Using sendFile() function
ExpressJS provides the sendFile() function, which can send HTML files to the browser and is then automatically interpreted by the browser. All we need to do is deliver an appropriate HTML file in every route.
For Example: When the user hits the main URL delivers index.html :
//assuming app is express Object. app.get('/',function(req,res) < res.sendFile('index.html'); >); Note: This code is for example purposes. It will cause a directory resolution error.
Step 3: Render HTML in Express
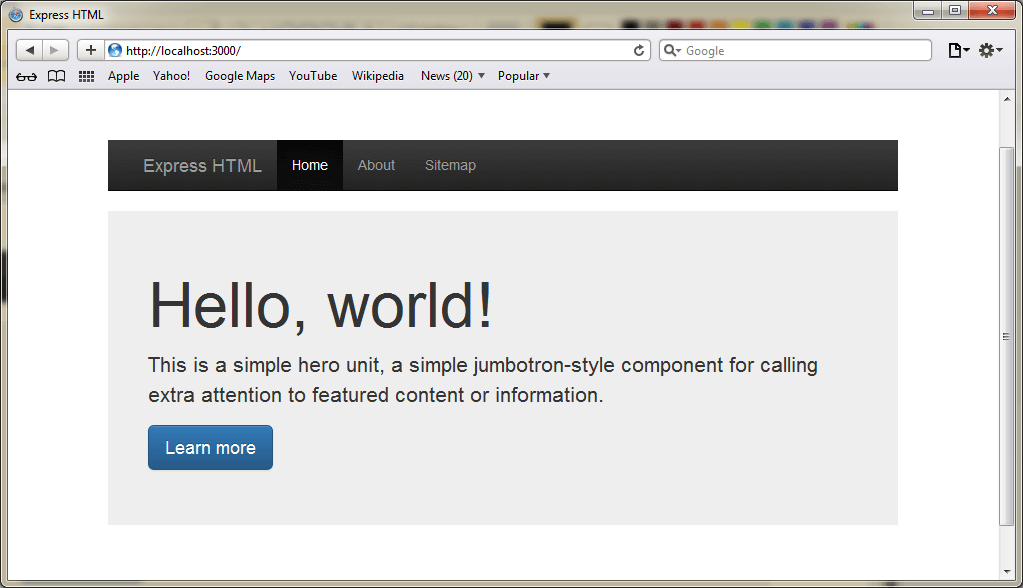
Let’s create a simple website consisting of a Home page. We will be using Bootstrap for designing and jQuery for event handling.
Directory Structure:
----- node_modules |--+express ---+ index.html ---+ about.html ---+ index.html --- app.js ----package.json
package.json
< "name": "htmlRender", "version": "1.0.0", "description": "", "main": "index.js", "scripts": < "test": "" >, "keywords": [], "author": "", "license": "ISC", "dependencies": < "express": "^4.16.4" >>
Below is our express server code.
app.js const express = require('express'); const app = express(); const path = require('path'); const router = express.Router(); router.get('/',function(req,res)< res.sendFile(path.join(__dirname+'/index.html')); //__dirname : It will resolve to your project folder. >); router.get('/about',function(req,res)< res.sendFile(path.join(__dirname+'/about.html')); >); router.get('/sitemap',function(req,res)< res.sendFile(path.join(__dirname+'/sitemap.html')); >); //add the router app.use('/', router); app.listen(process.env.port || 3000); console.log('Running at Port 3000'); Below is our “index.html” file.
Step 4: Render Dynamic HTML using templating engine
In the code shown above, we render static HTML files. However, there are scenarios where we need to render dynamic HTML templates. Before you get confused between static and dynamic templates, let me explain the difference quickly.
In static templates, we cannot pass custom variables and customize the template based on our needs. In dynamic templates, we can pass dynamic variables and render HTML files with different values.
Let’s build a simple project to understand the templating in Express. We will use the pug templating engine which is very popular and recommended by Express as well. We have used Pug for this website as well, in fact, this page is rendered using Pug templates.
Let’s install our dependencies.
Below is our Express server code.
const express = require("express"); const app = express(); const path = require("path"); const router = express.Router(); app.set("view engine", "pug"); app.set("views", path.join(__dirname, "views")); router.get("/", (req, res) => < res.render("index"); >); router.get("/about", (req, res) => < res.render("about", < title: "Hey", message: "Hello there!" >); >); app.use("/", router); app.listen(process.env.port || 3000); console.log("Running at Port 3000"); Observe in routers, we are passing dynamic values to Pug templates. Here is the code of Pug templates residing in the views directory.
html head title Render HTML using PUG body h1 Welcome
html head title= title body h1= message
After running this code, navigate your browser to localhost:3000/about, you should see an HTML output rendered using Pug templates.
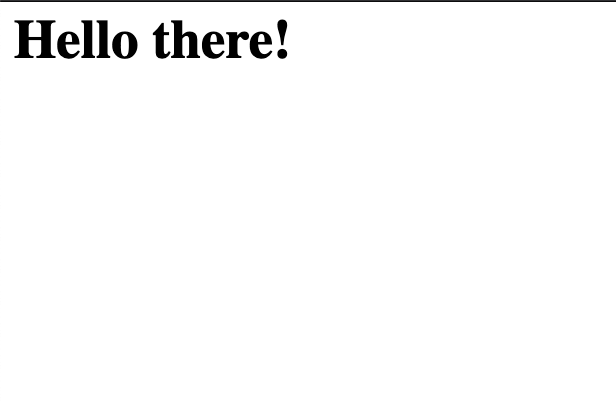
Awesome. These values can be fetched from a database or any other source and rendered using Pug templates.
Related articles about Databases: Database Tutorials
Further reading
Please read some of our best tutorials.
Conclusion
There are scenarios where you need to develop a web server that delivers HTML files like how your apache does. This can be done in Node.js using the sendFile() method and templating can be done using Pug module. However, this is not the optimal use of Node.js but you can use such a feature to achieve a custom web server for your own application.
Reference
Shahid
Founder of Codeforgeek. Technologist. Published Author. Engineer. Content Creator. Teaching Everything I learn!