- Cv2 python install ubuntu
- Installing OpenCV-Python from Pre-built Binaries
- Building OpenCV from source
- Required build dependencies
- Cv2 python install ubuntu
- Installing OpenCV-Python from Pre-built Binaries
- Building OpenCV from source
- Required build dependencies
- Как установить OpenCV в Ubuntu 20.04
- Установка OpenCV из репозитория Ubuntu
- Установка OpenCV из исходного кода
- Выводы
- A Complete Guide to install OpenCV on Ubuntu 22.04
- Method 1: How to install OpenCV on Ubuntu 22.04 using the Python
- Method 2: How to install OpenCV on Ubuntu 22.04 using the Github
- Step 1: Clone the repository
- Step 2: Confirm the version of OpenCv and OpenCv_contrib
- Step 3: Compile the installation files of OpenCV
- Conclusion
Cv2 python install ubuntu
In this tutorial We will learn to setup OpenCV-Python in Ubuntu System. Below steps are tested for Ubuntu 16.04 and 18.04 (both 64-bit).
OpenCV-Python can be installed in Ubuntu in two ways:
- Install from pre-built binaries available in Ubuntu repositories
- Compile from the source. In this section, we will see both.
Another important thing is the additional libraries required. OpenCV-Python requires only Numpy (in addition to other dependencies, which we will see later). But in this tutorials, we also use Matplotlib for some easy and nice plotting purposes (which I feel much better compared to OpenCV). Matplotlib is optional, but highly recommended. Similarly we will also see IPython, an Interactive Python Terminal, which is also highly recommended.
Installing OpenCV-Python from Pre-built Binaries
This method serves best when using just for programming and developing OpenCV applications.
Install package python3-opencv with following command in terminal (as root user).
Open Python IDLE (or IPython) and type following codes in Python terminal.
If the results are printed out without any errors, congratulations . You have installed OpenCV-Python successfully.
It is quite easy. But there is a problem with this. Apt repositories may not contain the latest version of OpenCV always. For example, at the time of writing this tutorial, apt repository contains 2.4.8 while latest OpenCV version is 3.x. With respect to Python API, latest version will always contain much better support and latest bug fixes.
So for getting latest source codes preference is next method, i.e. compiling from source. Also at some point in time, if you want to contribute to OpenCV, you will need this.
Building OpenCV from source
Compiling from source may seem a little complicated at first, but once you succeeded in it, there is nothing complicated.
First we will install some dependencies. Some are required, some are optional. You can skip optional dependencies if you don’t want.
Required build dependencies
We need CMake to configure the installation, GCC for compilation, Python-devel and Numpy for building Python bindings etc.
Как установить OpenCV в Ubuntu 20.04
OpenCV (Open Source Computer Vision Library) — это библиотека компьютерного зрения с открытым исходным кодом с привязками для C ++, Python и Java, поддерживающая все основные операционные системы. Он может использовать преимущества многоядерной обработки и ускорения графического процессора для работы в реальном времени.
OpenCV используется для широкого спектра приложений, включая анализ медицинских изображений, сшивание изображений улиц, видеонаблюдение, обнаружение и распознавание лиц, отслеживание движущихся объектов, извлечение 3D-моделей и многое другое.
В этой статье описывается, как установить OpenCV в Ubuntu 20.04. Чтобы установить последнюю стабильную версию OpenCV из исходного кода, прокрутите вниз до раздела « Установка OpenCV из исходного кода » этого руководства. Выберите наиболее удобный для вас способ установки.
Установка OpenCV из репозитория Ubuntu
OpenCV доступен для установки из репозиториев Ubuntu 20.04 по умолчанию. Для его установки выполните:
sudo apt updatesudo apt install libopencv-dev python3-opencv
Приведенная выше команда установит все пакеты, необходимые для запуска OpenCV.
Проверьте установку, импортировав модуль cv2 и распечатав версию OpenCV:
python3 -c "import cv2; print(cv2.__version__)"На момент написания в репозиториях стоит версия 4.2:
Установка OpenCV из исходного кода
Сборка библиотеки OpenCV из исходного кода позволяет получить самую последнюю доступную версию. Он будет оптимизирован для вашей конкретной системы, и вы получите полный контроль над параметрами сборки. Это рекомендуемый способ установки OpenCV.
Выполните следующие шаги, чтобы установить последнюю версию OpenCV из источника:
sudo apt install build-essential cmake git pkg-config libgtk-3-devlibavcodec-dev libavformat-dev libswscale-dev libv4l-devlibxvidcore-dev libx264-dev libjpeg-dev libpng-dev libtiff-devgfortran openexr libatlas-base-dev python3-dev python3-numpylibtbb2 libtbb-dev libdc1394-22-dev libopenexr-devlibgstreamer-plugins-base1.0-dev libgstreamer1.0-dev
mkdir ~/opencv_build && cd ~/opencv_buildgit clone https://github.com/opencv/opencv.gitgit clone https://github.com/opencv/opencv_contrib.git
cd ~/opencv_build/opencvmkdir -p build && cd build
cmake -D CMAKE_BUILD_TYPE=RELEASE-D CMAKE_INSTALL_PREFIX=/usr/local-D INSTALL_C_EXAMPLES=ON-D INSTALL_PYTHON_EXAMPLES=ON-D OPENCV_GENERATE_PKGCONFIG=ON-D OPENCV_EXTRA_MODULES_PATH=~/opencv_build/opencv_contrib/modules-D BUILD_EXAMPLES=ON ..
-- Configuring done -- Generating done -- Build files have been written to: /home/vagrant/opencv_build/opencv/buildpkg-config --modversion opencv4python3 -c "import cv2; print(cv2.__version__)"Выводы
Мы показали вам два разных способа установки OpenCV на ваш компьютер с Ubuntu 20.04. Выбор метода зависит от ваших требований и предпочтений. Несмотря на то, что установить упакованную версию из репозитория Ubuntu проще, сборка OpenCV из исходного кода дает вам больше гибкости, и это должно быть вашим первым вариантом при установке OpenCV.
Если у вас есть какие-либо вопросы или отзывы, не стесняйтесь оставлять комментарии ниже.
A Complete Guide to install OpenCV on Ubuntu 22.04
OpenCV (open source computer vision) is a Linux tool for image processing and for different tasks of computing vision, moreover, it contains the binaries of Python and C languages. Tasks like landmark detection, red-eye detection, and objection tracking can be done by using the OpenCV. Renowned firms like Google, IBM, and Honda are using OpenCV because of its simplicity of OpenCV and code readability.
OpenCV can be downloaded on Linux, Windows, and macOS operating systems, but in this guide, we will focus the installation on Ubuntu 22.04.
Method 1: How to install OpenCV on Ubuntu 22.04 using the Python
For this method, we will confirm the installation of Python by using the command:
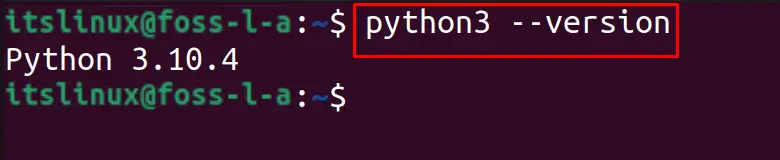
Now, we will use the Python3 to install OpenCV on Ubuntu by using the command:
$ sudo apt install python3-opencv -y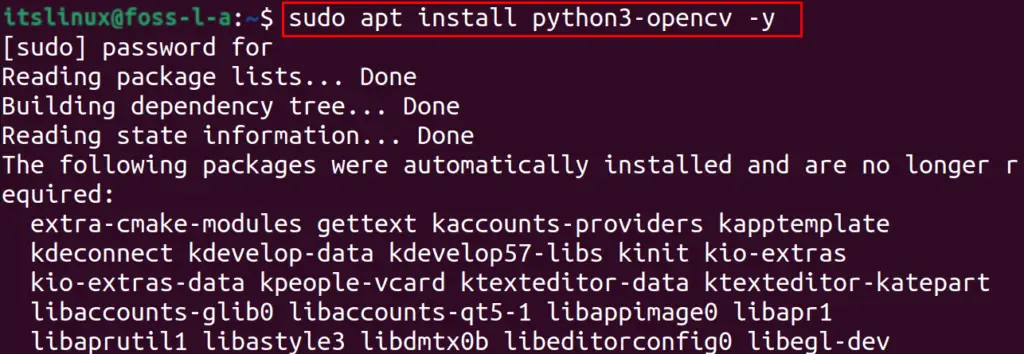
To confirm the installation of OpenCV by the above-executed command, we will display its version:
$ python3 -c "import cv2; print(cv2.__version__)"And to uninstall the package of OpenCV, we will use the command:
$ sudo apt purge python3-opencv -y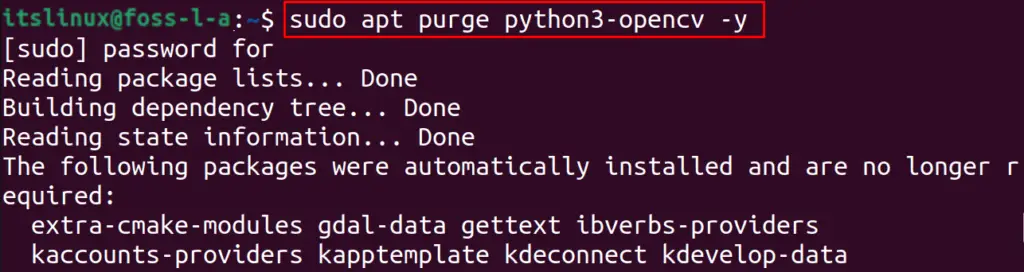
Method 2: How to install OpenCV on Ubuntu 22.04 using the Github
We will follow the below-mentioned steps to install OpenCV on Ubuntu.
Step 1: Clone the repository
We will clone the git repository of OpenCV from the GitHub and also OpenCV contribution by using the command:
$ git clone https://github.com/opencv/opencv.git && git clone https://github.com/opencv/opencv_contrib.git 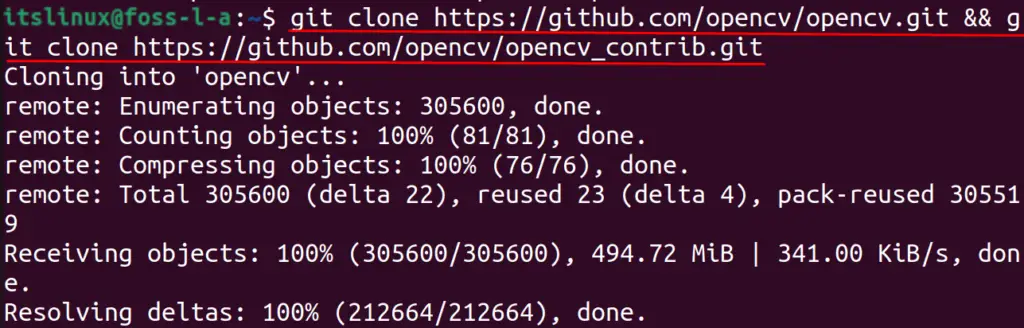
Step 2: Confirm the version of OpenCv and OpenCv_contrib
After cloning both the OpenCV and OpenCV contribution, we will navigate to the OpenCV directory and check the version of OpenCV that is cloned from GitHub:
$ cd opencv && git checkout $cvVersion && cdSimilarly, to the OpenCV, we will check the version of OpenCV contribution using the command:
$ cd opencv_contrib && git checkout $cvVersion && cdStep 3: Compile the installation files of OpenCV
Now again we will navigate to the opencv directory, will make a directory of “build” and also navigate to it using the command:
$ cd opencv && mkdir build && cd buildNow, we will compile the binaries of OpenCV by using the cmake command:
$ cmake -D CMAKE_BUILD_TYPE=RELEASE \ -D CMAKE_INSTALL_PREFIX=$cwd/installation/OpenCV-"$cvVersion" \ -D INSTALL_C_EXAMPLES=ON \ -D INSTALL_PYTHON_EXAMPLES=ON \ -D WITH_TBB=ON \ -D WITH_V4L=ON \ -D OPENCV_PYTHON3_INSTALL_PATH=$cwd/OpenCV-$cvVersion-py3/lib/python3.5/site-packages \ -D WITH_QT=ON \ -D WITH_OPENGL=ON \ -D OPENCV_EXTRA_MODULES_PATH=../../opencv_contrib/modules \ -D BUILD_EXAMPLES=ON ..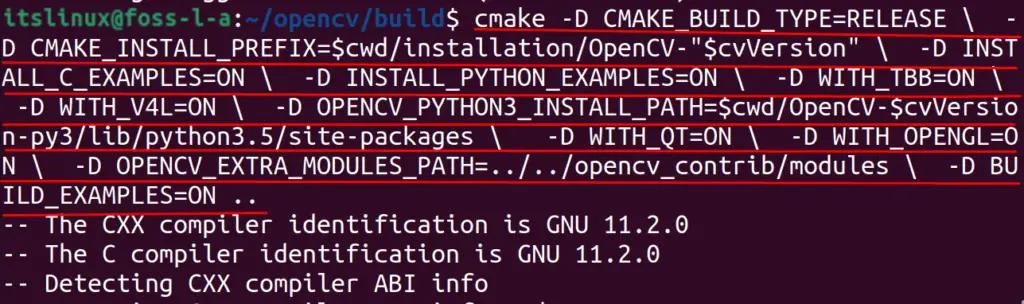
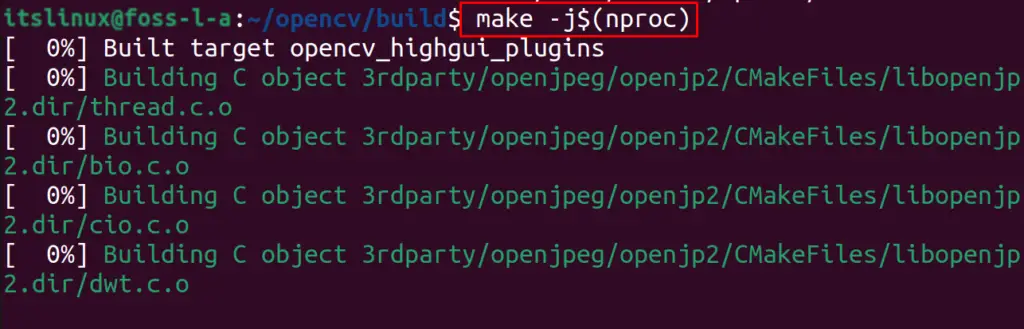
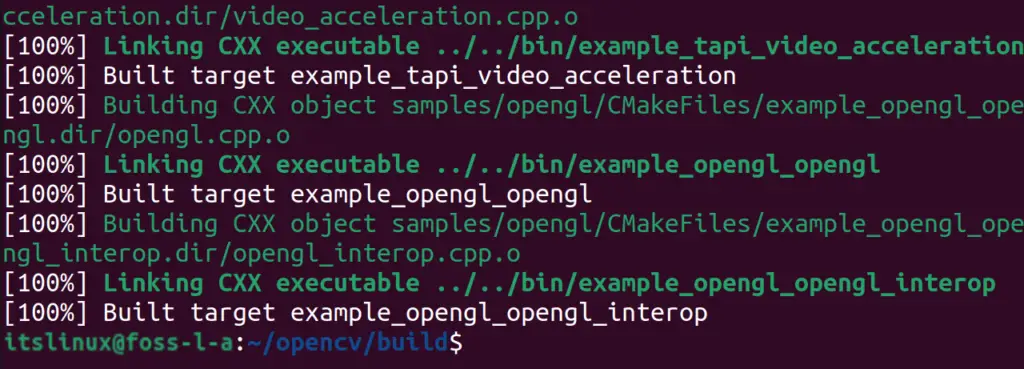
We will make the compiled binaries by running the command:
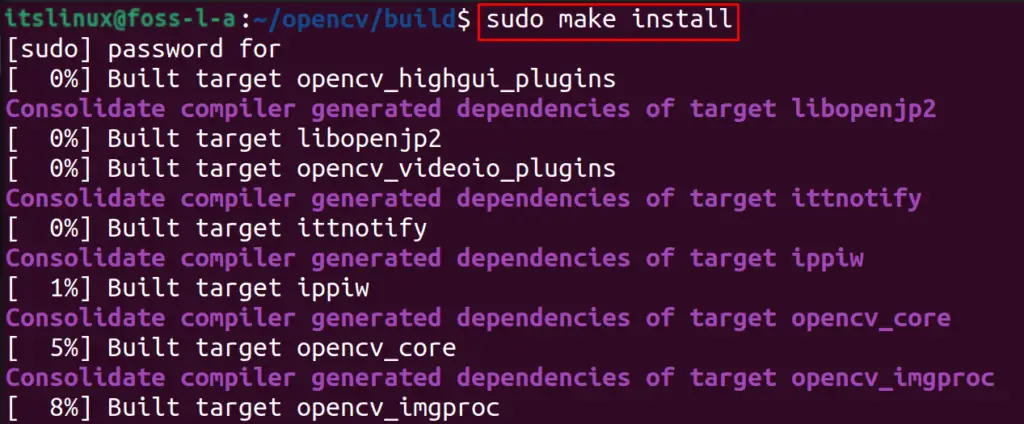
Finally, When all the binaries are made, then we will install OpenCV by using the command:
To confirm the installation of OpenCV by the above-executed command:
$ python3 -c "import cv2; print(cv2.__version__)"Conclusion
OpenCV is a Linux tool for computing vision tasks and machine learning and is made up of Python, and C languages and contains more than 2500 algorithms that are used for these tasks. In this write-up, two different methods to install OpenCV on Ubuntu 22.04 have been discussed.
TUTORIALS ON LINUX, PROGRAMMING & TECHNOLOGY