- CSS Range Sliders
- Related Articles:
- Author
- Links
- Made with
- About a code
- Ovoid CSS Range Slider
- Author
- Links
- Made with
- About a code
- Curved CSS Range Slider
- Author
- Links
- Made with
- About a code
- Bubble Range Slider
- Author
- Links
- Made with
- About a code
- iOS Like Vertical Range Input
- Author
- Links
- Made with
- About a code
- Metallic Range Input with Datalist Ticks
- Author
- Styling range input with CSS and JavaScript for better UX
- Accent color
- CSS selectors for the range input
- Improving usability
- Specify the output element to display the selected value
- Specify the number input that is synced to the range input
- A sprinkle of JavaScript
- Range input for RTL direction
- Custom range input Demo
CSS Range Sliders
Welcome to our collection of CSS Range Sliders! Here, we have curated a collection of hand-picked free HTML and CSS range slider code examples from CodePen, GitHub, and other resources. In this update of June 2023 collection, we have added seven new items that showcase the versatility and creativity of range sliders in web design.
These examples demonstrate how range sliders can be used to enhance user experience, add interactivity, and improve the overall aesthetics of a webpage. From simple and minimalistic designs to more complex and interactive sliders, this collection offers a wide range of options to suit various design preferences and project requirements.
Related Articles:
Author
Links
Made with
About a code
Ovoid CSS Range Slider
Compatible browsers: Chrome, Edge, Firefox, Opera, Safari
Author
Links
Made with
About a code
Curved CSS Range Slider
Compatible browsers: Chrome, Edge, Firefox, Opera, Safari
Author
Links
Made with
About a code
Bubble Range Slider
Compatible browsers: Chrome, Edge, Firefox, Opera, Safari
Author
Links
Made with
About a code
iOS Like Vertical Range Input
The first range input has a minimum value of «0,» a maximum value of «100», and a default value of «50». The second range input has the same values but with a step of «12.5». It also has two pseudo-elements, ::before and ::after , which are positioned absolutely and display the «+» and «−» symbols respectively. The thumb of the range input is hidden by setting its width to «0» and applying a box-shadow to create a visual effect. For the second range input with the step attribute, the background-color is set to transparent and a repeating-linear-gradient is used to create a striped pattern.
Compatible browsers: Chrome, Edge, Firefox, Opera, Safari

Author
Links
Made with
About a code
Metallic Range Input with Datalist Ticks
The range input has a datalist element associated with it, which contains five options for values «0», «25», «50», «75», and «100». The range input is styled to have a custom appearance, with a linear gradient background and an outline. The thumb of the range input is also styled with a custom appearance using radial and conic gradients for the background and multiple box shadows for shading. The datalist is styled to be displayed as a flex container with its options evenly spaced out and given a custom appearance with padding , border , text-shadow , and box-shadow .
Compatible browsers: Chrome, Edge, Firefox, Opera, Safari

Author
Styling range input with CSS and JavaScript for better UX
To style the range input with CSS you’ll need to apply styles to two pseudo-elements: ::-webkit-slider-thumb and ::-webkit-slider-runnable-track . Find out how you can apply custom styling and make the range input more functional and appealing.
The input element with a type of range is a native HTML form UI element that allows users to select a value by dragging a slider over a range field.
The default browser styling for this element is very basic and doesn’t provide enough information to the user which might confuse one. Also, the appearance of the range input element is different across browsers.
Range input HTML:
Range input appearance on different browsers:
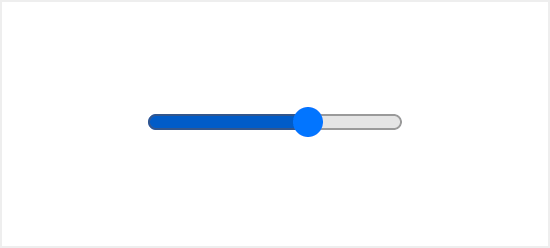
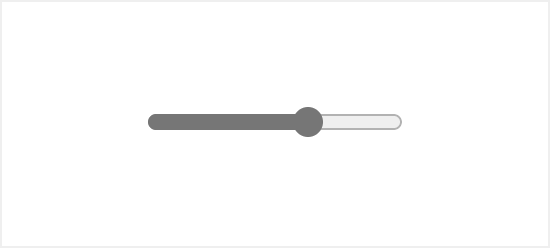
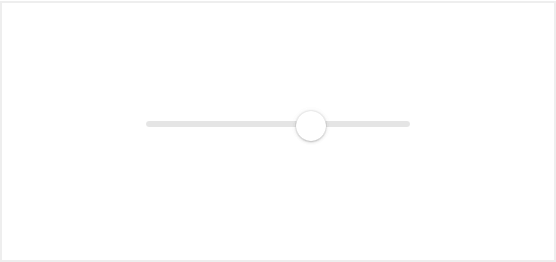
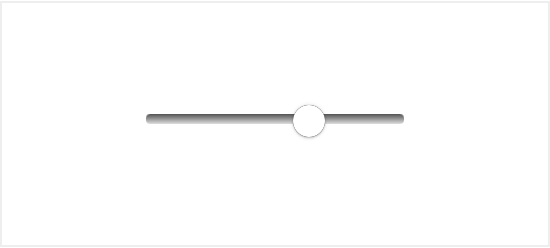
Luckily there are ways you can improve that using nothing but native CSS and JavaScript.
Accent color
One simple way to customize the appearance of the range input without any specific selectors or additional HTML is to change the color of the range.
To do so you can define the accent-color property for the input[type=»range»] selector which will update the color of the track and thumb.
input[type="range"] accent-color: coral; > CSS selectors for the range input
The range input widget consists of two parts the thumb and the track. Each one of these parts has its own pseudo-class selector for styling with a vendor suffix for cross-browser support.
input[type="range"] -webkit-appearance: none; margin-right: 15px; width: 200px; height: 7px; background: rgba(255, 255, 255, 0.6); border-radius: 5px; background-image: linear-gradient(#ff4500, #ff4500); background-size: 70% 100%; background-repeat: no-repeat; > input[type="range"]::-webkit-slider-thumb -webkit-appearance: none; height: 20px; width: 20px; border-radius: 50%; background: #ff4500; cursor: ew-resize; box-shadow: 0 0 2px 0 #555; transition: background .3s ease-in-out; > input[type=range]::-webkit-slider-runnable-track -webkit-appearance: none; box-shadow: none; border: none; background: transparent; > To indicate the selected value, we can add a color from the start of the track up until the thumb. To do that we can use the background-image property with the linear-gradient() value. The background-size property will be used to set the size, which can later be updated with JavaScript.
Improving usability
The default range input doesn’t specify any values selected. Which makes it hard for users to understand what value is currently selected.
While the hash marks and labels on the range input are a great way to aid users visually, this feature is yet to become available.
However, there are a few ways you can improve that with some additional HTML and JavaScript:
- Specify the output element to display the selected value
- Specify the number input that is synced to the range input
Specify the output element to display the selected value
The output element on the side of the range input will display the selected value. You’ll have to add an id attribute for the output element, and an oninput attribute for the range input with a short function as a value, that will update the output element contents.
type="range" min="0" max="100" oninput="rangevalue.value=value"/> id="rangevalue">50 Specify the number input that is synced to the range input
To take it a step further you can add a number input next to the range element.
That way the user will see the selected value and will have an option to modify it via the number input, which can be a better experience especially for mobile users.
type="range" value="50" min="0" max="100" id="range" oninput="rangevalue.value=value"/> type="number" id="rangevalue" value="50" oninput="range.value=value"> A sprinkle of JavaScript
To finalize we’ll need some JavaScript code to make it all work. The oninput attribute is already updating value based on a target element.
But to update the selected area of the range input we need to calculate the ratio and apply that value to the input background-size property.
💡 NOTE: the value property of the range input is a string type, if you want to use is as a numeric value you should use valueAsNumber property.
const rangeInputs = document.querySelectorAll('input[type="range"]') const numberInput = document.querySelector('input[type="number"]') function handleInputChange(e) let target = e.target if (e.target.type !== 'range') target = document.getElementById('range') > const min = target.min const max = target.max const val = target.value target.style.backgroundSize = (val - min) * 100 / (max - min) + '% 100%' > rangeInputs.forEach(input => input.addEventListener('input', handleInputChange) >) numberInput.addEventListener('input', handleInputChange) Range input for RTL direction
To make the above solution of custom range input work for RTL (right to left) web pages, you must make some adjustments for both CSS and JavaScript.
The recommended way to set the text direction of a block or a whole page is to use the dir attribute.
Once the dir attribute is set, we can specify the following selector for the range input [dir=»rtl»] input[type=»range»] .
Now to set the same value for the RTL direction, we must revet the background colors and the value. So for the 70% range, it will look as follows:
[dir="rtl"] input[type="range"] /* Used to be gradient color, the current progress */ background: #ff4500; /* Used to be background color, the track */ background-image: linear-gradient(#fff, #fff); /* 30% is the difference between the max and the current value (100 - 70) */ background-size: 30% 100%; background-repeat: no-repeat; > As for the JavaScript, we need to add a condition for the change handler function, to calculate the correct value: max — current.
function handleInputChange(e) let target = e.target if (e.target.type !== 'range') target = document.getElementById('range') > const min = target.min const max = target.max const val = target.value let percentage = (val - min) * 100 / (max - min) // condition to check whether the document has RTL direction // you can move it to a variable, if document direction is dynamic if (document.documentElement.dir === 'rtl') percentage = (max - val) > target.style.backgroundSize = percentage + '% 100%' > Custom range input Demo
You can find a full demo with a complete code examples on CodePen: