- CSS Grid Layout Module
- Browser Support
- Grid Elements
- Example
- Display Property
- Example
- Example
- Grid Columns
- Grid Rows
- Grid Gaps
- Example
- Example
- Example
- Example
- Grid Lines
- Example
- Example
- All CSS Grid Properties
- The examples
- Defining a Grid
- Line-based placement
- Line-based placement shorthand — grid-row and grid-column
- Line-based placement shorthand — grid-area
- Line-based placement spanning tracks
- Line-based placement spanning tracks with the span keyword
- Line-based placement named lines
- Line-based placement named lines with spans
- Using repeat notation
- Explicit and Implicit Grid
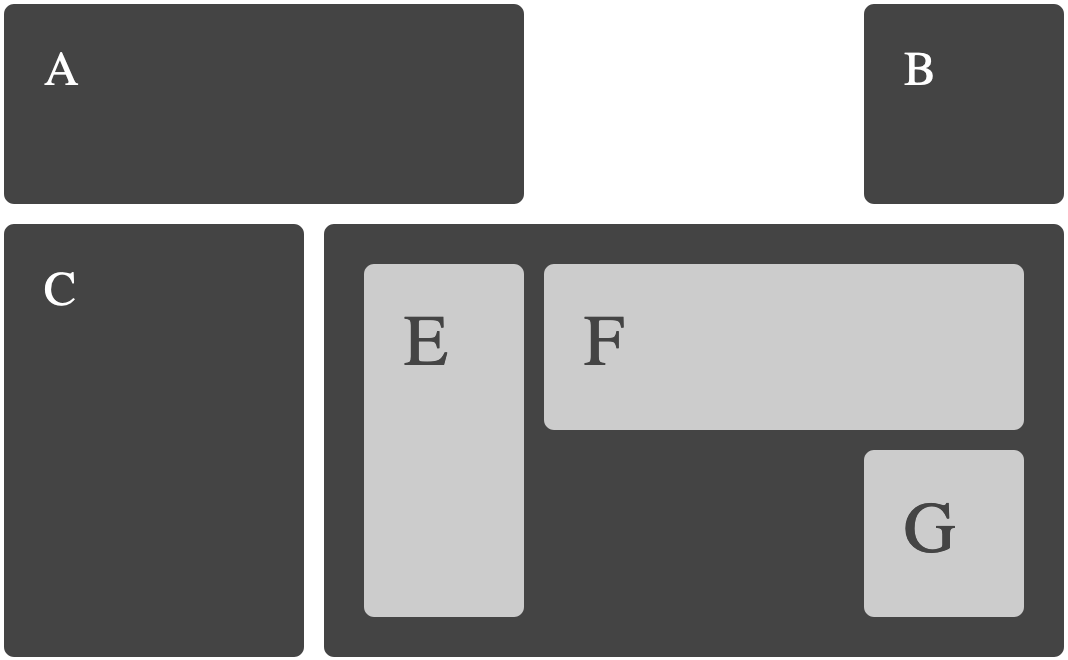
- Defining Grid Areas
- No clearing required
- Redefining Grid Areas with Media Queries
- Source Independence
- Layering items
- A grid item as a new positioning context
- Grid auto-placement
- Grid auto-flow column
- Grid auto-placement mixed with placed items
- The auto-fill keyword in repeating track definitions
- Nested Grid
- Implicit named grid lines
- Using Order
- Box alignment align-items
- Box alignment justify-items
- Box alignment align-self
- Box alignment justify-self
- minmax() in auto-fill repeating tracks
- minmax() and spanning columns and rows
- The auto-fill keyword with named grid lines
- A simple minmax example
- Aligning the Grid
- Aligning the grid with space-around and space-between
- Multiple tracks in a track-list with auto-fill
- Multiple tracks in a track-list with auto-fill and minmax()
- Percentage based grids and gaps
- auto-fill vs. auto-fit
- CSS Grid Level 2 Examples
- Subgrid on columns and rows
- Subgrid on columns, implicit grid rows
- Subgrid on rows, defined column tracks
- The subgrid can override the gap on the parent
- No implicit grid in subgridded dimension
- Line names on the parent are passed into the subgrid
- Line names on the child are added to those from the parent
- Padding is honored on the subgrid
- Margin is honored on the subgrid
- Полное визуальное руководство/шпаргалка по CSS Grid
- Что такое CSS Grid ?
- Архитектура CSS Grid
- Схема CSS Grid
- Настройка проекта
- HTML
CSS Grid Layout Module
The CSS Grid Layout Module offers a grid-based layout system, with rows and columns, making it easier to design web pages without having to use floats and positioning.
Browser Support
The grid properties are supported in all modern browsers.
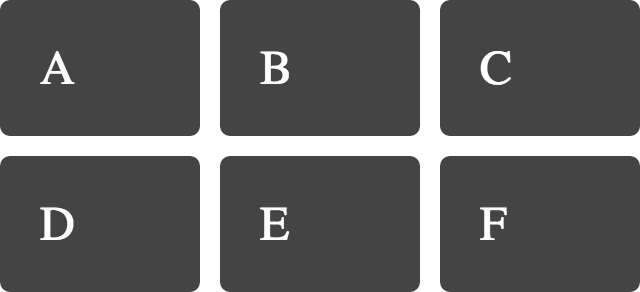
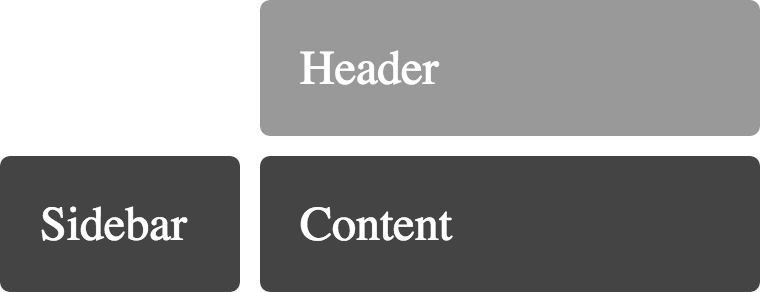
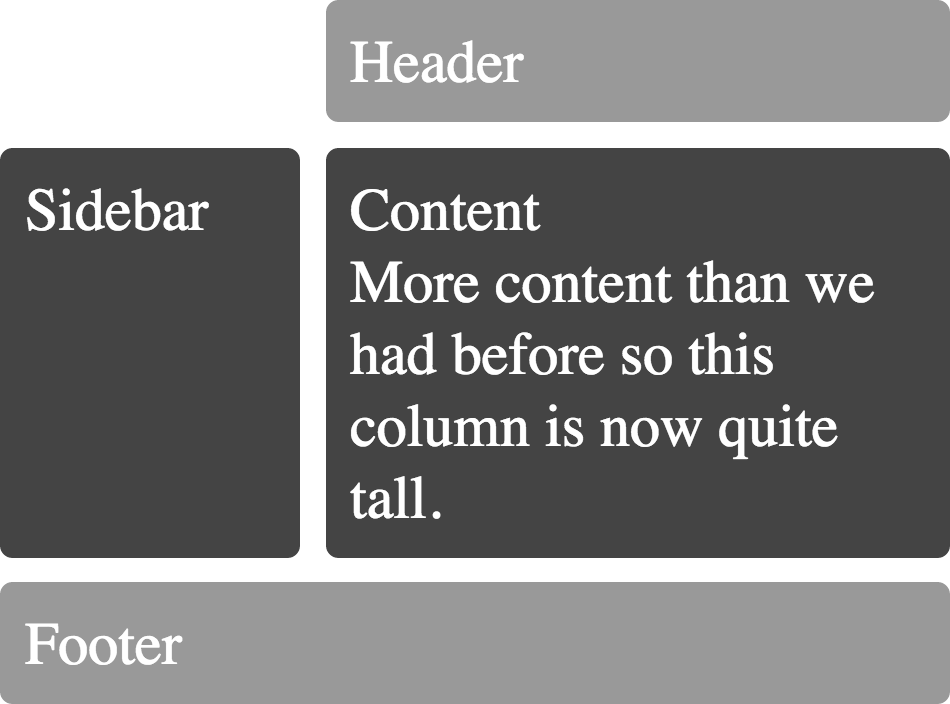
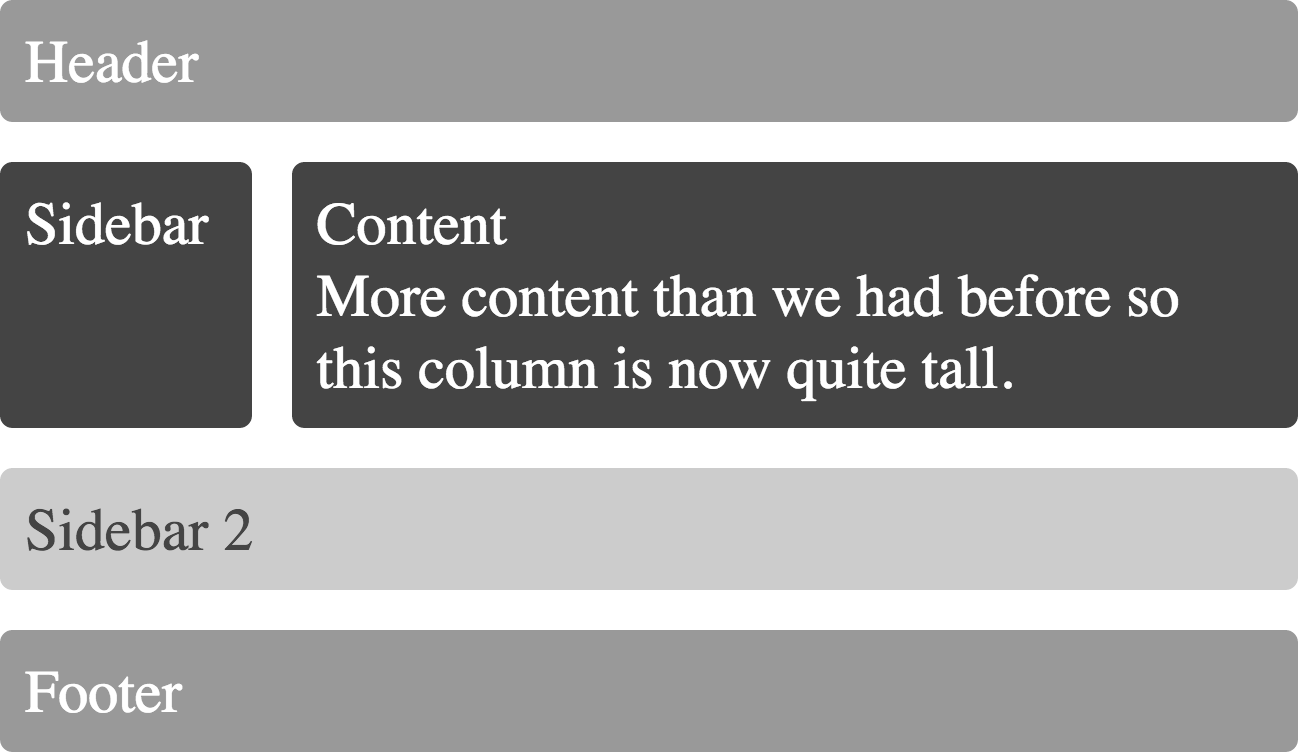
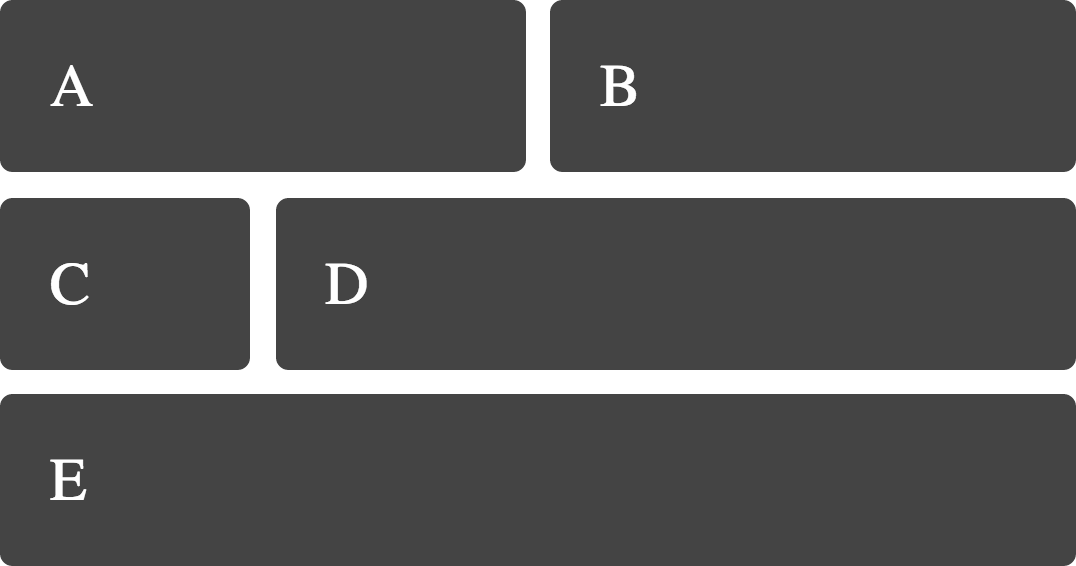
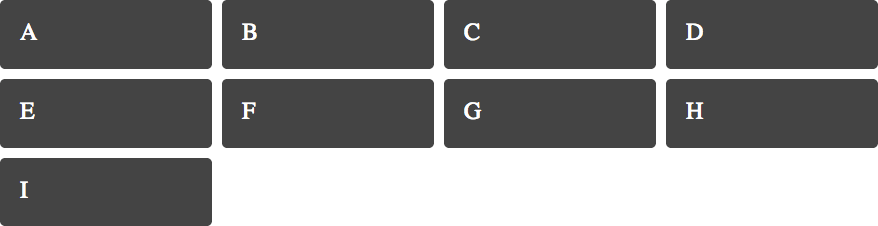
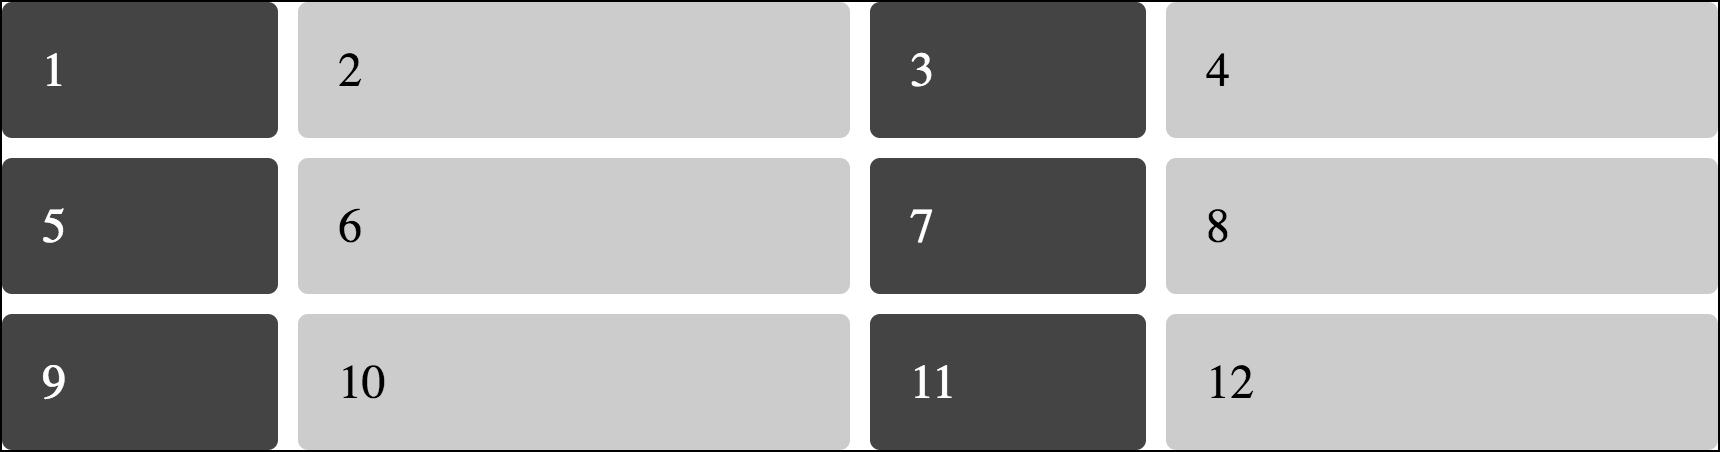
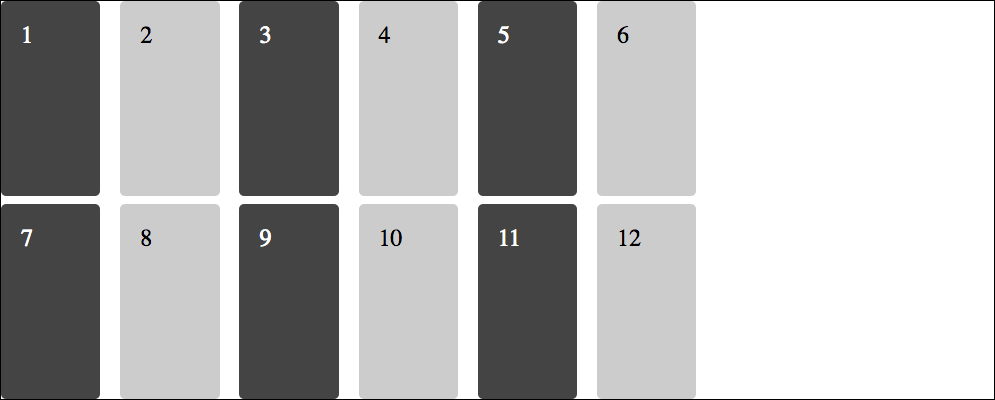
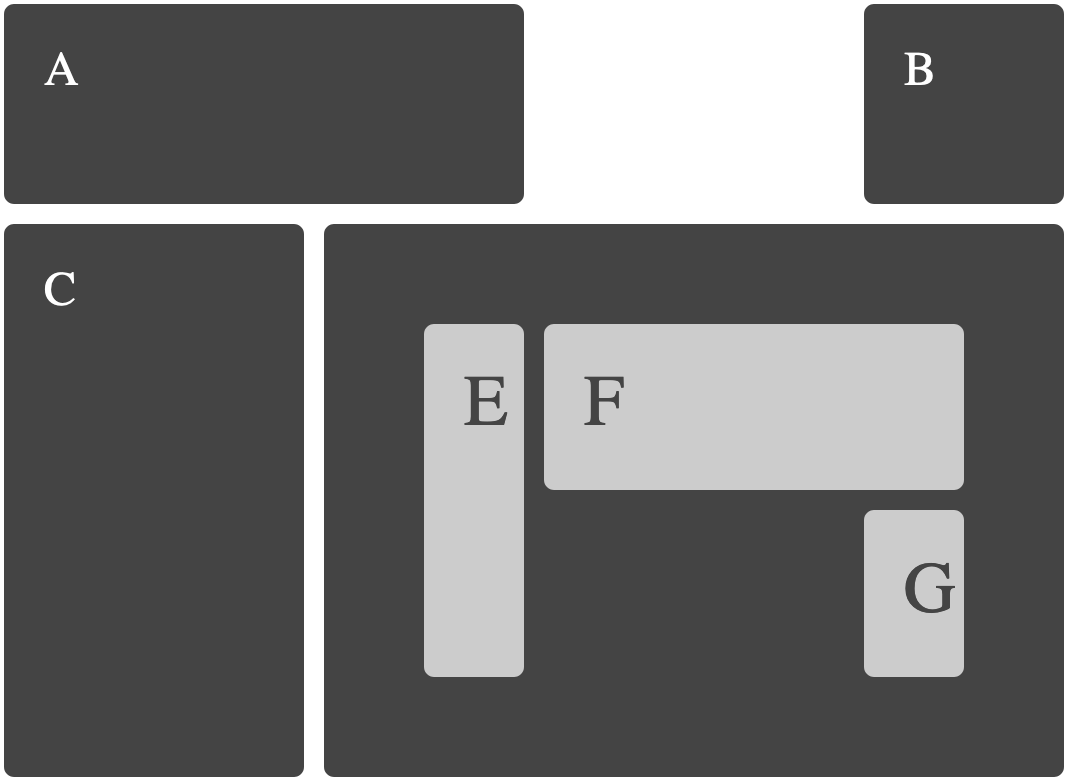
Grid Elements
A grid layout consists of a parent element, with one or more child elements.
Example
Display Property
An HTML element becomes a grid container when its display property is set to grid or inline-grid .
Example
Example
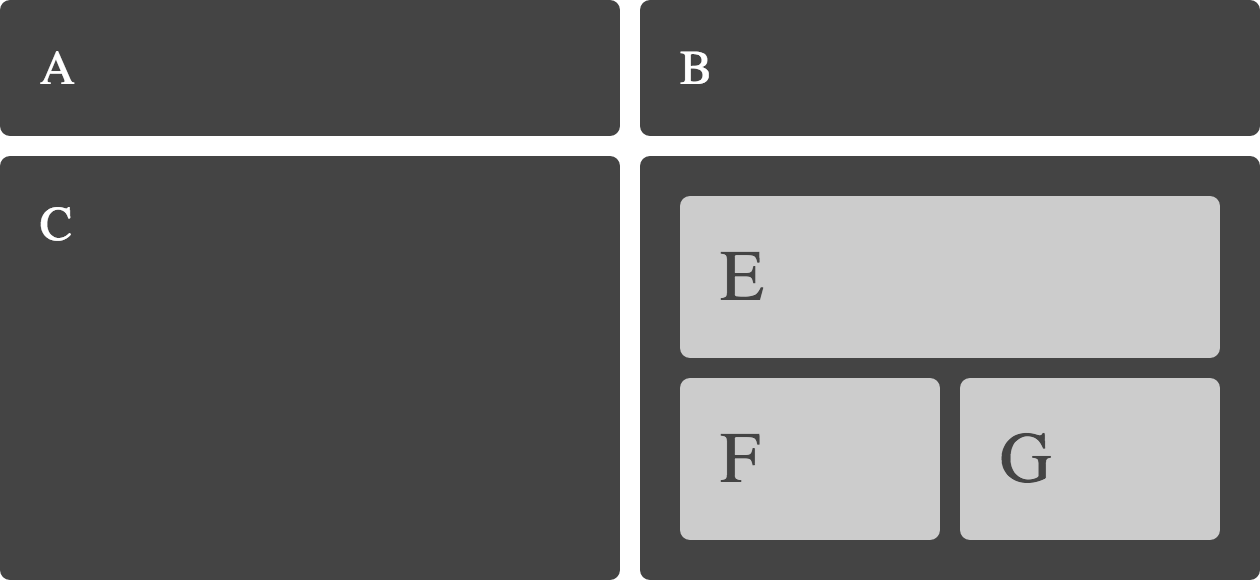
All direct children of the grid container automatically become grid items.
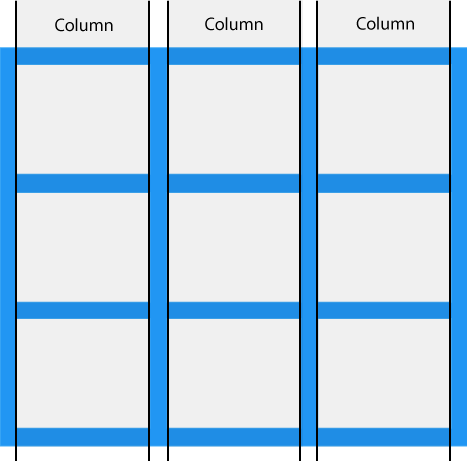
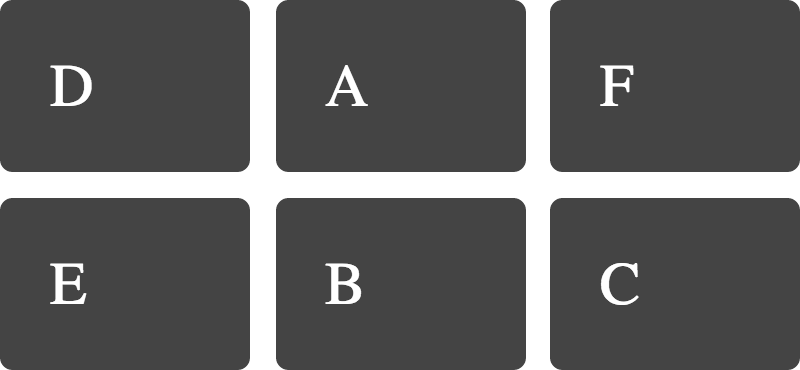
Grid Columns
The vertical lines of grid items are called columns.
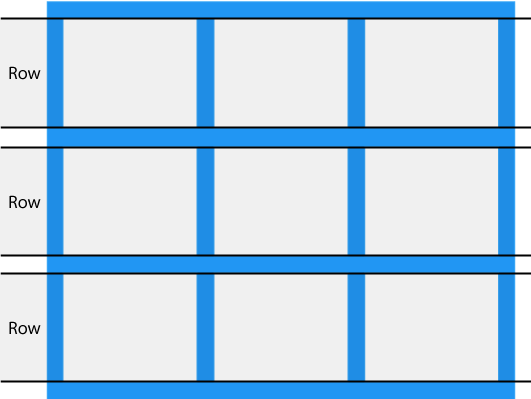
Grid Rows
The horizontal lines of grid items are called rows.
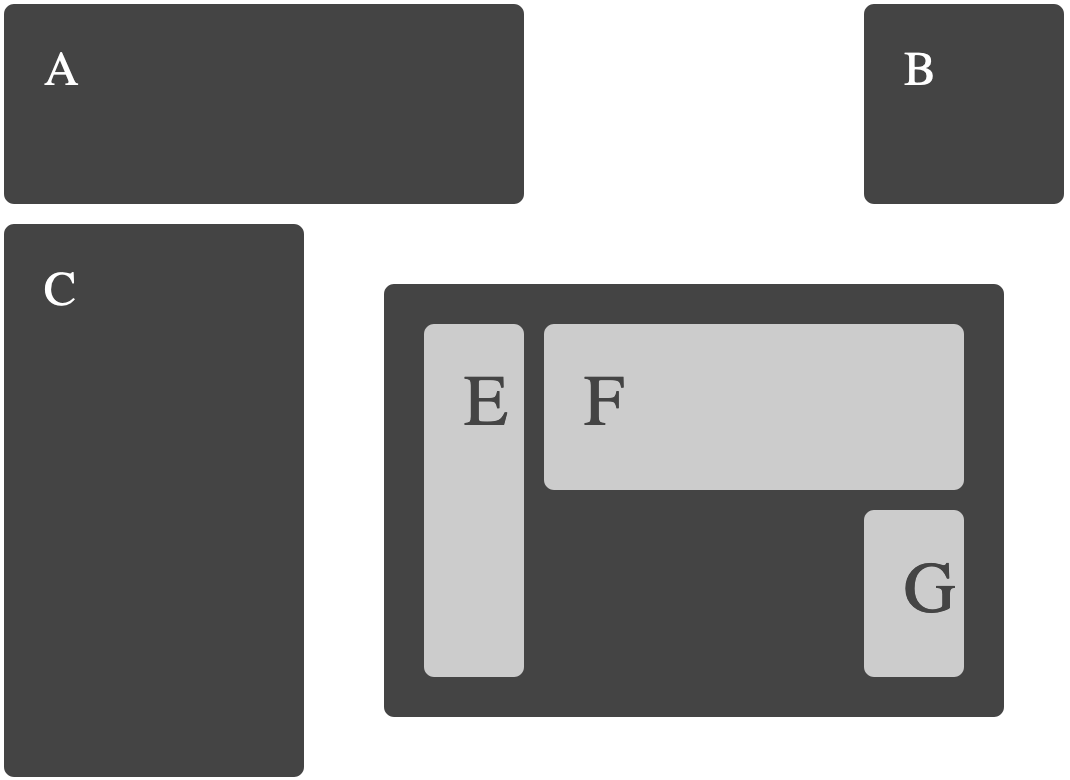
Grid Gaps
The spaces between each column/row are called gaps.
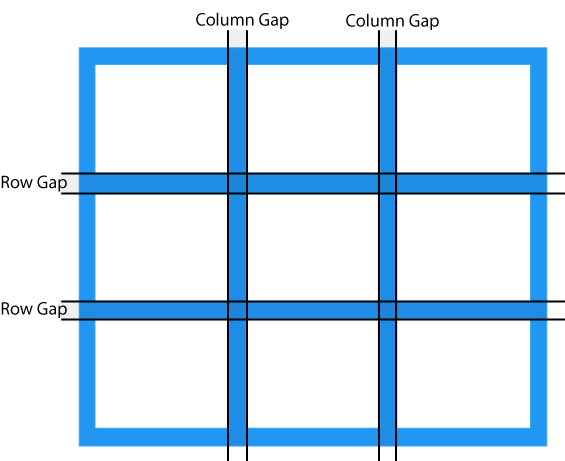
You can adjust the gap size by using one of the following properties:
Example
The column-gap property sets the gap between the columns:
Example
The row-gap property sets the gap between the rows:
Example
The gap property is a shorthand property for the row-gap and the column-gap properties:
Example
The gap property can also be used to set both the row gap and the column gap in one value:
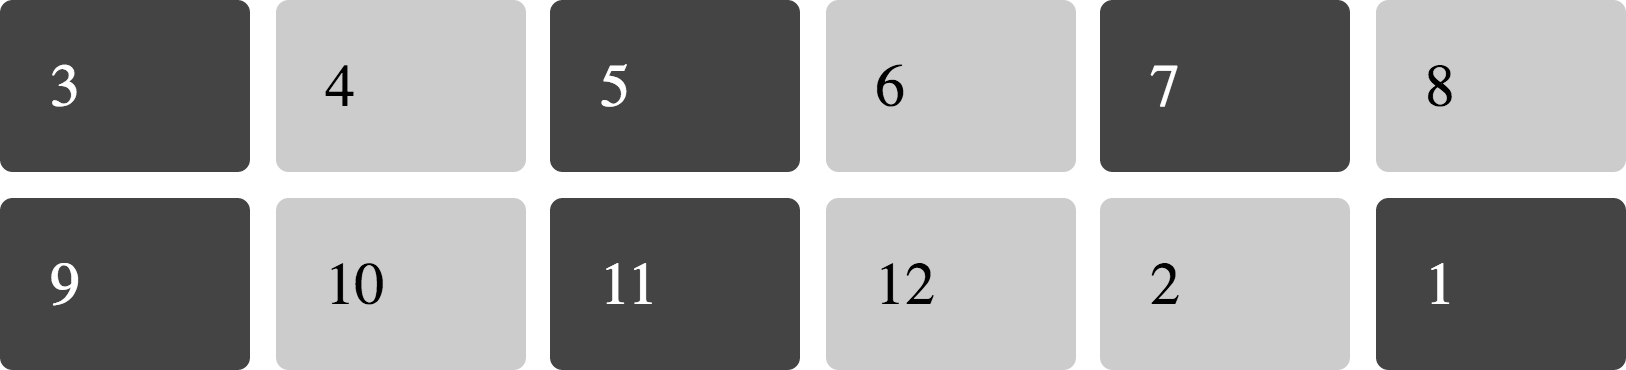
Grid Lines
The lines between columns are called column lines.
The lines between rows are called row lines.
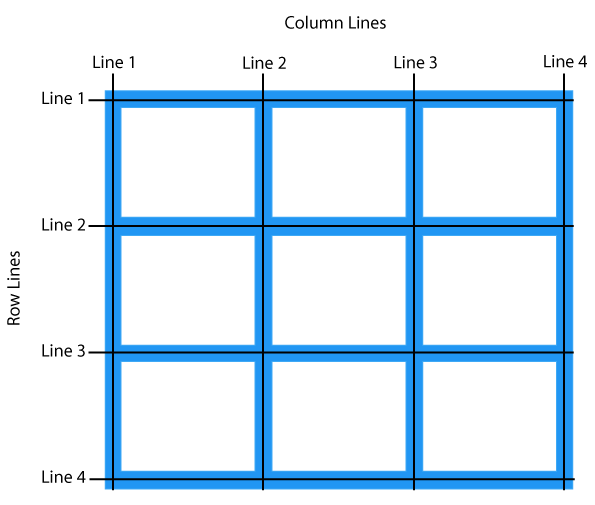
Refer to line numbers when placing a grid item in a grid container:
Example
Place a grid item at column line 1, and let it end on column line 3:
Example
Place a grid item at row line 1, and let it end on row line 3:
All CSS Grid Properties
| Property | Description |
|---|---|
| column-gap | Specifies the gap between the columns |
| gap | A shorthand property for the row-gap and the column-gap properties |
| grid | A shorthand property for the grid-template-rows, grid-template-columns, grid-template-areas, grid-auto-rows, grid-auto-columns, and the grid-auto-flow properties |
| grid-area | Either specifies a name for the grid item, or this property is a shorthand property for the grid-row-start, grid-column-start, grid-row-end, and grid-column-end properties |
| grid-auto-columns | Specifies a default column size |
| grid-auto-flow | Specifies how auto-placed items are inserted in the grid |
| grid-auto-rows | Specifies a default row size |
| grid-column | A shorthand property for the grid-column-start and the grid-column-end properties |
| grid-column-end | Specifies where to end the grid item |
| grid-column-gap | Specifies the size of the gap between columns |
| grid-column-start | Specifies where to start the grid item |
| grid-gap | A shorthand property for the grid-row-gap and grid-column-gap properties |
| grid-row | A shorthand property for the grid-row-start and the grid-row-end properties |
| grid-row-end | Specifies where to end the grid item |
| grid-row-gap | Specifies the size of the gap between rows |
| grid-row-start | Specifies where to start the grid item |
| grid-template | A shorthand property for the grid-template-rows, grid-template-columns and grid-areas properties |
| grid-template-areas | Specifies how to display columns and rows, using named grid items |
| grid-template-columns | Specifies the size of the columns, and how many columns in a grid layout |
| grid-template-rows | Specifies the size of the rows in a grid layout |
| row-gap | Specifies the gap between the grid rows |
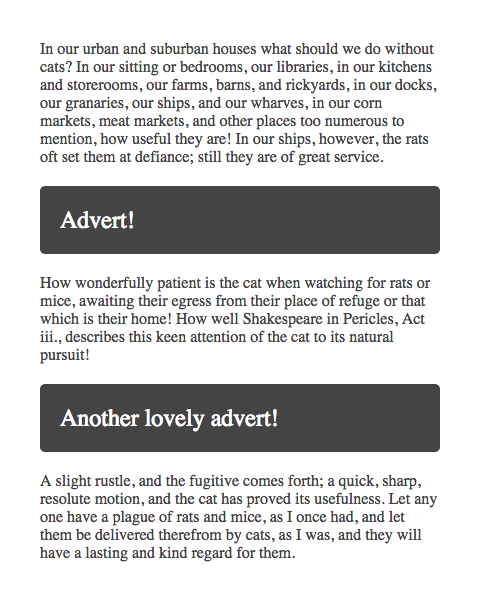
The examples
The following examples include an image of how the example should look in a supporting browser, they each link to a page with more information about the technique being shown, code and a CodePen of the example. Unless otherwise noted these examples work in any browser supporting the up to date Grid Specification. They will not work in IE10 or 11.
For page layout examples see a collection of page layouts here.
Defining a Grid
To define a grid use new values of the display property `grid` or `inline-grid`. You can then create column and row tracks.
Line-based placement
Line-based placement shorthand — grid-row and grid-column

Line-based placement shorthand — grid-area

Line-based placement spanning tracks
Line-based placement spanning tracks with the span keyword

Line-based placement named lines

Line-based placement named lines with spans

Using repeat notation

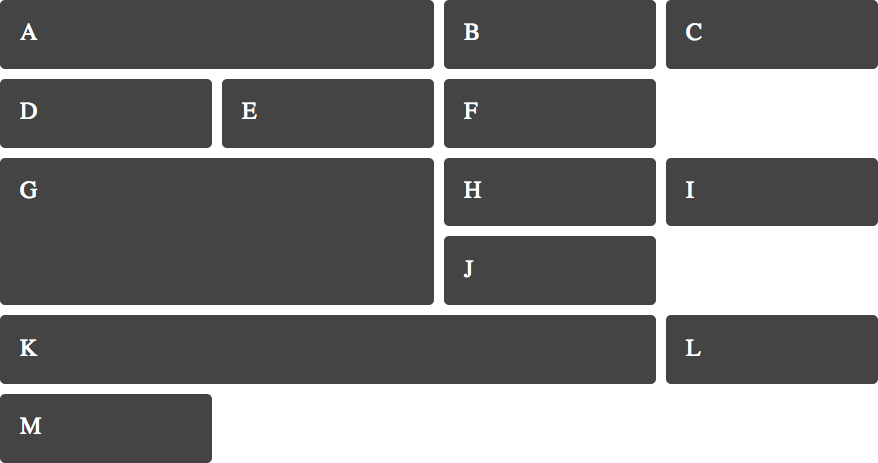
Explicit and Implicit Grid
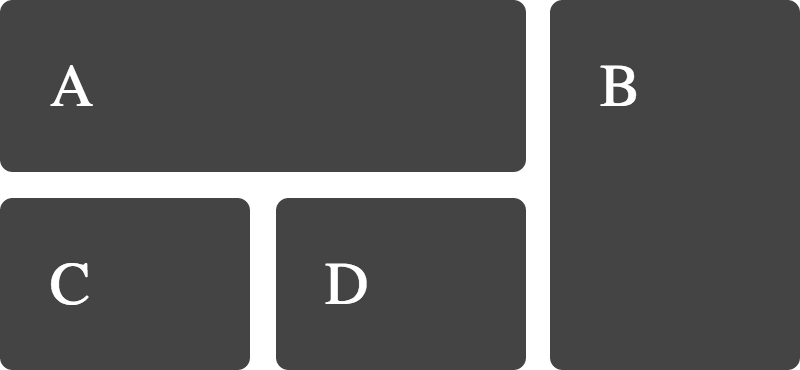
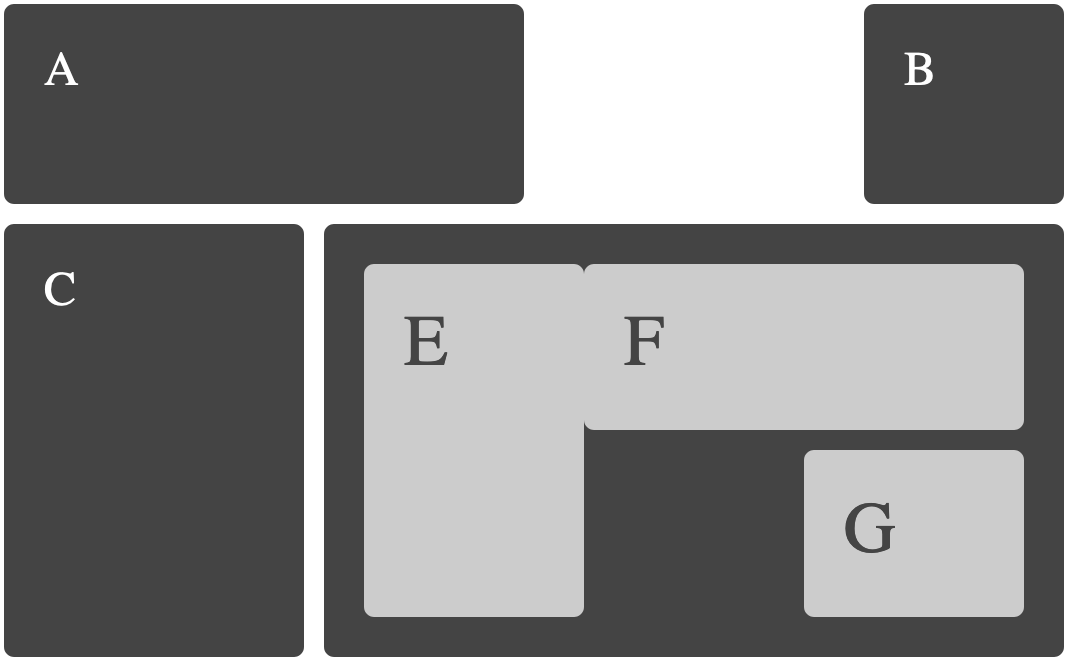
Defining Grid Areas
No clearing required
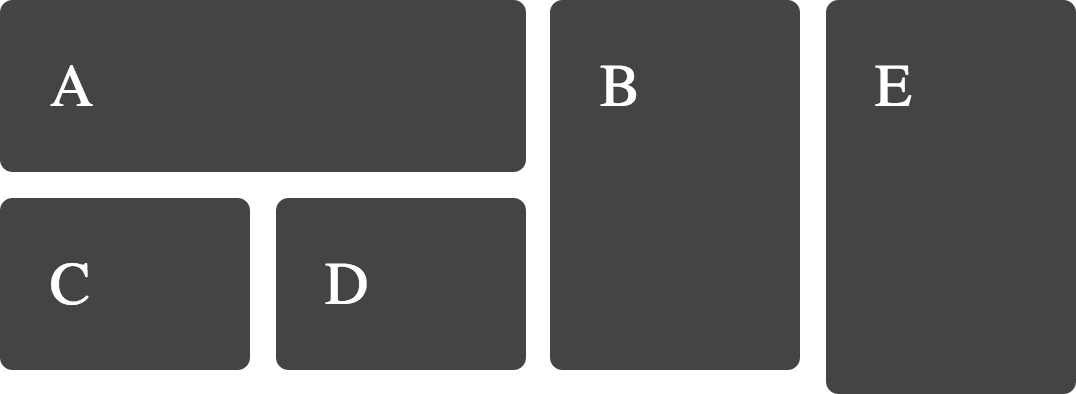
Redefining Grid Areas with Media Queries
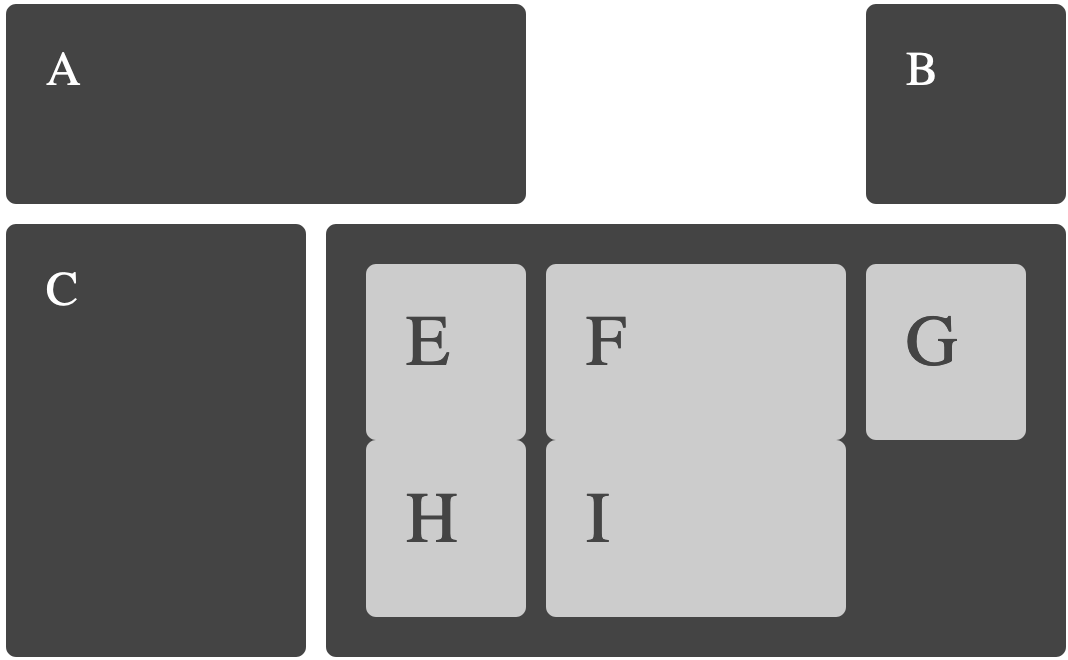
Source Independence
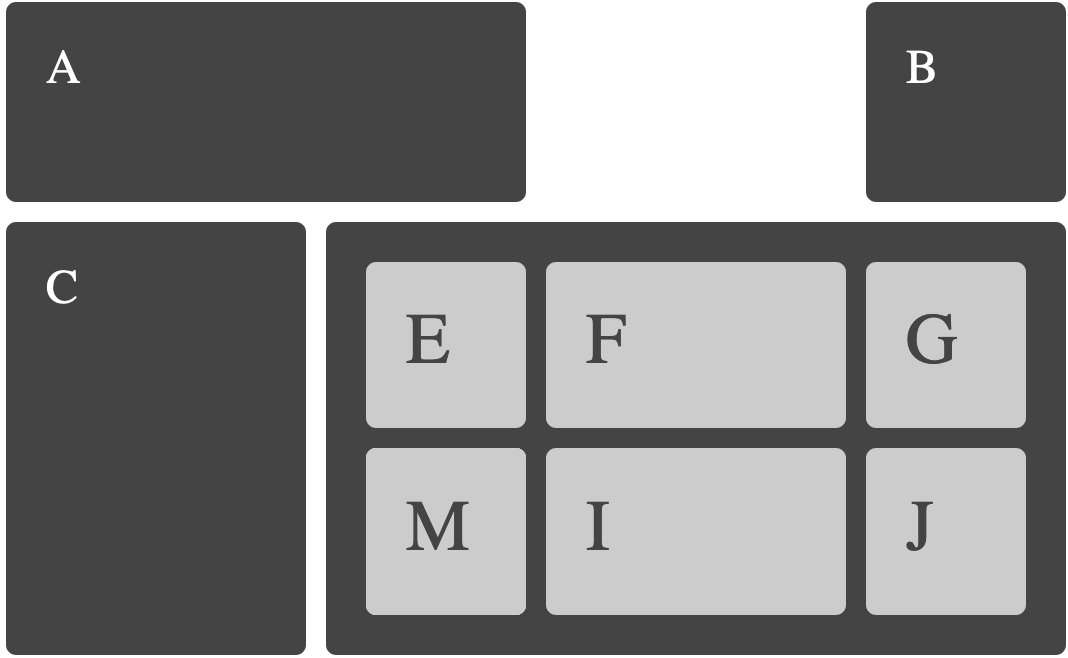
Layering items

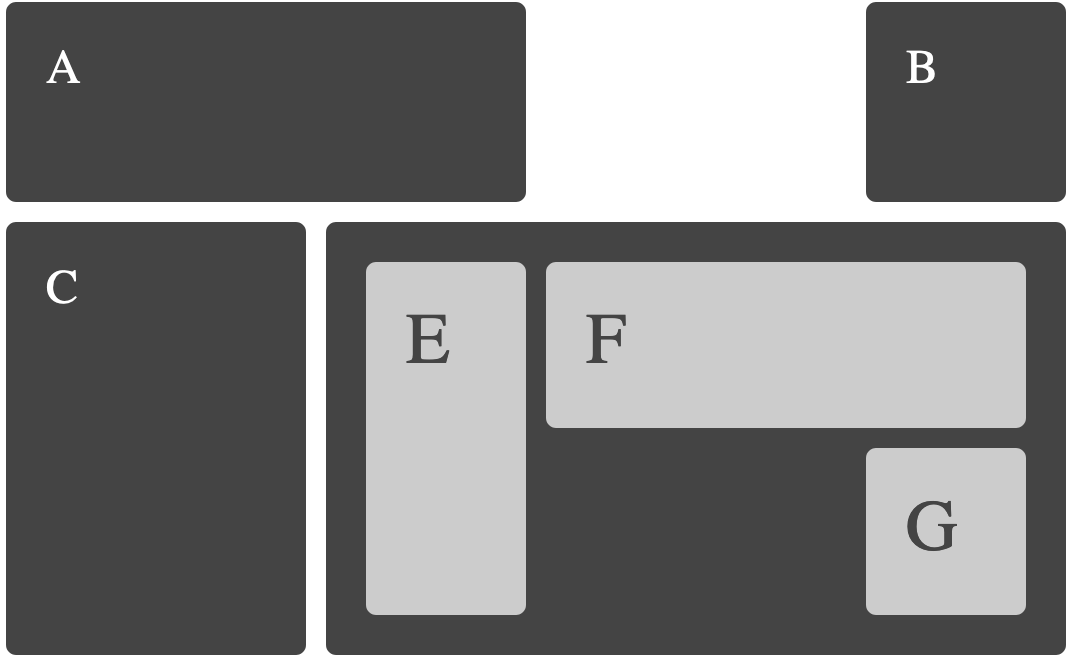
A grid item as a new positioning context
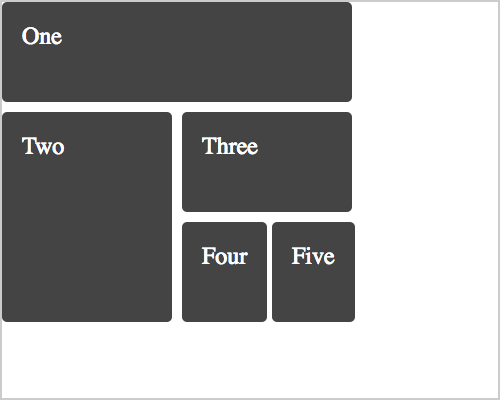
Grid auto-placement
Grid auto-flow column
Grid auto-placement mixed with placed items
The auto-fill keyword in repeating track definitions
When using repeat notation you can use auto-fill rather than an integer to create as many tracks as will fill the container
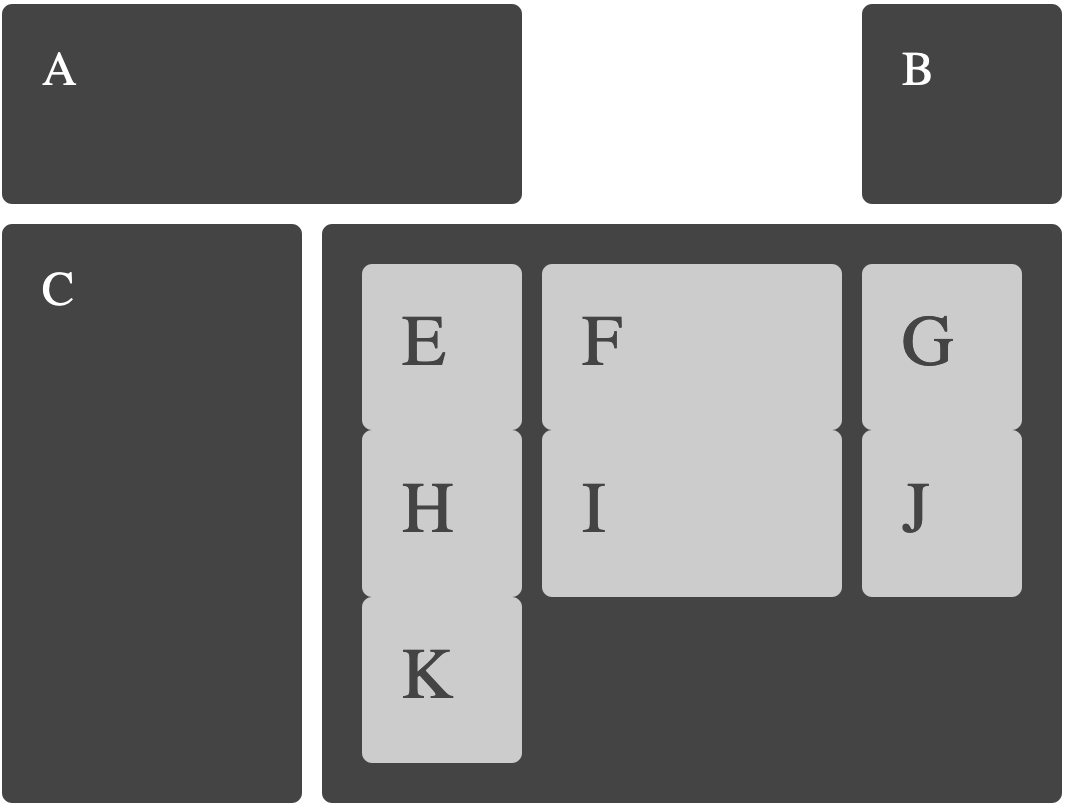
Nested Grid
Implicit named grid lines
Using Order
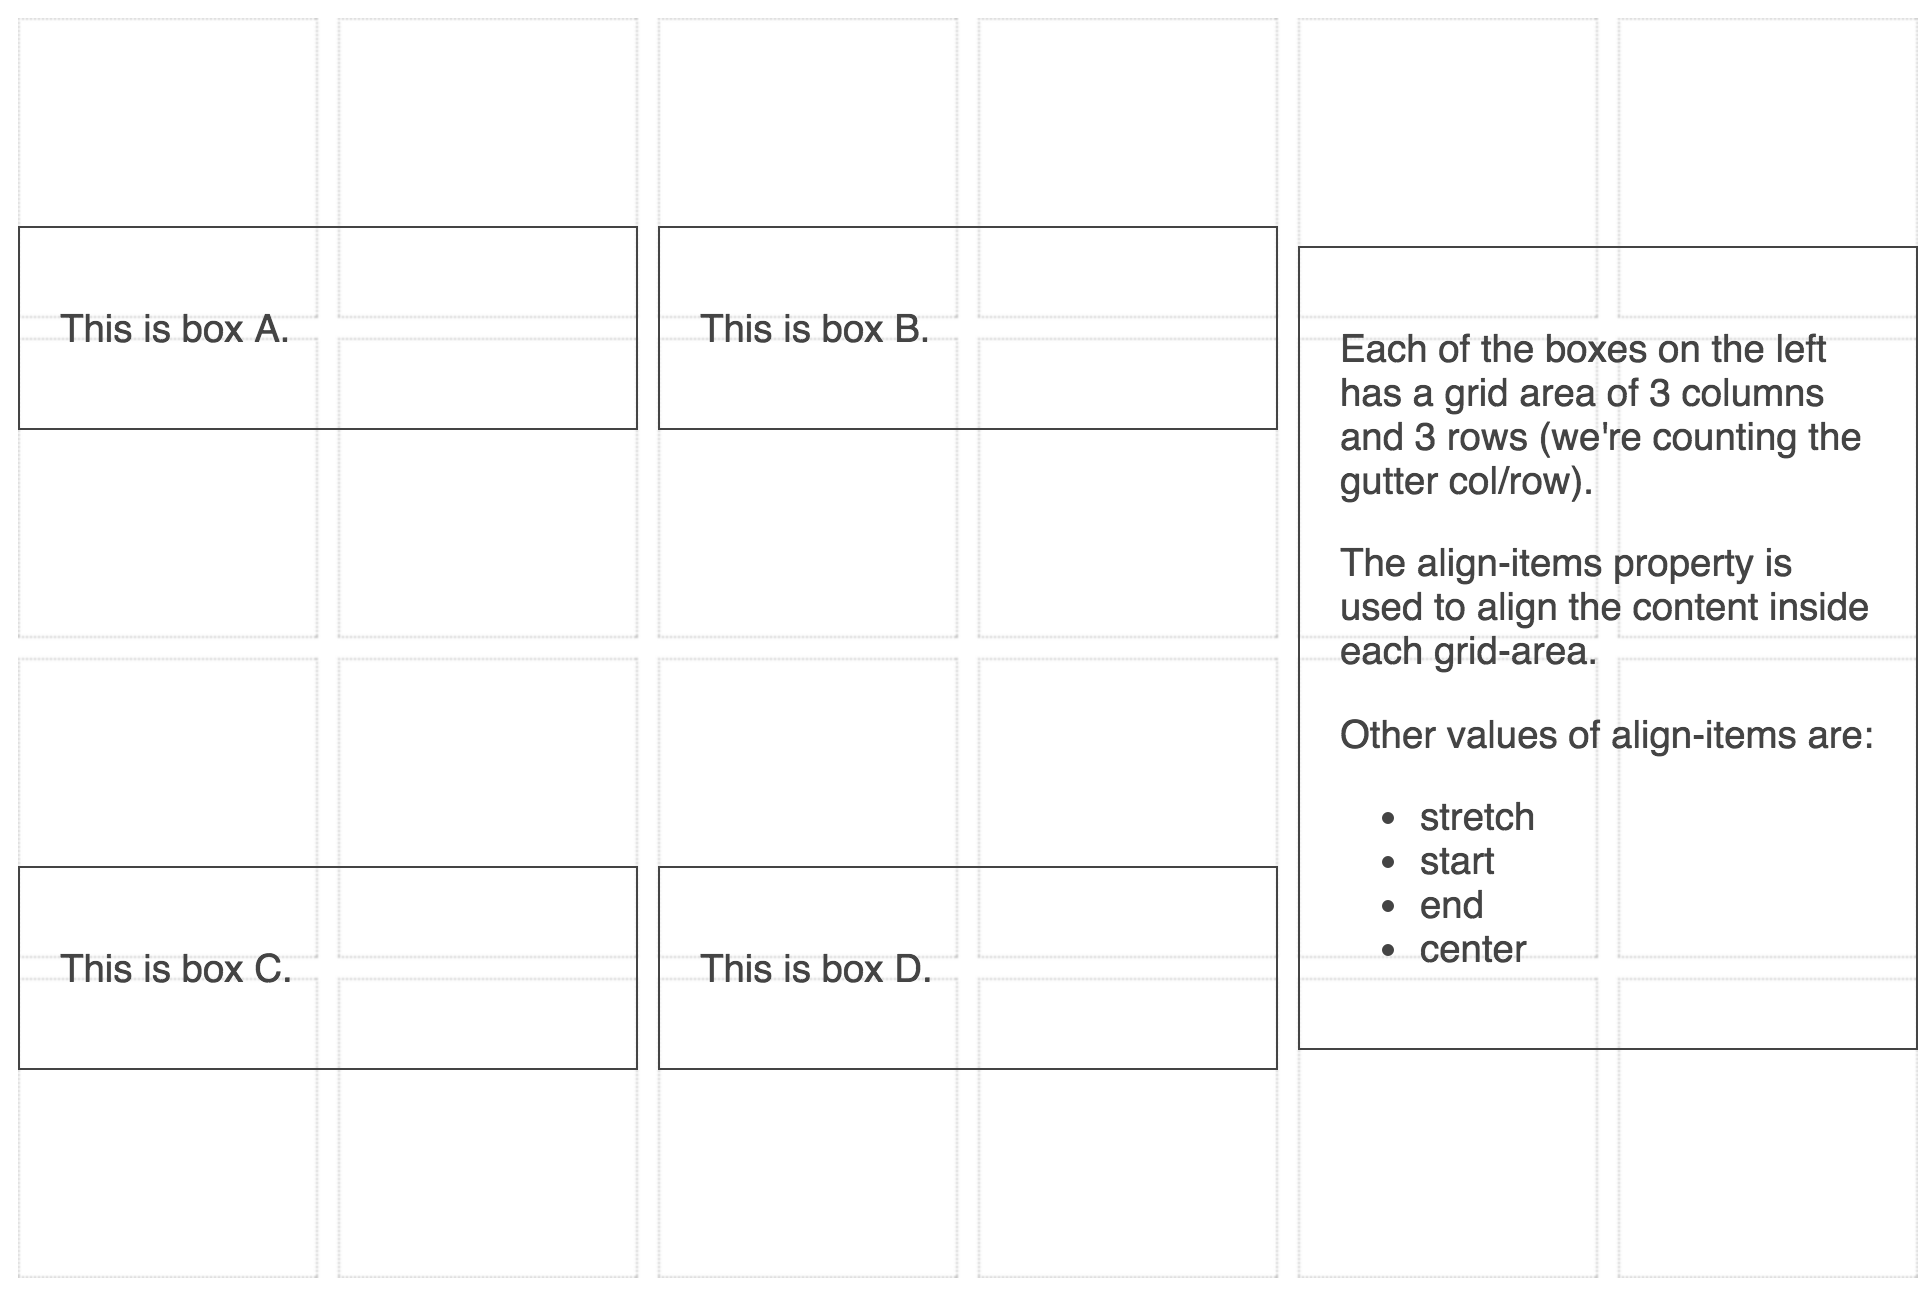
Box alignment align-items
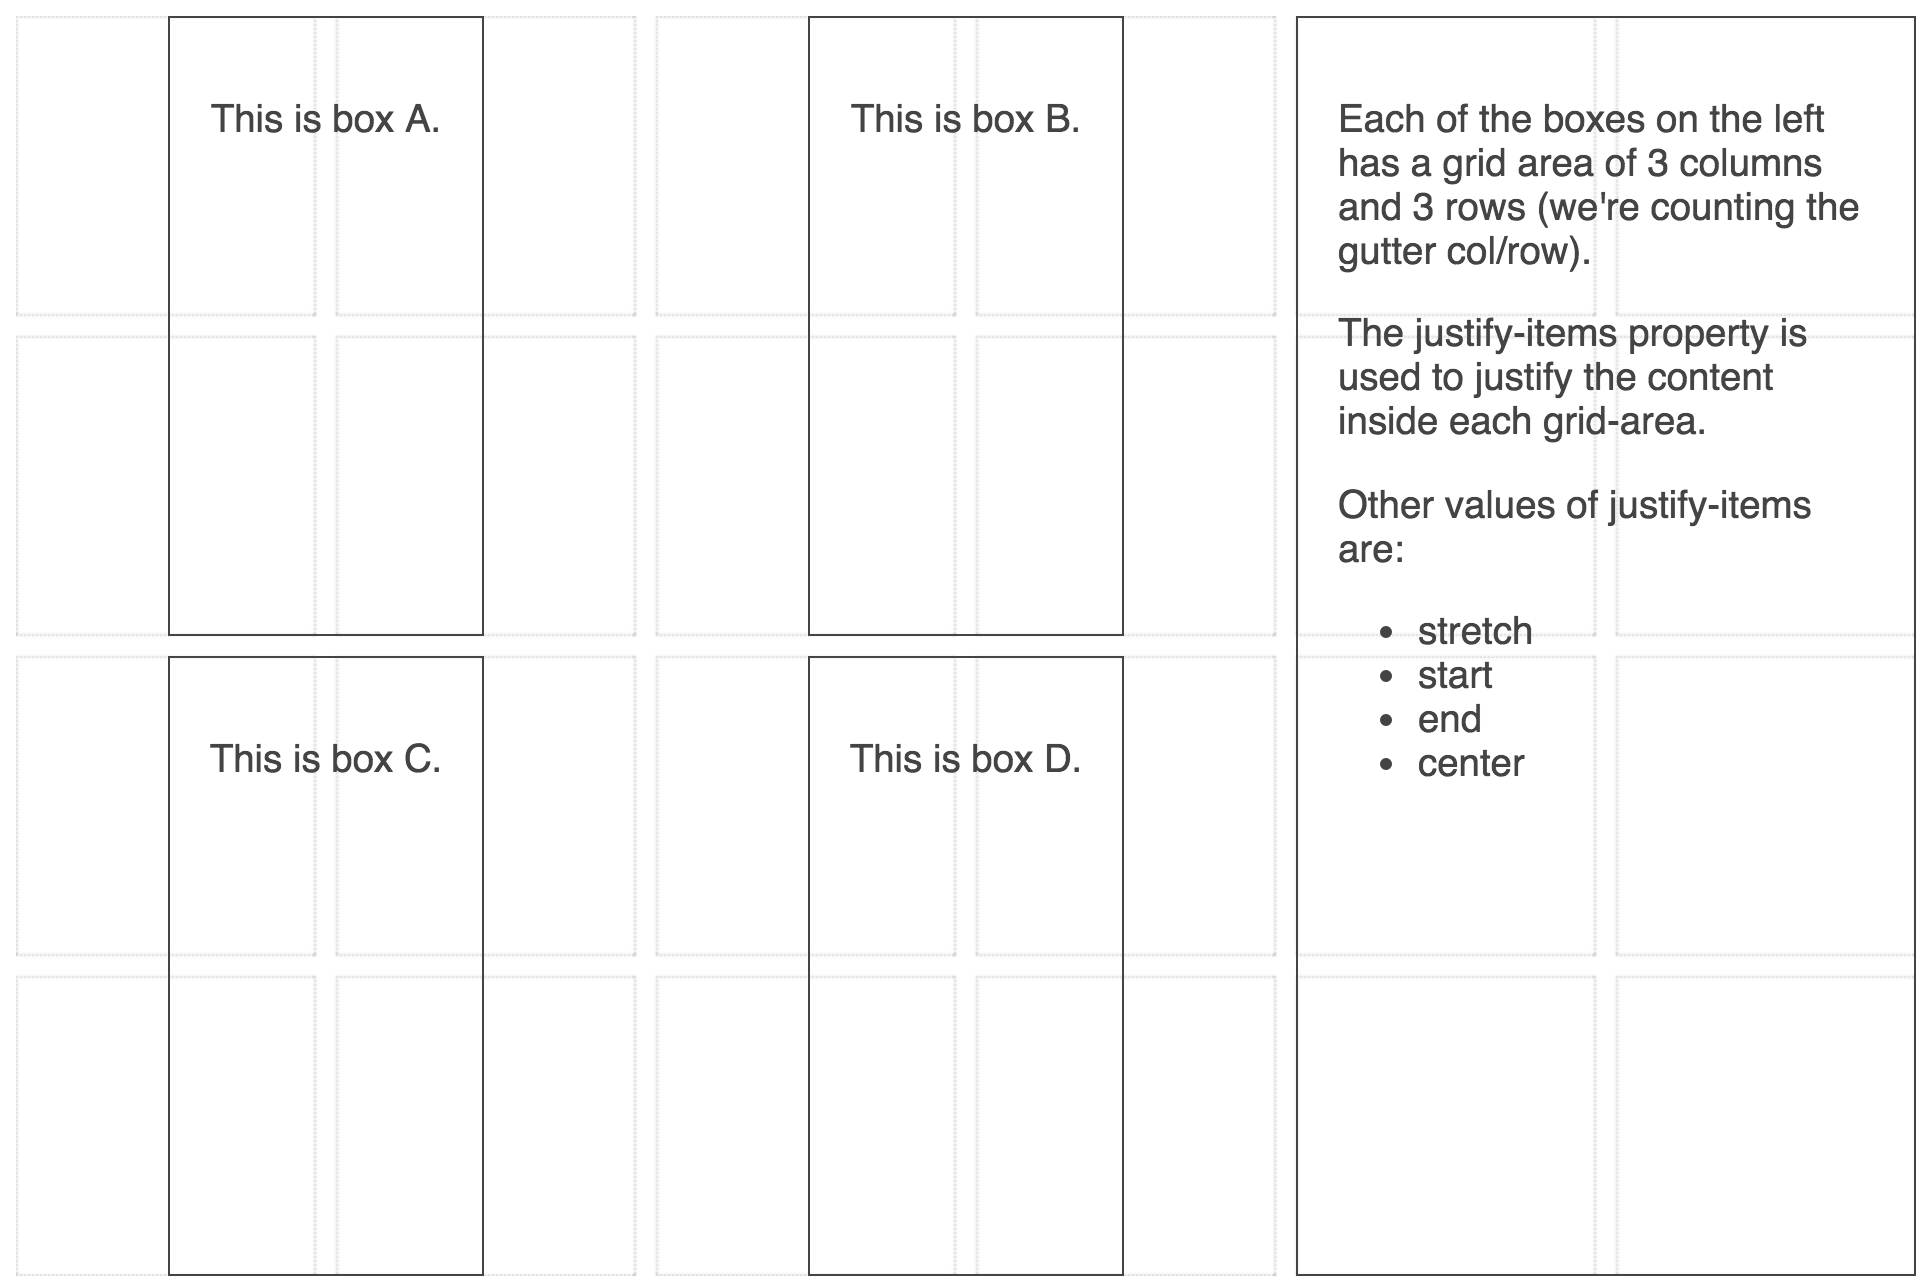
Box alignment justify-items
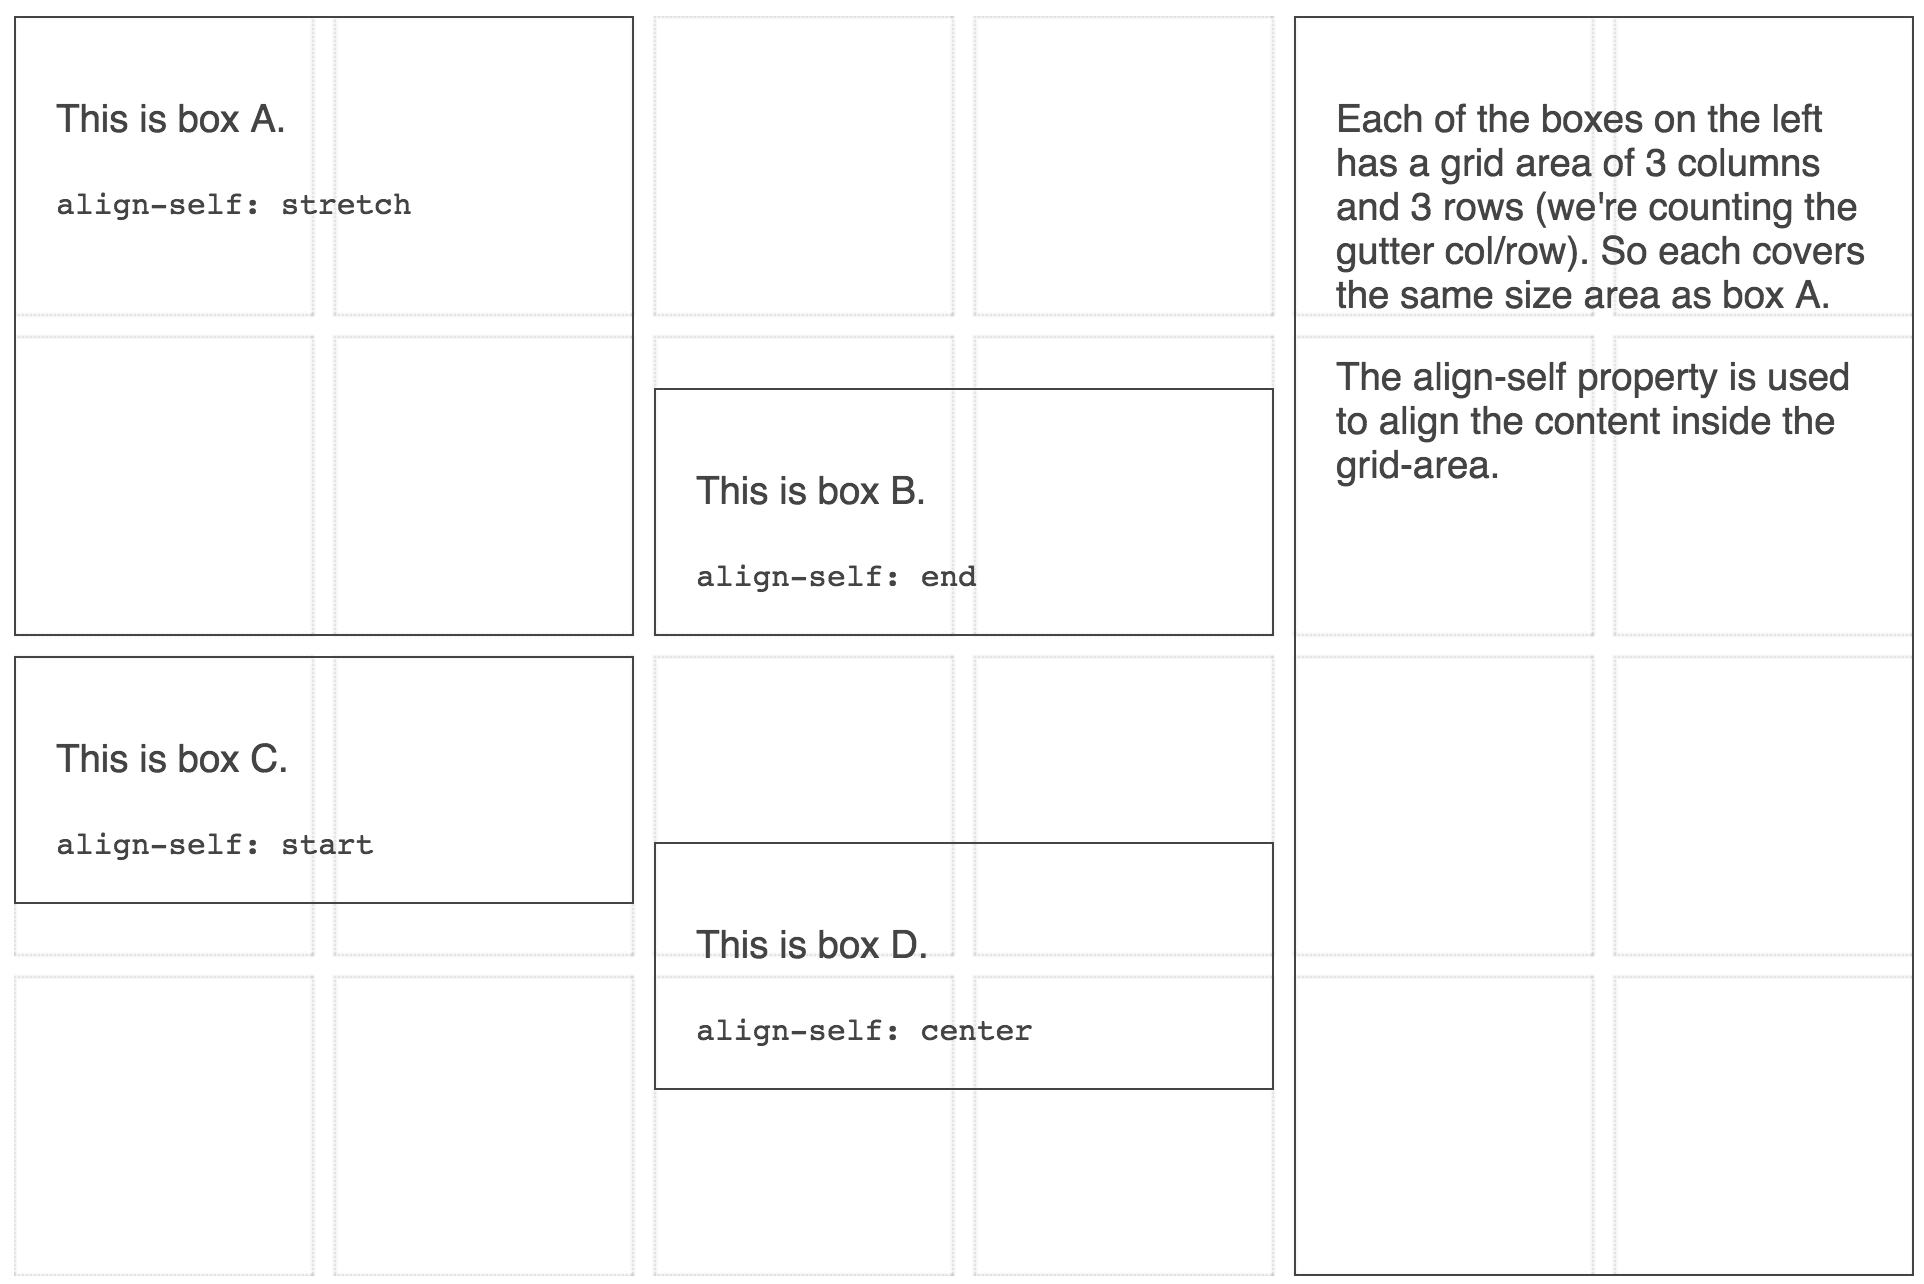
Box alignment align-self
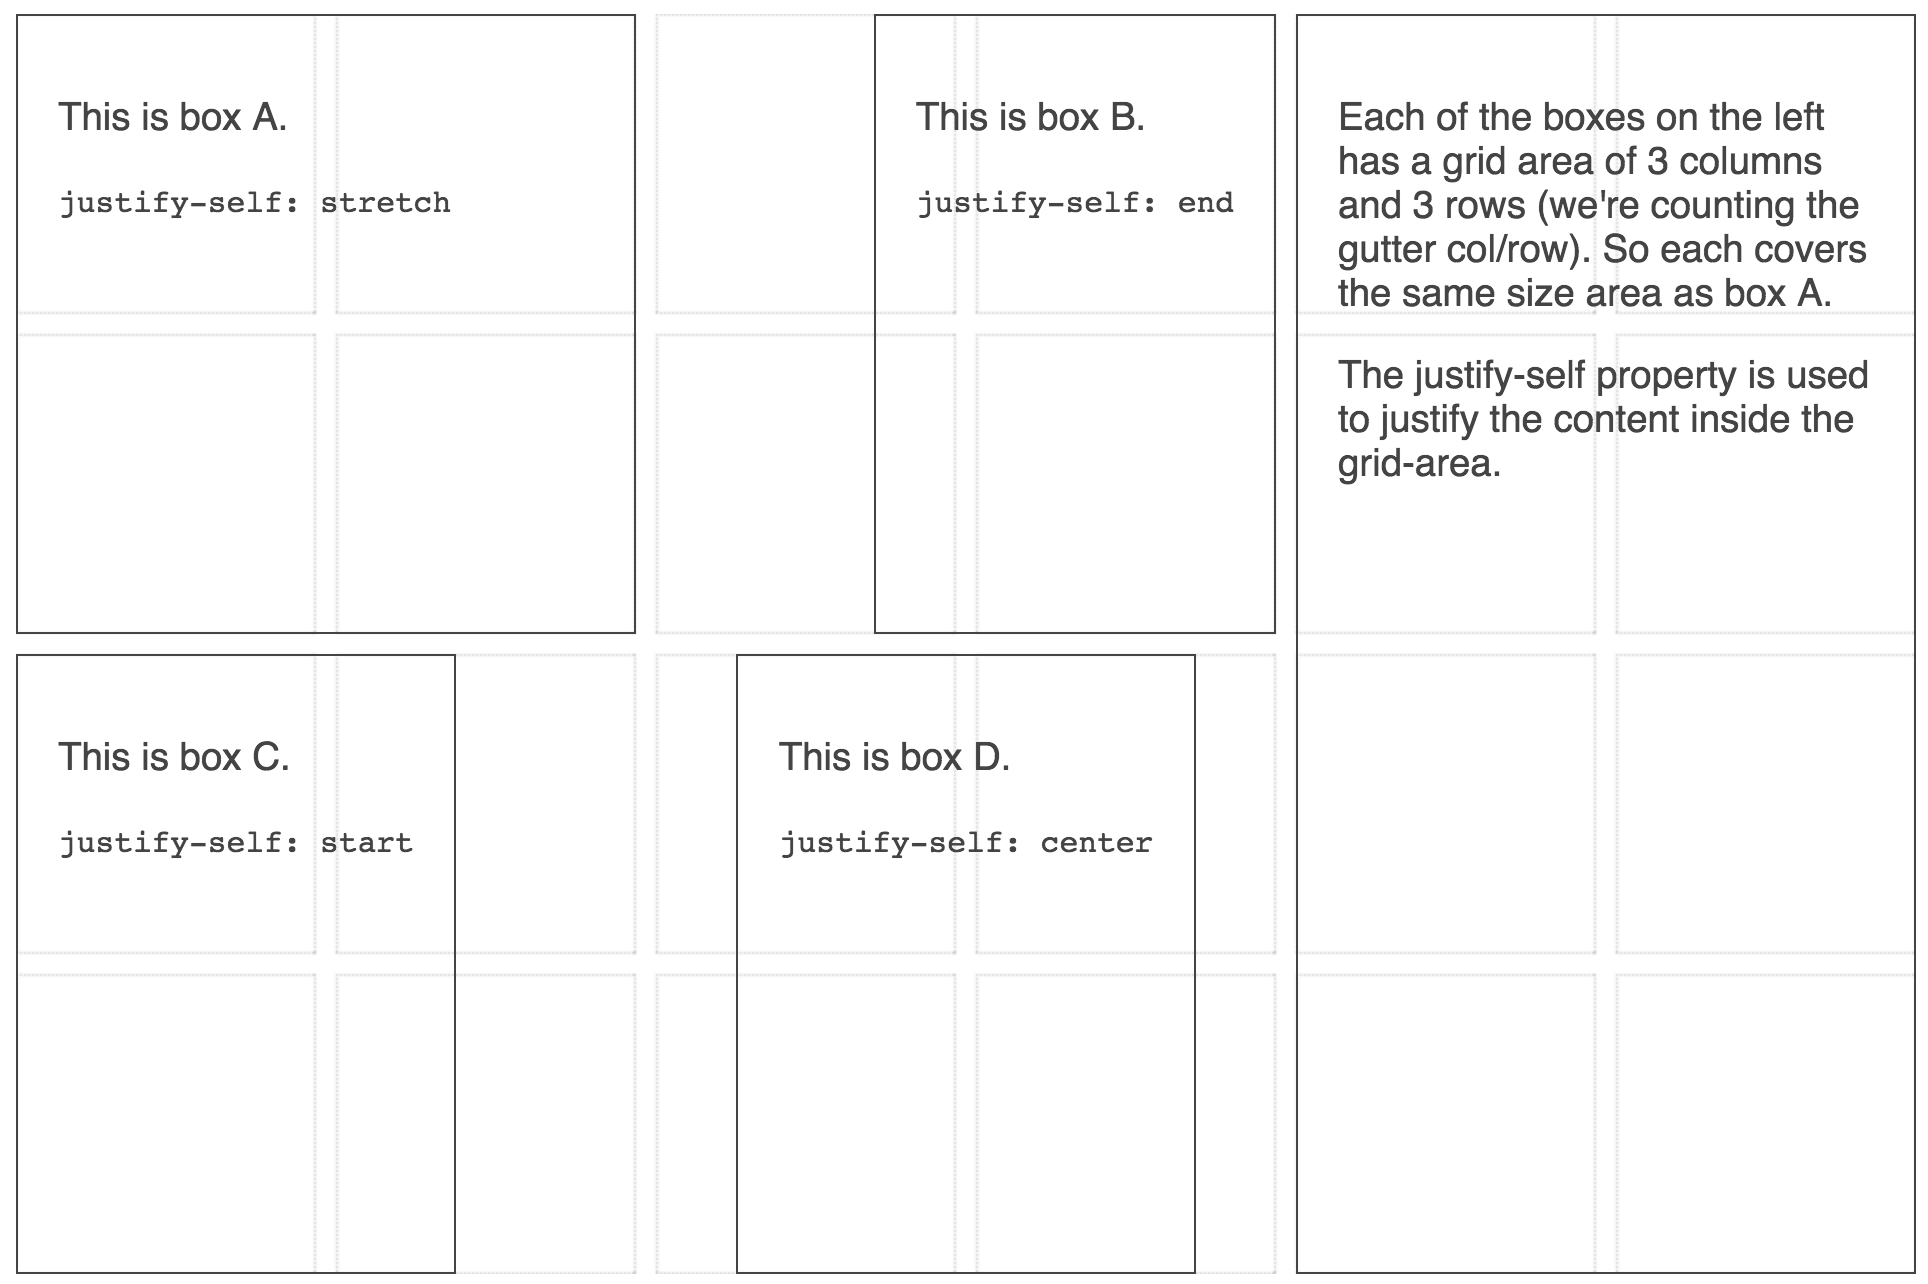
Box alignment justify-self
minmax() in auto-fill repeating tracks
A grid that contains as many 200 pixel column tracks as will fit into the container with the remaining space shared equally between the columns.
minmax() and spanning columns and rows
A grid that contains as many 200 pixel column tracks as will fit into the container with the remaining space shared equally between the columns.
The auto-fill keyword with named grid lines

A simple minmax example

Aligning the Grid
Aligning the grid with space-around and space-between

Multiple tracks in a track-list with auto-fill
Multiple tracks in a track-list with auto-fill and minmax()
Percentage based grids and gaps
auto-fill vs. auto-fit

An example to demonstrate the difference between the auto-fill and auto-fit keywords in repeat notation
CSS Grid Level 2 Examples
Subgrid on columns and rows
Subgrid on columns, implicit grid rows
Subgrid on rows, defined column tracks
The subgrid can override the gap on the parent
No implicit grid in subgridded dimension
Line names on the parent are passed into the subgrid
If you define line names on the parent, these are passed into the subgrid and can be used to position things.
Line names on the child are added to those from the parent

If you define line names on the parent, these are passed into the subgrid and can be used to position things.
Padding is honored on the subgrid
Margin is honored on the subgrid
This is a project by Rachel Andrew. Take a look at some of the other things I make.
- Perch CMS — the original Really Little CMS. Designed for speed and simple implementation.
- Notist — slide sharing and much more. Create your public speaking portfolio.
- The CSS Workshop — learn CSS Layout with me
This site is hosted on Netlify, thanks to their free hosting for open source projects.
Полное визуальное руководство/шпаргалка по CSS Grid
Сегодня мы с вами рассмотрим свойства CSS Grid (далее также — Грид), позволяющие создавать адаптивные или отзывчивые макеты веб-страниц. Я постараюсь кратко, но полно объяснить, как работает каждое свойство.
Что такое CSS Grid ?
Грид — это макет для сайта (его схема, проект).
Грид-модель позволяет размещать контент сайта (располагать его определенным образом, позиционировать). Она позволяет создавать структуры, необходимые для обеспечения отзывчивости сайтов на различных устройствах. Это означает, что сайт будет одинаково хорошо смотреться на компьютере, телефоне и планшете.
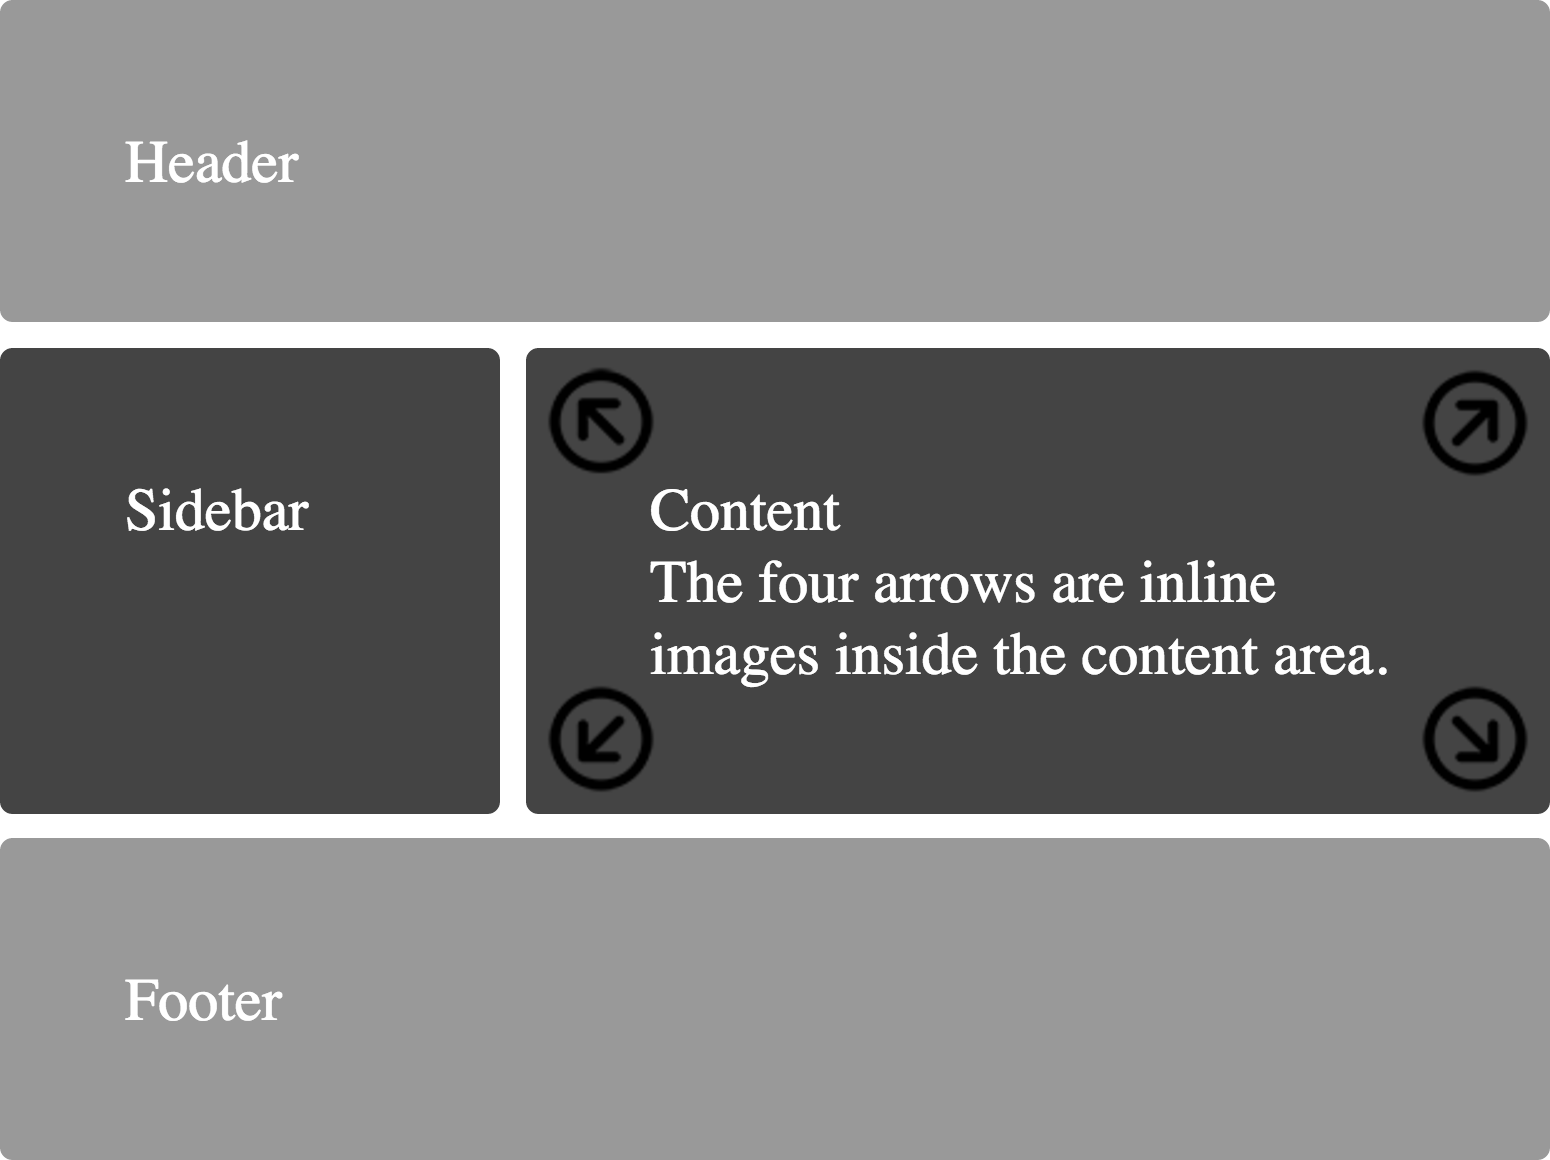
Вот простой пример макета сайта, созданного с помощью Грида.


Архитектура CSS Grid
Как же Грид работает? Элементы Грида (grid items) располагаются вдоль главной или основной (main) и поперечной (cross) оси (axis). При помощи различных свойств мы можем манипулировать элементами для создания макетов.

Помимо прочего, у нас имеется возможность объединять строки и колонки подобно тому, как мы это делаем в Excel , что предоставляет нам большую гибкость, чем Флекс ( Flexbox ).
К слову, если вас интересует Флекс, вот соответствующая статья.
Схема CSS Grid

Схема содержит все возможные свойства, предоставляемые Гридом. Эти свойства делятся на:
Обратите внимание: красным цветом отмечены сокращения для свойств:


К концу настоящей статьи у вас будет полное понимание того, как работает каждое из них.
Настройка проекта
Для данного проекта требуются начальные знания HTML , CSS и умение работать с VSCode (или другим редактором по вашему вкусу). Делаем следующее:
- Создаем директорию для проекта, например, Project1 и открываем ее в редакторе ( cd Project1 , code . )
- Создаем файлы index.html и style.css
- Устанавливаем в VSCode сервер для разработки ( Live Server , расширение) и запускаем его
Или вы можете просто открыть Codepen (или любую другую песочницу) и начать писать код.
Все готово, можно приступать к делу.

HTML
Создаем 3 контейнера внутри body :