- Php crud image upload
- What will we learn in CRUD operation with upload image?
- What’s the first thing we’ll create for a PHP CRUD operation?
- How to CRUD PHP and MySQL with Image Upload Example?
- Step: 1
- Step: 2
- Step: 3
- config.php
- Step: 4
- Step: 5
- Step: 6
- Index.php
- Step: 7
- Insert.php
- Step: 8
- Select.php
- Step: 9
- Update.php
- Step: 10
- Delete.php
- You Might Also Like
- insert data with image into MySQL database
- How to display MySQL data in Android Studio Recyclerview?
- Laravel Livewire Crud with Bootstrap Modal Example
- PHP Image Upload CRUD Using Ajax Example
- PHP Image Upload CRUD Using Ajax Example
- Add User
Php crud image upload
Hi guys, you already know about this topic because we have already done this task with uploading images in MySQL database. But then the image was simply uploaded to the MySQL database and saved the images in the directory.
Here is not only uploading the image but also displaying the updating, deleting images and other records in the table. We will upload images and data which will be stored in the MySQL database.
PHP CRUD Operation Tutorial, we have already demonstrated but did not include the upload image functionality. Here we will also upload the image and the image path will be stored in MySQL and the image will be saved in the directory. We will store the image in the folder, update the image from the folder and also delete the image from the folder. We will do all the operations in a phased manner.
What will we learn in CRUD operation with upload image?
In PHP MySQL CRUD operation, we will be covered the following topic.
First, we create a database and table in the MySQL database. Then, create an image directory in the server. We will save the images in a folder and display those images in the table with the data. Will not only upload images but also update images and delete images in the directory when we need them. Delete/update image in the image directory is most useful to replace image and delete image in the directory.
What’s the first thing we’ll create for a PHP CRUD operation?
PHP CRUD operation with image upload, we will create the following file and folder.
CrudWithImage (Main Directory): In this directory we will create PHP file, images folder.
php (directory) : We create a directory inside CrudwithImge for performing PHP MySQL CRUD operation. In this directory, we will store different types of files like PHP insert, display, select, update data as well as we’ll update images in directory data.
Photo(directory): Inside CrudwithImage directory, we will create a directory named photo to store and save uploaded images using PHP.
Json(directory) : We will show images and data in Android GridView. So we will need to convert the data to json format. This topic was already covered in the previous tutorial. Inside json directory we create json named PHP file and then encode the data.
Database_conn(directory): We connect MySQL database to PHP file. So we need a connection file. Inside database_conn, create a config file for connection between MySQL database and PHP script.
Index(file): Create index.php file inside CRUDwithimage directory. This is the main file, using we will upload data into MySQL data and store images in the photo directory.
How to CRUD PHP and MySQL with Image Upload Example?
Now, friends, let’s understand with an example.
Step: 1
First, create a database and table in MySQL database for storing data.
We create the following table inside the MySQL database.
CREATE TABLE `crud_image` ( `u_id` int(10) NOT NULL, `u_name` varchar(100) COLLATE utf8_unicode_ci NOT NULL, `u_image` varchar(100) COLLATE utf8_unicode_ci NOT NULL ) ENGINE=InnoDB DEFAULT CHARSET=utf8 COLLATE=utf8_unicode_ci;
Step: 2
After creating the database and table, create a directory inside public_html or inside htdocs. Also, create a new CrudwithImage directory inside public_html or htdocs if required.
Step: 3
Now we need to connect the MySQL database to the PHP script. So create database_conn directory inside public_html. Inside database_conn, create a config named file for MySQL database and PHP script connection.
The following code of MySQL database to PHP script connection file.
config.php
Step: 4
For storing images, that are inserted in PHP we’ll need a photo directory for storing and saving images. Create a photo named directory.
Step: 5
We’ll be storing PHP script files in a separate directory. So creates a PHP named directory.
Step: 6
MySQL creates the main index file to upload images to the database and store them in the images directory.
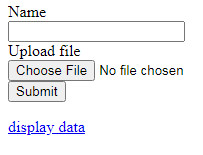
After connecting to the PHP script file, create a simple PHP file and write the HTML code.
index.php has the following code
Index.php
display data
Step: 7
In step 6 we have created an index file, now we create an insert data file inside the PHP directory. In previous tutorials, we both indexed and inserted files in one-file script. In this tutorial, we will create a separate file for better understanding.
The following code of insert.php script.
Insert.php
Congrats, our insert operation work is done.
Now, you upload images to the MySQL database table and store them in the image directory.
Step: 8
Inserted data with images in database table still we don’t reach at the database table without login. Mean we need to show data in the table.
For that, create a new file inside php directory for displaying data.
Create a select named php script file.
The following code of select.php script.
Select.php
"; while($row=mysqli_fetch_array($result))< echo" U_ID U_Name U_Image Edit Delete "; echo" "; > echo""; ?> insert a new record".$row['u_id']." "; echo"".$row['u_name']." "; //display image echo""; //for edit and delete data echo" Edit "; echo"Delete "; echo"
Congrats, now you can see your inserted data in the front end.
Step: 9
Displayed the data in the frontend, now we want to update the data with the image.
Create a PHP script called update to update the image. We will also connect the image update PHP script file to update the image inside the folder.
The updated PHP script code is given below
Update.php
?> alert('datqa update succssfully'); window.location.href='select.php'; "; > ?> Step: 10
Now, we don’t need the particular record inside the database table, you update the record otherwise delete the record using the following PHP script. Also, we connect the update image script code to update the image inside the directory.
The following code is for the delete operation.
Delete.php
alert('image update or delete succssfully from folder'); window.location.href='select.php'; "; ?> Congratulations, your PHP CRUD (create, read, update and delete) operation is done.
Now, you can insert data in PHP MySQL database table, display data in PHP MySQL database table, update data in MySQL database table and also delete data in MySQL database table.
But friends, you saw that we uploaded the image and store it in the image directory, when we update or delete the image then the image disappears in the table but the image inside the directory is not updated or deleted.
In this solution, we have already added this file script code to the update.php and delete.php files.
Now, create a script that deletes or updates images in the images directory as well.
PHP script, create update_image named file.
The following file code to update or delete the image inside a directory.
Congrats, now the images inside the images directory will also be updated or deleted. When you update the record with the image the old image will be replaced as the new image. When you delete record then delete data with image inside image directory.
We have done PHP full CRUD operation with image upload. Now we want to display data in android gridview.
Note: In this post, if you find any mistakes or bugs and errors, feel free to contact or give feedback to improve the quality. Great if you give your feedback about this tutorial and other tutorials.
You Might Also Like
insert data with image into MySQL database
March 3, 2022
How to display MySQL data in Android Studio Recyclerview?
August 17, 2022
Laravel Livewire Crud with Bootstrap Modal Example
Hello Friends, In this blog, I would like to share with you how perform crud opeartion with bootstrap modal livewire in laravel application.I will.
PHP Image Upload CRUD Using Ajax Example
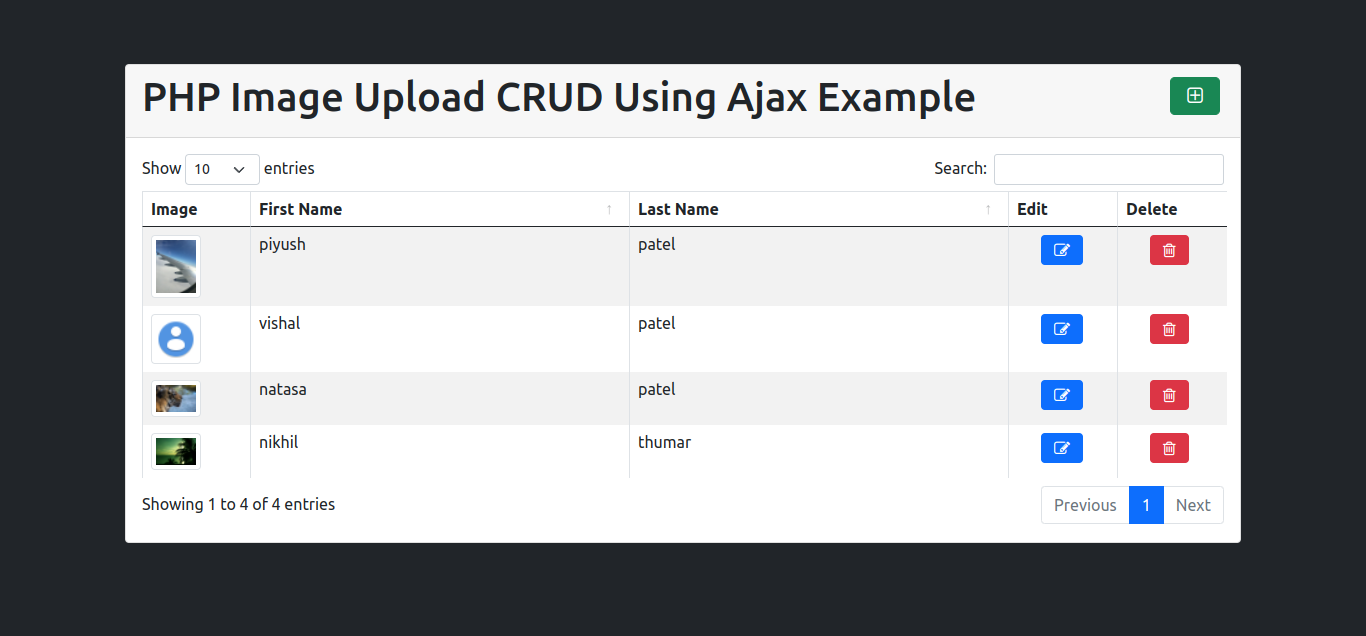
I am going to explain you PHP Image Upload CRUD Using Ajax Example. You will learn AJAX Image and File Upload in PHP with jQuery.
This article will give you simple example of Ajax Image Upload using PHP and jQuery. We will use Ajax Image Upload with Form Data using jQuery, PHP and MySQL.
I will give you simple Example of Image Upload with AJAX, PHP, and MYSQL.
So, let’s see bellow solution:
PHP Image Upload CRUD Using Ajax Example
Image First Name Last Name Edit Delete

![$row[u_name]](../photo/)


