- Saved searches
- Use saved searches to filter your results more quickly
- rtm516/ConvertJavaTextureToBedrockApi
- Name already in use
- Sign In Required
- Launching GitHub Desktop
- Launching GitHub Desktop
- Launching Xcode
- Launching Visual Studio Code
- Latest commit
- Git stats
- Files
- README.md
- How to convert Java Texture Packs to MCPE and Bedrock Edition
- How to convert any PC Pack
- Can I convert Packs to PS4/Xbox One/Nintendo Switch?
- Converting Texture Packs from Minecraft: Java Edition to Minecraft: Bedrock Edition
- Requirements
- Texture Pack Differences Between Java and Bedrock Editions
- Best Practices
- Packaging Changes
- Advanced Options
- What’s Next?
Saved searches
Use saved searches to filter your results more quickly
You signed in with another tab or window. Reload to refresh your session. You signed out in another tab or window. Reload to refresh your session. You switched accounts on another tab or window. Reload to refresh your session.
API for convert Minecraft Java texture packs to Bedrock texture packs
rtm516/ConvertJavaTextureToBedrockApi
This commit does not belong to any branch on this repository, and may belong to a fork outside of the repository.
Name already in use
A tag already exists with the provided branch name. Many Git commands accept both tag and branch names, so creating this branch may cause unexpected behavior. Are you sure you want to create this branch?
Sign In Required
Please sign in to use Codespaces.
Launching GitHub Desktop
If nothing happens, download GitHub Desktop and try again.
Launching GitHub Desktop
If nothing happens, download GitHub Desktop and try again.
Launching Xcode
If nothing happens, download Xcode and try again.
Launching Visual Studio Code
Your codespace will open once ready.
There was a problem preparing your codespace, please try again.
Latest commit
Git stats
Files
Failed to load latest commit information.
README.md
THIS PROJECT IS NO OFFICIAL MINECRAFT PRODUCT — NOT AUTHORIZED OR ASSOCIATED BY MOJANG
API for convert Minecraft Java texture packs to Bedrock texture packs
So it requires a current web browser or NodeJS v14
If you need older support, please try to use something like webpack or babel
Use it direct in your code
Add it as a dependency to your package.json
yarn add @ozelot379/convert-minecraft-java-texture-to-bedrock-api
You can convert your texture packs like
import ConsoleLog, Input, LocalFileInputEntry, LocalFileOutput> from "@ozelot379/convert-base-api"; import ConvertJavaTextureToBedrockApi> from "@ozelot379/convert-minecraft-java-texture-to-bedrock-api"; (async () => let output; try output = await new ConvertJavaTextureToBedrockApi(new Input(new LocalFileInputEntry("input/java_texture_pack.zip")), new LocalFileOutput("output/bedrock_texture_pack.mcpack"), new ConsoleLog()).convert(); > catch (err) console.err(err); return; > console.log(`Output: $output>`); >)();
Extras (for texture pack creators)
You can create the bedrock_uuid_header and bedrock_uuid_module files in your input, to keep the same uuid on repeating conversions — otherwise, random uuids are generated each time and you need to reselect the texture pack again in the game
You can put custom textures in a bedrock_textures folder in your input
For instance for textures, that can not be converted or are not converted correctly
This files are applied additionally before output
This project uses the follow main features or external libraries:
- Web Worker for convert it in the background to not freeze the browser ui (Web app)
- jszip for read, modify and write zip files
- jimp for graphic manipulation
- file-saver for deliver the converted pack to download (Web app)
- webpack for bundle the dist code (Web app)
- Service Worker for offline cache and usage (Web app)
How to convert Java Texture Packs to MCPE and Bedrock Edition
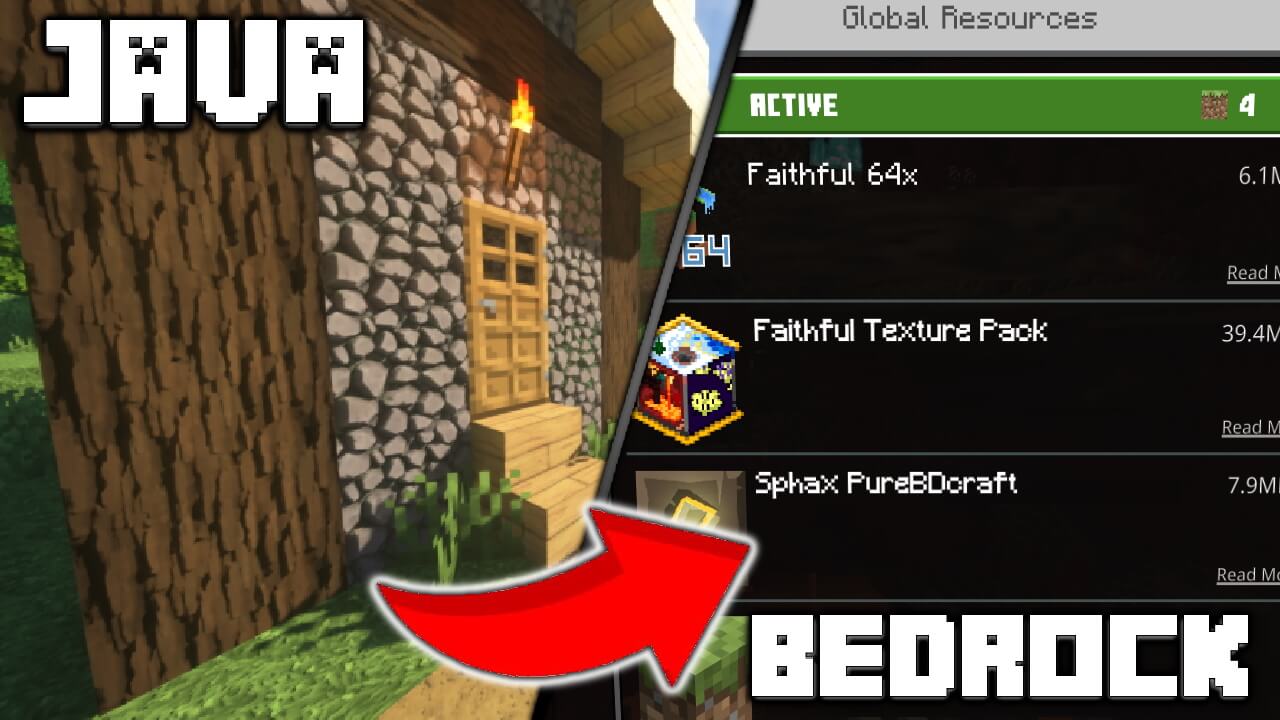
Nowadays, most Minecraft players play the Bedrock Edition. This is because it works smoothly on consoles, as well as on cell phones and tablets. In addition, cross-platform play is possible, which means that you can play with the whole gaming world. However, there is one major difference with the Java Edition, as most MCPE texture packs are only available through the official Minecraft Marketplace. This is especially annoying considering that the same packs are free on PC and you only have to spend money on them as an MCPE/Bedrock player. Also, this system poses another problem, because if you do decide to buy a pack with Minecoins, you might not like it after a short time. However, you cannot cancel your purchase. All these facts have led us to show you today the best way to convert Java Texture Packs to MCPE/Bedrock Edition. This way you’ll have access to thousands of creations from the Minecraft community, you won’t have to pay any money and you’ll be able to test as much as you want.
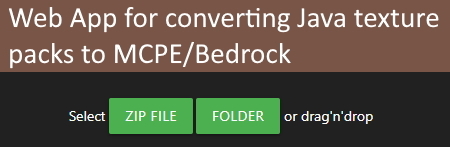
We present you the “rtm516” website, which is super easy to use. Thanks to this site you have the possibilities to convert any resource pack in a few moments. All blocks, items and other textures from your uploaded pack will be converted into the format of Bedrock/MCPE texture packs.
How to convert any PC Pack
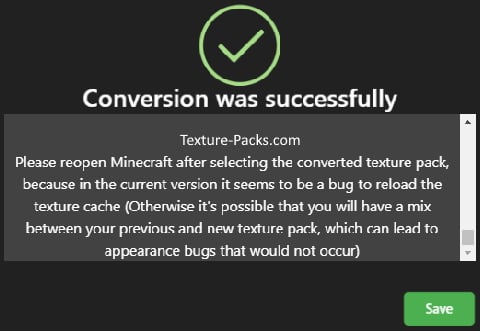
4. If everything worked, the message “Conversion was successful” will appear in your browser. As soon as you click on “Safe” the download of the new .mcpack file starts. If you have a bad internet connection, the download may take some time.
- Double-click on the downloaded texture pack to install it. As a result, Minecraft will open and a message will appear that the import has started. Then go to “Settings”, scroll down to “Global Resources” and check if the converted pack is displayed under “My Packs”. Click on “Activate” and all resources will be loaded.
Finally, you should know that you can’t expect the complete conversion to be perfect. However, you’ll definitely like the result, since your environment will look completely new.
Can I convert Packs to PS4/Xbox One/Nintendo Switch?
Unfortunately, this method only works with the normal MCPE Edition for mobile devices, as well as with the Windows 10 Bedrock Edition. The reason for this is that you do not have the possibility to install texture packs from the Internet on game consoles. One solution would be to connect your phone or tablet to your TV with an HDMI cable so that you can play on a larger screen.
Converting Texture Packs from Minecraft: Java Edition to Minecraft: Bedrock Edition
This article discusses the general tasks required to manually convert a resource pack made for Java Edition to a texture pack for Bedrock Edition. The actual creation of custom textures and features for a custom texture pack is not within the scope of this article. It’s assumed that the creator has sufficient knowledge and experience with a raster graphics editor, such as Adobe Photoshop, to create and edit the texture files as necessary. Note that not all tools may support the required file formats or alpha channels.
In this tutorial you will learn the following:
- Differences in texture packs between Bedrock Edition and Java Edition.
- The changes necessary to convert a pack from Java Edition to Bedrock Edition.
Requirements
It is recommended that the following be completed before beginning this tutorial.
Texture Pack Differences Between Java and Bedrock Editions
In general, the differences between texture packs for Java Edition and Bedrock Edition are as follows:
Best Practices
Start with a copy of a valid custom Java Edition texture pack and a copy of the vanilla Bedrock Edition texture pack. The conversion process will replace the vanilla Bedrock Edition texture files with custom texture files from the Java Edition pack. There are some required Bedrock Edition texture files that have different file formats and file types, and some that don’t exist in the Java Edition pack will need to be created. Advanced customizations in the Java Edition pack may or may not be possible to duplicate in the Bedrock Edition pack and aren’t within the scope of this article.
- Obtain the most current version of the vanilla Bedrock Edition texture pack for reference.
- Download for the most recent Bedrock Edition resource pack, which contains textures.
- Setup File Explorer windows side by side — one with your Java Edition texture pack, and one with the vanilla Bedrock Edition texture pack. This vanilla Bedrock Edition pack will become your custom Bedrock Edition texture pack at the end of this process, as the vanilla texture files are replaced with your custom ones.
- Obtain and install the latest version of the Minecraft Bedrock Edition game app.
- In general, copy over your Java Edition texture files to the copy of the vanilla Bedrock Edition texture pack. Make sure that every Java Edition file copied over is replacing an existing Bedrock Edition file. If there is no corresponding Bedrock Edition file, it’s not needed and shouldn’t be present in the Bedrock Edition pack.
Nonexistent: Don’t copy over any Java Edition files that don’t exist in the Bedrock Edition vanilla texture pack. This includes .mcmeta files.
Do Not Replace: Do not copy over any non-texture Java Edition files including data files.
No Changes: Many textures require no changes whatsoever and can be dropped into the Bedrock Edition pack straight away. Begin replacing textures in the vanilla Bedrock Edition texture pack with your Java Edition texture files where the filenames are exactly the same. Test the modified pack and verify the replaced files are seen in-game. Repeat with all the textures with no filename change required until completed.
Name Change Only: Many textures require only a filename change for Bedrock Edition. Change your Java Edition texture filenames to their corresponding Bedrock Edition filenames and replace the ones in the vanilla Bedrock Edition texture pack. Test the pack in-game to verify that these textures are working.
Format Change Required: Unlike Java Edition textures, Bedrock Edition uses alpha channels for transparency. Some textures with transparency may need to be saved in TGA format for Bedrock Edition. If your texture is not rendering correctly in PNG, convert to TGA and indicate transparent pixels in the alpha channel with a mask (white is solid and black is transparent). Note that while PNG may work, TGA is the preferred format.
- For blocks that support emissive, emissive pixels are indicated as an alpha channel mask. Note that transparency and emissive are mutually exclusive. (Examples: phantom eyes, spider eyes, Endermen eyes, etc.)
- For blocks and items and entities that support dye colors, areas that are to be colored by dyes are defined in an alpha channel mask with grey pixels (not black or white). (Examples: leather armor, fireworks charge.)
New Texture Files Required: Some textures in Bedrock Edition require additional textures to be created. Examples include potions and spawn eggs. In Java Edition, a base texture is recolored automatically by the game, but in Bedrock Edition, each color texture must be explicitly defined. For example, each mob spawn egg must have its own texture file.
File Type Change Required: For some blocks and entities, Bedrock Edition requires UV maps instead of individual files for each face. The individual Java Edition textures will need to be combined into one UV map, with alpha channels if needed. For example, the pig_saddle.png contains the full pig texture instead of just the saddle texture.
Flipbook animation: Where in Java Edition packs texture animation frames are defined in individual .mcmeta text files, Bedrock Edition combines all the texture animation definitions into a single flipbook_textures.json file. In general, you can edit the corresponding animation definitions in flipbook_textures.json to reflect the customizations in the .mcmeta files.
Packaging Changes
| Java Edition textures folder subdirectories | Bedrock Edition textures folder subdirectories |
|---|---|
| block | blocks |
| colormap | colormap |
| effect | :— |
| entity | entity |
| environment | environment |
| font | :— |
| gui | gui |
| item | items |
| map | map |
| misc | misc |
| models | models |
| painting | painting |
| particle | particle |
| :— | persona_thumbnails |
| Sample Java Edition texture filenames | Sample Bedrock Edition texture filenames |
|---|---|
| beehive_end.png | beehive_top.png |
| honeycomb_block.png | honeycomb.png |
| honey_block_bottom.png | honey_bottom.png |
| honey_block_side.png | honey_side.png |
| honey_block_top.png | honey_top.png |
| wither_rose.png | flower_wither_rose.png |
| block_iron.png | iron_block.png |
Advanced Options
The following advanced techniques and options are beyond the scope of this article, including:
- HD textures and related issues
- Customizing animation_controllers.json
- Custom UI
- Custom model geometry
- Customizing animated textures
- Custom sounds
- Customizing behavior packs
What’s Next?
If you want to learn more about resource packs, which makes use of textures, see the resource pack tutorial.