- Ext.js — Container Inside Container
- Syntax
- Example
- Full Width Containers in Limited Width Parents
- Container Tags in HTML
- Introduction to Container Tags in HTML
- Syntax
- Common HTML Container Tags
- A. Essential Tags
- B. Headings
- .
- C. Text Formatters
- D. HyperLinks
- E. Button Tag
- F. Division Tag
- G. Iframe Tag
- H. Navigation Tag
- I. Script Tag
- J. Lists
- Empty Tags
- Syntax
- Types of Empty Tags
- Conclusion
Ext.js — Container Inside Container
Container inside container: We can have containers inside other containers as a component for the parent container along with other components.
Syntax
Following is the simple syntax to use Container inside the container.
var container = Ext.create('Ext.container.Container', < items: [component3, component4] >); Ext.create('Ext.container.Container', < renderTo: Ext.getBody(), items: [container] >); You can have a container as an item inside the other container.
Example
Following is a simple example showing a container inside a container.
The above program will produce the following result −
Full Width Containers in Limited Width Parents
I bookmarked a tweet a few months ago, as it was a bonafide CSS trick and that’s what we love around here. The issue is: how do we make a full-browser-width container when we’re inside a limited-width parent?

We want to stretch it exactly as wide as the browser window. Here’s some minimal assumed markup:
If we could use absolute positioning, we could set the container to be at left: 0; and width: 100%; – but we can’t, because we want the container to remain in flow. Can’t we just apply some negative margin to each side and pull it outwards? In some circumstances, we can!
Let’s say the parent container was 60% wide and centered. That means there is 20% width on either side of it. But margin is calculated based on the parent element, so to pull it to the left 20% of the browser window, you’d need 1/3 of the width of the parent, so…
With Known Non-% Parent Width
Under most other circumstances, we just don’t have enough information to know exactly how far to pull out the full width container with negative margins. Well, unless… We could use the width of the browser window in our CSS math. The amount we want to “pull” to the left and right is half the width of the browser window plus half the width of the parent. (Assuming the parent is centered.) So, so our parent is 500px wide:
A fixed width like that feels a little red-flaggy (i.e. what happens on narrower screens?), all this would likely be wrapped in a media query that makes it only apply on larger screens:
@media (min-width: 500px) < main < width: 500px; margin: 0 auto; >.full-width < margin-left: calc(-100vw / 2 + 500px / 2); margin-right: calc(-100vw / 2 + 500px / 2); >>Since our demo was an image, you might also do something like .full-width img < width: 100%; >too, to get that full coverage. If it’s less brain bending, you might have luck reducing to:
Since animations (probably) aren’t involved here, it’s probably not super necessary, but you could pull the container back to the edge with transforms instead.
The above idea was taken from a Pen by Brandon Mathis where he combined that idea with wrapping it all in @supports .
/* See warning below */ @supports (width: 100vw) < .full-width < width: 100vw; >@media all and (min-width: 40rem) < .full-width < transform: translateX(calc((40rem - 100vw)/2)); >> >The idea here is that none of this would apply if the browser didn’t support viewport units. That way you could pull fallback behavior above this in the CSS and let this override it if it can. Seems like a good idea, but in my testing only Firefox got this right. Chrome would sometimes incorrectly apply the media query when it wasn’t supposed to (screenshot). (I say “sometimes” as it seemed like a redraw would “fix” it, only to not apply the media query the other direction.) Edge also didn’t seem to apply the media query rules at all (screenshot). Maybe nested @-rules are a bit buggy yet.

The idea here is: push the container to the exact middle of the browser window with left: 50%; , then pull it back to the left edge with negative -50vw margin. Very clever! This way you don’t need any information about the parent width at all. Do note that both this and the calc() version require the parent to be exactly centered in the browser. You might even think: why bother with the right and margin-right ? It’s true you don’t really need it on a left-to-right site, but if there is any chance of direction: rtl; happening, you’ll need the right properties, so having both is more bulletproof. I’m gonna put a fork of this method here, as it seems the most useful. See the Pen full viewport width image (container) inside article by Chris Coyier (@chriscoyier) on CodePen.
Container Tags in HTML

Tags in HTML are special instructions that are closed in angle brackets ( < >). A container tag is an HTML tag that has both an opening tag and a closing tag. Container tags in HTML are composed of three parts: the opening tag, the content inside the tag, and the closing tag. The content written inside a container tag is displayed on the browser.
Introduction to Container Tags in HTML
Container tags are those tags that have both opening and closing tags. Container tags enclose elements like text, images, and videos. The content that we write inside a container tag gets displayed on the browser.
The opening and closing tags are also known as On and Off tags. If a user forgets to add a closing tag in an HTML document, the browser automatically adds the closing tag at the end of the document.
For example, the strong tag has both opening and closing tags around the text: Hello World . The content written inside the strong tag, i.e., «Hello World», will become bold and will be displayed in the browser.
Syntax
For example:
In the above example, we used the i or italics tag. The text written inside this tag will be displayed on the browser in italics.
Common HTML Container Tags
The following are the most commonly used container tags in HTML.
A. Essential Tags
As the name suggests, essential tags are those tags that are used to create the structure of a webpage. They help the browser distinguish between normal text and HTML text. These tags are important for the browser to display content correctly.
There are four types of essential tags:
- .
The HTML tag showcases that the document is an HTML document. It marks the beginning and end of a webpage document. Every other tag used to create a webpage is written inside the HTML tag. For example:
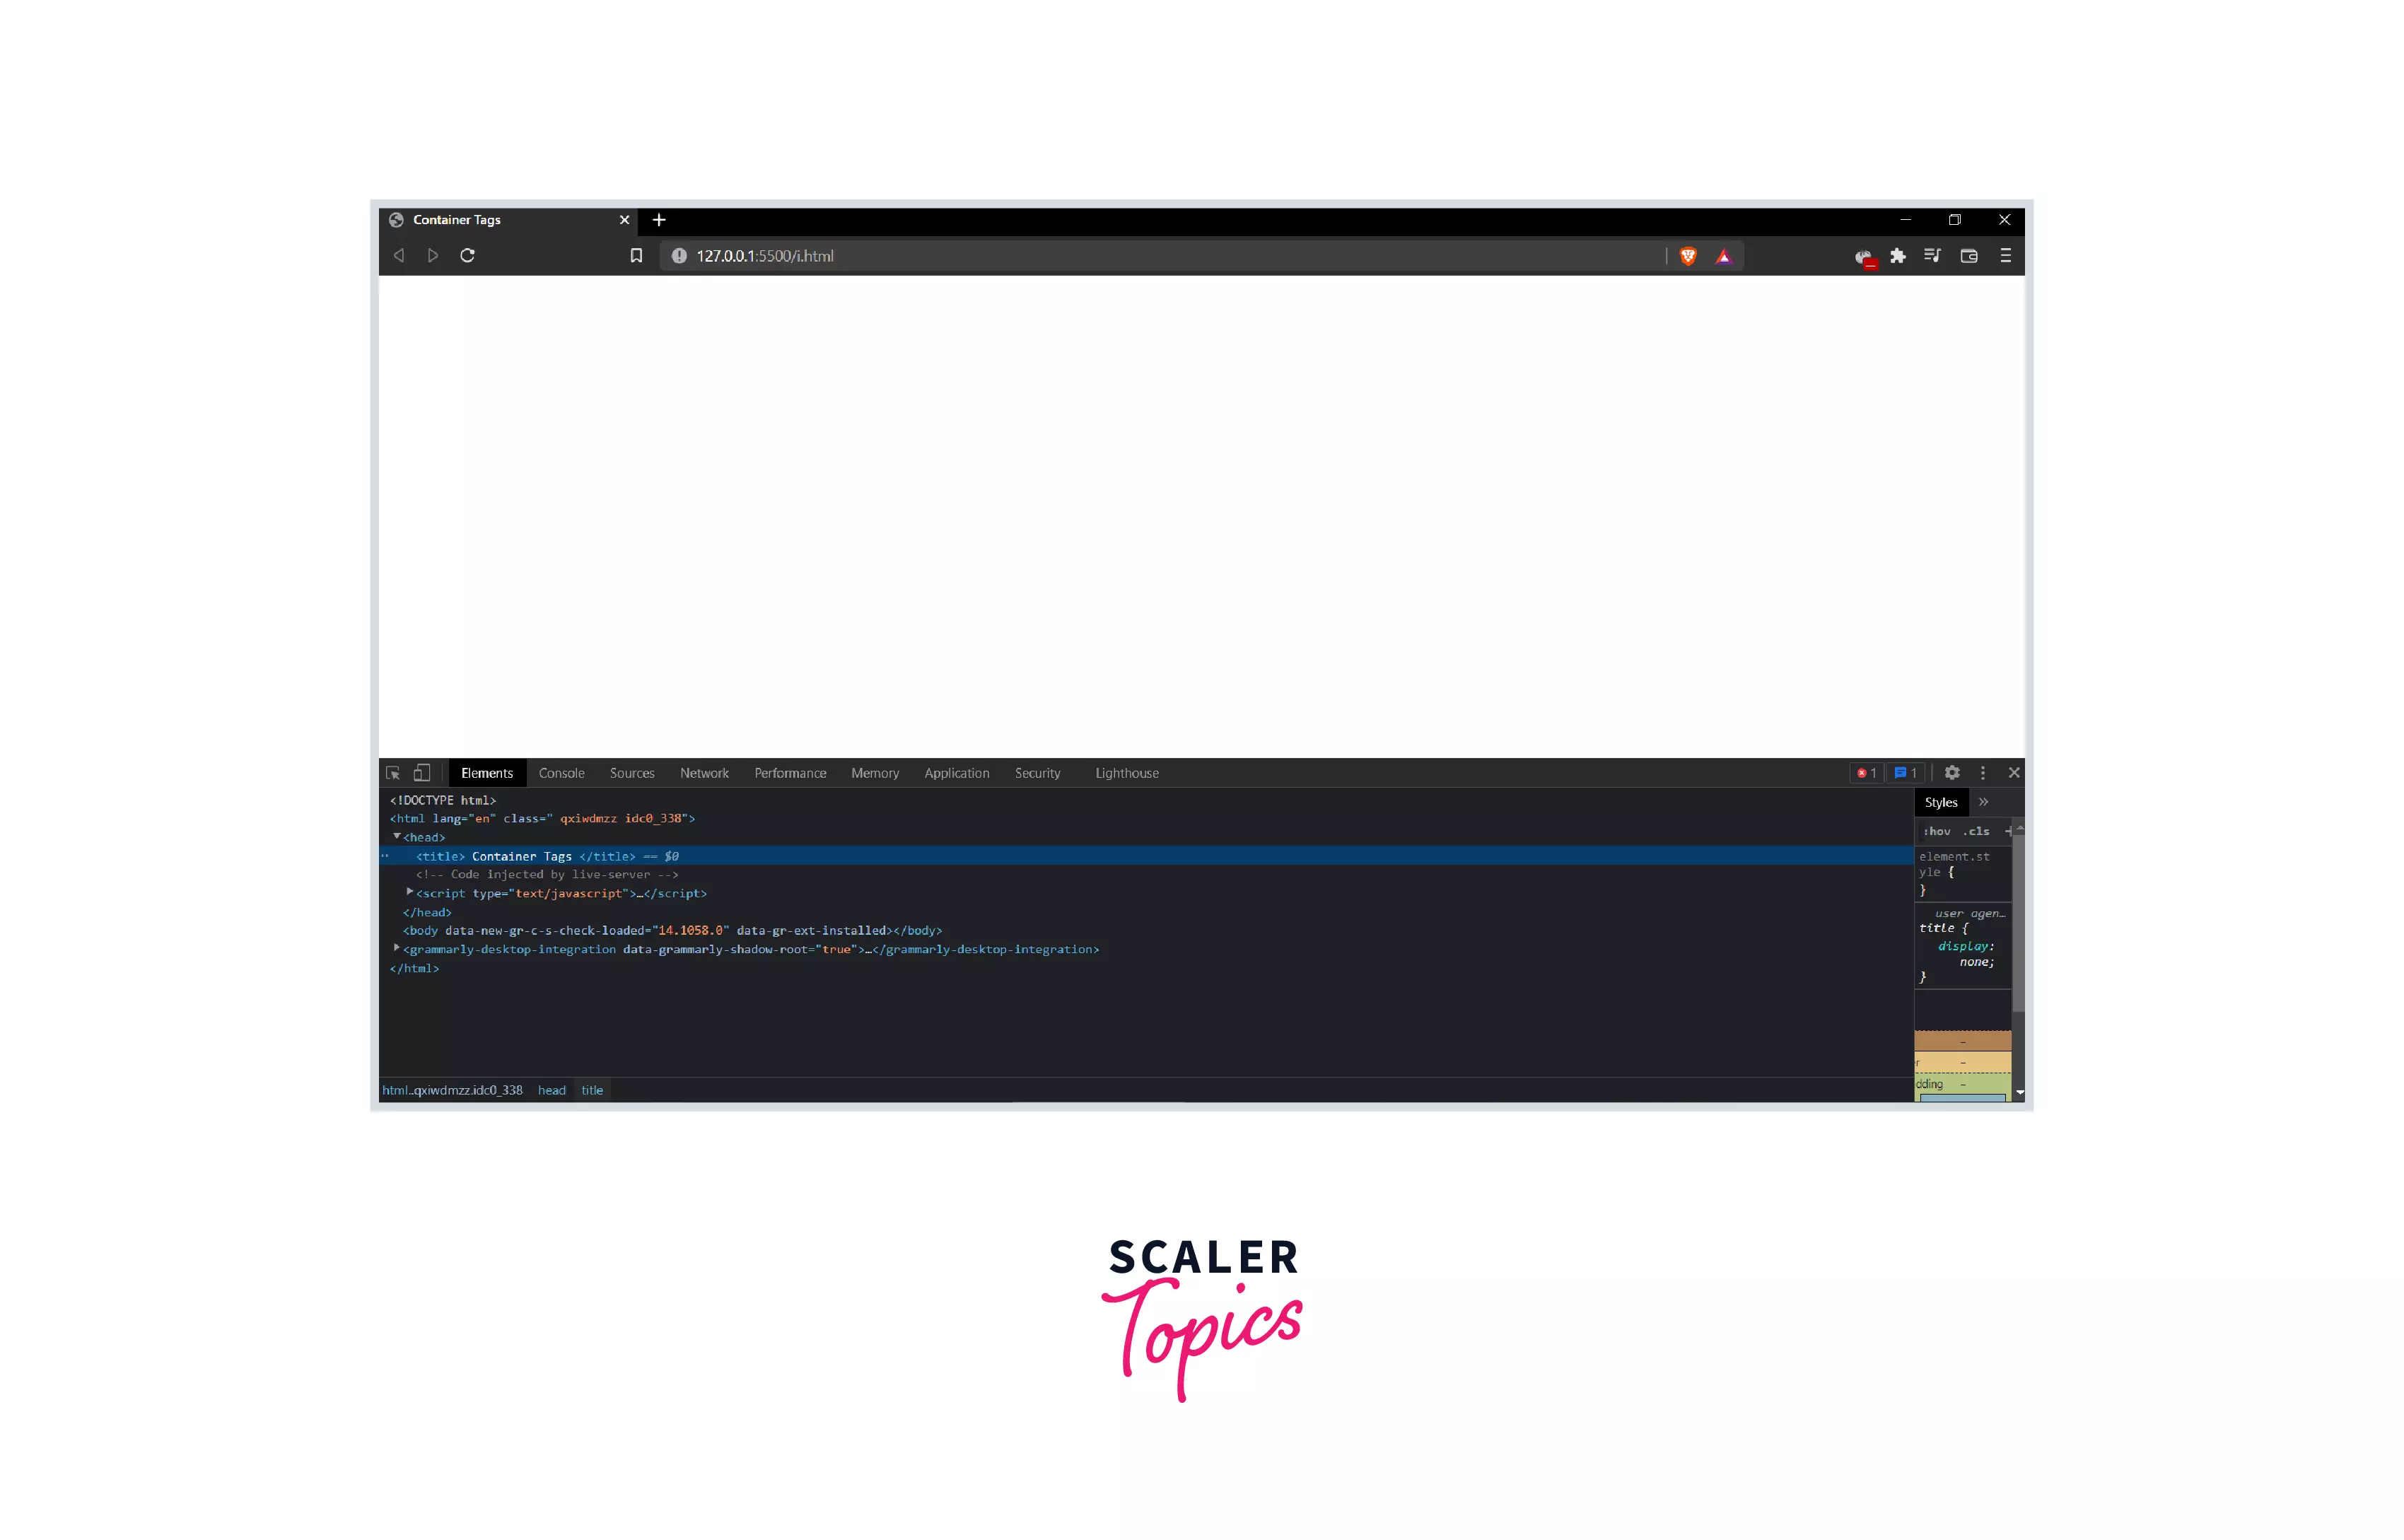
Output:In the image above, we can see that the title we wrote ( «Container Tags» ) is displayed on the tab name.
.
The body tag contains all the information that needs to be displayed on the webpage to the users. This includes text, videos, images, hyperlinks, etc. For example:

Output:In the above example, the text we wrote inside the body tag gets displayed on the webpage.
B. Headings
The HTML heading tags are used used to tell the browser whether the content should be displayed as a title, heading, or subheading. There are six types of heading tags, from h1 to h6.
.
to
.
The h1 tag is used to define a heading. The tags h2 to h6 are used to define subheadings. The size of text written inside the h1 heading tag is the biggest, while the size of the text inside the h6 tag is the lowest. For example:

Output:In the above example, we used different heading tags to display headings and subheadings of different sizes.
C. Text Formatters
The text formatter tags are used to highlight text in order to emphasize a particular block of text.
…
The paragraph tag ( p tag) is used to create paragraphs on a webpage. For example:
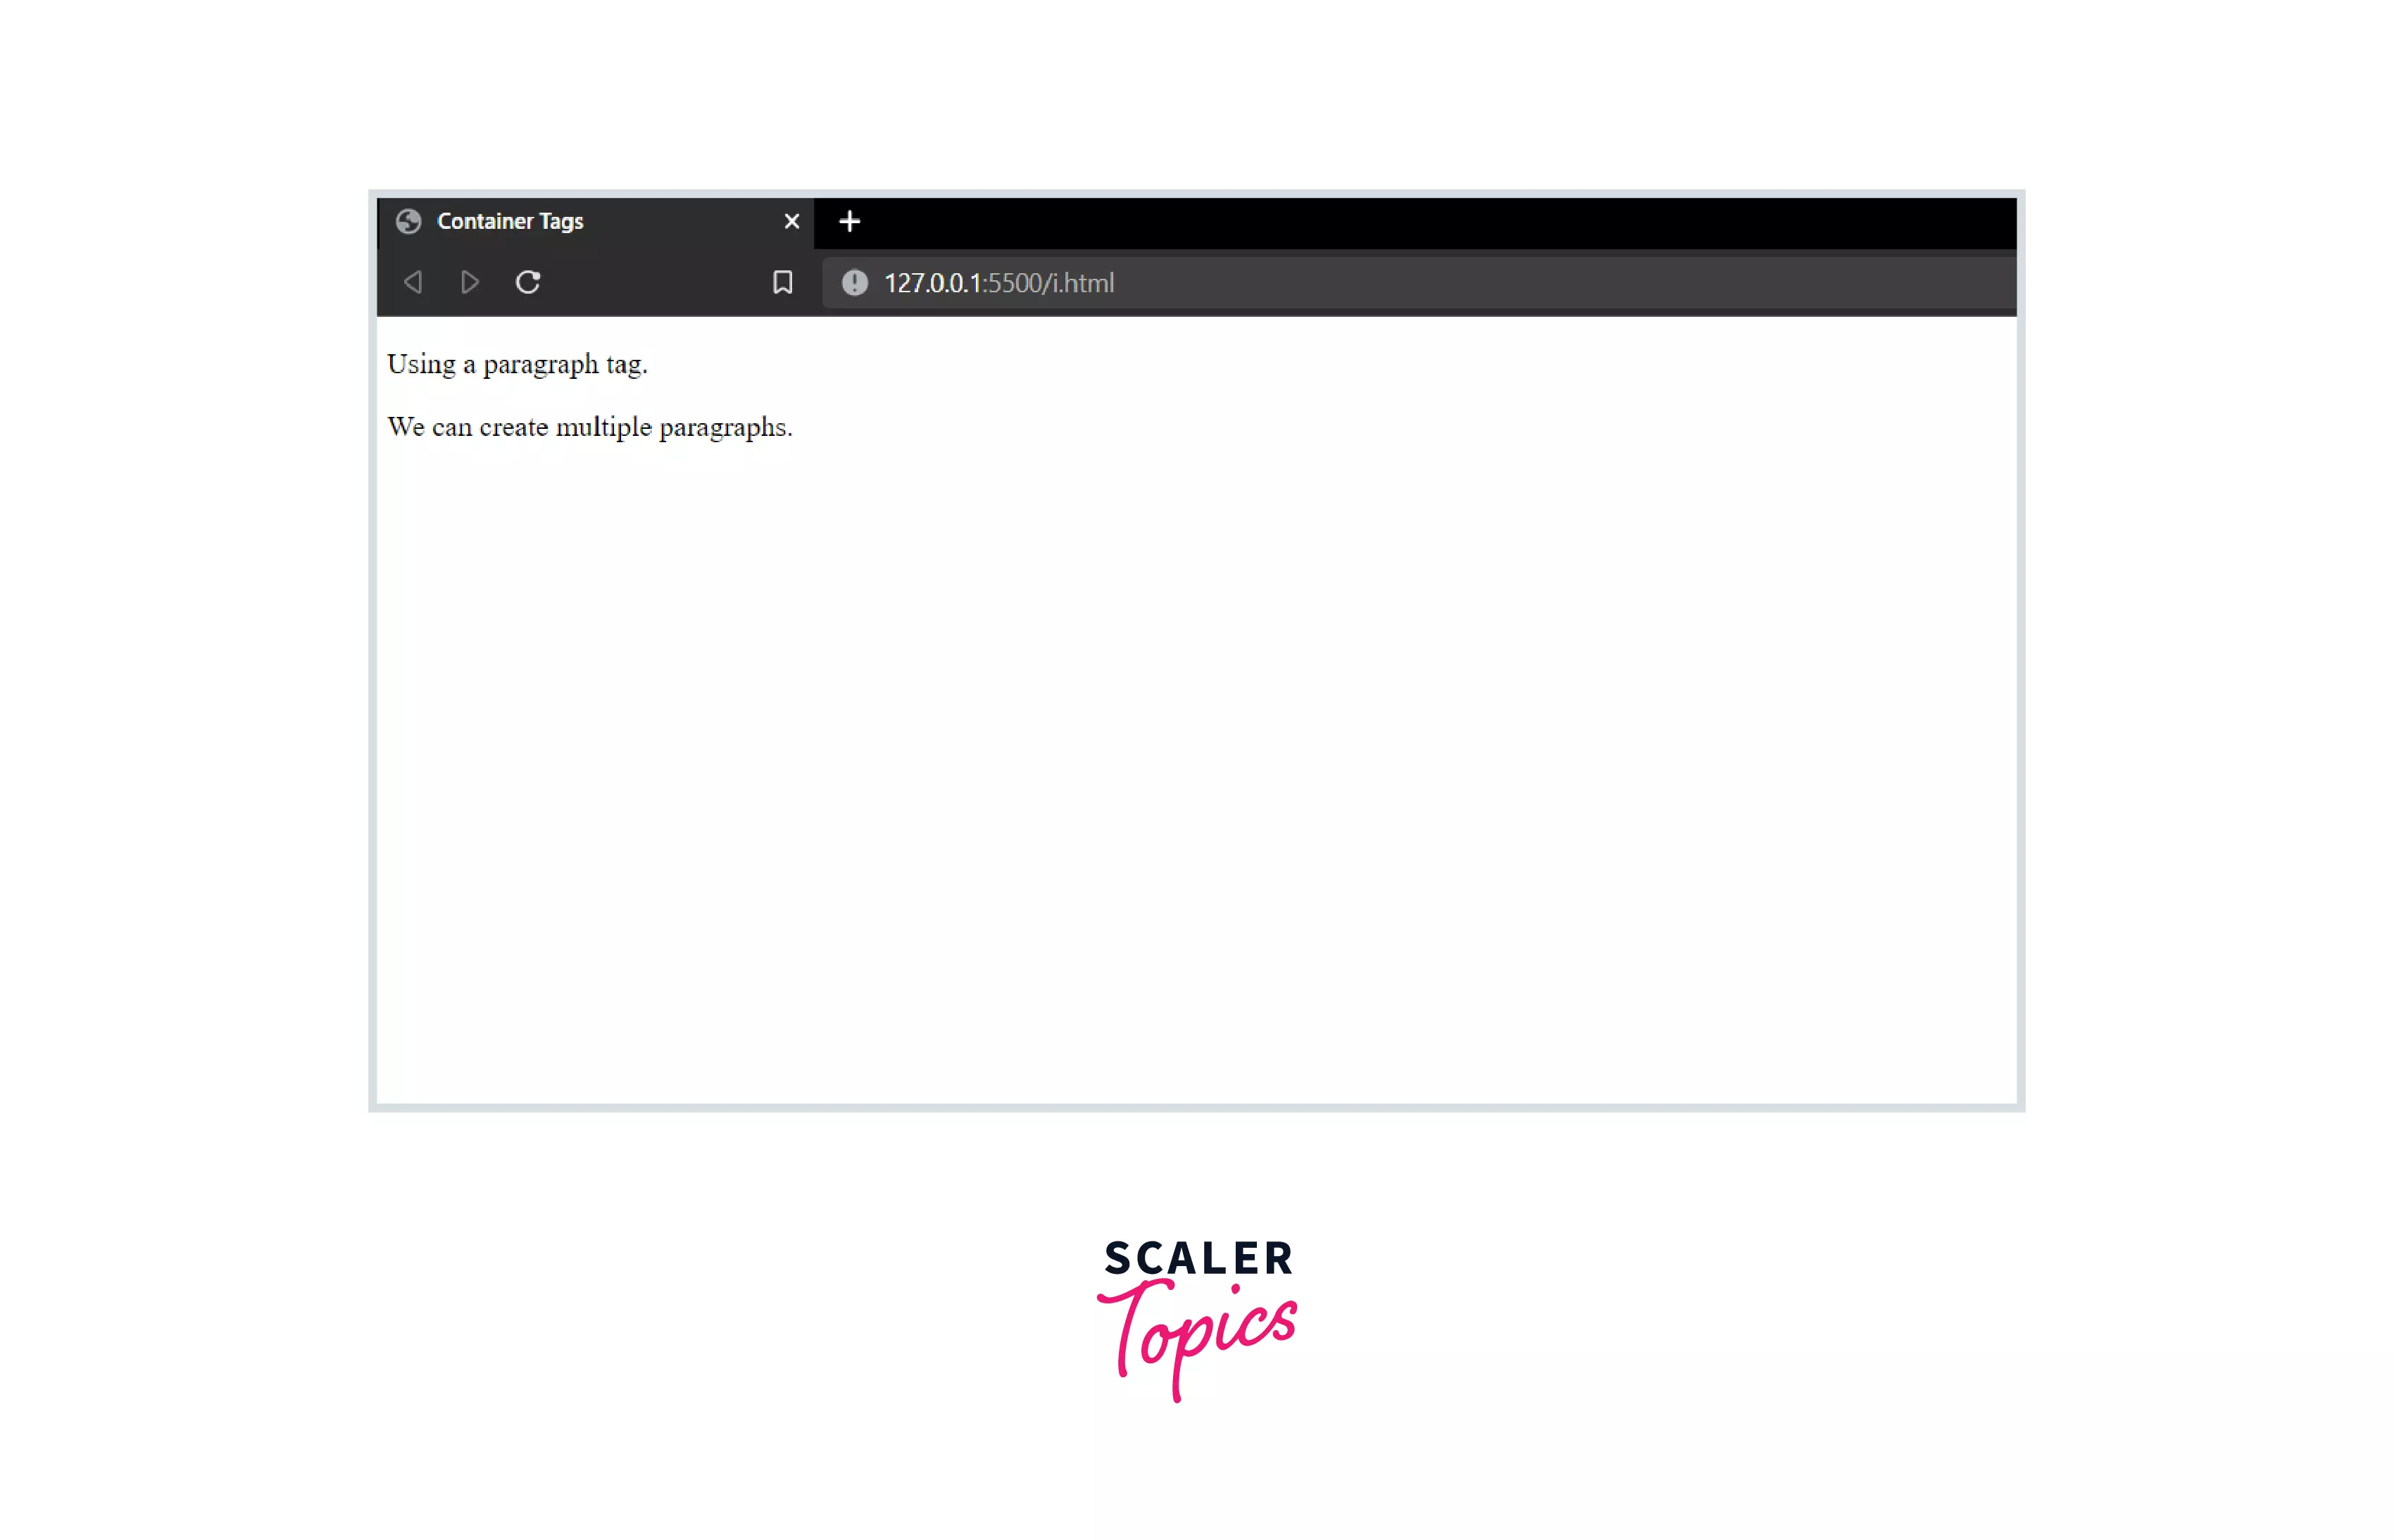
Output:In this example, we used the p tag to create paragraphs on the webpage.
…
The bold tag ( b tag) is used to make text bold. For example:
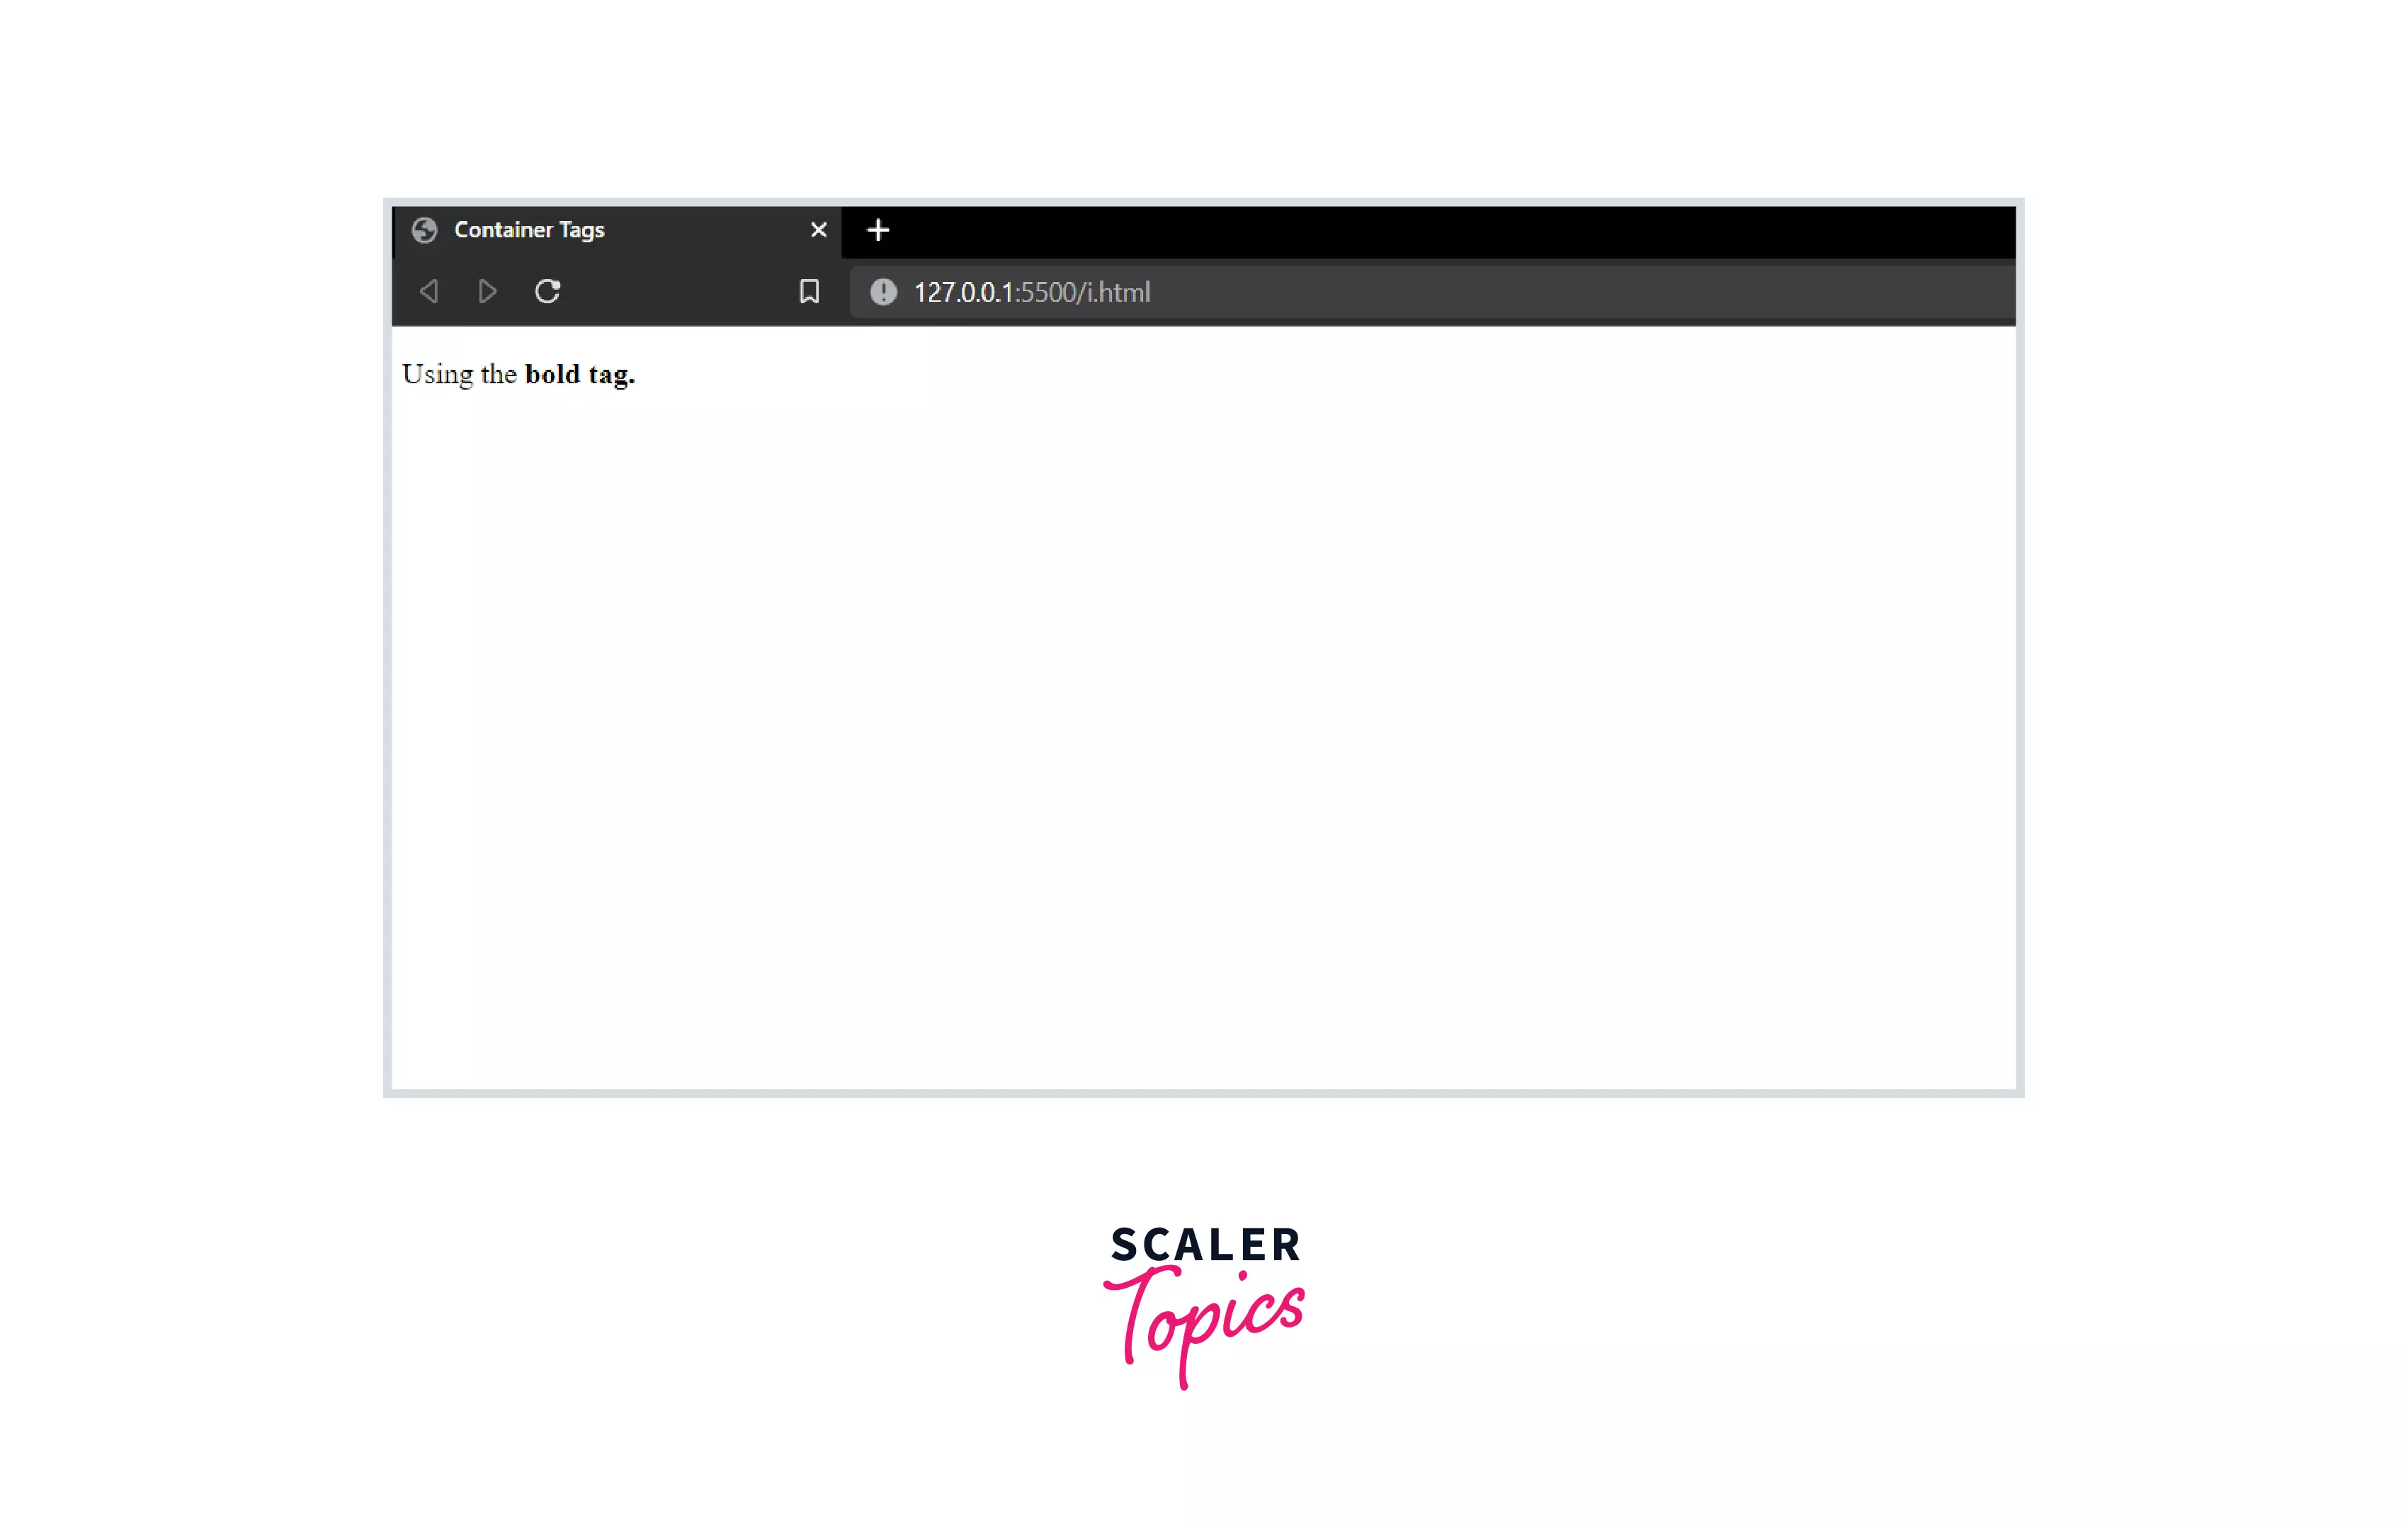
Output:In the above example, the phrase «bold tag». Becomes bold, while the other text’s formatting does not change.
…
The italics tag ( i tag) is used to write text in italics. For example:

Output:In the above example, the phrase «italics tag». Becomes italic, while the other text’s formatting does not change.
D. HyperLinks
In order to add hyperlinks to our webpage, we can use the anchor tag.
- tag
The anchor tag ( a tag) helps us to add hyperlinks to our webpage. If the user clicks on the text written inside the anchor tag, they get redirected to the link we added to the anchor tag. For example:
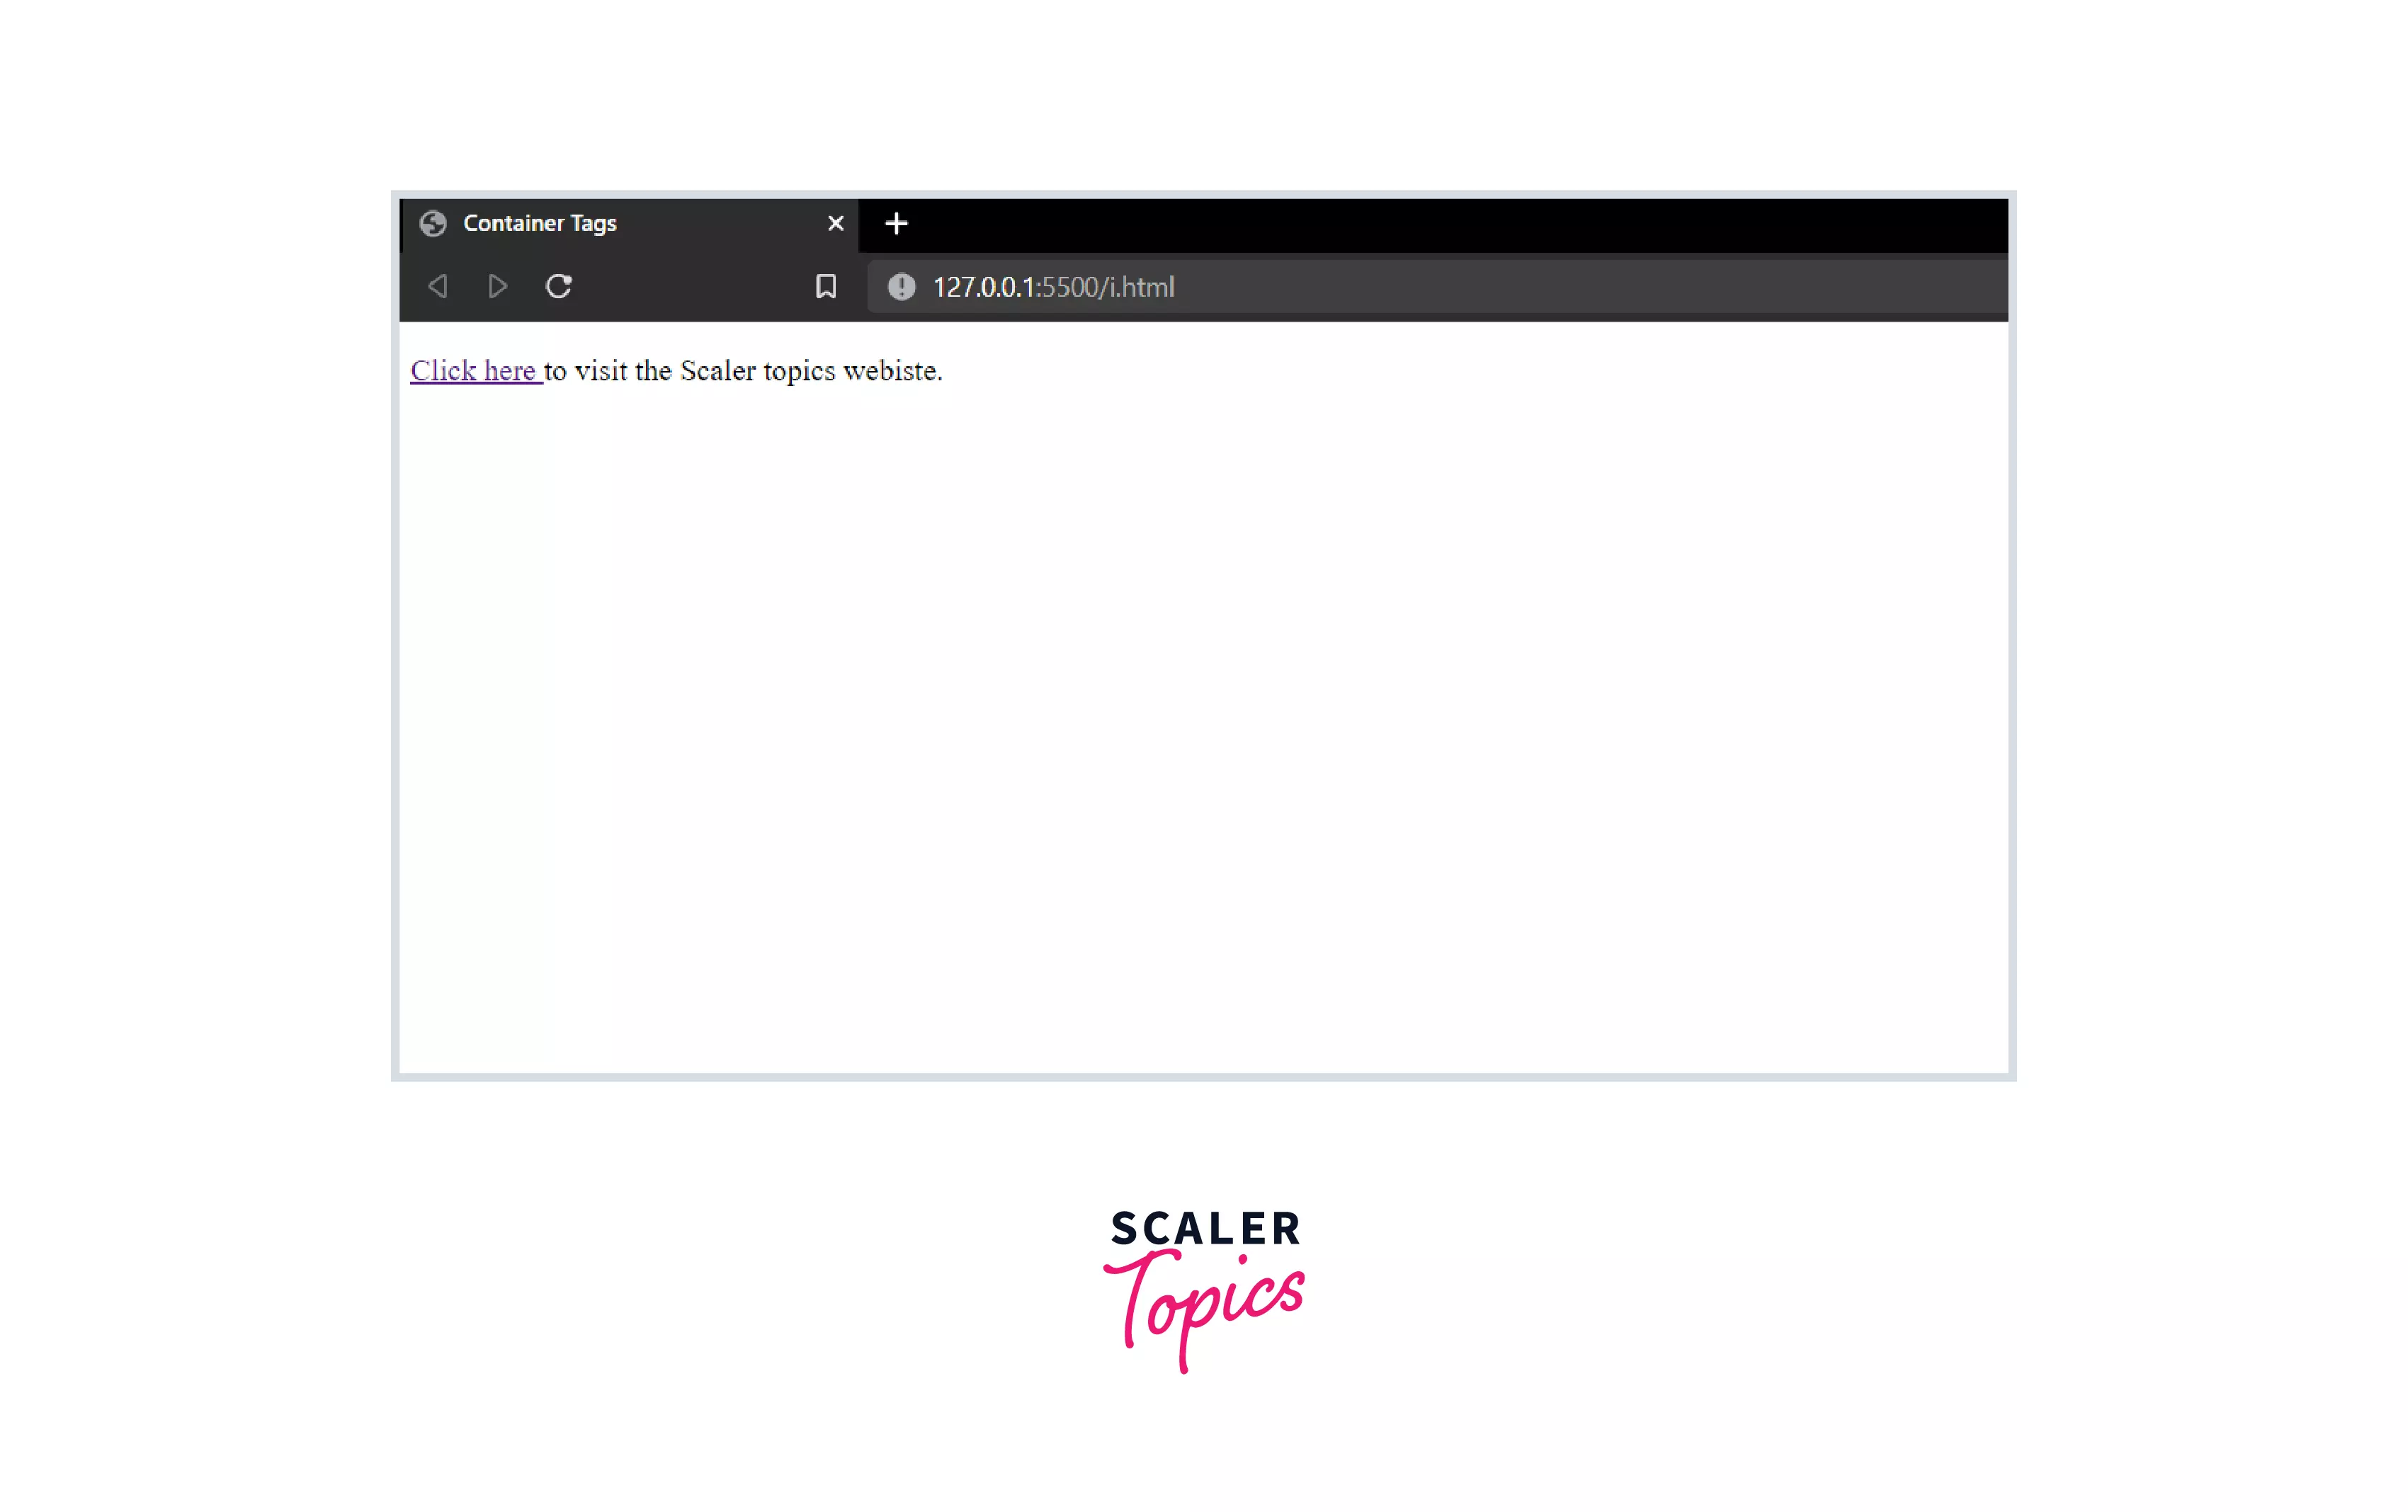
Output:In this example, if the user clicks on «Click here», he/she will get redirected to the Scaler topics website.
E. Button Tag
We use the following tag to create a button on a webpage.
The button tag helps us in creating clickable buttons on our web page. Buttons are helpful when we want users to submit some information or perform a search operation on our website. For example:
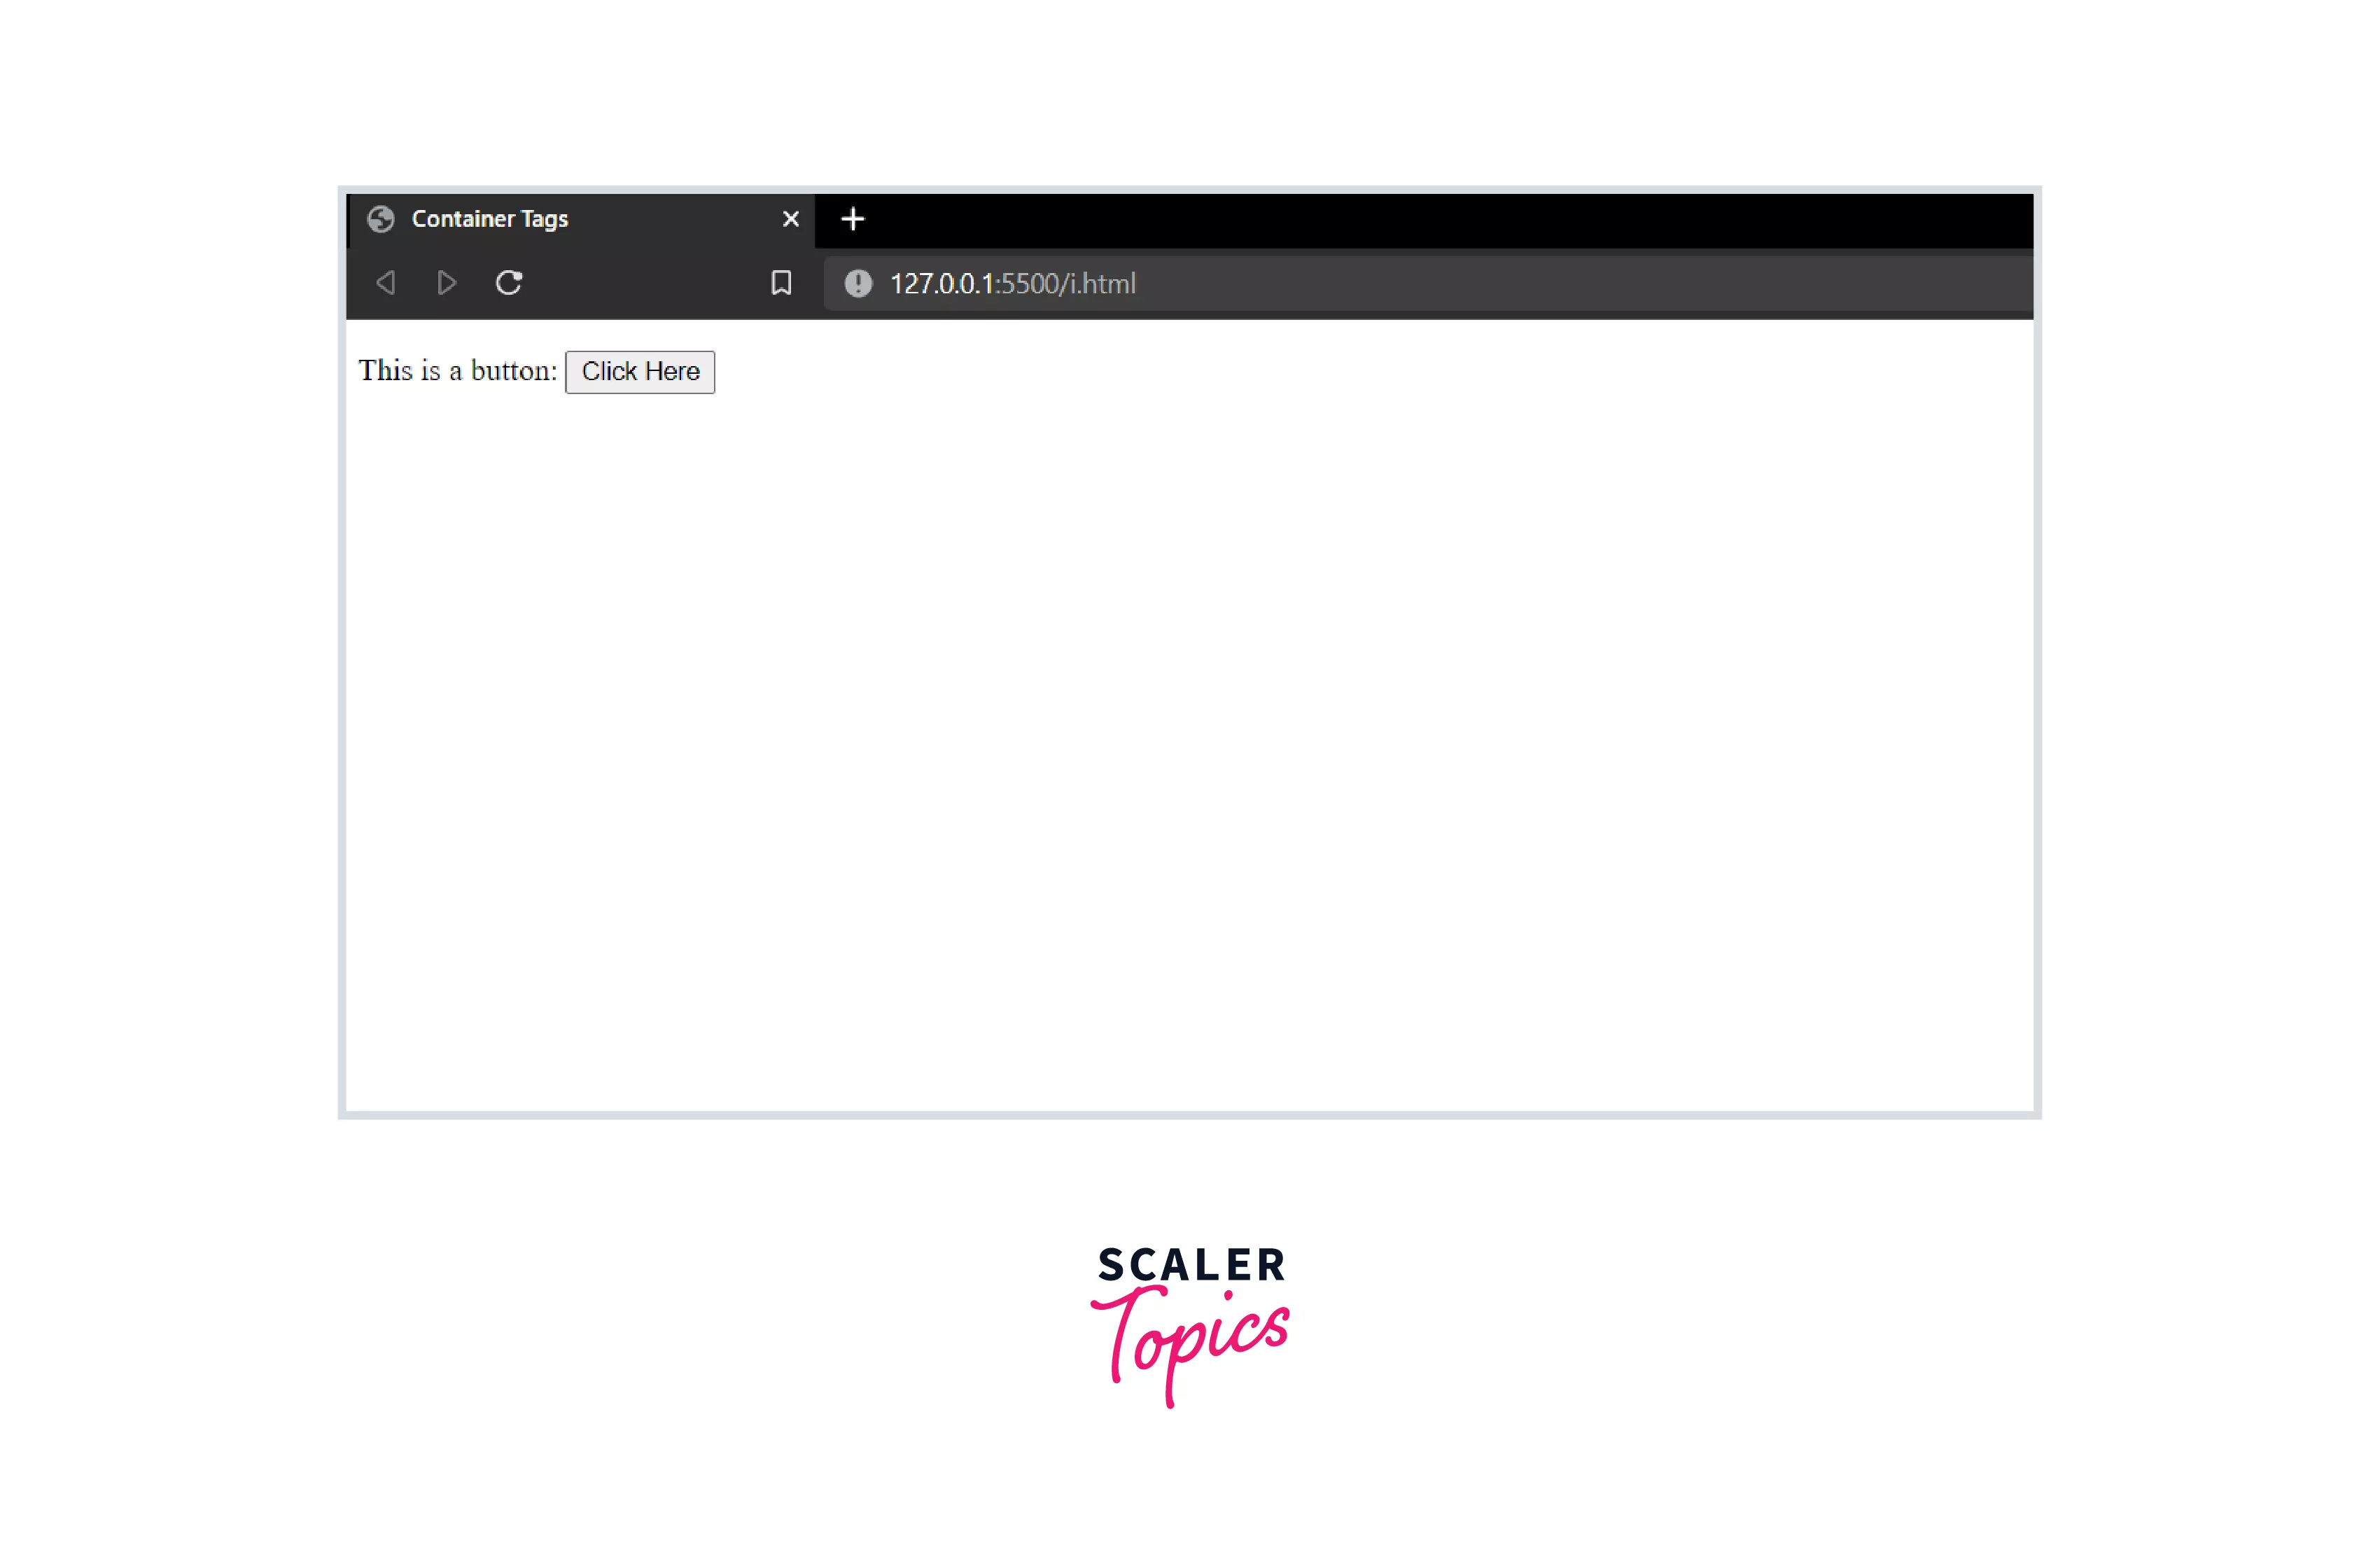
Output:In the above example, we created a button on which the text «Click Here» is written.
F. Division Tag
We use the following tag to create a division in a webpage.
A division tag defines a section in a web page. We can have multiple sections on a web page by using multiple div tags. For example:
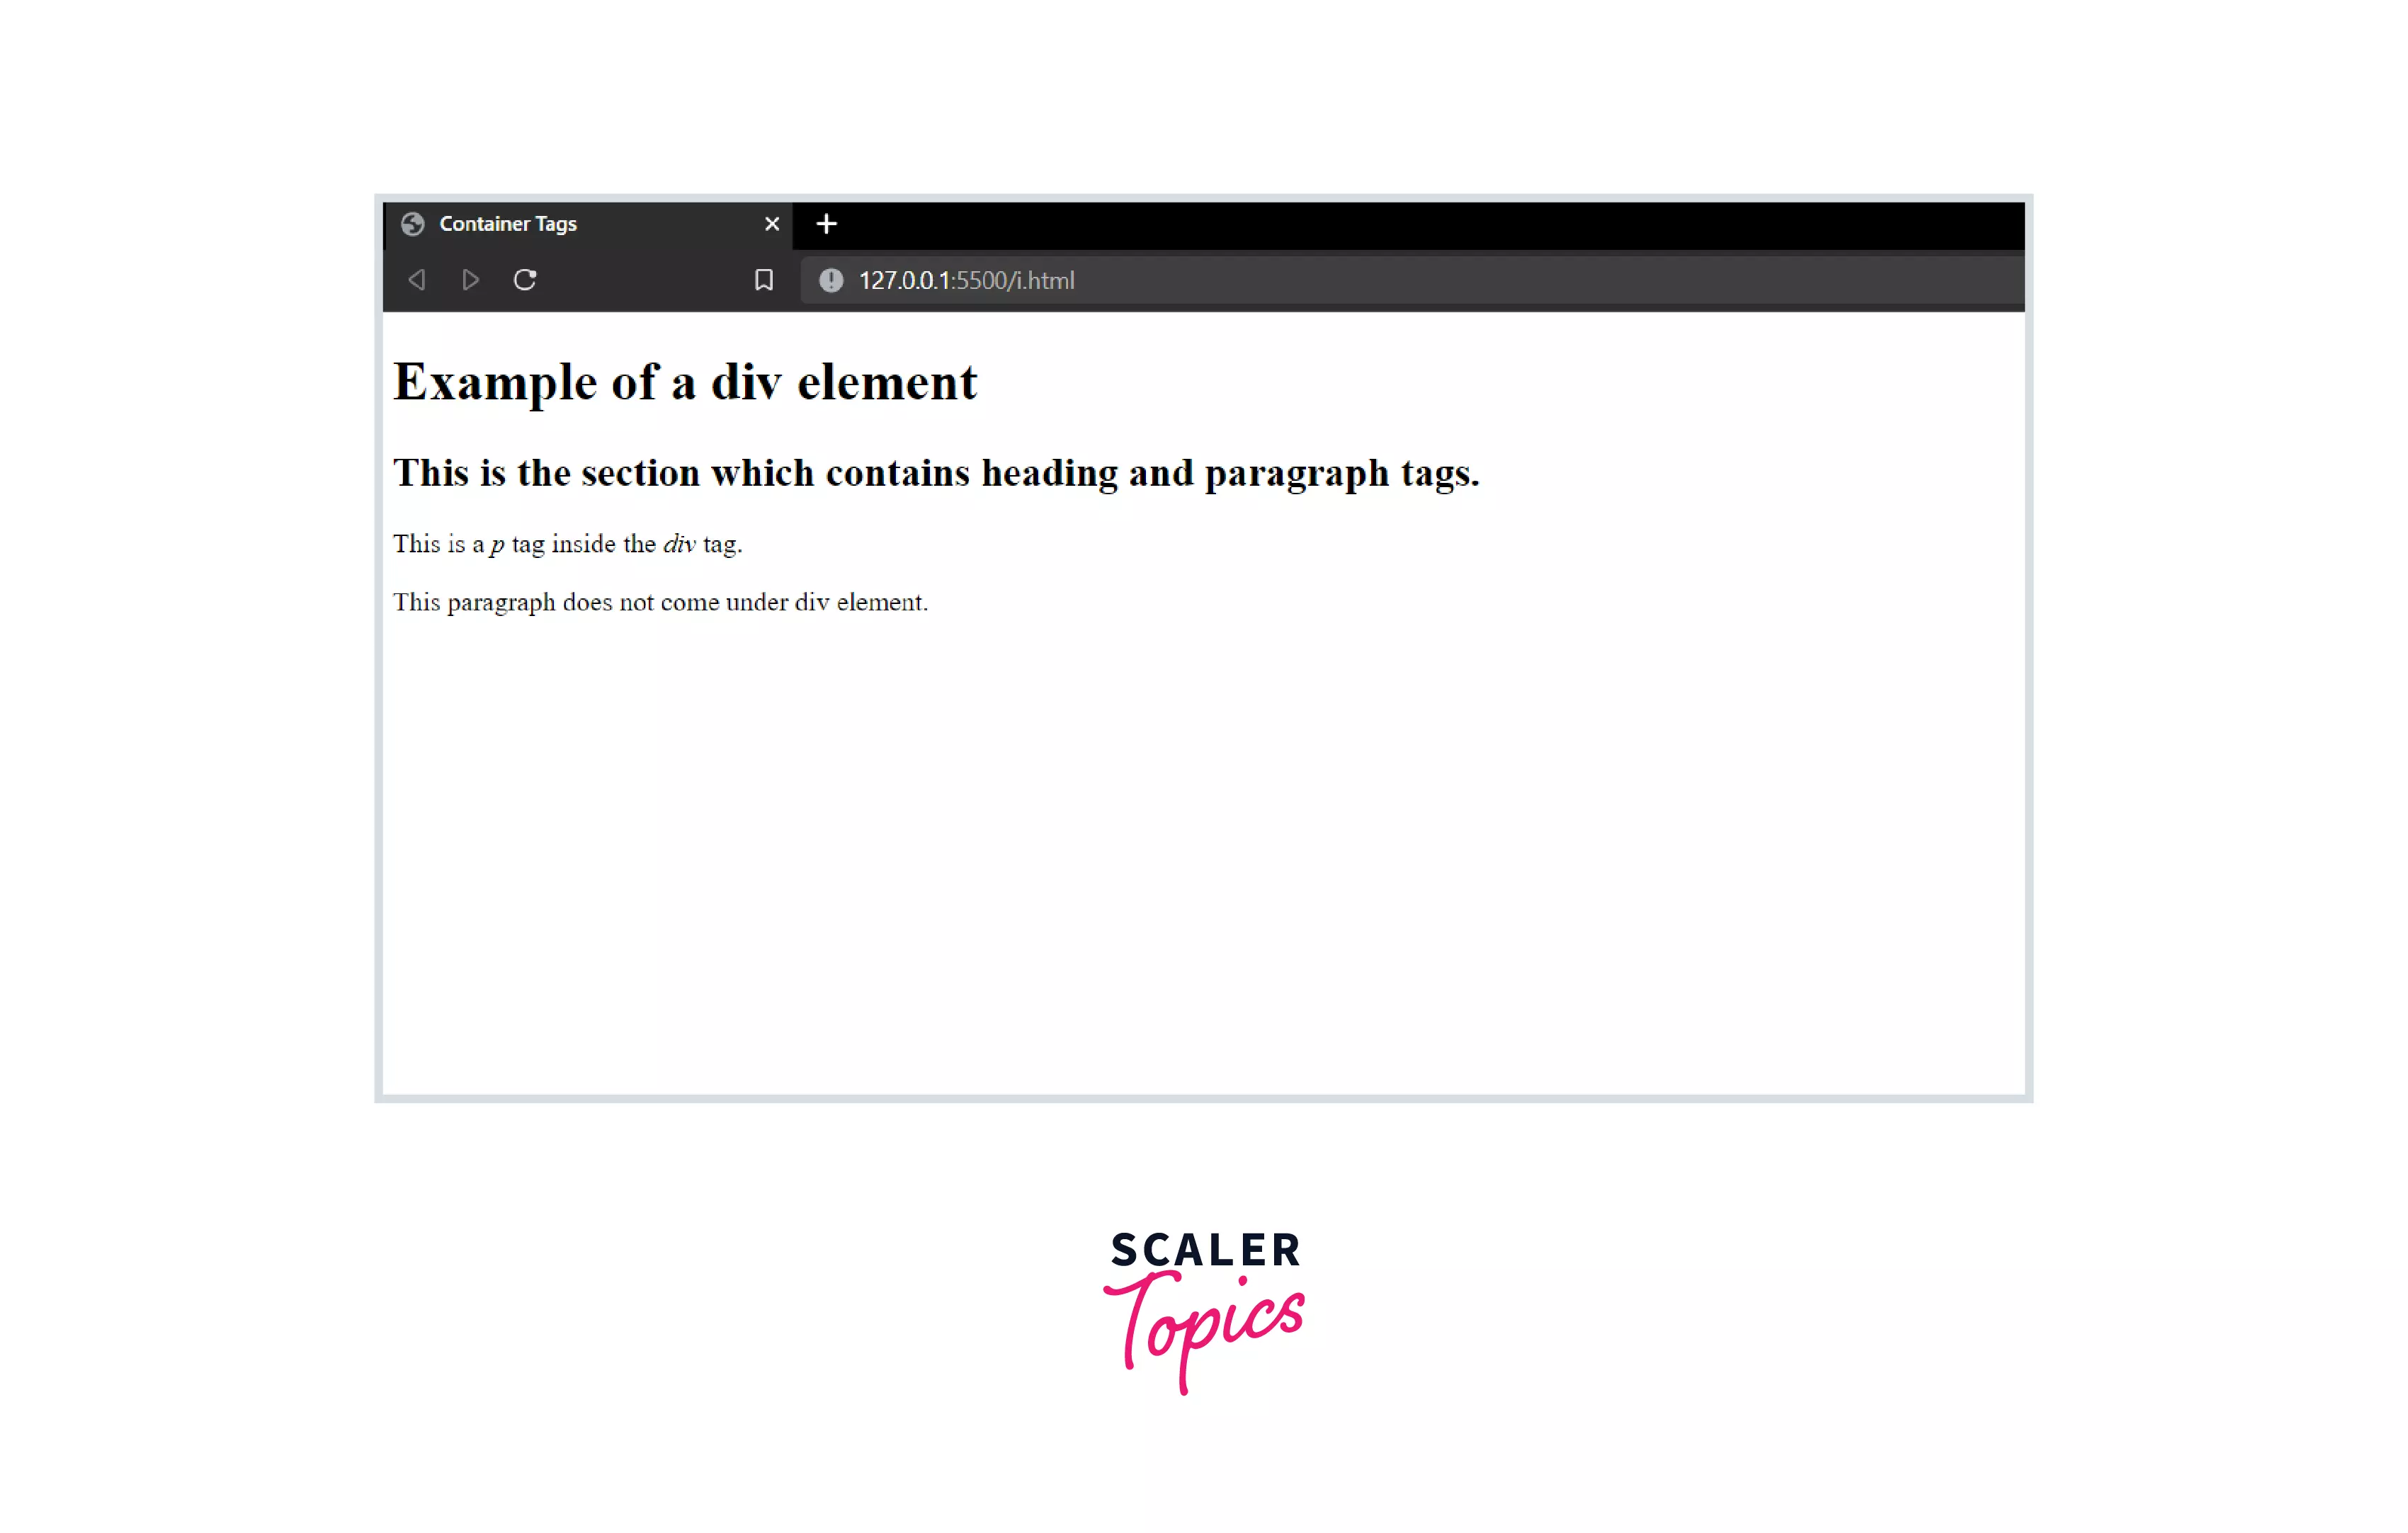
Output:In the above example, we used the div tag to create a section. This section contained a heading tag and a paragraph tag.
G. Iframe Tag
Iframe stands for inline framing. We use the following tag for inline framing.
When we want to embed some content like an image or a video into our web page, we use the iframe tag. For example:
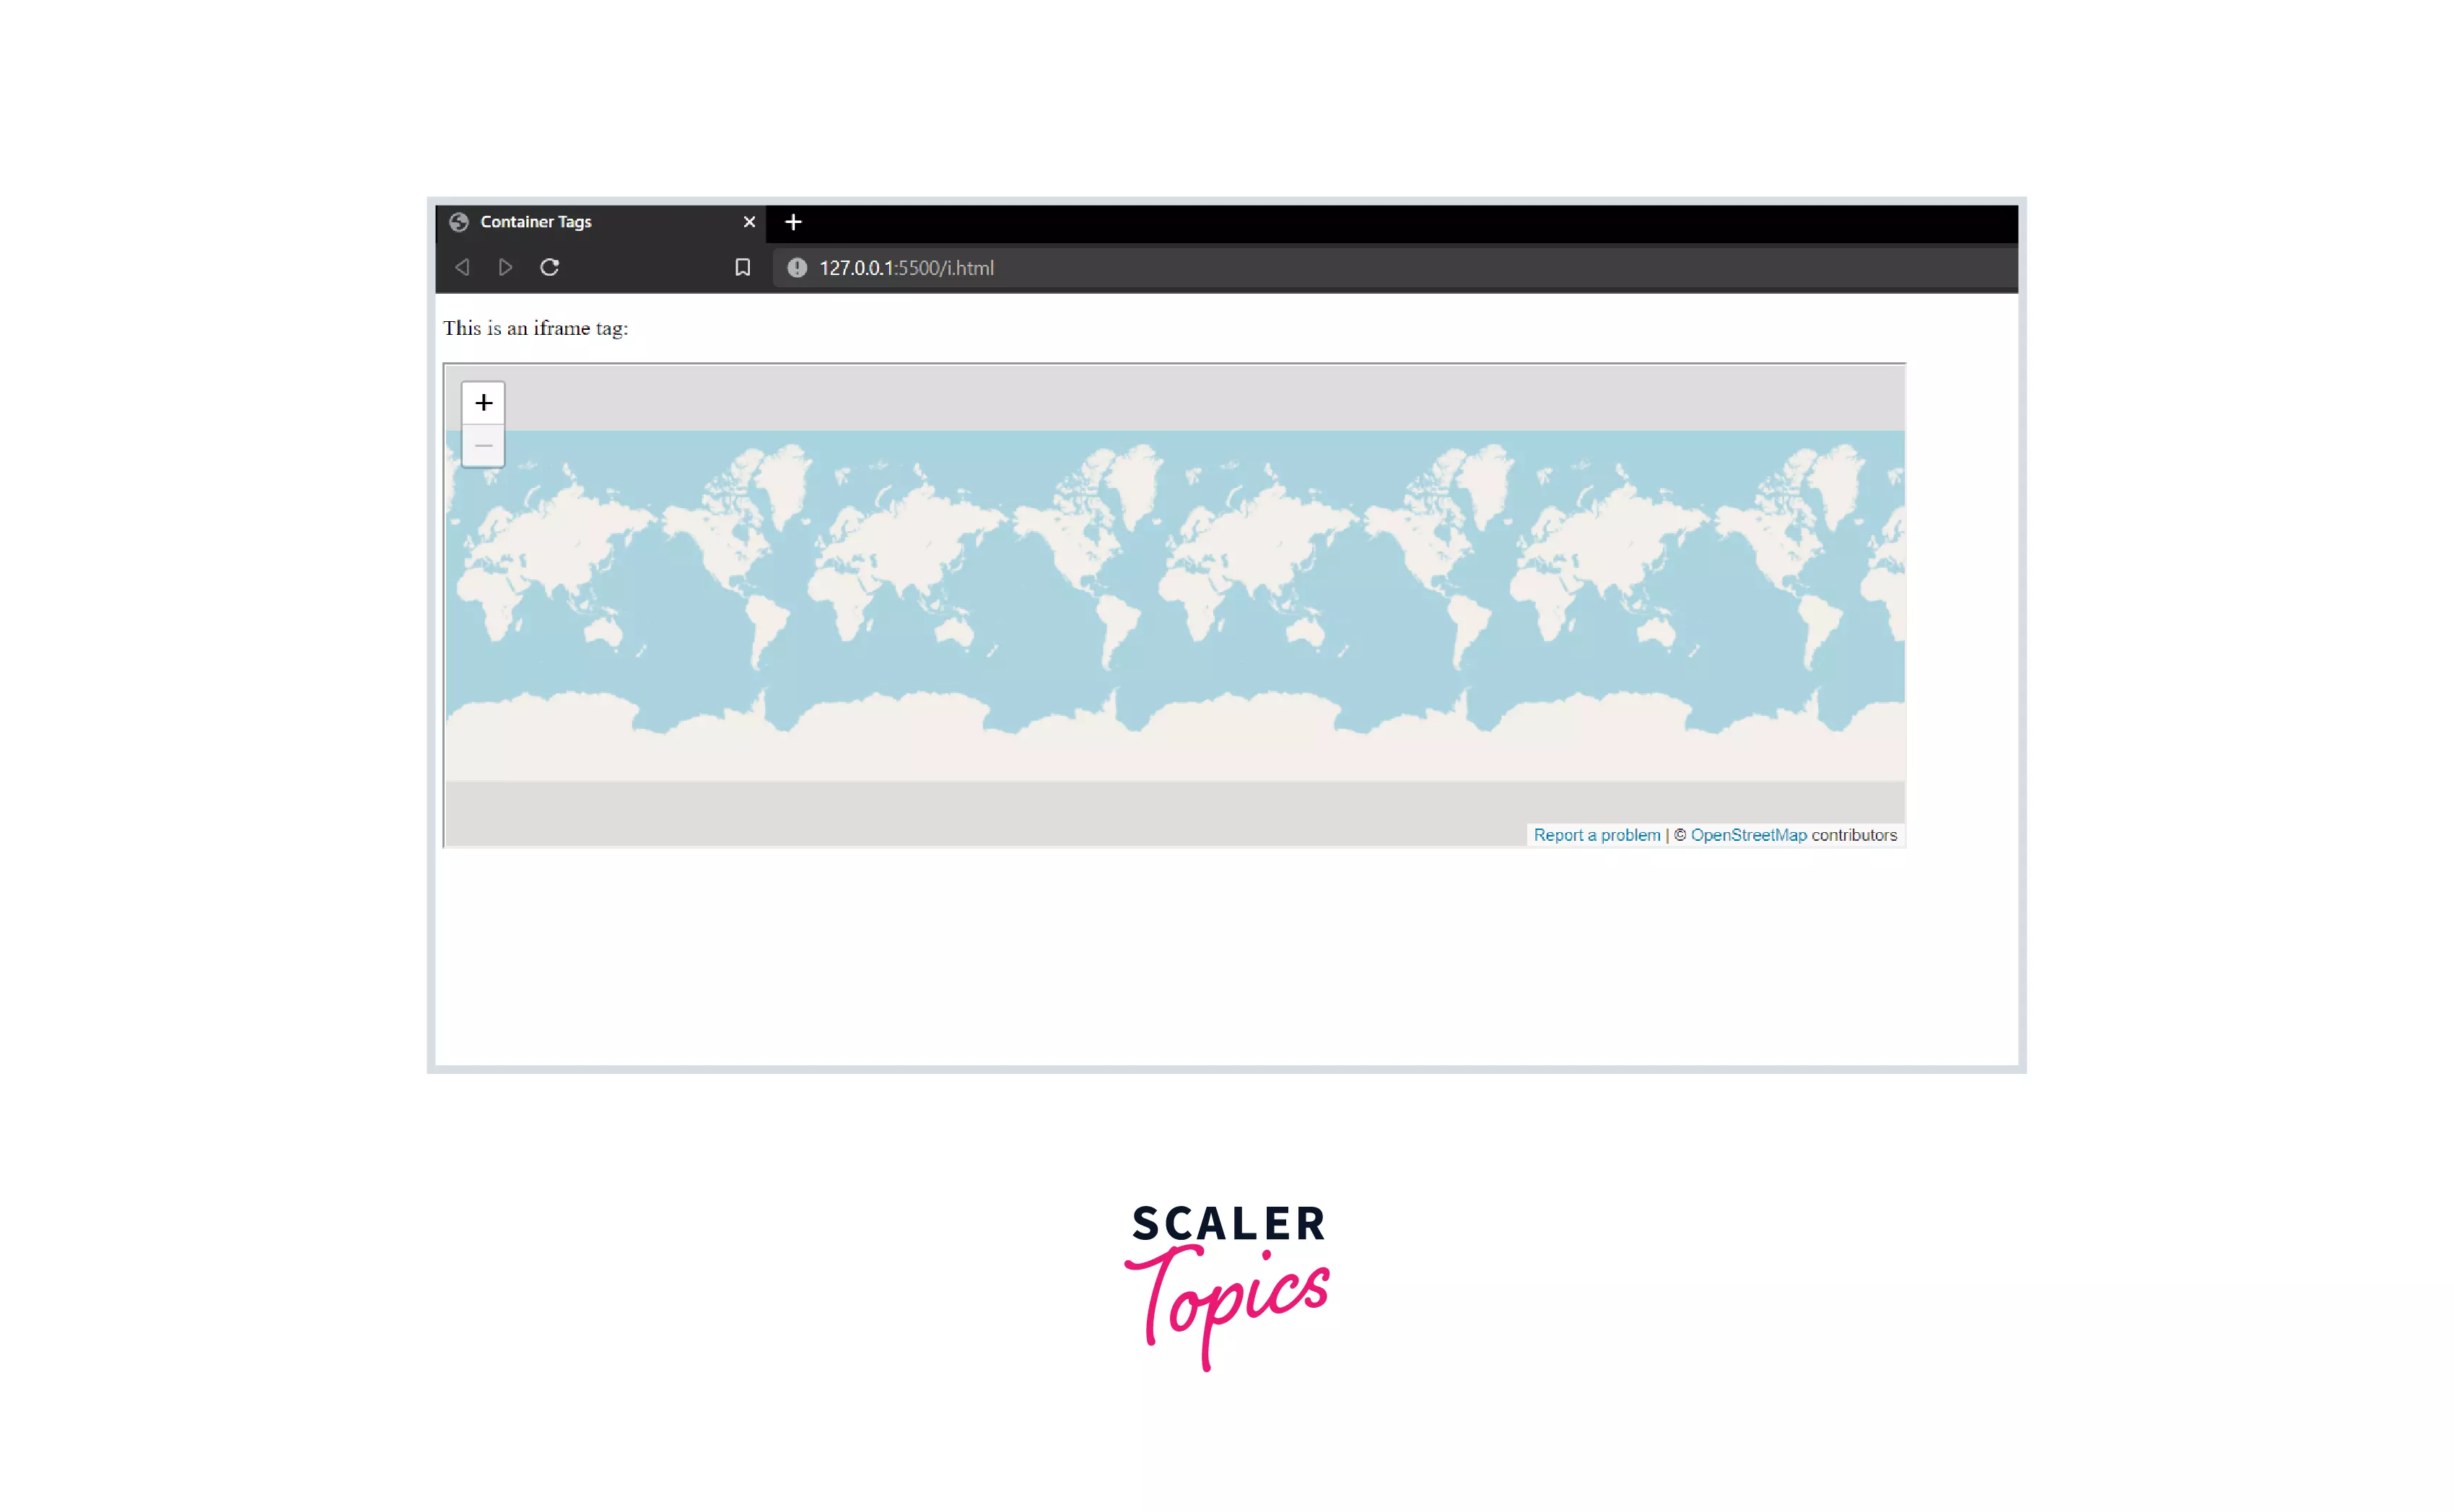
Output:In this example, we used the iframe tag to embed a map on our webpage.
H. Navigation Tag
We use the following tag to create a navigation bar.
The nav tag is used to define a navigation bar. A navigation bar usually contains a set of different hyperlinks. For example:
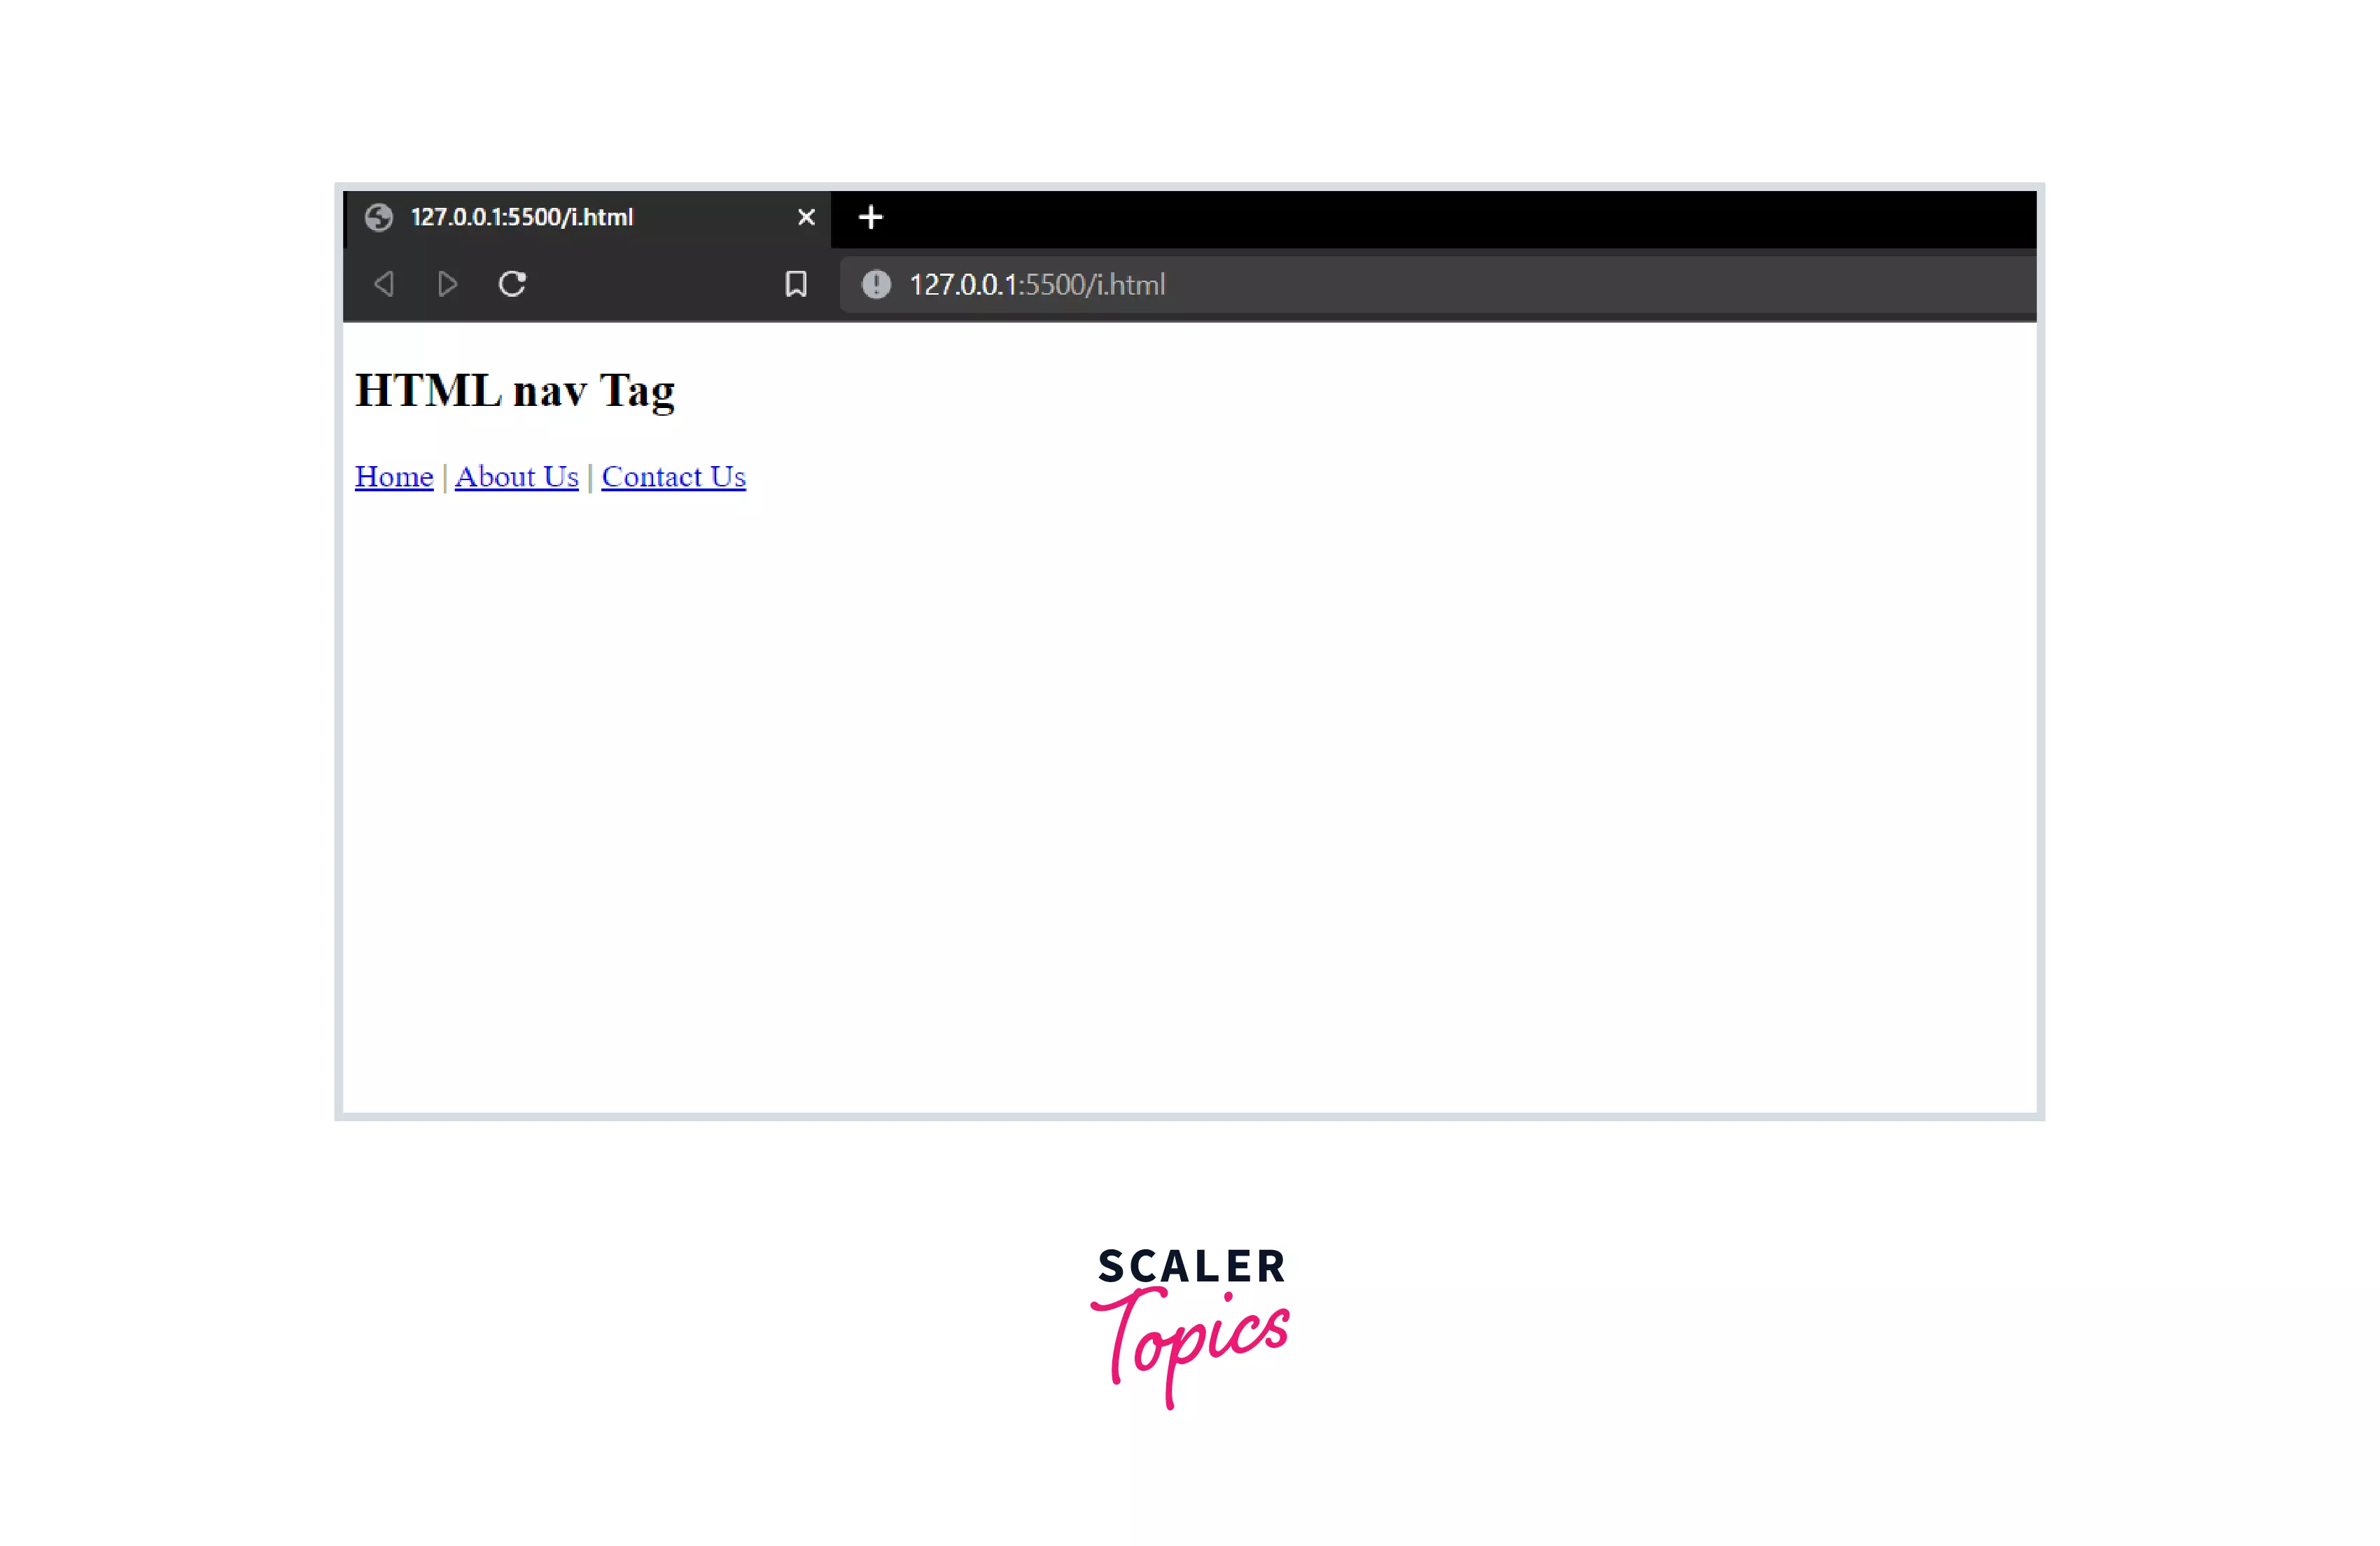
Output:In the above example, we created a navigation tag with three sections in it. Clicking on any of the sections will take the user to the web address we specify in href.
I. Script Tag
In order to add JavaScript to our web page, we use the following tag.
JavaScript written in the script tag is added to the web page. JavaScript helps us to create interactive web pages. For example:
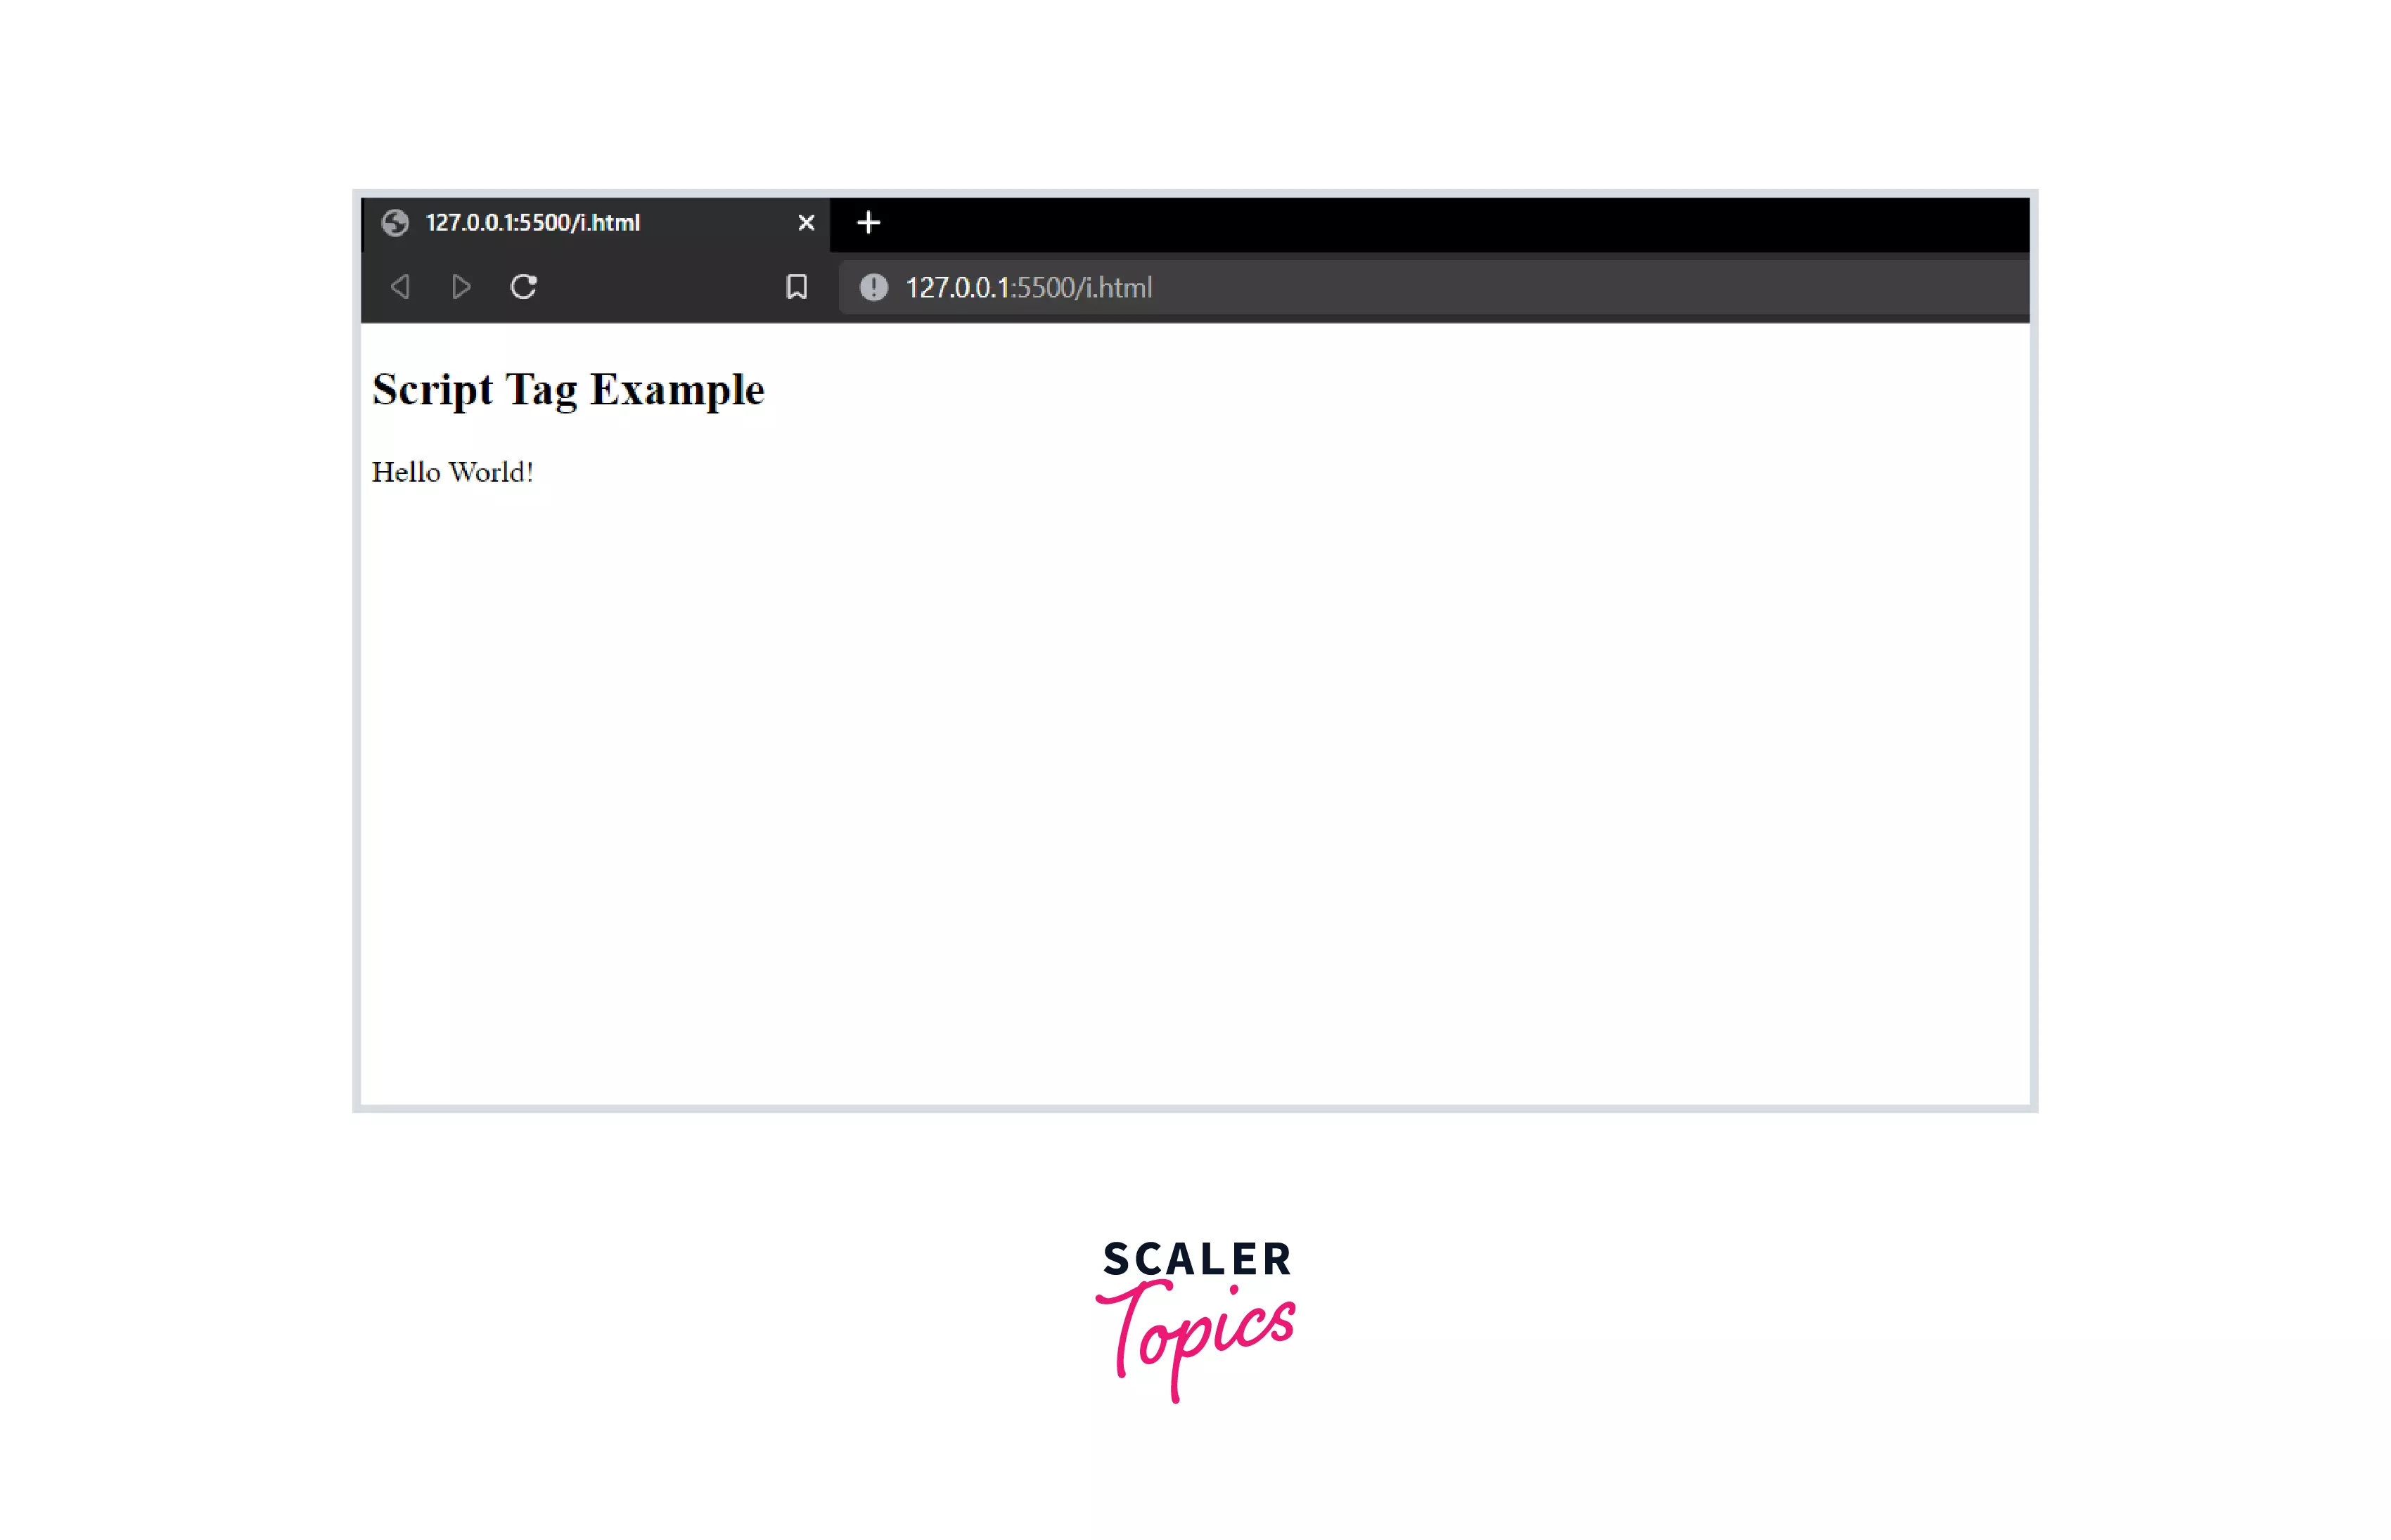
Output:In the above example, we used the script tag to display text on the HTML webpage.
J. Lists
We use the following tags to create ordered and unordered lists.
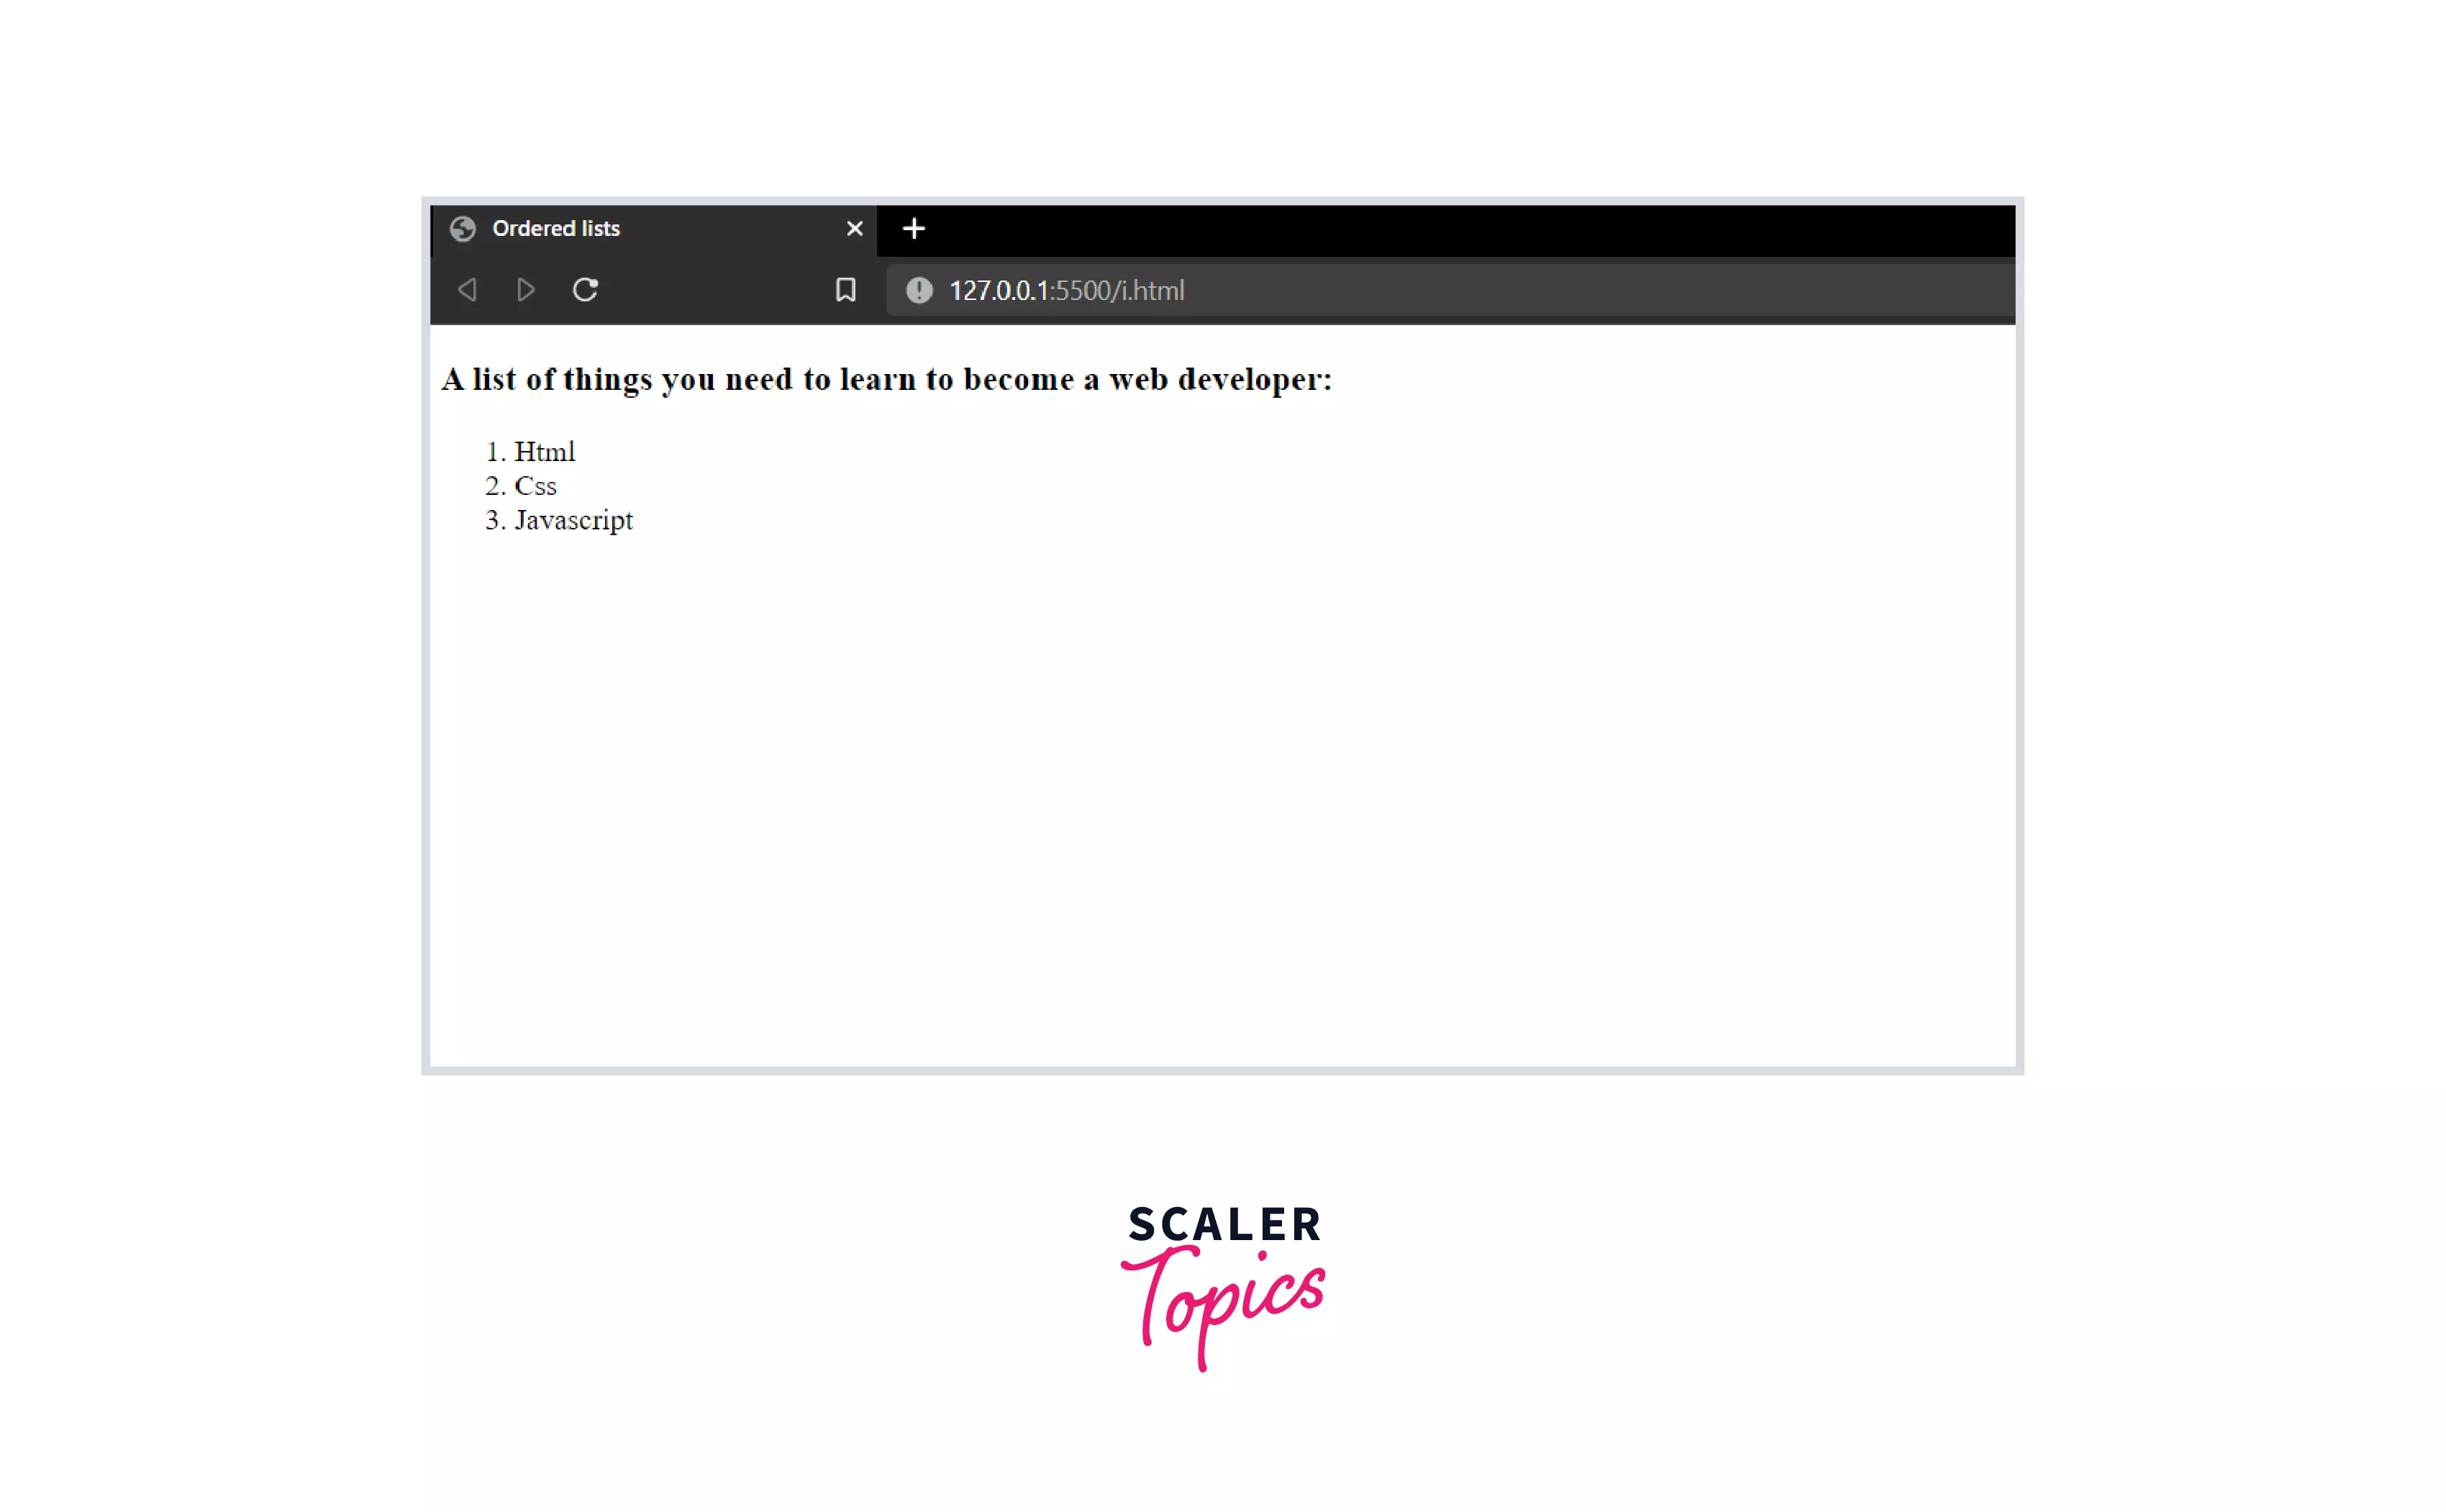
Output:In the above example, we created an ordered list using the ol tag. To add elements to the list, we used the li tag.
- …
The ul tag is used to create unordered lists. For example:
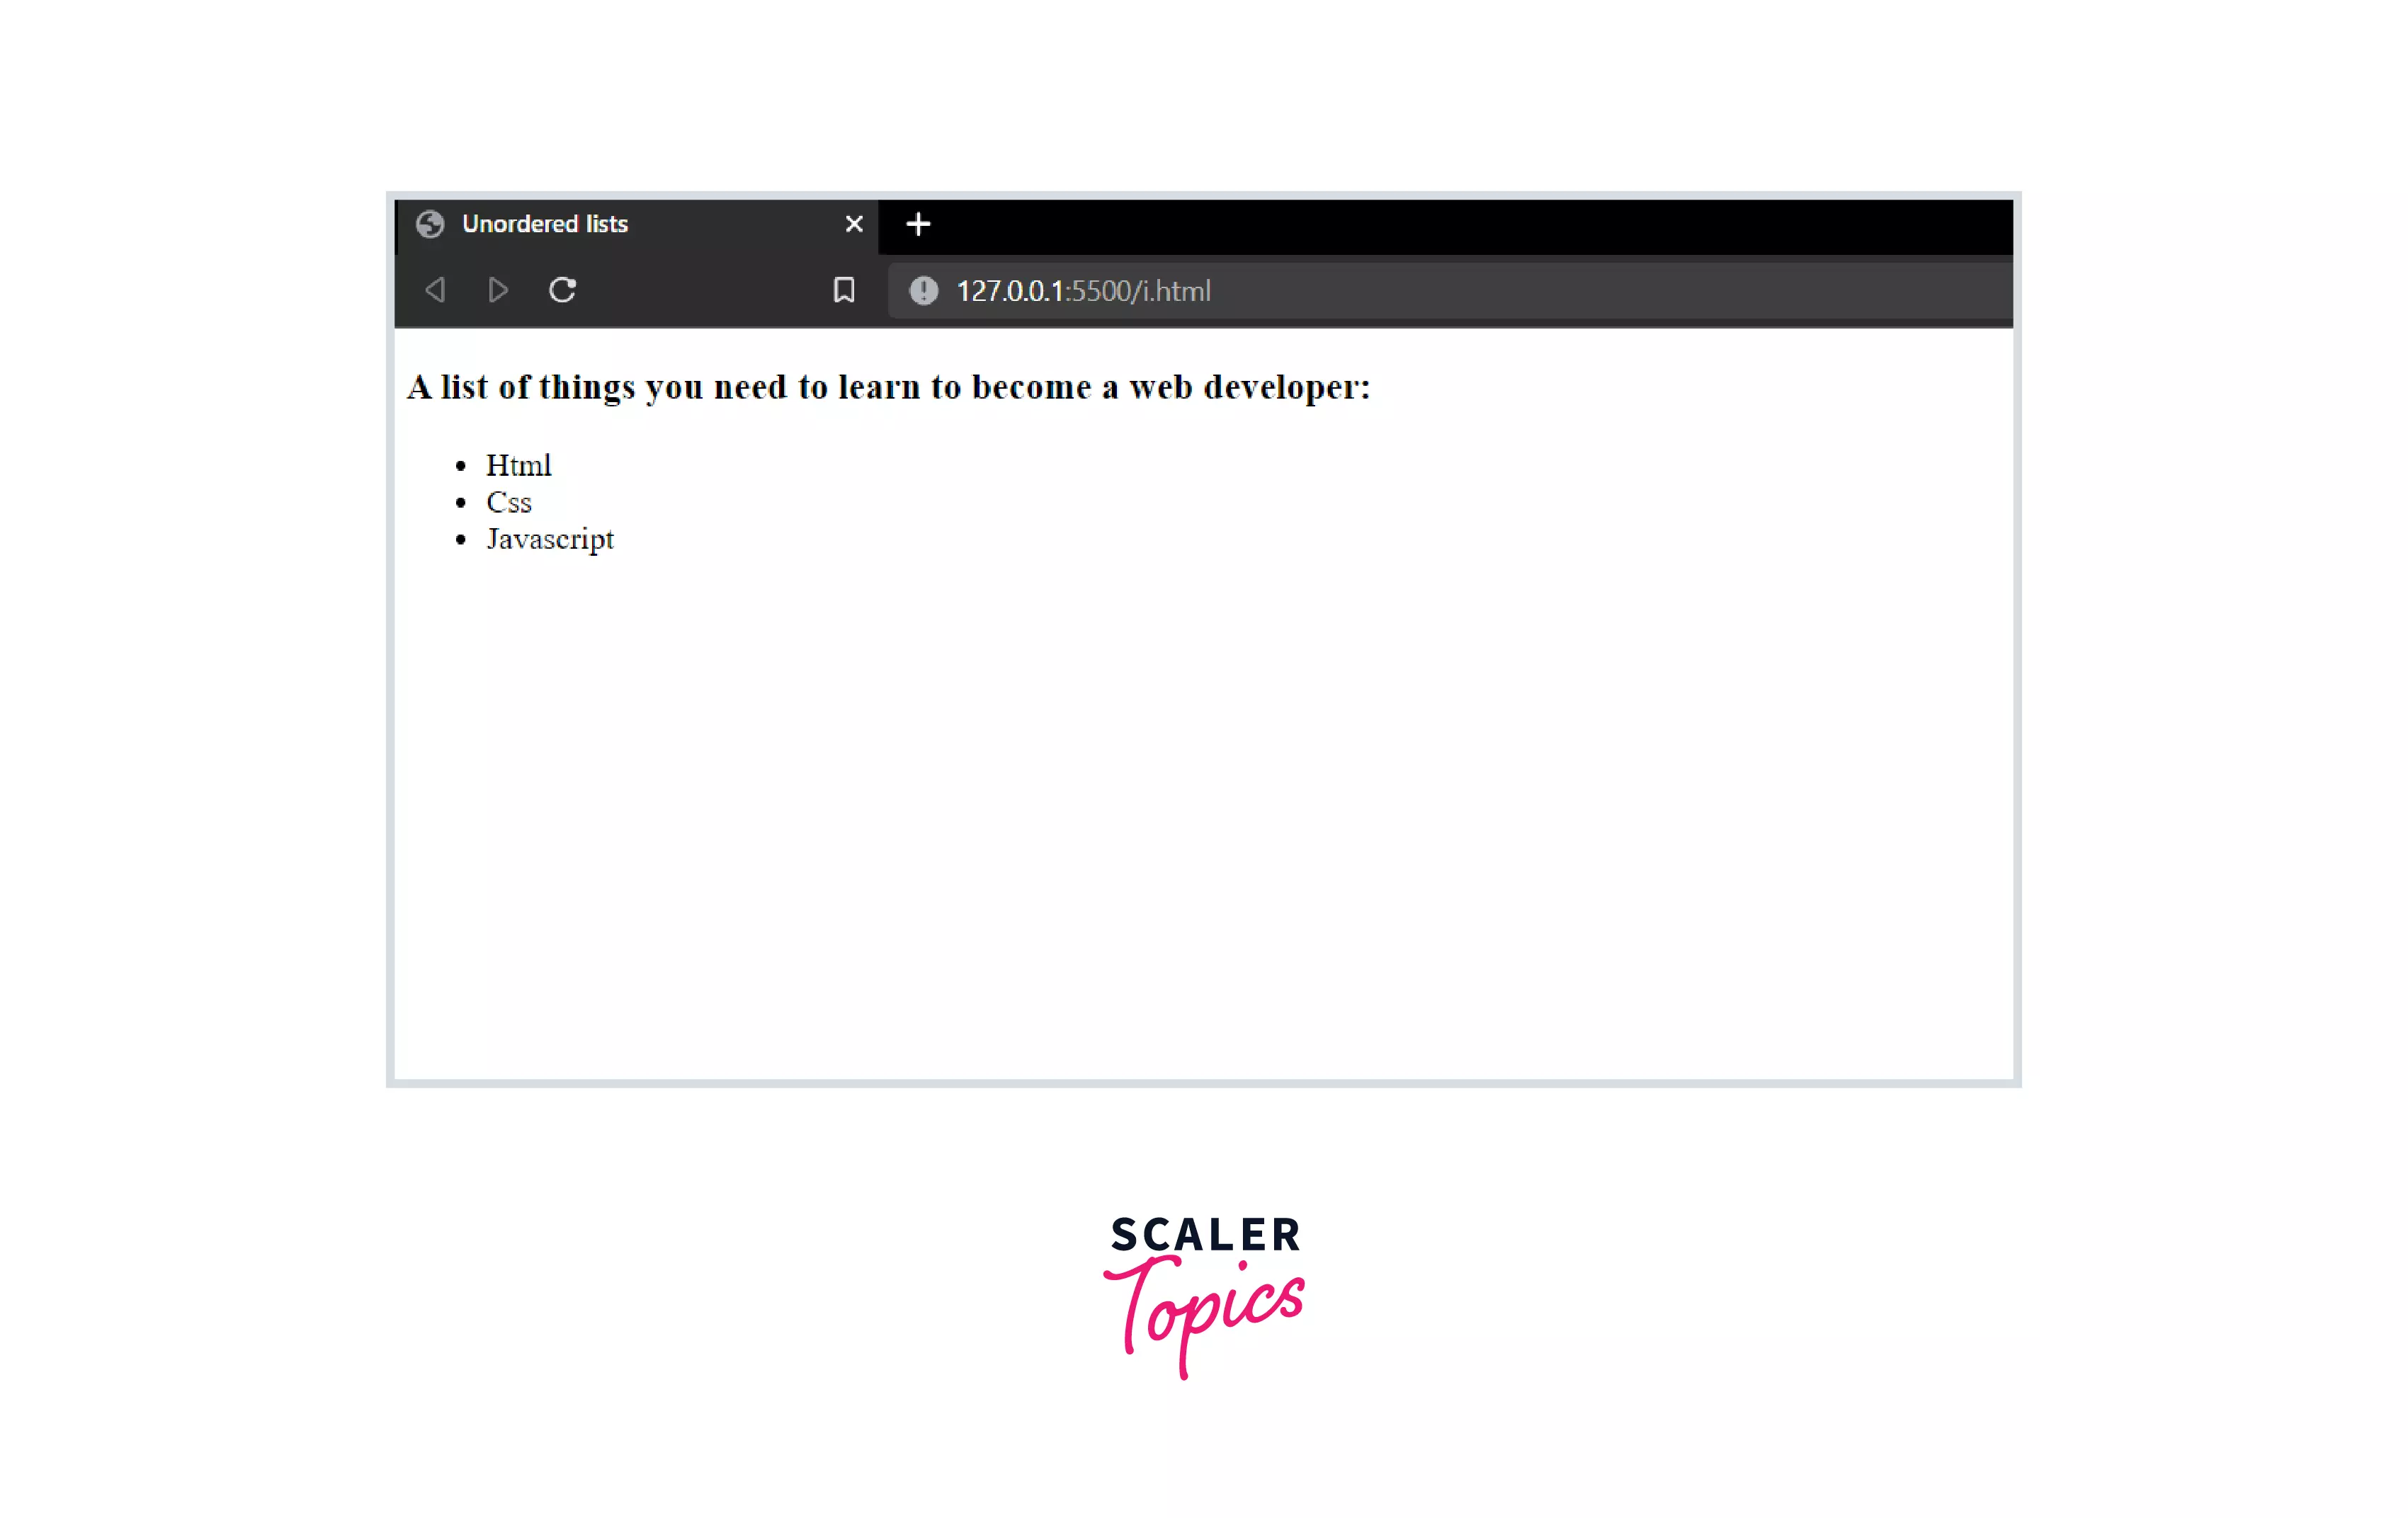
Output:In the above example, we created an unordered list using the ul tag. To add elements to the list, we used the li tag.
Empty Tags
Empty tags are those tags that do not have any closing tags. Empty tags only have the opening tag. In other words, these tags are self-closing. These tags do not have any text or embedded elements. However, they are used to perform specific actions like inserting line breaks or adding metadata to the web page.
Syntax
Types of Empty Tags
The following table explains, in brief, the different types of empty tags in HTML.
| S. No. | Tag Name | Tag Description |
|---|---|---|
| 1 | Defines an area inside an image map | |
| 2 | Specifies the base URL for all relative URLs | |
| 3 | Inserts a line break in the webpage | |
| 4 | Used to specify the properties of columns | |
| 5 | Defines a container for external resources | |
| 6 | Inserts a horizontal line in the webpage | |
| 7 | Used to display images on the webpage | |
| 8 | Used with forms to take input from users | |
| 9 | Used to link external CSS files to the webpage | |
| 10 | Stores the metadata of a webpage | |
| 11 | Used to define parameters for an element | |
| 12 | Used to include external media source to the webpage | |
| 13 | Specifies text tracks for audio or video elements | |
| 14 | Specifies a position where a browser may optionally break a line |
Conclusion
- Container tags are those tags that have both opening and closing tags.
- Empty tags are those tags that only have an opening tag.
- There are many different types of containers and empty tags.
- The common container tags used in HTML are Essential tags, Headings, Text formats, Hyperlinks, Button tags, Division tag, Iframe tags, Navigation tag, Script tag, and Lists.
- There are four essential tags in HTML. They are required to create the structure of a webpage.