How TO — Contact Form
Use a element to process the input. You can learn more about this in our PHP tutorial. Then add inputs (with a matching label) for each field:
Example
Step 2) Add CSS:
Example
/* Style inputs with type=»text», select elements and textareas */
input[type=text], select, textarea width: 100%; /* Full width */
padding: 12px; /* Some padding */
border: 1px solid #ccc; /* Gray border */
border-radius: 4px; /* Rounded borders */
box-sizing: border-box; /* Make sure that padding and width stays in place */
margin-top: 6px; /* Add a top margin */
margin-bottom: 16px; /* Bottom margin */
resize: vertical /* Allow the user to vertically resize the textarea (not horizontally) */
>
/* Style the submit button with a specific background color etc */
input[type=submit] background-color: #04AA6D;
color: white;
padding: 12px 20px;
border: none;
border-radius: 4px;
cursor: pointer;
>
/* When moving the mouse over the submit button, add a darker green color */
input[type=submit]:hover background-color: #45a049;
>
/* Add a background color and some padding around the form */
.container border-radius: 5px;
background-color: #f2f2f2;
padding: 20px;
>
Tip: Go to our HTML Form Tutorial to learn more about HTML Forms.
Tip: Go to our CSS Form Tutorial to learn more about how to style form elements.
Ever heard about W3Schools Spaces? Here you can create your website from scratch or use a template, and host it for free.
Contact Form 7 Setting the Submit Button Hover Styles

This article takes a look at how to style the Contact Form 7 submit button when a user hovers over it, to match the style of your website or improve general UX.
In this article we’re taking a look at how to style the Contact Form 7 Submit button when hovering over it.
By styling the button during the mouse over you can improve the user experience and guide users to click the button and submit the contact form.
This may be for the purpose of getting a quote, general enquiries or a tonne of other great uses for the contact form.
Before we delve into the code during this tutorial we will be using CSS to style the button, if you’re unfamiliar with how to add CSS to WordPress take a look at our article here.
The Code to Set the Hover Styles:
So let’s get started with the CSS code. As long as your installation of Contact Form 7 is standard and your theme styling isn’t overriding it by default you should be using the classes:
.wpcf7-form-control.wpcf7-submitSo to style this we simply add :hover to the end of the class and add our CSS, this would like this:
.wpcf7-form-control.wpcf7-submit:hover
In the above example we are setting the button to have a black background with a 5px solid pink border and a text colour of pink when hovered over. You can style the button however you want to suit your site some good ideas for styling options include:
Border-Radius: 25px; – This sets a curved border of 25px.
Font-size: 150%; – This increases the font size to 150% of the original font size.
Text-transform: Uppercase; – This sets the font to be uppercase when hovered over.
Width: 150%; – This increases the width of the button when hovered over.
Summary:
There are tonnes of examples just like this that will allow you to create a really nice user experience and to match the existing design / style of your overall site and brand.
We hope you found this useful, if you did we would really appreciate a comment or any shares thanks!
How to Create a Contact Form in HTML and CSS
A contact form requires/ needs to collect atleast three things a name, an email address, and a message. Instead of an email address you can collect a phone number or both.
Let us start building the contact form.
Creating a Contact Us Form in HTML
We are going to start with a basic HTML page.
charset="utf-8"> name="viewport" content="width=device-width"> Contact Us Form Contact Us 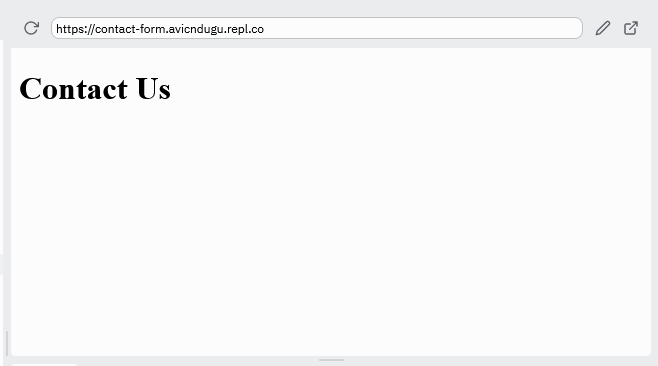
Name Text Box
You can start by creating a form item for the name. You are going to use HTML tag which creates a text box that occupies a single line.
Contact Us name="readername" type="text" placeholder="Jane Smith"/> 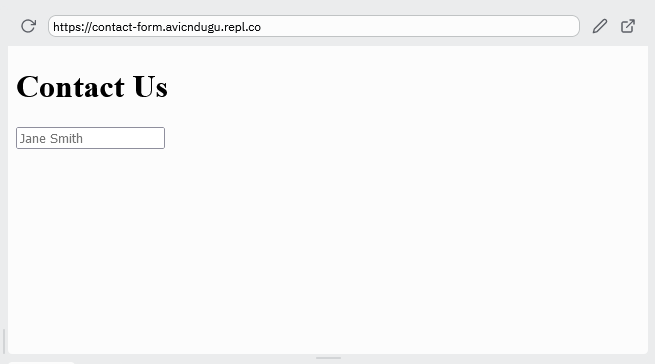
The name attribute should be unique for each input on the form.
The placeholder is used to display text suggestion of what you want the readers to fill in the textbox.
Email Text Box
Next, you can make the email text box. Use the input html element, but this time change the type to email.
Contact Us name="readername" type="text" placeholder="Jane Smith"/> name="readeremail" type="email" placeholder="janesmith@mail.com"/> 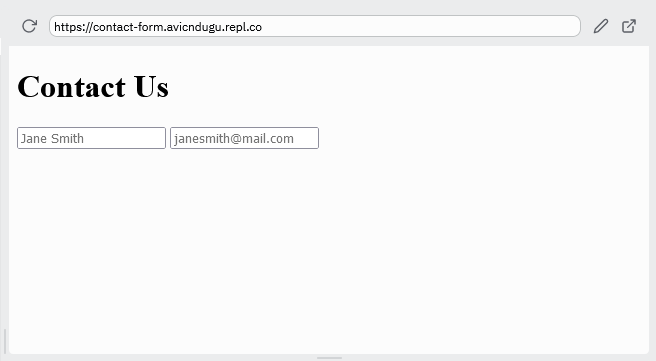
Message Text Box
Next, create a text box for the message. You will use textarea that is meant for multiline text form boxes.
Contact Us name="readername" type="text" placeholder="Jane Smith"/> name="readeremail" type="email" placeholder="janesmith@mail.com"/> name="message" rows="5" cols="30" placeholder="Message"> 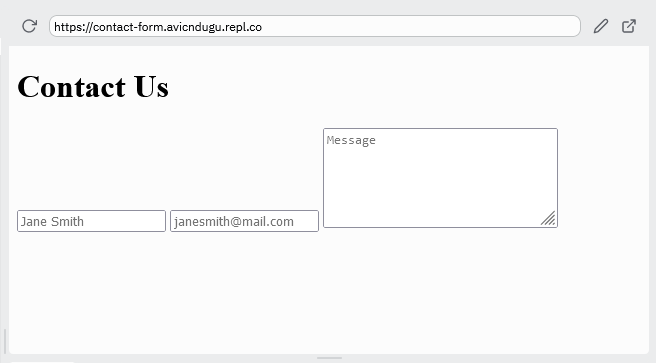
Submit Button
Once the reader completes filling the form, they need a way to send the data. The submit button allows them to send the data.
Contact Us name="readername" type="text" placeholder="Jane Smith"/> name="readeremail" type="email" placeholder="janesmith@mail.com"/> name="message" rows="5" cols="30" placeholder="Message"> type="submit">Send Message 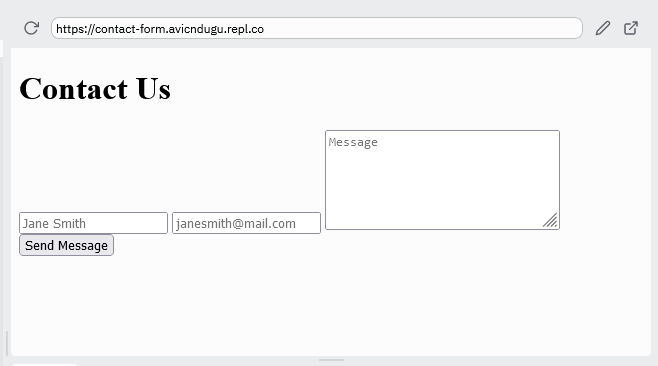
When you press the button, nothing happens. You first need to wrap the form elements in a container.
Form Container
When you are creating a form in HTML, you need to put it inside HTML tags. So, wrap all your form elements with the form tags.
Contact Us name="readername" type="text" placeholder="Jane Smith" /> name="readeremail" type="email" placeholder="janesmith@mail.com" /> required> type="submit">Send Message A form needs two attributes: a method and action.
When sending forms content, there are two methods you can use. The get method and the post method. The post method is more secure compared to the get method.
You also need to setup where the form will submit the data. The action attribute tells your contact form where to send the data.
method="post" action="/contact-form-data/"> name="readername" type="text" placeholder="Jane Smith" /> name="readeremail" type="email" placeholder="janesmith@mail.com" /> name="message" rows="5" cols="30" placeholder="Message"> type="submit">Send Message If you press the button, the form will submit the form data even if all the textboxes are empty.
To make filling the textboxes mandatory before a form can submit data, use the required attribute on the input and textarea elements.
Contact Us method="post" action="/contact-form-data/"> name="readername" type="text" placeholder="Jane Smith" required/> name="readeremail" type="email" placeholder="janesmith@mail.com" required/> name="message" rows="5" cols="30" placeholder="Message" required> type="submit">Send Message 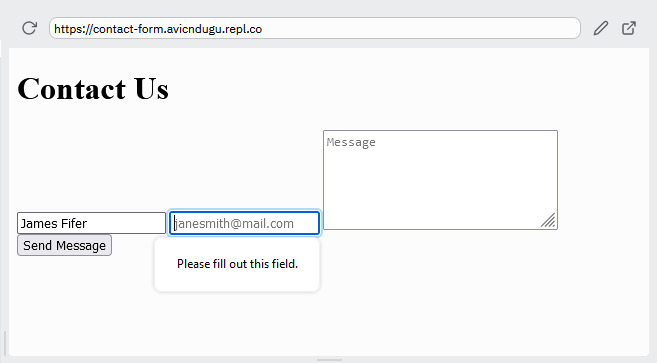
Bonus: Styling a Contact Form Using CSS
You can make your form look great by using CSS. Look at some of the form templates for some ideas.
You are designing your form with style similar to this design.

Start by adjusting the size of text on the form.
input, textarea, button font-size: 1.4rem; > input, textarea, button font-size: 1.4rem; padding: 10px; > Then remove the border on all the form items. Then add a background color to the input and textarea.
input, textarea, button font-size: 1.4rem; padding: 10px; border: none; > input, textarea background-color: #ccc; > 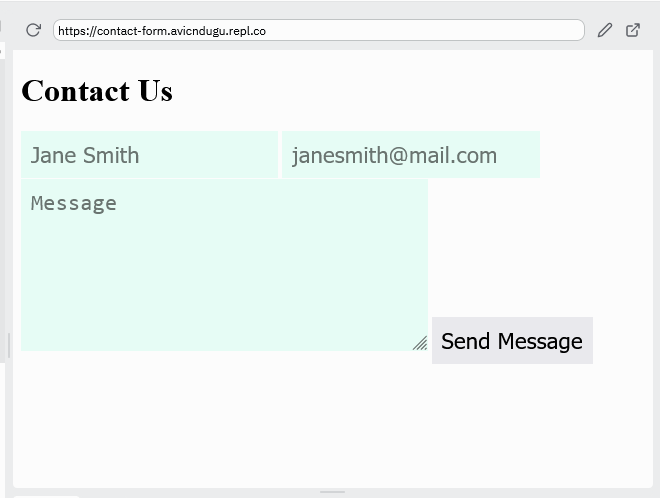
Then, making sure that each item on the form occupies its own line.
input, textarea, button width: 100%; > 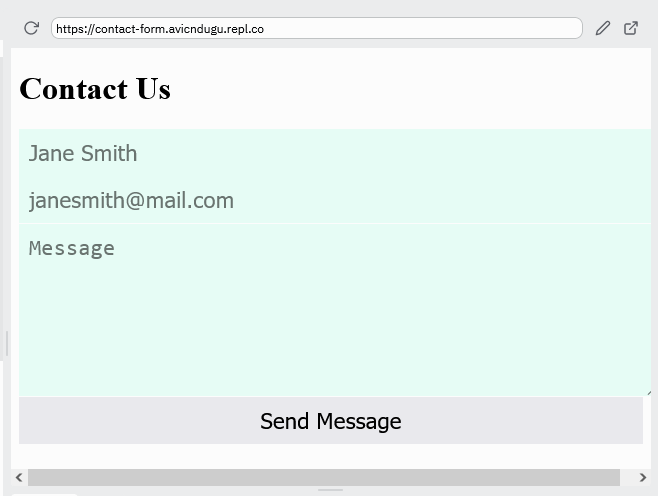
Add spacing between the form items.
input, textarea, button margin-bottom: 15px; > 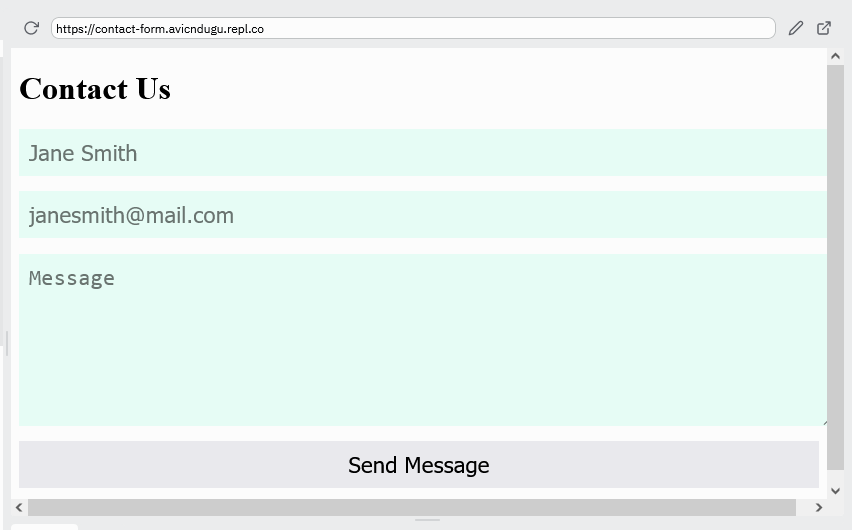
Now add spacing around the form. Correct the form spacing to be equal on all sides.
form margin-left: -20px; padding: 40px; > The form looks great on small screens like smartphones. To make the form look good on desktop use media queries. Add a div to cover the whole form.
@media(min-width: 48em) div max-width: 850px; > > @media(min-width: 48em) div max-width: 850px; margin-left: auto; margin-right: auto; > > 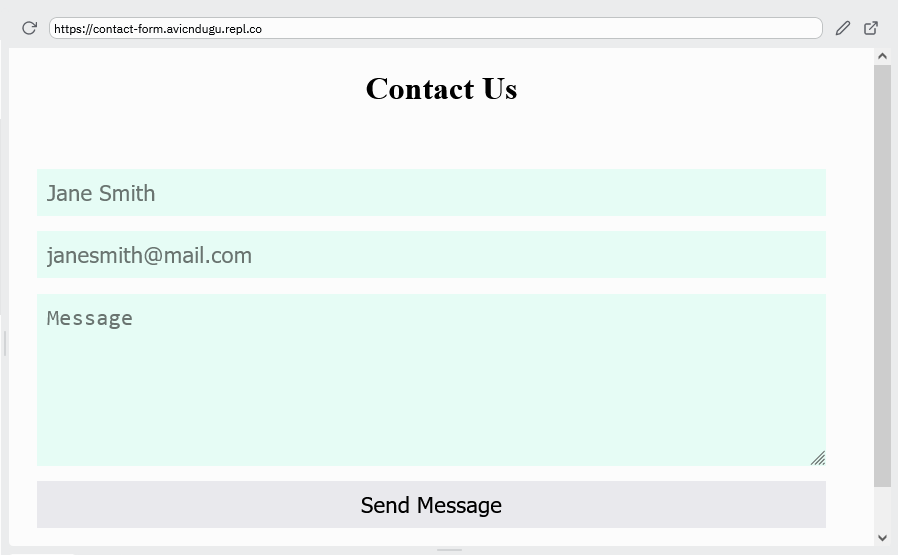
Result
You will note that the button appears to be shorter than the input elements. Add box-sizing property to sort out the problem.
input, textarea, button width: 100%; font-size: 1.4rem; margin-bottom: 15px; padding: 10px; border: none; box-sizing: border-box; > Also center the heading on the contact us page.

Hi there! I am Avic Ndugu.
I have published 100+ blog posts on HTML, CSS, Javascript, React and other related topics. When I am not writing, I enjoy reading, hiking and listening to podcasts.
Front End Developer Newsletter
Receive a monthly Frontend Web Development newsletter.
Never any spam, easily unsubscribe any time.
Start understanding the whole web development field now
Stop all the confusion and start understanding how all the pieces of web development fit together.
Never any spam, easily unsubscribe any time.
About
If you are just starting out you can test the waters by attempting the project-based HTML tutorial for beginners that I made just for you.
Okay, you got me there, I made it because it was fun and I enjoy helping you on your learning journey as well.
You can also use the HTML and CSS projects list as a source of projects to build as you learn HTML, CSS and JavaScript.
Recent Posts
Copyright © 2018 — 2023 DevPractical. All rights reserved.