- : элемент Content Division
- Try it
- Attributes
- Usage notes
- Accessibility concerns
- Examples
- простой пример
- Стильный пример
- HTML
- CSS
- Result
- Specifications
- : базовый блочный элемент
- Интерактивный пример
- Атрибуты
- Примечание
- Примеры
- Простой пример
- Стилизованный пример
- HTML
- CSS
- Результат
- Спецификации
- Поддержка браузерами
- Смотрите также
- Found a content problem with this page?
- MDN
- Support
- Our communities
- Developers
- HTML Div – What is a Div Tag and How to Style it with CSS
- When to Use the div Tag
- 1. Use div in Web Layouts
- 2. Use div in CSS Art
- How to Style the div Tag
- 1. How to Apply Font Properties with div
- 2. How to Apply Color with the Div Tag
- 3. How to Style Texts with the Div Tag
- 4. How to Create a Shadow Effect with the Div Tag
- How to Use Multiple Div Elements without Getting Confused
- Conclusion
: элемент Content Division
HTML элемент является общим контейнером содержимого потока. Он не влияет на контент или макет, пока не будет каким-либо образом стилизован с использованием CSS (например, к нему напрямую применяется стиль или к его родительскому элементу применяется какая-то модель макета, такая как Flexbox ).
Try it
Как «чистый» контейнер, элемент по своей сути ничего не представляет. Вместо этого он используется для группировки контента, чтобы его можно было легко стилизовать с помощью атрибутов class или id , пометки раздела документа как написанного на другом языке (с помощью атрибута lang ) и т. Д.
| Content categories | Текущее содержимое , осязаемое содержимое . |
|---|---|
| Permitted content | Flow content. Или (в WHATWG HTML): если родительский элемент является элементом : один или несколько элементов , за которыми следуют один или несколько элементов , необязательно, смешанные с элементами и . |
| Tag omission | Нет,и начальная и конечная метки обязательны. |
| Permitted parents | Любой элемент, который принимает потоковое содержимое . Или (в WHATWG HTML): элемент . |
| Неявная роль ARIA | Нет соответствующей роли |
| Разрешенные роли АРИА | Any |
| DOM interface | HTMLDivElement |
Attributes
Примечание: align атрибут является устаревшим; больше не используйте его. Вместо этого вы должны использовать свойства или методы CSS, такие как CSS Grid или CSS Flexbox, для выравнивания и позиционирования элементов на странице.
Usage notes
Accessibility concerns
Элемент имеет неявную роль generic , а не никакую. Это может повлиять на определенные объявления комбинаций ARIA, которые ожидают, что элемент прямого потомка с определенной ролью будет функционировать должным образом.
Examples
простой пример
div> p>Any kind of content here. Such as <p>, <table>. You name it! p> div>
Стильный пример
В этом примере создается затененный блок путем применения стиля к с помощью CSS. Обратите внимание на использование атрибута class в для применения стиля с именем «shadowbox» к элементу.
HTML
div class="shadowbox"> p>Here's a very interesting note displayed in a lovely shadowed box. p> div>
CSS
.shadowbox < width: 15em; border: 1px solid #333; box-shadow: 8px 8px 5px #444; padding: 8px 12px; background-image: linear-gradient(180deg, #fff, #ddd 40%, #ccc); >
Result
Specifications
: базовый блочный элемент
Элемент разделения контента HTML ( ) является универсальным контейнером для потокового контента. Он не влияет на контент или макет до тех пор, пока не будет стилизован с помощью CSS.
Интерактивный пример
Являясь «чистым» контейнером, элемент , по существу, не представляет ничего. Между тем, он используется для группировки контента, что позволяет легко его стилизовать, используя атрибуты class или id , помечать раздел документа, написанный на разных языках (используя атрибут lang ), и так далее.
| Категории контента | Потоковый контент, явный контент. |
|---|---|
| Допустимое содержимое | Потоковый контент или (в WHATWG HTML), если родительским является элемент : один или несколько элементов , сопровождаемых одним или более элементами , в ряде случаев смешанных с элементами и . |
| Пропуск тегов | Ни одного; Оба тега, открывающий и закрывающий, являются обязательными. |
| Допустимые родители | Любой элемент, который разрешает потоковый контент в качестве содержимого.. Или (в WHATWG HTML): элемент . |
| Допустимые ARIA-роли | Любые |
| DOM-интерфейс | HTMLDivElement |
Атрибуты
К этому элементу применимы глобальные атрибуты.
Примечание: Атрибут align устарел и вышел из употребления; не используйте его больше. Вместо этого, вам следует использовать свойства CSS или методы, такие как CSS Grid или CSS Flexbox для выравнивания и изменения положения элементов на странице.
Примечание
- Элемент следует использовать только в том случае, если никакой другой семантический элемент (такой как или ) не подходит.
Примеры
Простой пример
div> p>Любой тип контента. Например, <p>, <table>. Все что угодно!p> div>
Результат будет выглядеть так:
Стилизованный пример
Этот пример создаёт прямоугольник с тенью, применяя стили к с помощью CSS. Заметьте, что использование атрибута class на элементе даёт применение стилей «shadowbox» (в дословном переводе означает «теневая коробка») к элементу.
HTML
div class="shadowbox"> p>Вот очень интересная заметка в прекрасном прямоугольнике с тенью.p> div>
CSS
.shadowbox width: 15em; border: 1px solid #333; box-shadow: 8px 8px 5px #444; padding: 8px 12px; background-image: linear-gradient(180deg, #fff, #ddd 40%, #ccc); > Результат
Спецификации
Поддержка браузерами
BCD tables only load in the browser
Смотрите также
Found a content problem with this page?
This page was last modified on 21 июн. 2023 г. by MDN contributors.
Your blueprint for a better internet.
MDN
Support
Our communities
Developers
Visit Mozilla Corporation’s not-for-profit parent, the Mozilla Foundation.
Portions of this content are ©1998– 2023 by individual mozilla.org contributors. Content available under a Creative Commons license.
HTML Div – What is a Div Tag and How to Style it with CSS

Kolade Chris
The HTML division tag, called «div» for short, is a special element that lets you group similar sets of content together on a web page. You can use it as a generic container for associating similar content.
The div tag is one of the most used tags and doesn’t seem to be going anywhere despite the introduction of semantic elements (these elements let you use several tags as a container).
In this tutorial, I will show you the various things you can do with the div tag, how you can use multiple divs the same HTML file without getting confused, and how to style it.
When to Use the div Tag
The div tag is multi-purpose – you can use it to do several things on a web page. You’ll mostly use it in web layouts and CSS art, but it’s super flexible.
Ultimately, you’ll almost always to use it to style whatever it contains or manipulate such things with JavaScript.
1. Use div in Web Layouts
You’ll primarily use the div tag to group similar content together so you can style it easily. A great example of this is using div to group different sections of a webpage together. You can put together the header, nav, sections, and footer of a page in an individual div tag so they can be styled together.
Later in this tutorial, I will take you through how to make a web layout with multiple div tags without getting confused.
Div itself does not have a direct effect on the presentation of the content unless you style it.
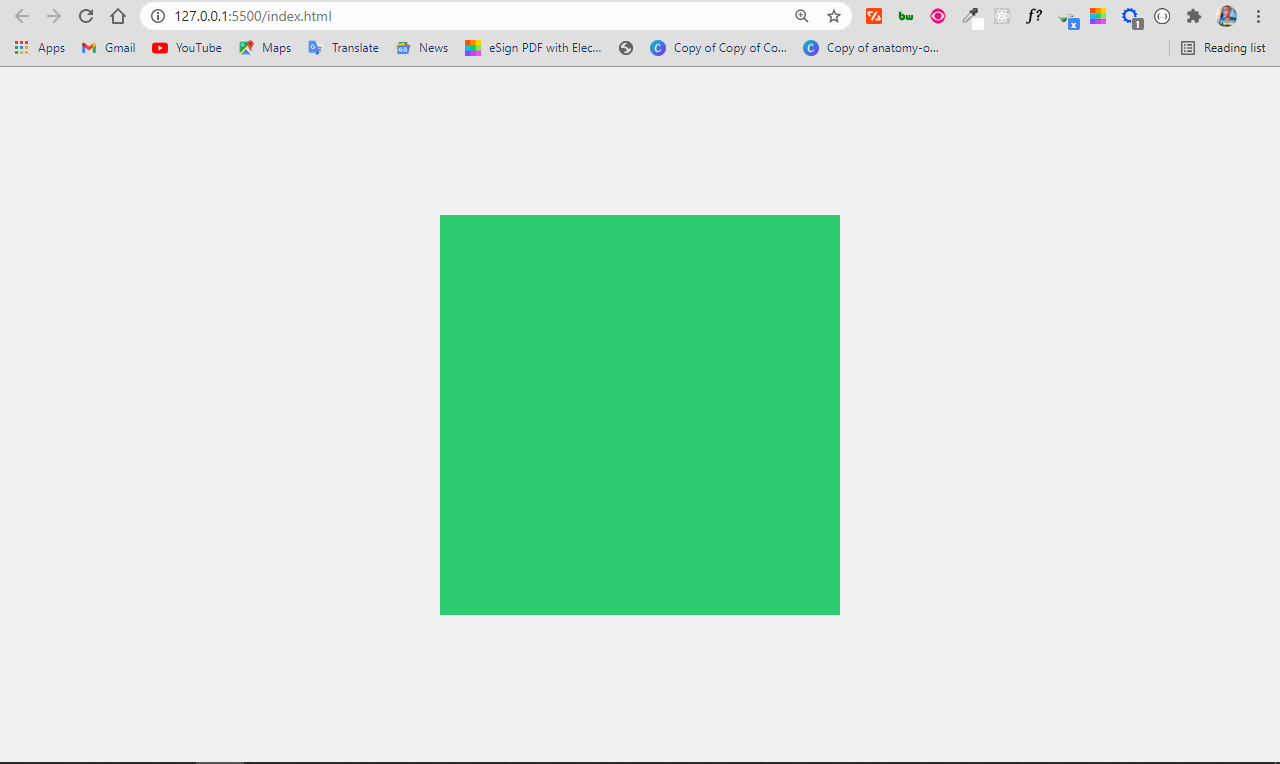
2. Use div in CSS Art
With the div tag, you can make various shapes and draw anything because it is easy to style.
To make a square with div tag, you first need to define an empty div tag and attach a class attribute to it in the HTML. In the CSS, select the div with the class attribute, then set an equal height and width for it.
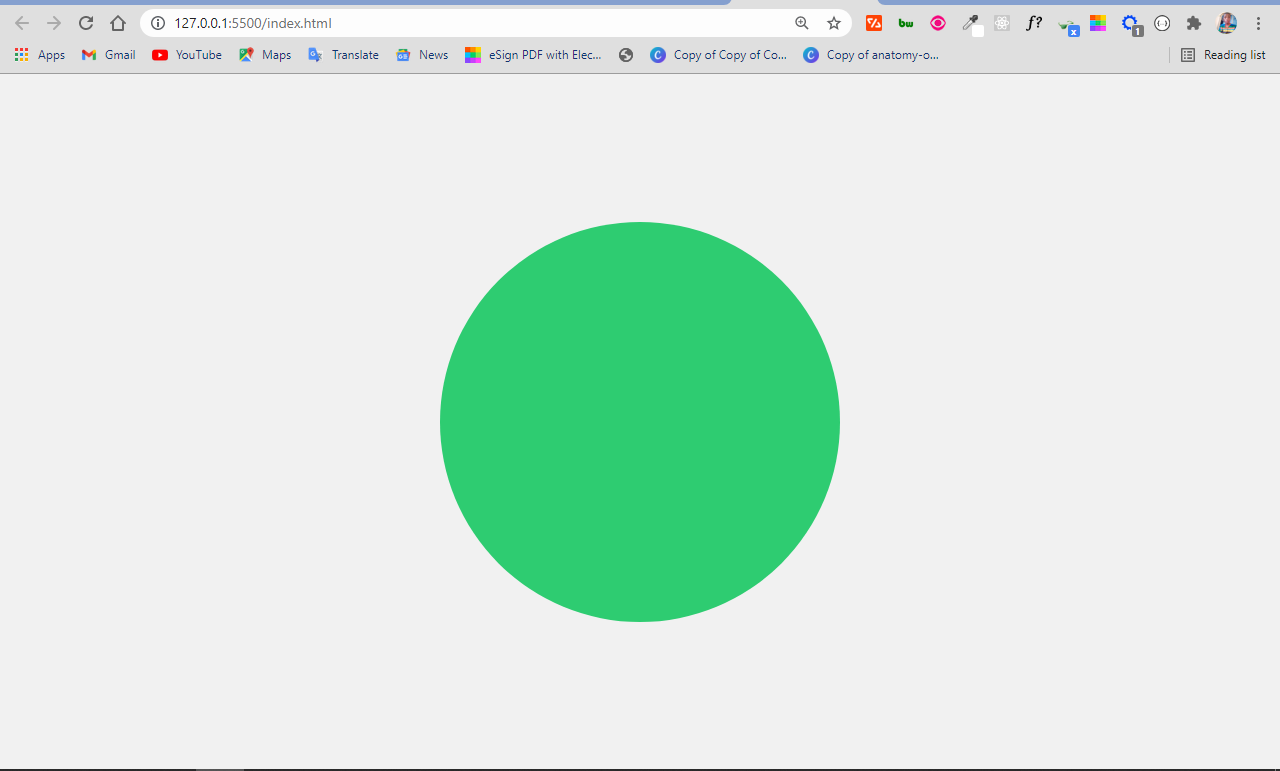
You can make a circle with the div tag by coding an empty div in the HTML, setting an equal height and width for it in the CSS, then a border-radius of 50%.
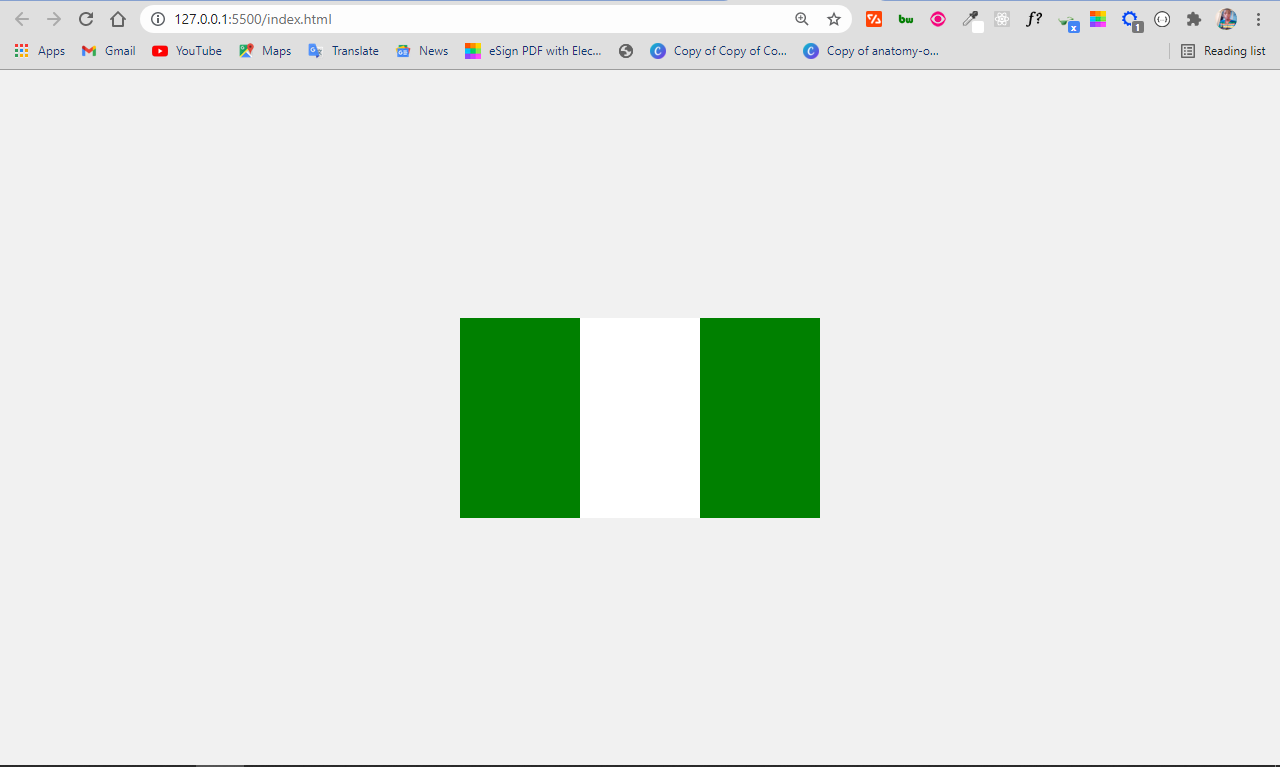
Making the Nigerian flag with the div tag is not that hard. The flag is a rectangular shape with the colors green, white, and green.
To make it, define 3 div tags and attach different classes, then style them appropriately in the CSS.
.naija-flag < display: flex; >.first-green < height: 100px; width: 60px; background-color: green; >.white < height: 100px; width: 60px; background-color: white; >.second-green
How to Style the div Tag
As we discussed above, the div tag is very easy to style. It’s one of the reasons why many developers use it to group similar content.
The div tag accepts almost all CSS properties without a problem. Let’s look at a few examples of that now.
1. How to Apply Font Properties with div
You can apply the CSS properties such as font-size , font-family , font-weight , and font-style on content grouped together with the div tag:
Lorem ipsum dolor sit amet consectetur adipisicing elit. Voluptate quo ullam modi alias assumenda, itaque libero? Quas quidem sint illo.
Lorem ipsum dolor sit, amet consectetur adipisicing elit. Necessitatibus ipsam eaque rem dicta, quos quas ipsum.

2. How to Apply Color with the Div Tag
You can apply the CSS color and background-color properties on content grouped together with the div tag:
Lorem ipsum dolor sit amet consectetur adipisicing elit. Voluptate quo ullam modi alias assumenda, itaque libero? Quas quidem sint illo.
Lorem ipsum dolor sit, amet consectetur adipisicing elit. Necessitatibus ipsam eaque rem dicta, quos quas ipsum.

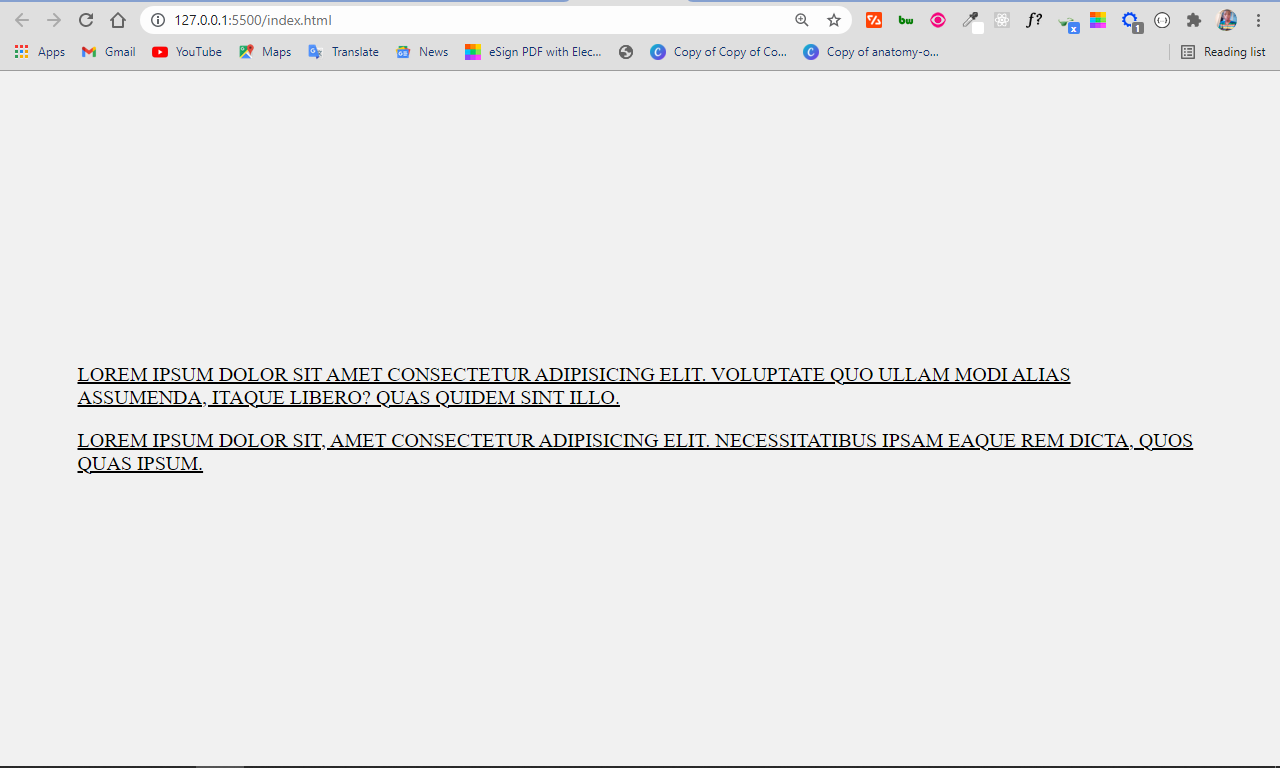
3. How to Style Texts with the Div Tag
You can apply the CSS text-transform and text-decoration properties on a div tag like this:
Lorem ipsum dolor sit amet consectetur adipisicing elit. Voluptate quo ullam modi alias assumenda, itaque libero? Quas quidem sint illo.
Lorem ipsum dolor sit, amet consectetur adipisicing elit. Necessitatibus ipsam eaque rem dicta, quos quas ipsum.
4. How to Create a Shadow Effect with the Div Tag
You can create a shadow effect with the div tag with the box-shadow property:
  Before paying to learn programming, checkout freeCodeCamp.org
The HTML, CSS, and JavaScript curricula would take you from zero to hero in web development. There is a Python curriculum that will get you a considerable knowledge in Python
And an upcoming Data Science curriculum.
What’s happening in the CSS above?
I was able to create the shadow effect with the CSS box-shadow property.
- The first value (2px) represents the offset on the x-axis (offset-x)
- The second (another 2px) represents the offset on the y-axis (offset-y)
- The next 20px is for the blur-radius, that is, how blurry you want the shadow to be.
- The 23px value is the spread radius (how far you want the shadow to spread)
- The last value is the shadow color – in this case, #7fecad.

The output looks like this:
How to Use Multiple Div Elements without Getting Confused
Div tags are commonly used to group similar content together. In older and even some newer web pages, you’ll find divs all around, despite the fact that semantic tags are recommended for accessibility and better SEO.
Since div tags are still very common, I recommend applying class and id attributes to them so you can manipulate individual div elements with those attributes.
I will walk you through how to put this into practice by making a basic web layout.
The first section you’ll want to make is the header, containing the logo and navbar:
Before styling the navbar, I made some CSS resets to make things align correctly and display nicely:
* < margin: 0; padding: 0; box-sizing: border-box; >.hero, .about, .services, .contact
In the code snippet above:
- I removed the default margin and padding
- I set a maximum width for the main sections so they don’t go all across for better UX
- I set a margin at the bottom of each section to give them some space
- I set a margin 0 at the top and bottom, auto on the left and right to center them.
To style the navbar appropriately, I will grab the container div tag with its class attribute, header . I’ll give it a display of flex , alongside some other properties to lay it out nicely. I will also grab the div wrapped around the navbar ( ul element) by its class and lay it out with Flexbox.
For the remaining sections apart from the footer, the HTML and stylings are generic:
Hero Section
About Us
Our Services
Contact Us
© 2021 All Rights Reserved
.hero < background-color: #eee; height: 200px; >.hero h1 < display: flex; align-items: center; justify-content: center; line-height: 6; >.about < background-color: #eee; height: 200px; >.about h1 < display: flex; align-items: center; justify-content: center; line-height: 6; >.services < background-color: #eee; height: 200px; >.services h1 < display: flex; align-items: center; justify-content: center; line-height: 6; >.contact < background-color: #eee; height: 200px; >.contact h1 < display: flex; align-items: center; justify-content: center; line-height: 6; >.footer < background-color: #777; height: 40px; >.footer p
I gave the individual sections a greyish background color and a height of 200px. I positioned the h1 tags inside in their centers with Flexbox and applied a line height of 1.5 to each of them.
Finally, I gave the footer a deeper grey background color to make it distinct, and centered the content in it with a line height of 1.7.
The resulting layout looks like this:
Conclusion
The HTML div tag is commonly used among web developers everywhere.
Just keep in mind that you should usually use semantic HTML in place of the div tag unless none of them (the semantic tags) really match the content to group together. This is because semantic tags are better for accessibility and SEO.
In short, the div tag remains useful and isn’t going anywhere anytime soon, so feel free to use it when necessary.
Thank you for reading and have a nice time.