- Checkboxes
- Checked or not checked?
- Multiple choices
- Labels for checkboxes
- Working dynamically with a checkbox
- Summary
- How to Create Checkbox with a Clickable Label
- Create HTML
- Add CSS
- Example of creating a checkbox with a clickable label by wrapping the tag:
- Result
- Example of creating a checkbox with a clickable label using the for attribute:
- a11ymatters
- Article Outline
- Summary
- As a user
- Ingredients
- Default Accessible Checkbox
- Associating the label with the input
- Preventing Text Selection
- Fieldset for the win
- Custom Checkbox Design
- Using CSS and Background Images
- Using Inline SVG
- Things to Consider When Customizing a Checkbox
- Using Pointer Events
- Codepen Demo
- Share the article:
- Did you like the article? You can hire me.
- About the author:
- Ahmad Shadeed
Checkboxes
Using checkboxes is a good option when you want to give your visitors the option to choose several items from a group of choices. In that regard, the checkbox works opposite of a radio button, which only allows you to select one item from a group of choices. In its most simple form, a checkbox is simply an input element with the type property set to checkbox, like this:
However, as with all input elements, you need to define a name for it to be usable — without a name, the element won’t be identifiable when posting the form back to a server for processing. You also want to set a value — this will be the value sent to the server if the checkbox has been checked. Here’s an example:
With this example, if the checkbox has been checked and the form is submitted to a server, the server will be able to read the form element «nameOfChoice» and its value will be 1.
Checked or not checked?
Notice how all the checkboxes so far have not been checked from the beginning — the user would have to interact with the checkbox to change its state from unchecked to checked. This might be what you want, but sometimes, you want the checkbox to be checked by default, either to suggest a choice to the user or because you are showing a checkbox with a value that corresponds to an existing setting, e.g. from a database. Fortunately, this is very simple — just add the checked attribute to the checkbox:
In the old days of XHTML, where each attribute should always have a value, even the boolean attributes, it would look like this:
Either way should work in all modern browsers, but the first way is shorter and more «HTML5-like».
Multiple choices
So far, all our checkboxes have been simple switches, e.g. for defining whether an option is on or off. Checkboxes are great for that, but as mentioned, they can also be used to allow the user a selection of possible options. Let me show you a neat example where this makes sense:
Cats
Dogs
Birds
Notice how we now have multiple checkboxes, but they all share the same name («favorite_pet») but different values (e.g. «Dogs»). When this form is submitted back to the server, all these checkboxes will be represented by a single name, but the value will be an array of 0-3 items. If you had used radio buttons instead of checkboxes, the user would only be allowed to pick a single favorite animal, but with checkboxes, they can select none of them, all of them or some of them.
Labels for checkboxes
If you tested the previous example, you will notice that we can put text next to a checkbox, but they are still two separate things — you can’t click the text to trigger the checkbox. This can be really annoying for the user, but fortunately for us, it’s easy to solve: Just use the label element! Here’s a basic example to show you the difference:
Two checkboxes — one without a label and one with. They might look almost identical, but the one with the label can be triggered by clicking both the actual checkbox and the attached label. This is nice if you’re sitting on a desktop PC with a mouse, but even better when you’re using a touch device like a smartphone, where small checkboxes can be hard to hit with your finger.
The label is very simple — it uses the for attribute to attach itself to a form element with a matching id attribute (notice how I have «dogs» in both places).
Working dynamically with a checkbox
Just like any other DOM element, you are able to manipulate a checkbox using JavaScript. In that regard, it could be interesting to check whether a checkbox is checked or not and perhaps add some logic to control how many options a user can select. To show you how this can be done, I have extended a previous example (the «Favorite Pet» selector) to include some JavaScript magic:
Cats
Dogs
Birds
function ValidatePetSelection()
<
var checkboxes = document.getElementsByName("favorite_pet");
var numberOfCheckedItems = 0;
for(var i = 0; i < checkboxes.length; i++)
<
if(checkboxes[i].checked)
numberOfCheckedItems++;
>
if(numberOfCheckedItems > 2)
<
alert("You can't select more than two favorite pets!");
return false;
>
> Allow me to quickly run through what this code does. We have the same form as before, but we have added an event handler to each of the checkboxes, which causes them to call a JavaScript function (ValidatePetSelection) when the user clicks them. In this function, we get a hold of all the relevant checkboxes using the getElementsByName function and then we loop through them to see if they are checked or not — for each checked item, we add to a number. This number is then checked and if it exceeds two, then we alert the user about the problem (only two pets can be selected) and then we return false. Returning false will prevent the checkbox from being checked.
This was just a simple example of how to work with checkboxes using JavaScript. You can do much more, especially if you use a JavaScript framework like jQuery, which will make it a lot easier to select and manipulate DOM elements.
Summary
Checkboxes allow you to setup selectable options for your users — either to toggle a single setting on or off, or to allow for multiple choices, like in the Favorite Pet example. You should use labels to tie your checkbox and the descriptive text together, to allow the user to click a larger area when manipulating the checkbox — this is also good for assisting technologies like screen readers for visually impaired.
Is your preferred language not on the list? Click here to help us translate this article into your language!
How to Create Checkbox with a Clickable Label
It is possible to create a checkbox with a clickable label. This means that the checkbox gets on/off when clicking the label.
In this snippet, we suggest two methods of creating a checkbox with a clickable label. This is possible to do either by wrapping a tag, or by using a “for” attribute.
First, let’s see how to use the method of wrapping the tag.
Create HTML
label class="label"> input type="checkbox" name="checkbox" value="text"> Text label>Add CSS
- Use the background-color, border, and color properties.
- Add padding and margin.
- Set the text-align to “center” and the display to “inline-block”.
- Specify the font-size and cursor properties.
.label < background-color: #fff; border: 1px solid #666; color: #000; padding: 10px 15px; text-align: center; display: inline-block; font-size: 20px; margin: 15px 15px; cursor: pointer; >Example of creating a checkbox with a clickable label by wrapping the tag:
html> html> head> title>Title of the document title> style> .label < background-color: #fff; border: 1px solid #666; color: #000; padding: 10px 15px; text-align: center; display: inline-block; font-size: 20px; margin: 15px; cursor: pointer; > style> head> body> label class="label"> input type="checkbox" name="checkbox" value="text">Text label> body> html>Result
A label can’t have more than one input, and it can omit the for attribute and will be supposed to be for the input within it.
The for attribute must match the value of the id attribute. When absent, the label is associated with the element’s content. Also, note that the id should be unique on the page.
Example of creating a checkbox with a clickable label using the for attribute:
html> html> head> title>Title of the document title> style> .text < background-color: #fff; border: 1px solid #666; color: #000; padding: 10px 15px; text-align: center; display: inline-block; font-size: 15px; margin: 15px; cursor: pointer; > style> head> body> input type="checkbox" name="checkbox" id="checkID" value="text"> label class="text" for="checkID">Text label> body> html>The first method that we demonstrated above has some advantages over using the for attribute. It is better as there isn’t any need to assign an id to every checkbox or to use an additional attribute within the . One more advantage is that the clickable area of the label is also the label’s clickable area.
a11ymatters
Last updated: Tuesday, September 17, 2019.
If you have a suggestion or an issue please submit it on a11ymatters on Github.
Article Outline
Summary
How to properly mark up a checkbox and customizing its design taking in consideration that the result is accessible and easy to use.
As a user
- As a user, I should be able to navigate by keyboard.
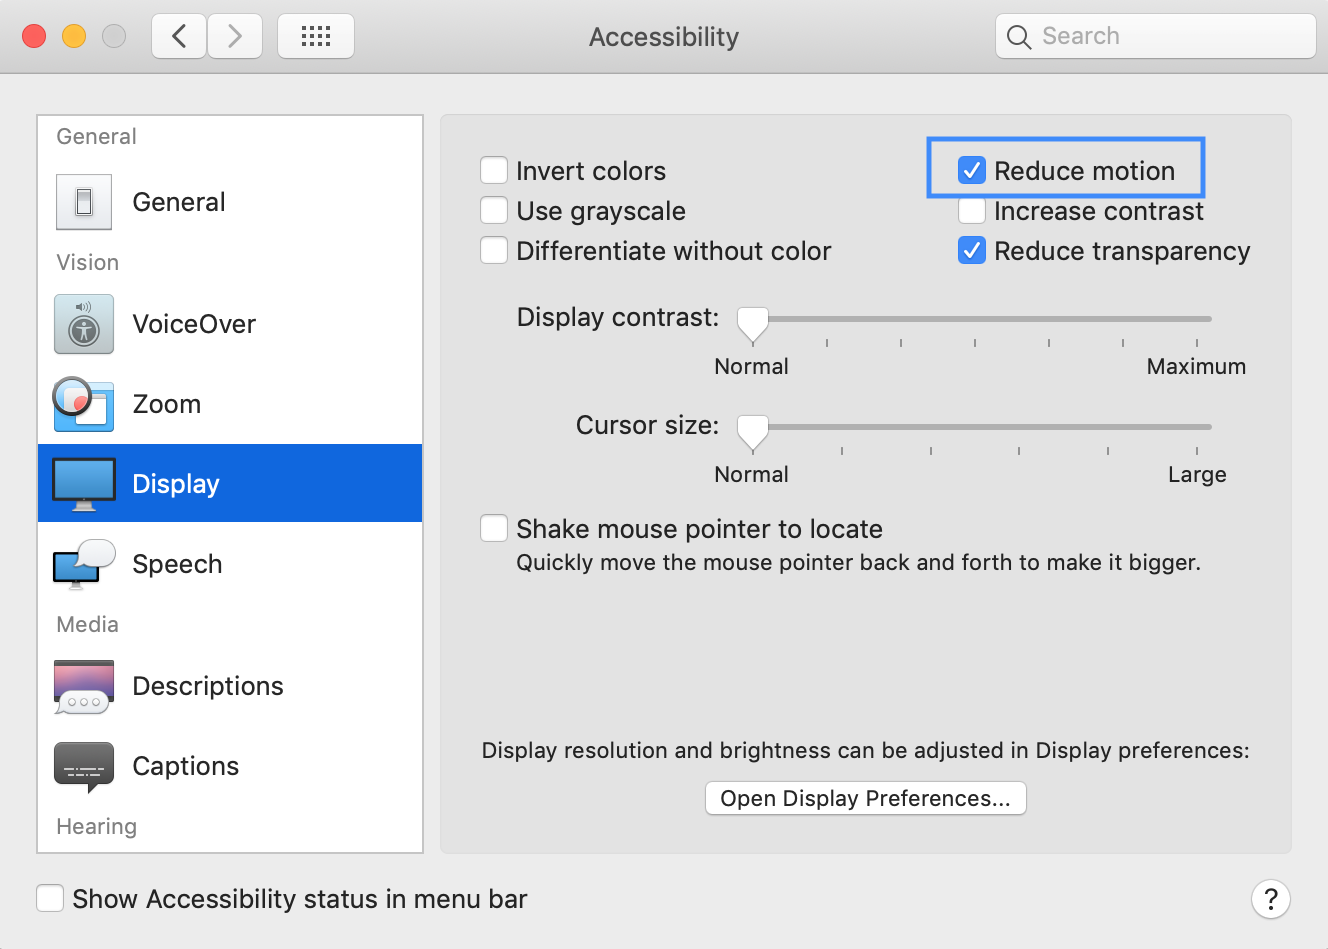
- As a user, I expect that there will be no animation in case I disabled animations from system preferences.
- As a user, I should see a clear focus style.
- As a user, In multiple checkboxes, I should hear the question or title related to them.
Ingredients
of type checkbox are rendered by default as square boxes that are checked (ticked) when activated. They allow you to select or deselect single values in a form.
Default Accessible Checkbox
Let’s mark up a checkbox in HTML.
The checkbox can be activated only by clicking on the box only. If the user clicked on the text, it won’t be activated. This is not good.
Associating the label with the input
To achieve that, an ID should be added to the checkbox . Then, this ID will be used as a for attribute for the element.
Now, when the user clicks on the input’s label text, it will be activated. This is much better!
Preventing Text Selection
Sometimes, when the checkbox is activated/deactivated, the input’s label text got selected like below:

This can be solved by using user-select in CSS.

The question “What’s your favorite meal?” hasn’t been read to the user. As a result, when going through the checkboxes, the user won’t know what the context they are in.
Fieldset for the win
By default, there is an HTML element that is suitable for that use case. It can be marked up as below:

Much better. Now the user can know the context. This is a group and there is a question related to it with multiple answers.
Custom Checkbox Design
Using CSS and Background Images
Most of the time, a custom design for the checkbox is required. Let’s explore how to achieve that.
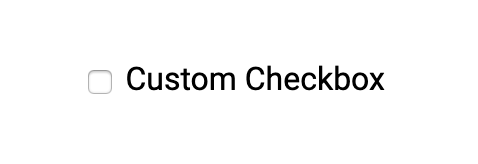
Since the default checkbox design is not customizable, I will hide it visually and add a pseudo element. By visually, I mean to hide it from the UI and keep it in the DOM for screen reader and keyboard users.
I added some basic CSS to style a fake checkbox with before pseudo element.
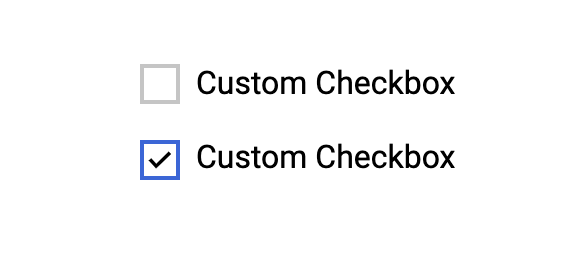
Next, I will add the checked style for the checkbox. Since the input is there, it will be used to select the label before pseudo element.
Using Inline SVG
It’s also possible to use an inline SVG element for the checkmark. That way, you can have a bigger control which can open a lot of possibilities.
In the below example, I placed an inline SVG and animated the checkmark path in CSS with stroke-dasharray and stroke-dashoffset properties.
Things to Consider When Customizing a Checkbox
Using Pointer Events
In the custom checkbox I built, the checkbox won’t be active when clicking over the SVG tick element. To avoid that, it’s better to add disable pointer events on it.
In the below GIF, I’m trying to click on the square but it’s not working. It’s like being checked for a few milliseconds and then it’s returned to its initial state. That’s because I’m clicking on the SVG element.
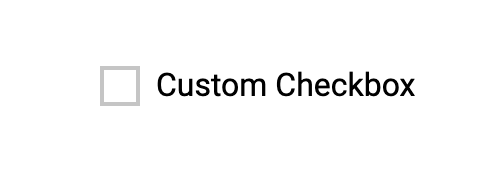
If you’ve noticed, the outline on the first custom checkbox is not a 100% rectangle. See the below figure:
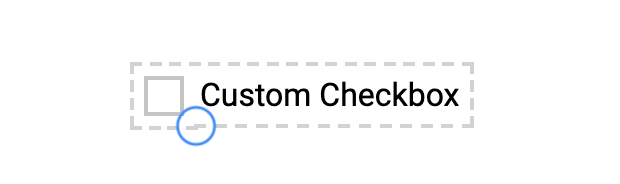
That’s due to that the label itself is an inline element. When adding display: inline-block or display: block to this, the issue is solved and the outline is clear.
For our case, it’s recommended to account for that in CSS and add the following:
@media (prefers-reduced-motion: reduce) .c-checkbox__label--svg .path transition: none; > >Codepen Demo
Share the article:
Did you like the article? You can hire me.
I’m a UX, UI Designer and Front End Developer. I focus on building accessible and easy to use websites and apps. Get in touch by email: contact@ishadeed.com
About the author:

Ahmad Shadeed
UI, UX Designer & Front-End Developer. Writing about web accessibility on @weba11ymatters and sharing articles on my blog. Interested in Modular Design, CSS Architecture and Layout Design.