- How to register a broadcast receiver Programmatically in Android using Kotlin?
- How to use BroadcastReceiver in Kotlin?
- Example
- Example
- Example
- Broadcast Receiver in Kotlin — How to Register Broadcast Receiver in Activity Dynamically
- Android BroadcastReceiver and Receive system Broadcast example in Kotlin
- How to receiving Broadcast
- Download Android BroadcastReceiver source code
How to register a broadcast receiver Programmatically in Android using Kotlin?
This example demonstrates how to register a broadcast receiver Programmatically in Android using Kotlin.
Step 1 − Create a new project in Android Studio, go to File ⇒ New Project and fill all required details to create a new project.
Step 2 − Add the following code to res/layout/activity_main.xml.
Step 3 − Add the following code to src/MainActivity.kt
import android.content.BroadcastReceiver import android.content.Context import android.content.Intent import android.content.IntentFilter import android.net.ConnectivityManager import android.os.Bundle import android.widget.Toast import androidx.appcompat.app.AppCompatActivity class MainActivity : AppCompatActivity() < private val myBroadCastReceiver: BroadcastReceiver = MyBroadCastReceiver() override fun onCreate(savedInstanceState: Bundle?) < super.onCreate(savedInstanceState) setContentView(R.layout.activity_main) title = "KotlinApp" >override fun onStart() < super.onStart() val filter = IntentFilter(ConnectivityManager.CONNECTIVITY_ACTION) registerReceiver(myBroadCastReceiver, filter) >override fun onStop() < super.onStop() unregisterReceiver(myBroadCastReceiver) >> class MyBroadCastReceiver : BroadcastReceiver() < override fun onReceive(context: Context?, intent: Intent?) < if (ConnectivityManager.CONNECTIVITY_ACTION == intent. action) < val noConnectivity: Boolean = intent.getBooleanExtra(ConnectivityManager.EXTRA_NO_CONNECTIVITY, false) if (noConnectivity) < Toast.makeText(context, "Disconnected", Toast.LENGTH_SHORT).show() >else < Toast.makeText(context, "Connected", Toast.LENGTH_SHORT).show() >> > >
Step 4 − Add the following code to androidManifest.xml

Let’s try to run your application. I assume you have connected your actual Android Mobile device with your computer. To run the app from android studio, open one of your project’s activity files and click the Run icon from the toolbar. Select your mobile device as an option and then check your mobile device which will display your default screen
How to use BroadcastReceiver in Kotlin?
This example demonstrates how to use BroadcastReceiver in Kotlin .
Step 1 − Create a new project in Android Studio, go to File? New Project and fill all required details to create a new project.
Step 2 − Add the following code to res/layout/activity_main.xml.
Example
Step 3 − Add the following code to src/MainActivity.kt
Example
import android.content.BroadcastReceiver import android.content.Context import android.content.Intent import android.content.IntentFilter import android.net.wifi.WifiManager import android.os.Bundle import android.widget.Switch import android.widget.Toast import androidx.appcompat.app.AppCompatActivity class MainActivity : AppCompatActivity() < lateinit var wifiSwitch: Switch lateinit var wifiManager: WifiManager override fun onCreate(savedInstanceState: Bundle?) < super.onCreate(savedInstanceState) setContentView(R.layout.activity_main) title = "KotlinApp" wifiSwitch = findViewById(R.id.wifiSwitch) wifiManager = applicationContext.getSystemService(Context.WIFI_SERVICE) as WifiManager wifiSwitch.setOnCheckedChangeListener < _, isChecked ->if (isChecked) < wifiManager.isWifiEnabled = true wifiSwitch.text = "WiFi is ON" >else < wifiManager.isWifiEnabled = false wifiSwitch.text = "WiFi is OFF" >> > override fun onStart() < super.onStart() val intentFilter = IntentFilter(WifiManager.WIFI_STATE_CHANGED_ACTION) registerReceiver(wifiStateReceiver, intentFilter) >override fun onStop() < super.onStop() unregisterReceiver(wifiStateReceiver) >private val wifiStateReceiver: BroadcastReceiver = object : BroadcastReceiver() < override fun onReceive(context: Context, intent: Intent) < when (intent.getIntExtra(WifiManager.EXTRA_WIFI_STATE, WifiManager.WIFI_STATE_UNKNOWN)) < WifiManager.WIFI_STATE_ENABLED -> < wifiSwitch.isChecked = true wifiSwitch.text = "WiFi is ON" Toast.makeText(this@MainActivity, "Wifi is On", Toast.LENGTH_SHORT).show() >WifiManager.WIFI_STATE_DISABLED -> < wifiSwitch.isChecked = false wifiSwitch.text = "WiFi is OFF" Toast.makeText(this@MainActivity, "Wifi is Off", Toast.LENGTH_SHORT).show() >> > > >
Step 4 − Add the following code to androidManifest.xml
Example

Let’s try to run your application. I assume you have connected your actual Android Mobile device with your computer. To run the app from android studio, open one of your project’s activity files and click the Run icon from the toolbar. Select your mobile device as an option and then check your mobile device which will display your default screen
Broadcast Receiver in Kotlin — How to Register Broadcast Receiver in Activity Dynamically


Broadcast Receiver is the one of building blocs of Android system. These are the System wide events which will generally trigger like on Phone Call, On Message Receive, on Battery Changes. To handle any of these events inside android application we will use Broadcast Receivers by registering them.
- Create Broadcast Receiver
- How to Register Broadcast Receiver in Activity
- How to read data from Broadcast Receiver
- Unregister Broadcast receiver
We have two ways to register the Broadcast Events
Static Broadcast Receivers: To create static Broadcast receivers we will register them in manifest file
To add receivers in manifest file we will use tag.
The tag will set the action when we need to trigger the events. In the above code the receiver will trigger upon boot completion of the device.
Dynamic Broadcast Receivers: This type of Broadcast receivers we will register inside Activity or fragment. We can unregistered Receiver on destroy the current activity or Fragment.
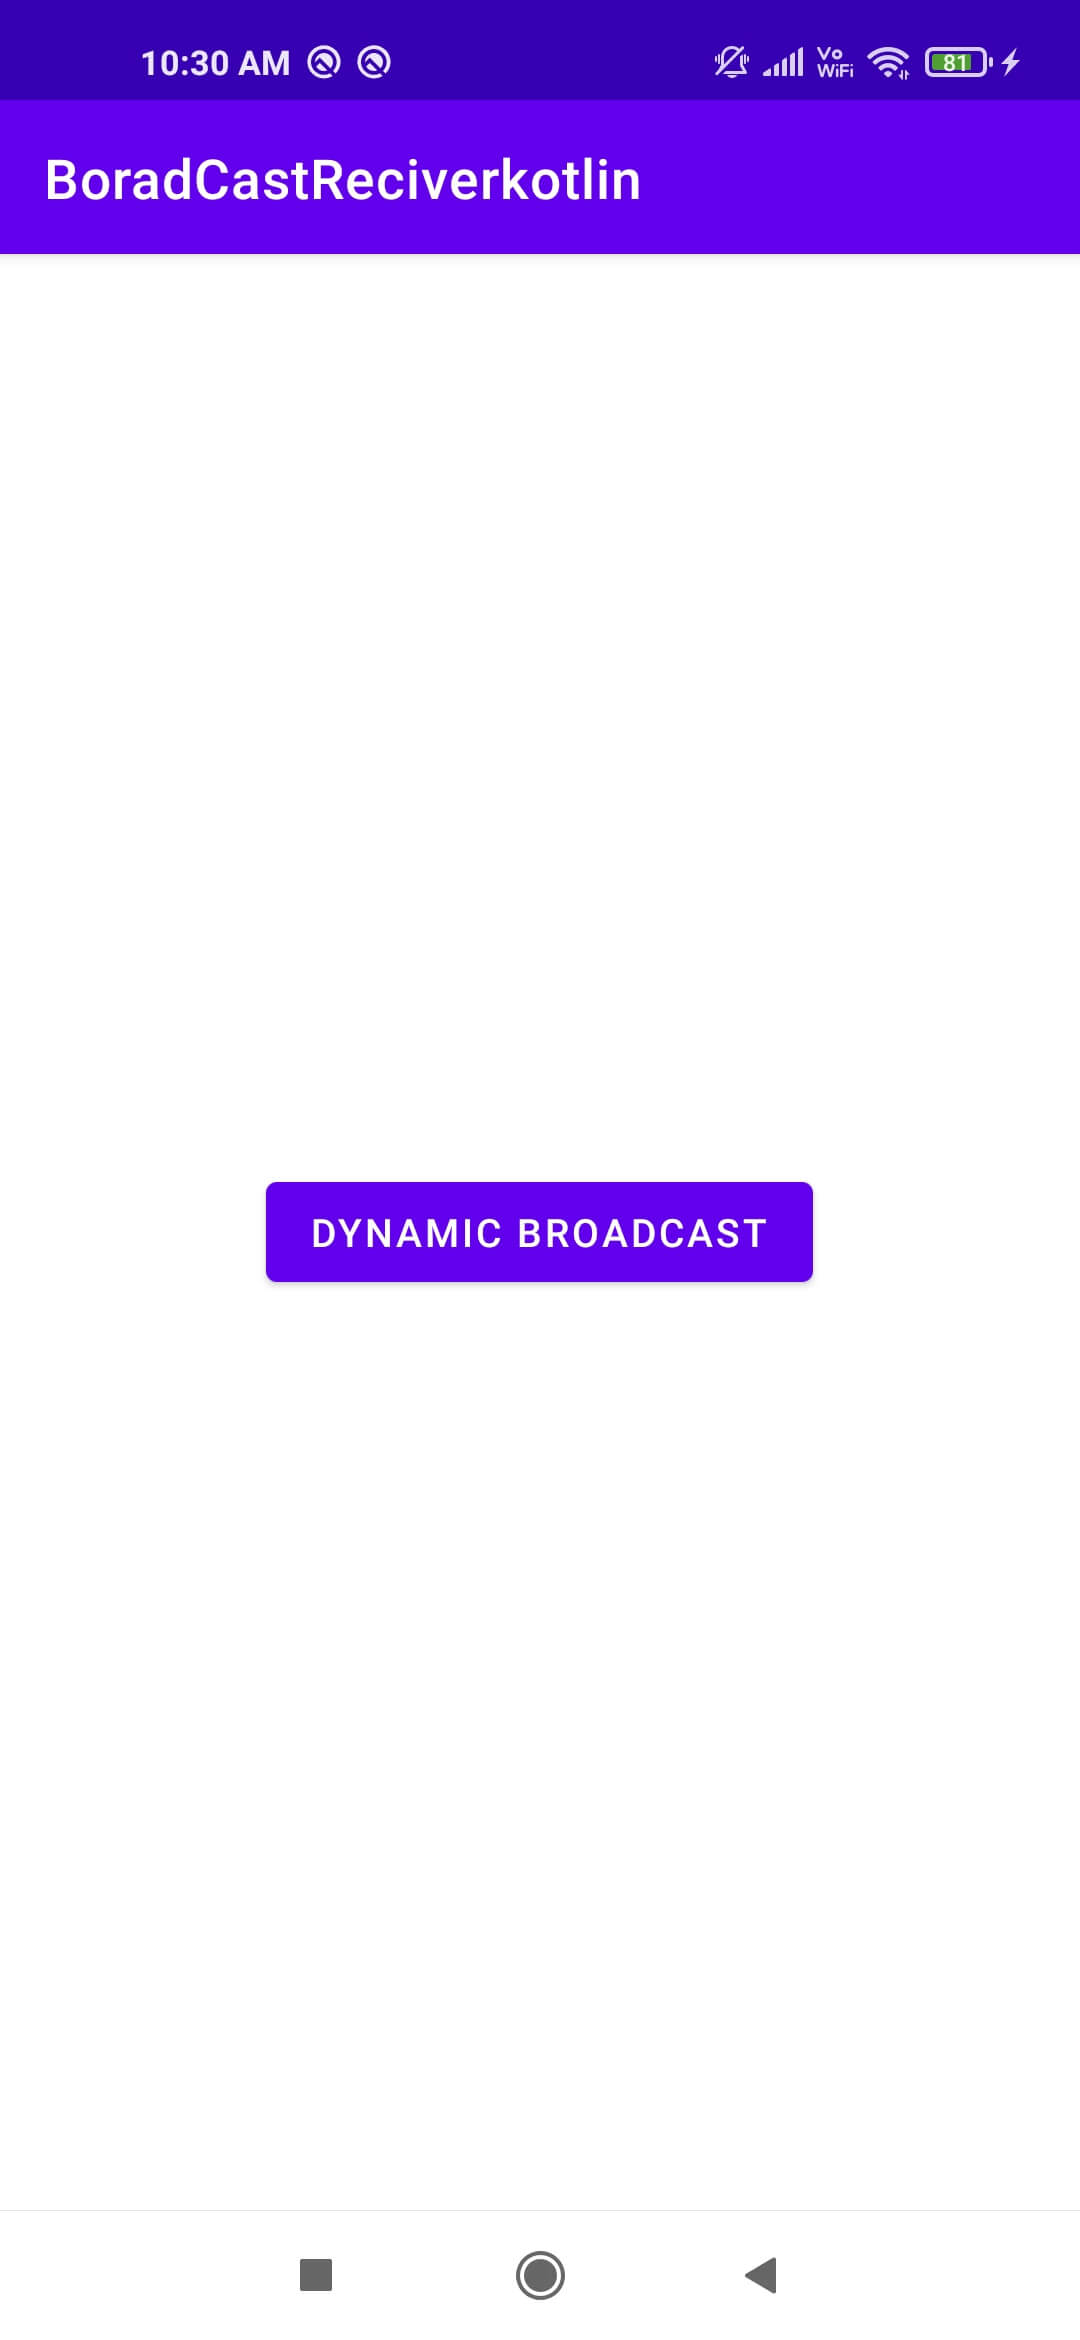
Let create a Dynamic Broadcast Receiver
package com.rrtutors.boradcastreciverkotlin import android.content.BroadcastReceiver import android.content.Context import android.content.Intent import android.widget.Toast class DynamicBroadCastReceiver: BroadcastReceiver() < override fun onReceive(context: Context?, intent: Intent?) < var count=intent. getIntExtra("count",0) Toast.makeText(context,"Current Count "+count,Toast.LENGTH_SHORT).show() > > In the above class we are tracking the count from the activity.
Let register broadcast receiver in activity
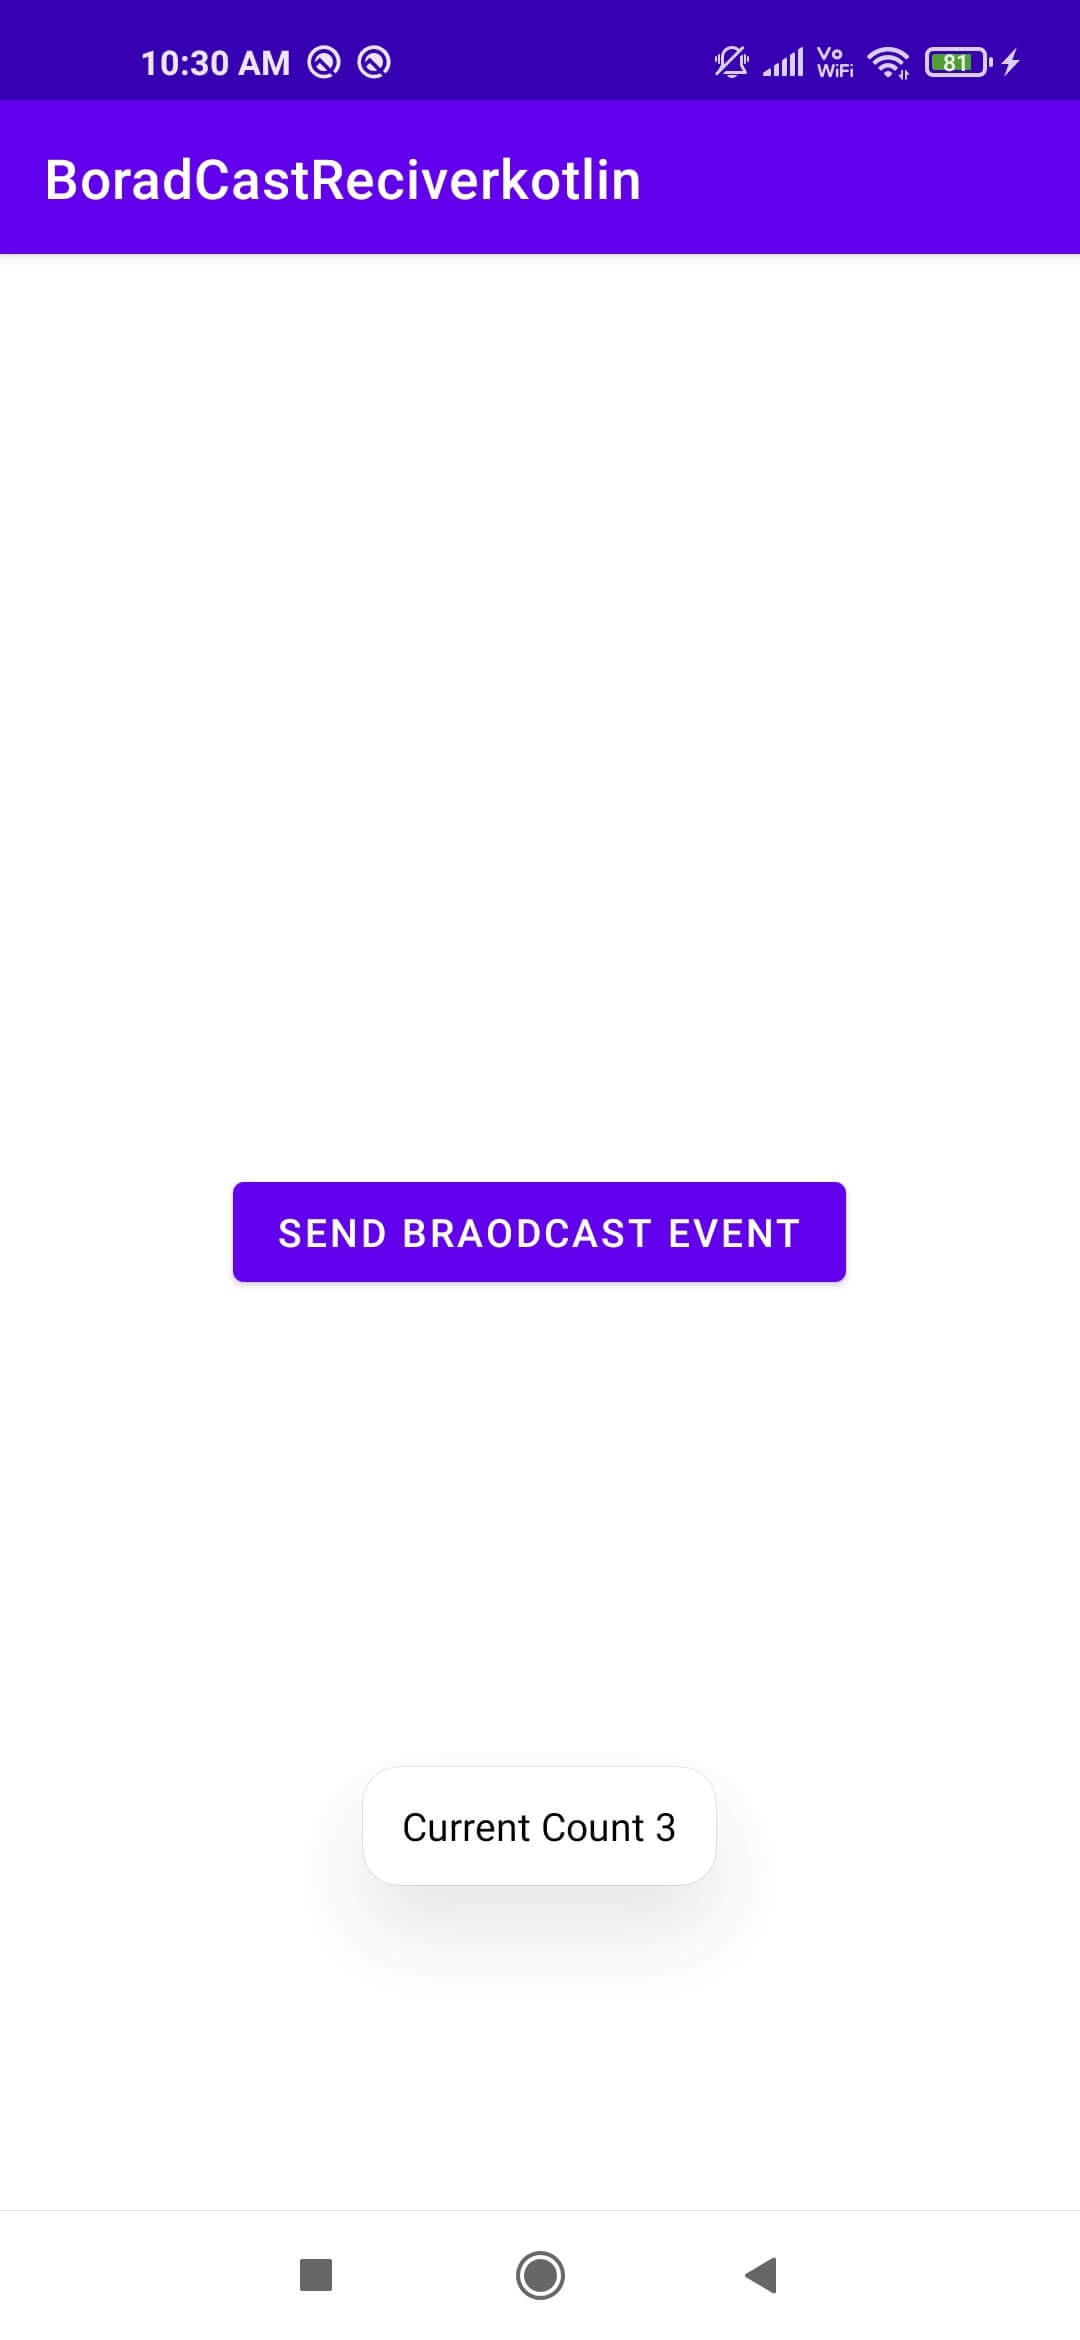
package com.rrtutors.boradcastreciverkotlin import android.content.Intent import android.content.IntentFilter import android.os.Bundle import android.widget.Button import androidx.appcompat.app.AppCompatActivity class MainActivityReceiver: AppCompatActivity() < lateinit var dynamicBroadCastReceiver: DynamicBroadCastReceiver var count=0 override fun onCreate(savedInstanceState: Bundle?) < super.onCreate(savedInstanceState) setContentView(R.layout.activity_dynamic_receiver) dynamicBroadCastReceiver= DynamicBroadCastReceiver() var intentFilter=IntentFilter("com.DynamicBroadCastReceiver") registerReceiver(dynamicBroadCastReceiver,intentFilter); var btn=findViewById(R.id.btn) btn.setOnClickListener var intent=Intent("com.DynamicBroadCastReceiver") intent.putExtra("count",count++) sendBroadcast(intent) > > override fun onDestroy() < super.onDestroy() unregisterReceiver(dynamicBroadCastReceiver) > > Send Broadcast Dynamically
In the above activity we registered receiver by set the intent filter by
to send broadcasts we called sendBroadcast() method on button click
btn.setOnClickListener var intent=Intent("com.DynamicBroadCastReceiver") intent.putExtra("count",count++) sendBroadcast(intent) > How to Unregistered Broadcast Receiver
In the above activity we unregistered receiver on onDestroy() method
override fun onDestroy() < super.onDestroy() unregisterReceiver(dynamicBroadCastReceiver) >
 |
 |
Conclusion: In this Kotlin broadcast receiver we covered what is broadcast receiver, how to register broadcast receiver in activity and unregistered receiver and read data from Broadcast receiver.
Android BroadcastReceiver and Receive system Broadcast example in Kotlin
Android BroadcastReceiver is the main component of android application development. It’s work similar Publish-Subscriber design pattern. For example action.AIRPLNE_MODE, action.BATTERY_LOW, this is some system called broadcasts.
We can create on our own Broadcast for internal components call in the application or another application. The broadcast is sent when an event occurs and receivers will receive the event and do some action.

How to receiving Broadcast
Apps can receive and android BroadcastReceiver in two ways: through manifest-declared receivers and context-registered receivers. In this example, we are approaching manifest-declared Receiver. Learn step by step to the kotlin broadcast receiver example works.
Step 1. Create an android app, For creating an Android app with kotlin read this tutorial.
Step 2. Creating Broadcast Receiver
Create and extend Subclass and BroadcastReceiver implement. onReceive(Context, Intent) where onReceive method each message is received as an Intent object parameter.
package `in`.eyehunt.androidbroadcasts import android.content.BroadcastReceiver import android.content.Context import android.content.Intent import android.widget.Toast class MyReceiver : BroadcastReceiver() < override fun onReceive(context: Context, intent: Intent) < // TODO: This method is called when the BroadcastReceiver is receiving // an Intent broadcast. Toast.makeText(context, "Broadcast : Flight mode changed.", Toast.LENGTH_LONG).show() >>
Step 3. Declare a broadcast receiver in the manifest file
Note: If the app is not running and broadcast receiver declared in AndroidManifest.xml, then the system will launch your app.
Step 4. MainActivity code, no needs to do anything
package `in`.eyehunt.androidbroadcasts import android.support.v7.app.AppCompatActivity import android.os.Bundle class MainActivity : AppCompatActivity() < override fun onCreate(savedInstanceState: Bundle?) < super.onCreate(savedInstanceState) setContentView(R.layout.activity_main) >>
Step 5. Add following code in main_activity.xml
Step 6. Run the app On emulator or in android phone

Download Android BroadcastReceiver source code
Note : This example (Project) is developed in Android Studio 3.0.1 ,tested on Android 7.1.1 ( Android Nougat), build-tools version 26.0.1
MinSdkVersion=”15″
TargetSdkVersion=”26″
Coding in Kotlin
Some More Uses of Android BroadcastReceiver :
Advantage/Benefits :
- A Broadcast receiver wakes your application up, the inline code works only when your application is running.
Example 1: if you want your application to be notified of an incoming call, even if your app is not running, you use a broadcast receiver.
Example 2: When new SMS arrives, the broadcast receiver sends a notification to the messaging app and a small icon pops up in the notification bar.
Note: Rules of the broadcast receiver: it has a maximum limit of 10secs (5-10secs), does not do any asynchronous operations which may take more time, don’t do any heavy database operations or networking operations in the broadcast receiver. Otherwise, the app will be crash (ANR-“Application Not Responding”).