How to Insert Form Data Using jQuery Ajax in PHP MySQL
insert data in MySQL db in PHP using jquery ajax without page refresh. In this tutorial, you will learn how to create and submit a simple form in PHP and store from data into MySQL database using jQuery ajax.
And this tutorial also guides on how to send data to MySQL database using AJAX + jQuery + PHP without reloading the whole page and show a client-side validation error message if it has an error in the form.
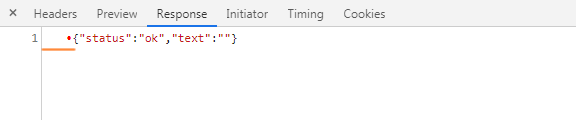
The below code is used to store form data into a MySQL database table name customers. If form successfully submitted to the database, it will return success message otherwise it returns an error.
Conclusion
In this tutorial, you have learned how to create a simple form and store data into a MySQL database without reloading or refreshing the whole web page with client-side validation using jQuery ajax in PHP.
Description: Send data to the server using a HTTP POST request.
version added: 1.0 jQuery.post( url [, data ] [, success ] [, dataType ] )
A callback function that is executed if the request succeeds. Required if dataType is provided, but can be null in that case.
The type of data expected from the server. Default: Intelligent Guess (xml, json, script, text, html).
version added: 1.12-and-2.2 jQuery.post( [settings ] )
A set of key/value pairs that configure the Ajax request. All properties except for url are optional. A default can be set for any option with $.ajaxSetup(). See jQuery.ajax( settings ) for a complete list of all settings. Type will automatically be set to POST .
This is a shorthand Ajax function, which is equivalent to:
$.ajax(
type: "POST",
url: url,
data: data,
success: success,
dataType: dataType
>);
The success callback function is passed the returned data, which will be an XML root element or a text string depending on the MIME type of the response. It is also passed the text status of the response.
As of jQuery 1.5, the success callback function is also passed a "jqXHR" object (in jQuery 1.4, it was passed the XMLHttpRequest object).
Most implementations will specify a success handler:
$.post( "ajax/test.html", function( data )
$( ".result" ).html( data );
>);
This example fetches the requested HTML snippet and inserts it on the page.
Pages fetched with POST are never cached, so the cache and ifModified options in jQuery.ajaxSetup() have no effect on these requests.
The jqXHR Object
As of jQuery 1.5, all of jQuery's Ajax methods return a superset of the XMLHTTPRequest object. This jQuery XHR object, or "jqXHR," returned by $.post() implements the Promise interface, giving it all the properties, methods, and behavior of a Promise (see Deferred object for more information). The jqXHR.done() (for success), jqXHR.fail() (for error), and jqXHR.always() (for completion, whether success or error; added in jQuery 1.6) methods take a function argument that is called when the request terminates. For information about the arguments this function receives, see the jqXHR Object section of the $.ajax() documentation.
The Promise interface also allows jQuery's Ajax methods, including $.get() , to chain multiple .done() , .fail() , and .always() callbacks on a single request, and even to assign these callbacks after the request may have completed. If the request is already complete, the callback is fired immediately.
AJAX позволяет отправить и получить данные без перезагрузки страницы. Например, делать проверку форм, подгружать контент и т.д. А функции JQuery значительно упрощают работу.
Полное описание функции AJAX на jquery.com.
GET запрос
Запрос идет на index.php с параметром « text » и значением « Текст » через метод GET. По сути это то же самое что перейти в браузере по адресу – http://site.com/index.php?text=Текст
В результате запроса index.php вернет строку «Данные приняты – Текст», которая будет выведена в сообщении alert.
$.ajax(< url: '/index.php', /* Куда пойдет запрос */ method: 'get', /* Метод передачи (post или get) */ dataType: 'html', /* Тип данных в ответе (xml, json, script, html). */ data: , /* Параметры передаваемые в запросе. */ success: function(data) < /* функция которая будет выполнена после успешного запроса. */ alert(data); /* В переменной data содержится ответ от index.php. */ >>);
При работе с JSON может всплыть одна ошибка – после запроса сервер отдал результат, все хорошо, но метод success не срабатывает. Причина кроется в серверной части (PHP) т.к. перед данными могут появится управляющие символы, например:
Из-за них ответ считается не валидным и считается как ошибочный запрос. В таких случаях помогает очистка буфера вывода ob_end_clean (если он используется на сайте).
В JQuery реализована функция подгруздки кода JS через AJAX, после успешного запроса он будет сразу выполнен.
Или
Дождаться выполнения AJAX запроса
По умолчанию в JQuery AJAX запросы выполняются асинхронно. Т.е. запрос не задерживает выполнение программы пока ждет результатов, а работает параллельно. Простой пример:
var text = ''; $.ajax( < url: '/index.php', method: 'get', dataType: 'html', success: function(data)< text = data; >>); alert(text); /* Переменная будет пустая. */
Переменная text будет пустая, а не как ожидается текст который вернул index.php Чтобы включить синхронный режим нужно добавить параметр async: false . Соответственно синхронный запрос будет вешать прогрузку страницы если код выполняется в страницы.
var text = ''; $.ajax( < url: '/index.php', method: 'get', dataType: 'html', async: false, success: function(data)< text = data; >>); alert(text); /* В переменной будет результат из index.php. */
У меня вообще не работали POST запросы, особенно для меня, для начинающего было очень сложно, работали только GET, очень долго голову ломал почему так происходит. Нашёл пример на другом сайте, который работал долго сравнивал и думал почему так. Здесь пример не работает, а на другом сайте рабочий пример оказался. Так вот: $.ajax( url: '/index.php', method: 'post', dataType: 'html', data: , success: function(data) alert(data); > >); Оказывается чтобы у меня заработали именно POST запросы надо было поменять строчку: "method: 'post'," на: "type: 'post'," и всё сразу заработало после этого. А я ведь ни один день ломал голову из-за этой ошибки!
Laravel Livewire Crud with Bootstrap Modal Example
Hello Friends, In this blog, I would like to share with you how perform crud opeartion with bootstrap modal livewire in laravel application.I will.
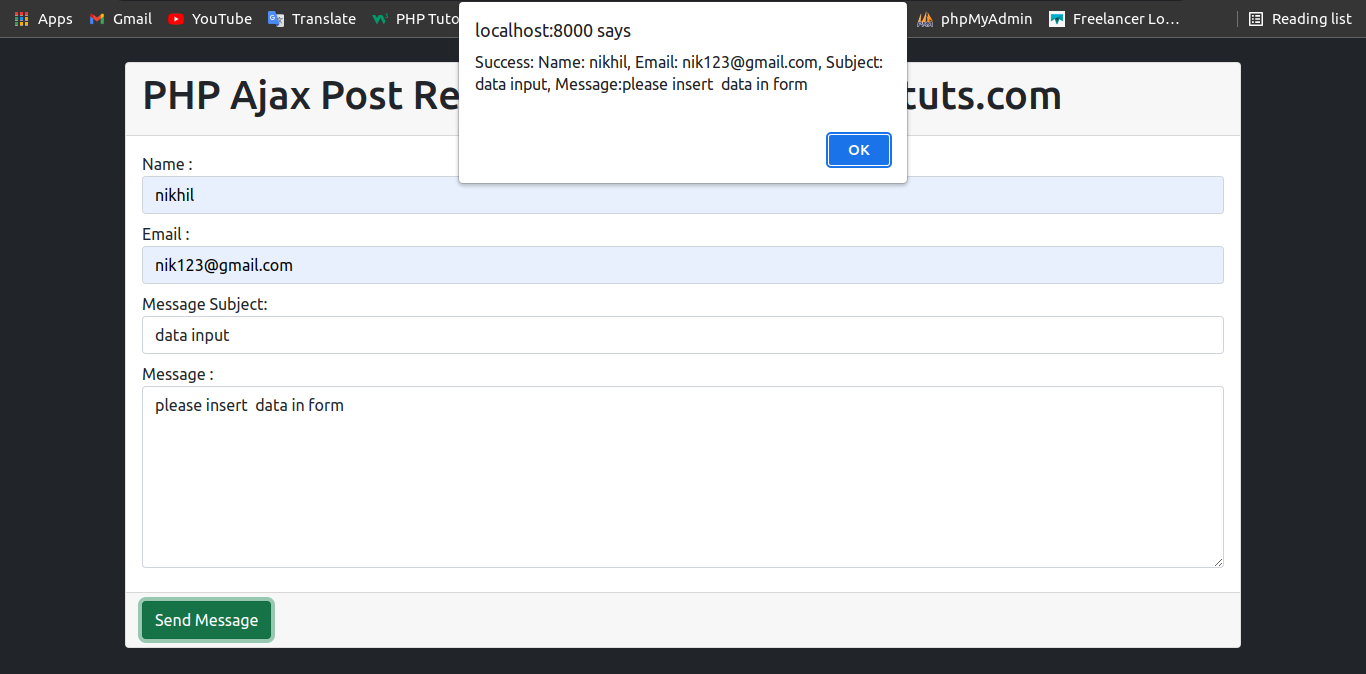
PHP Ajax Post Request Example
I am going to explain you how to PHP Ajax Post Request Example. You will learn How to jQuery Ajax POST example with PHP. In side this article we will see how to Ajax POST request with jQuery and PHP.
This article will give you simple example of How to Php jquery ajax post request example. We will use get simple example How to AJAX PHP Post Request.
I will give you simple Example how to Ajax POST request with jQuery and PHP.